Looking for a fun and easy way to learn how to draw a cowboy hat? Whether you’re an art beginner or just want to sketch something cool for your journal or project, we’ve got you covered! On dooduko, you’ll find step-by-step guides that break down each part of the drawing process into simple, manageable steps. Get your pencil ready, and let’s start drawing that iconic Western look!
How to draw a cartoon cowboy hat

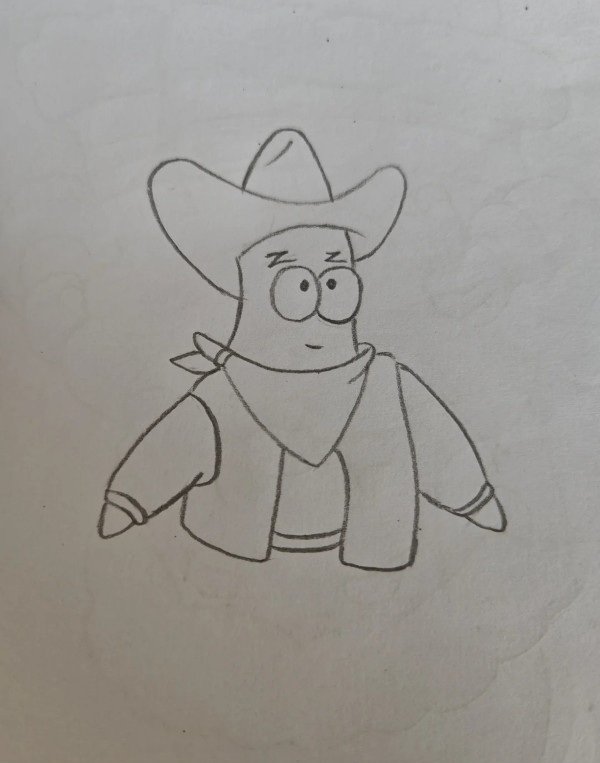
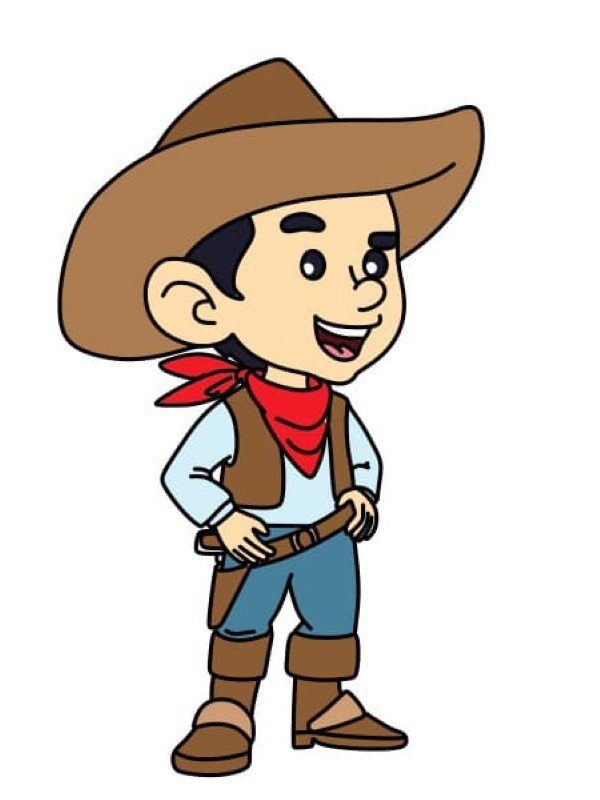
How to draw a cowboy
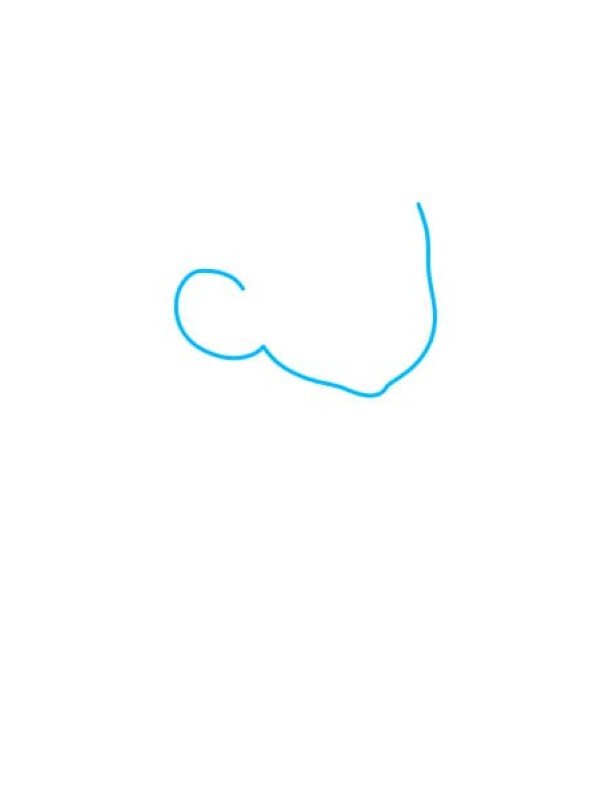
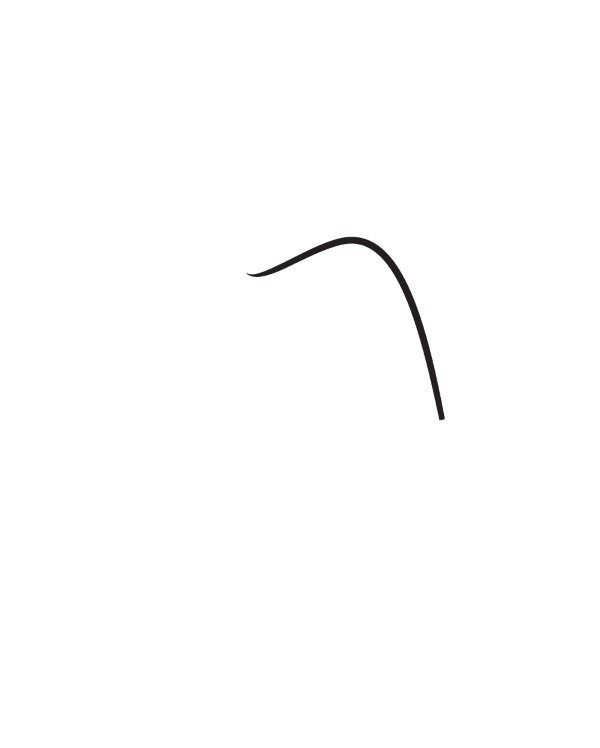
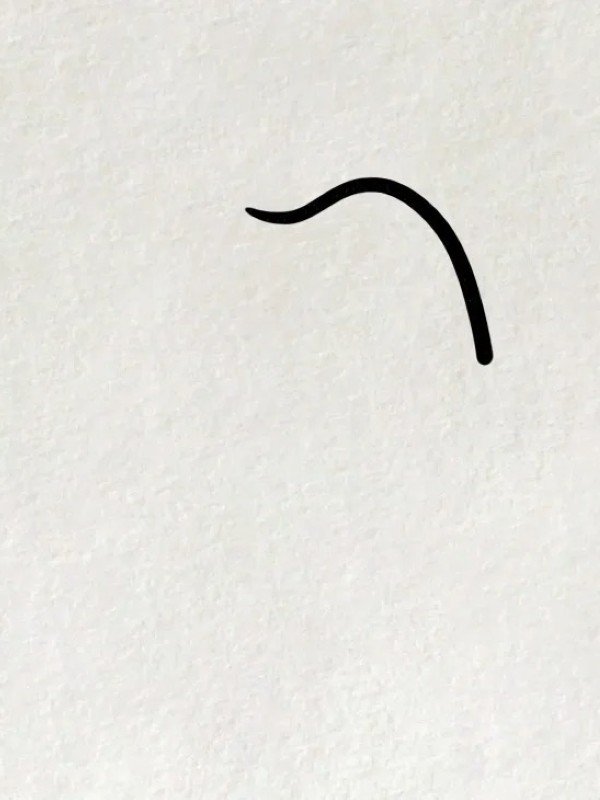
Step 1: Start by drawing a curved hook-like line to shape the front of the cowboy hat.
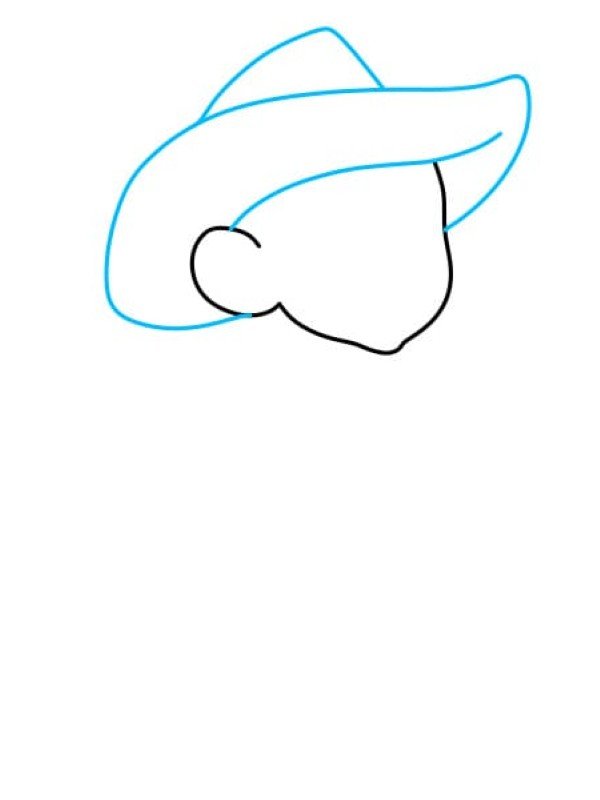
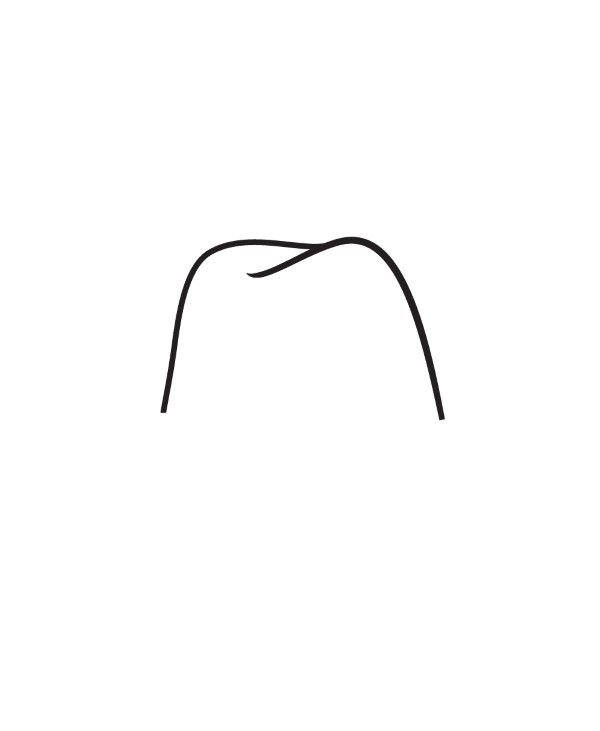
Step 2: Connect the ends with a rounded top line to form the crown of the hat.
Step 3: Draw a wide curved line beneath the crown to outline the front part of the brim.
Step 4: Add a matching back curve to complete the hat’s brim.
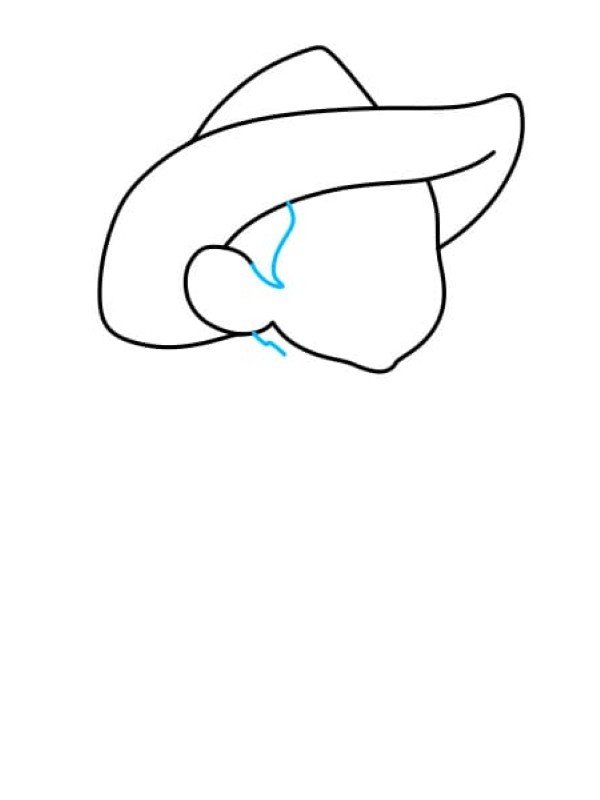
Step 5: Sketch a necktie or rope beneath the brim if you’d like a Western style.
Step 6: Add details to the brim for a three-dimensional effect.
Step 7: Outline the final shape with clean, bold strokes.
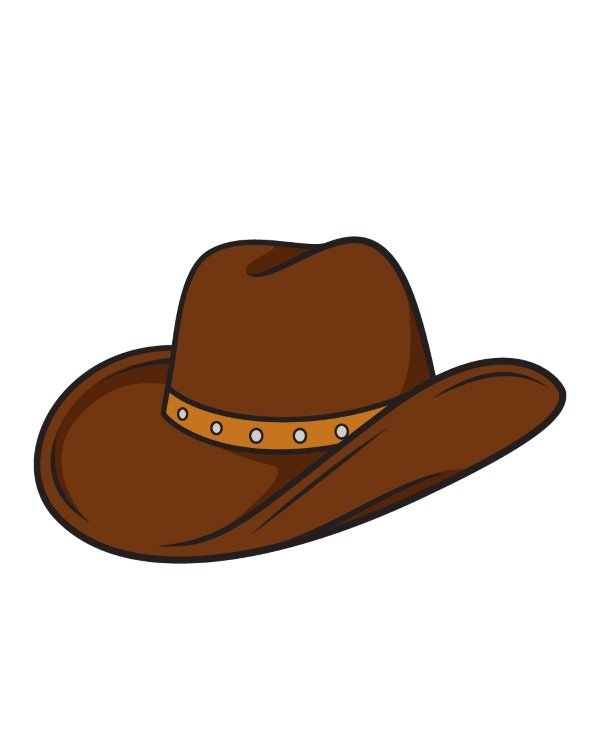
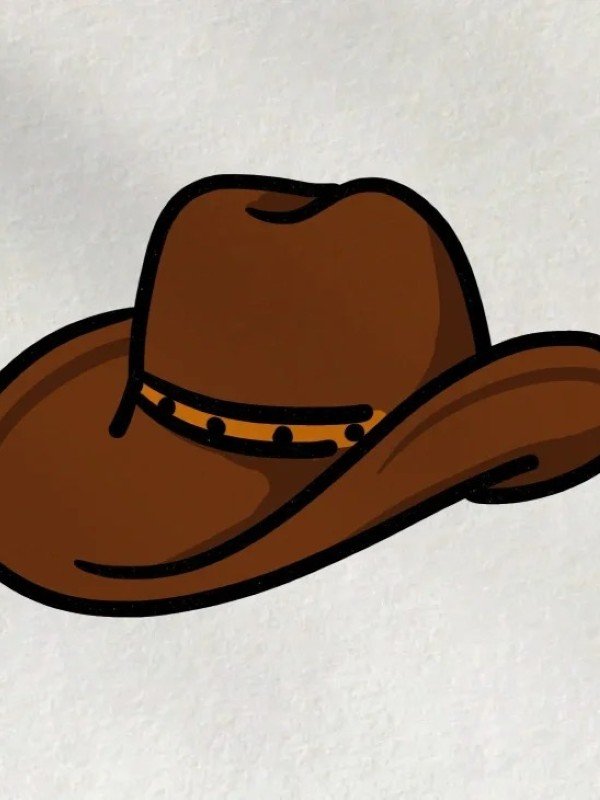
Step 8: Your cowboy hat drawing is now complete—add shading or color if desired.
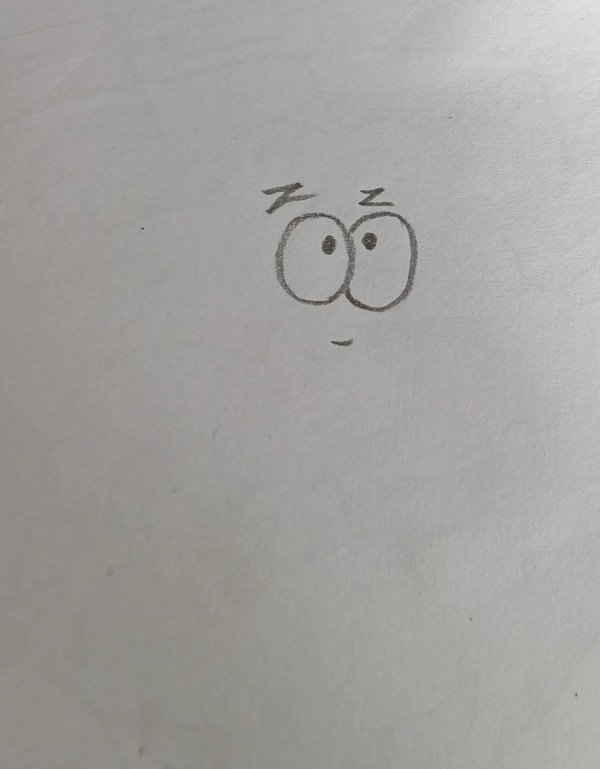
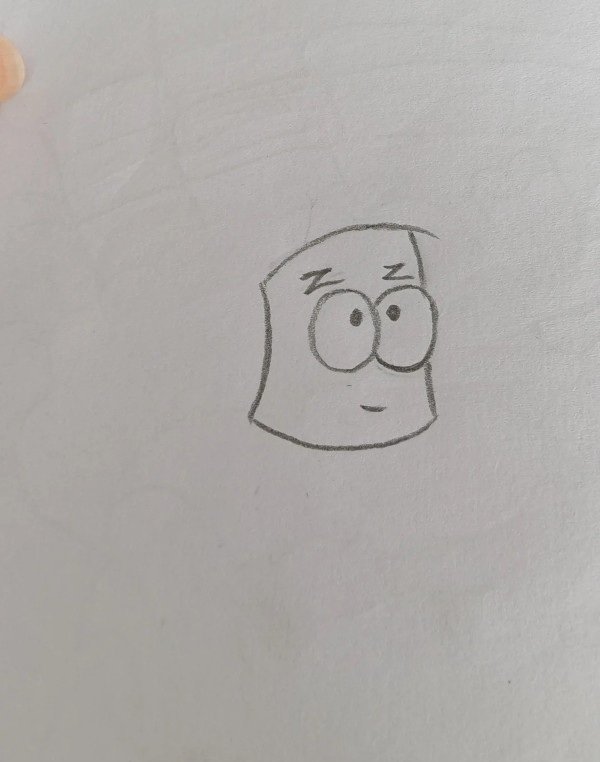
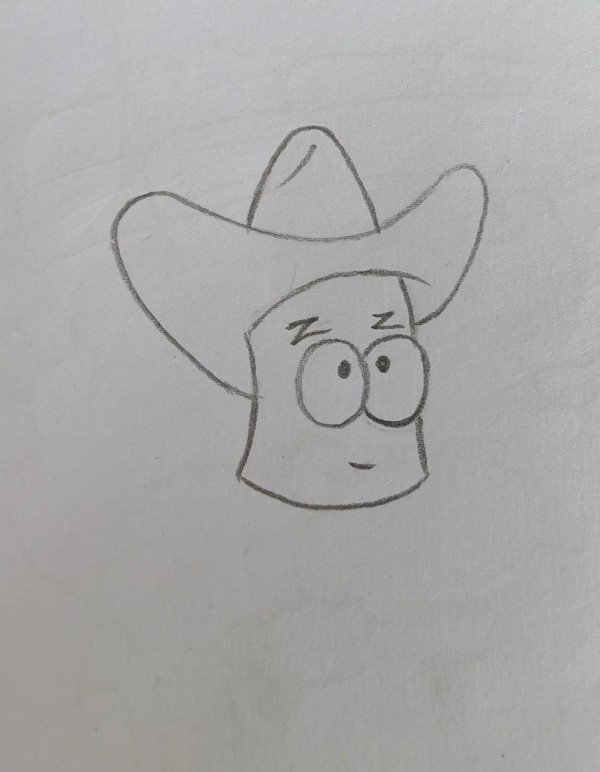
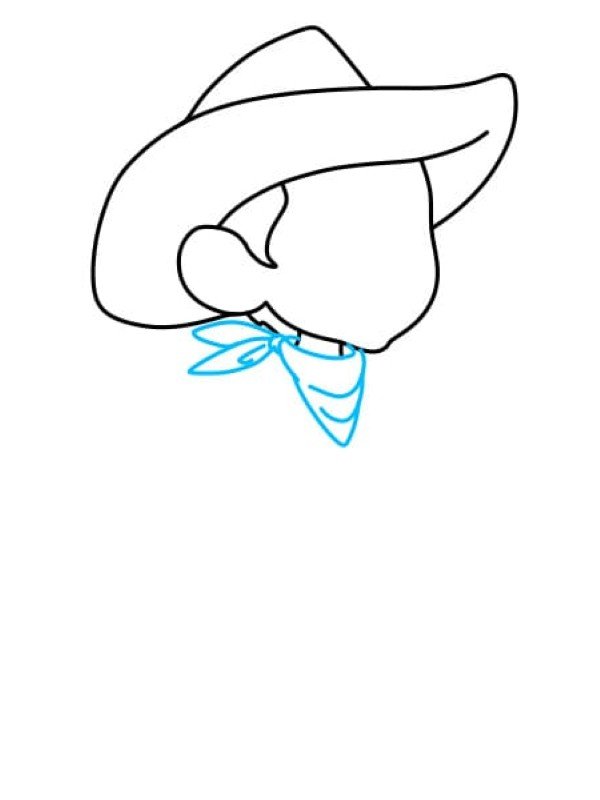
Step 9: Draw the cowboy’s head and hat, beginning with the facial shape and the brim on top.
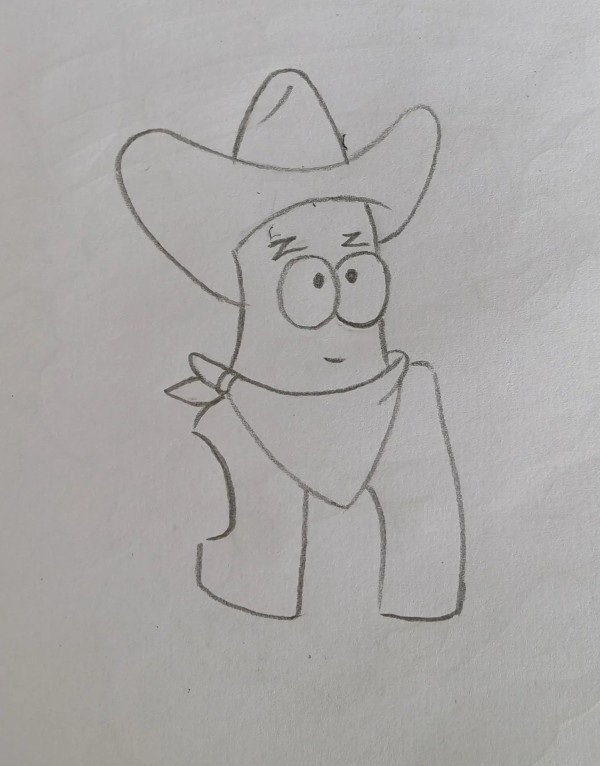
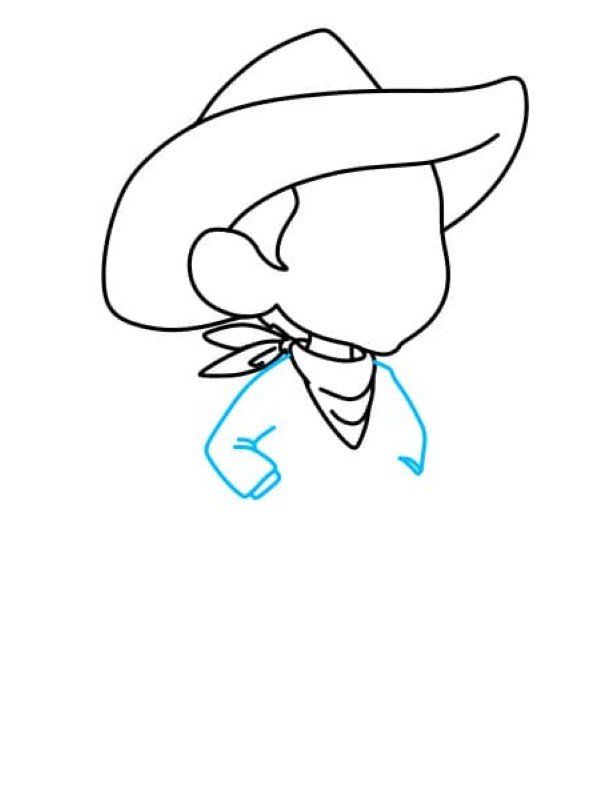
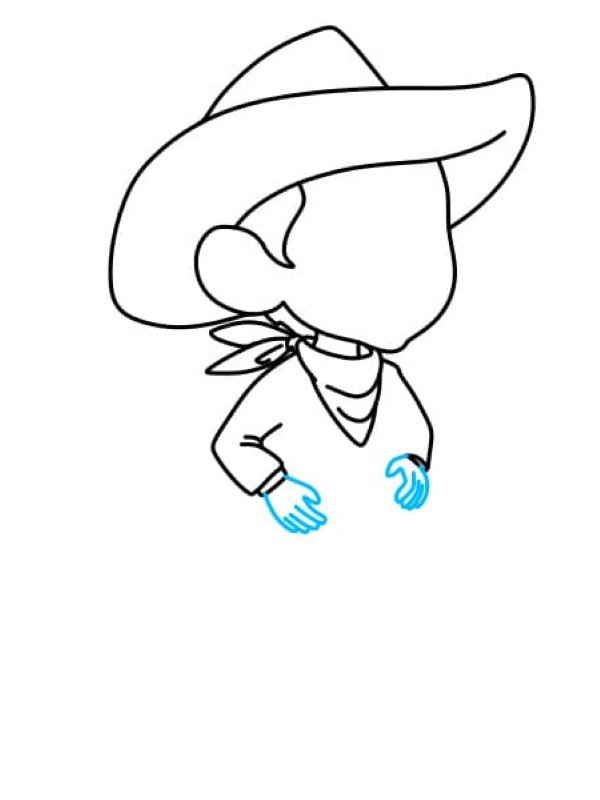
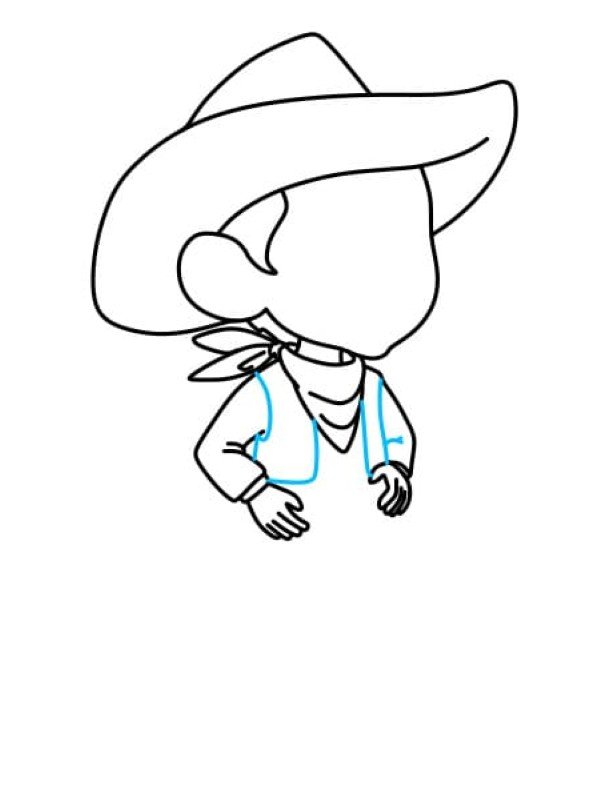
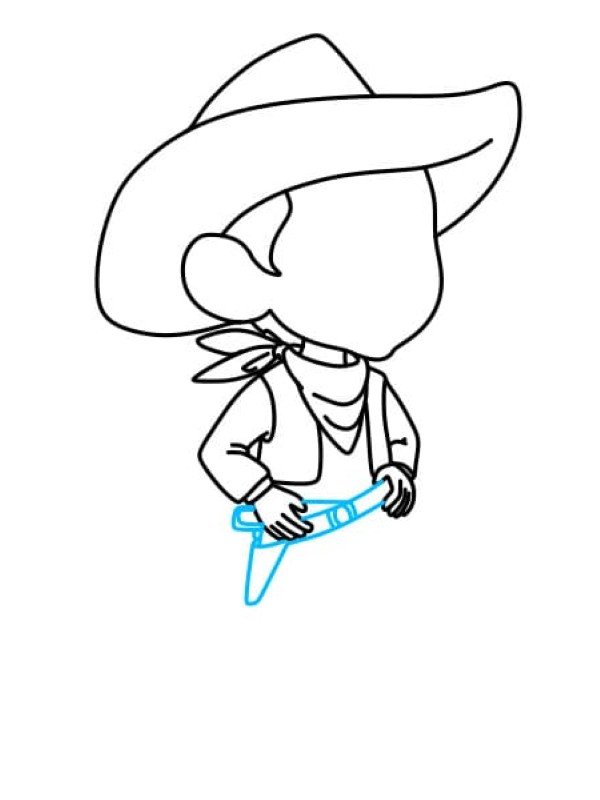
Step 10: Sketch the upper body—arms, scarf, and details like shirt creases.
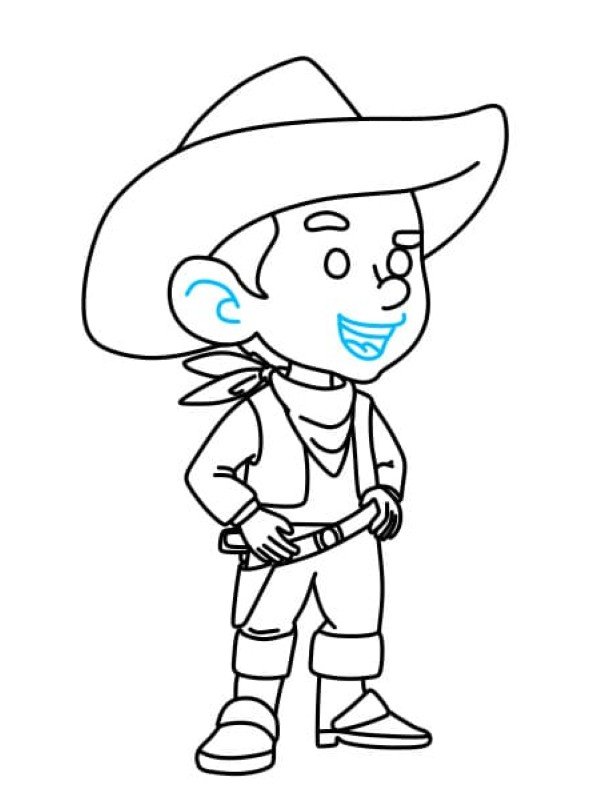
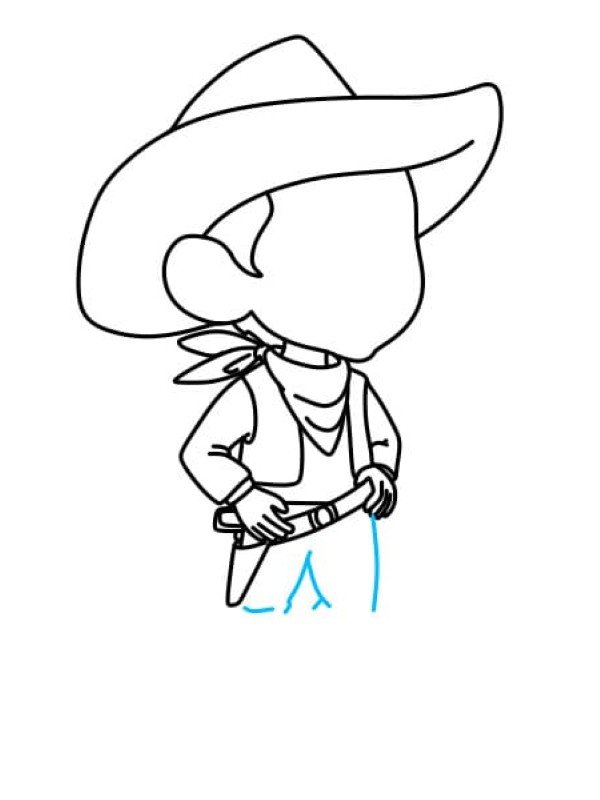
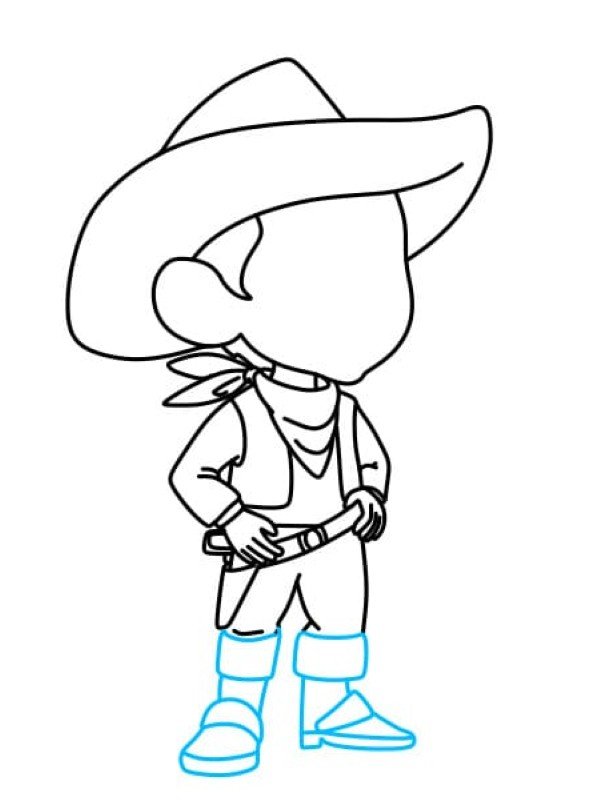
Step 11: Finish the lower body with pants, boots, and final facial features like eyes and smile.
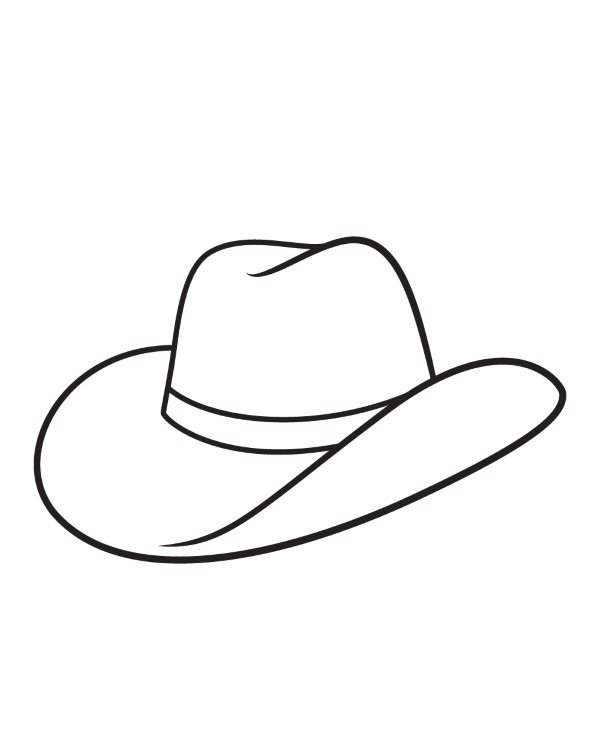
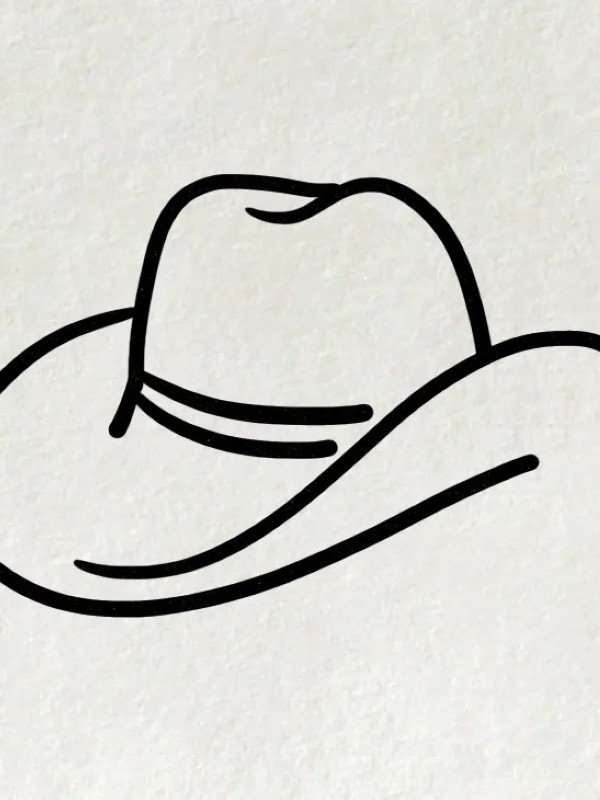
How to draw a cowboy hat
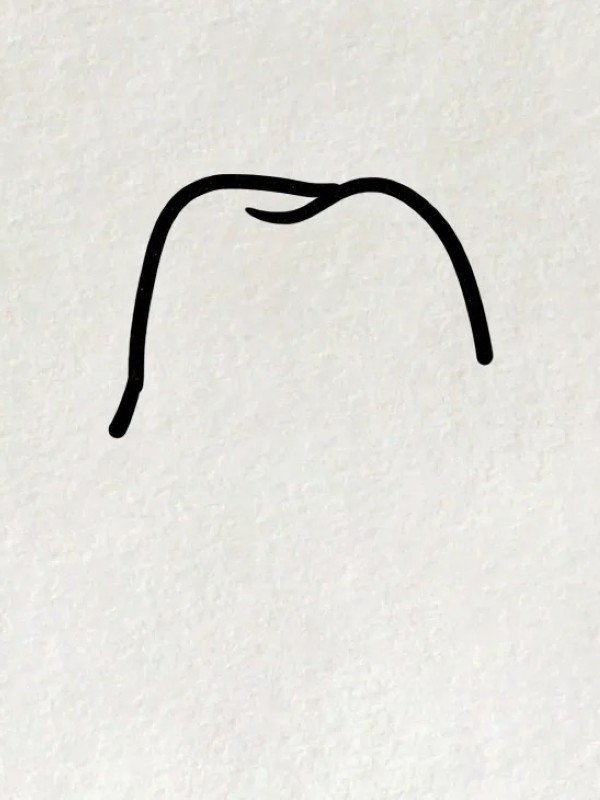
Step 1: Draw a single curved line sloping downward—this will be part of the crown of the hat.
Step 2: Add a mirrored curved line on the right to complete the basic shape of the hat’s crown.
Step 3: Close the crown with a slightly curved horizontal line at the bottom, forming a bucket-like shape.
Step 4: Draw a horizontal oval near the bottom of the crown to start shaping the top of the brim.
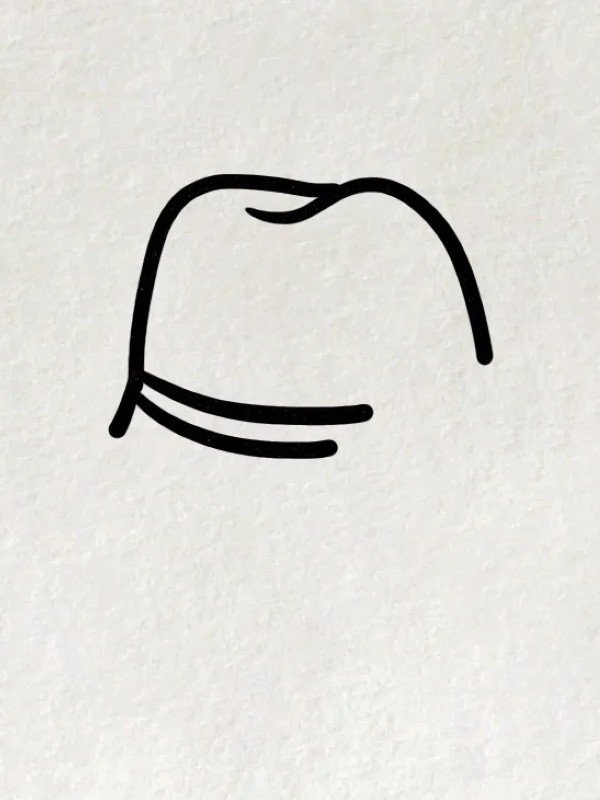
Step 5: Extend a large curved line from one side to the other for the front part of the brim.
Step 6: Add another soft curve to form the back of the brim, overlapping slightly for depth.
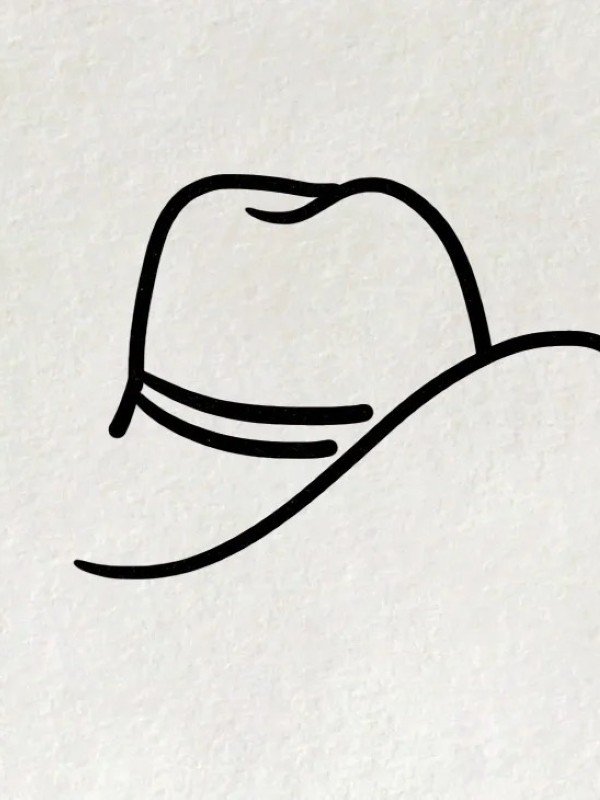
Step 7: Outline the outer edge of the brim more clearly with bold strokes to define the structure.

Step 8: Sketch in extra curves and thickness to give the hat a realistic three-dimensional look.
Step 9: Finalize the drawing with shadows and details. Add texture if you want a more natural cowboy style.
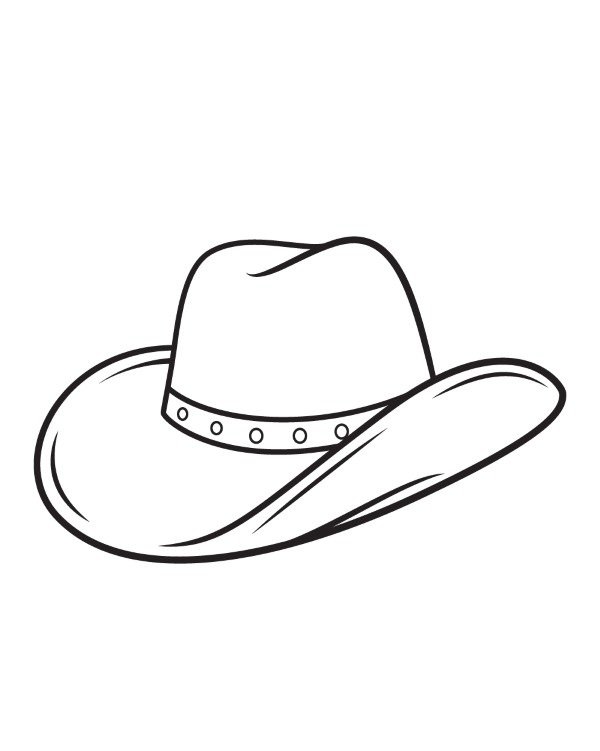
How to draw a cowboy hat easy
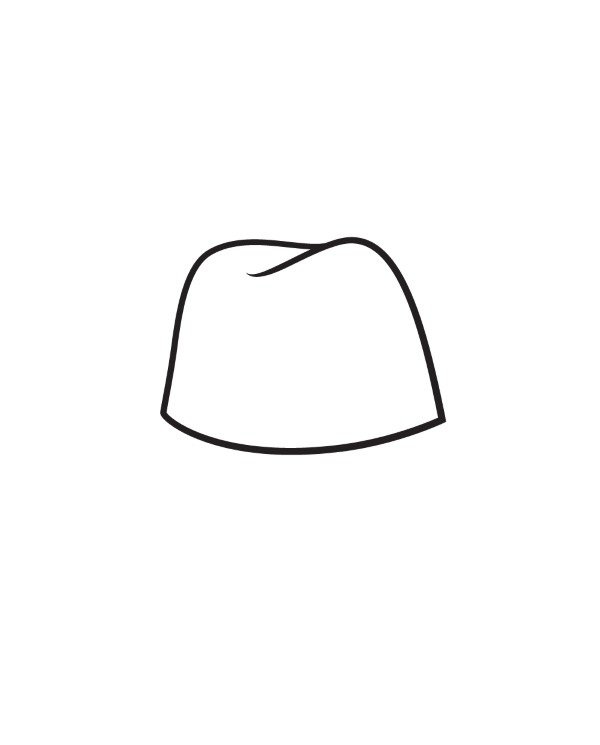
Step 1: Draw a short curved line to form the front top edge of the cowboy hat.
Step 2: Add two downward curves on each side to shape the upper part of the crown. 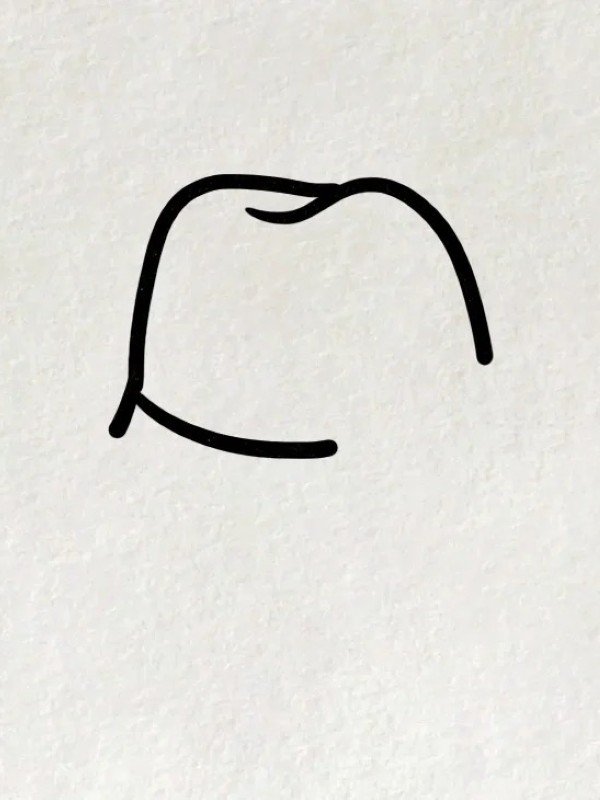
Step 3: Connect the curves with a soft U-shape at the bottom to complete the crown
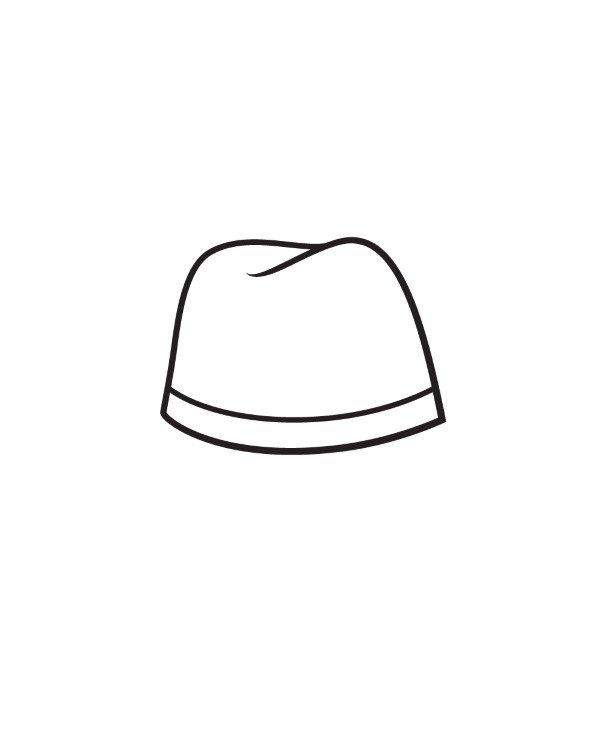
Step 4: Add a slightly curved line below the crown to start forming the brim.
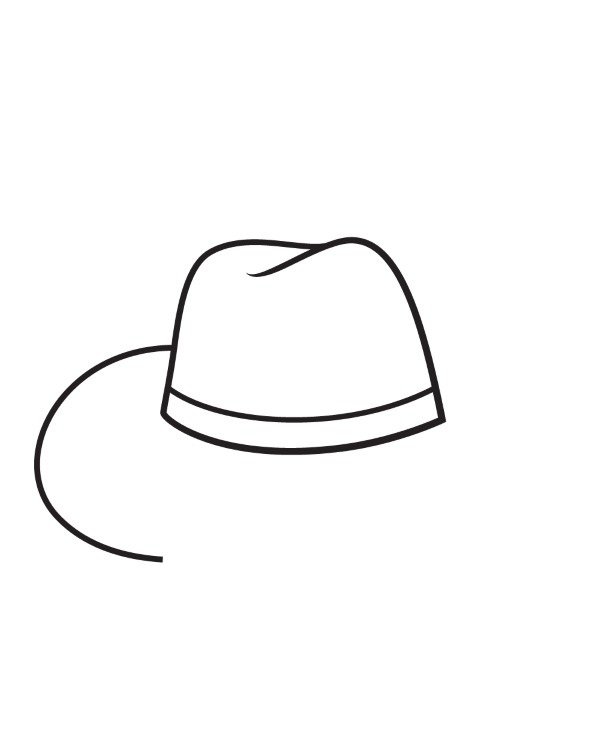
Step 5: Extend wide, wavy curves from both sides to shape the front part of the brim.
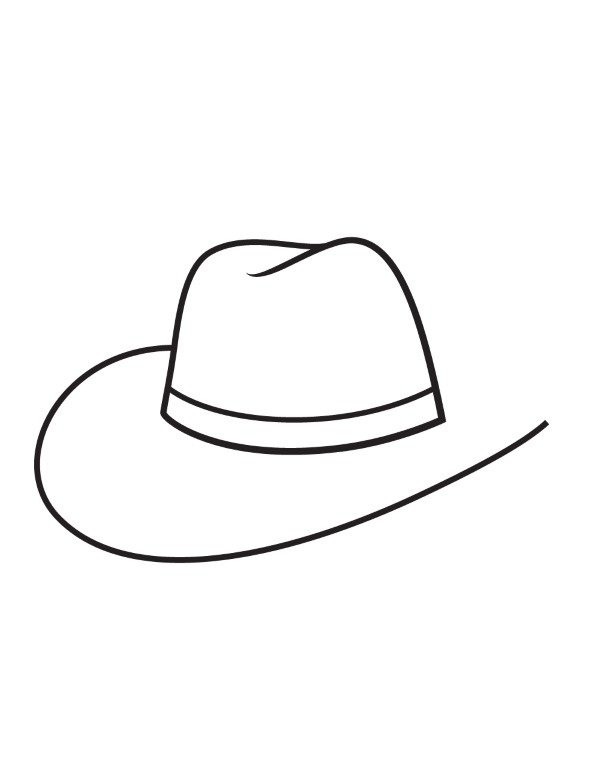
Step 6: Draw another layer beneath the brim to show depth and 3D effect.
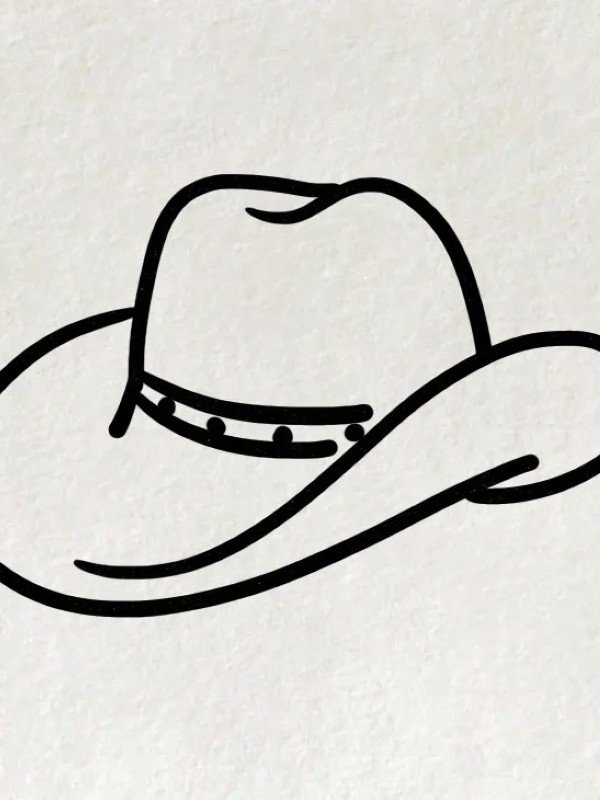
Step 7: Add final details to the brim and band area for a polished cowboy hat look.
How to draw a cowboy hat step by step
See more:
5+ easy steps on how to draw a Castle like a pro
6+ pro tips for how to draw a butterfly easy that looks cute
5+ easy steps on how to draw a blue whale for beginners
Drawing something stylish like a cowboy hat doesn’t have to be complicated. With just a bit of practice and the right steps, you can master how to draw a cowboy hat in no time. Keep exploring new styles and don’t be afraid to add your creative twist. For more cool drawing guides and fresh inspiration, remember to come back and keep learning how to draw a cowboy hat and other fun items!