Are you a fan of Naruto and love to draw? Whether you’re a beginner or already skilled with a pencil, learning how to draw Naruto is a fun way to show your passion. From his spiky hair to his determined eyes and iconic ninja pose, every detail matters. In this guide, you’ll explore the easiest techniques, creative styles, and cool tips to bring the legendary shinobi to life on paper. Perfect for teens, anime lovers, and aspiring artists alike. Drawing Naruto is not just practice—it’s an exciting way to dive deeper into the world of Konoha. Let’s get started on your drawing journey with dooduko.com!
How to a draw Naruto
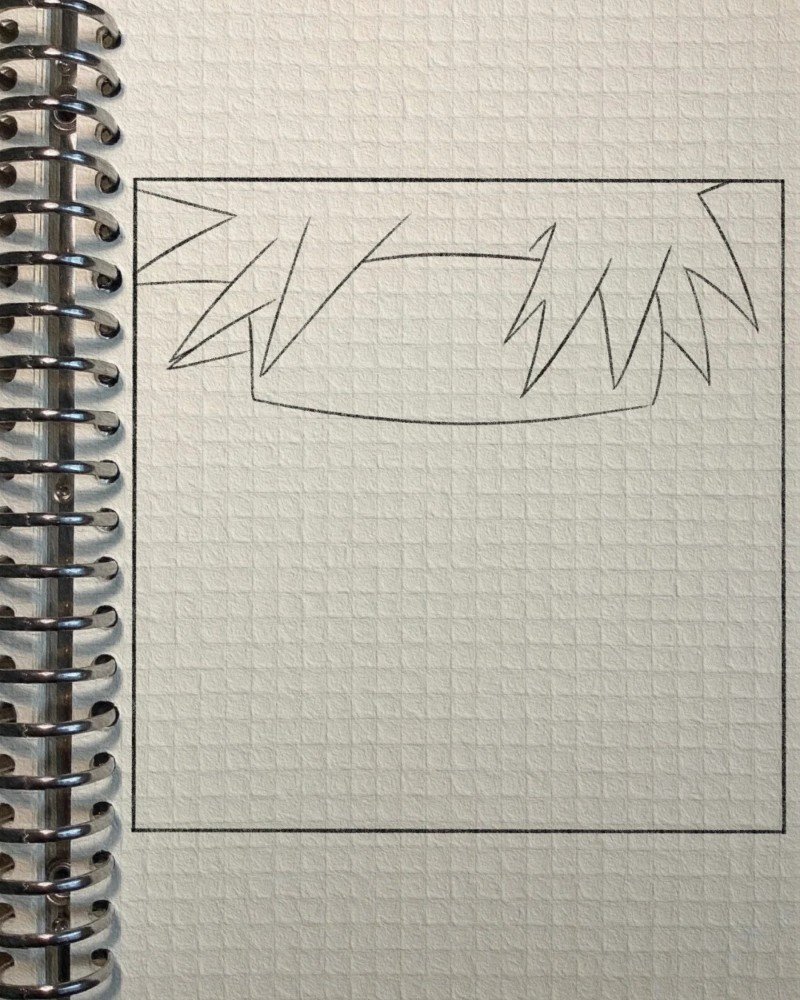
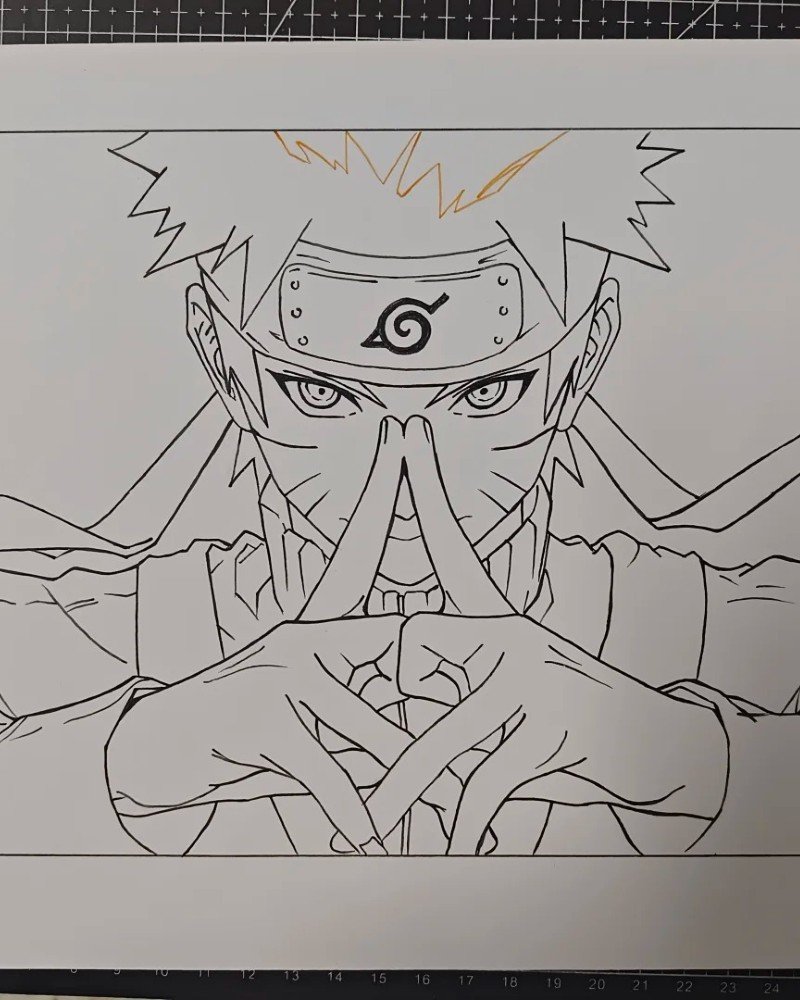
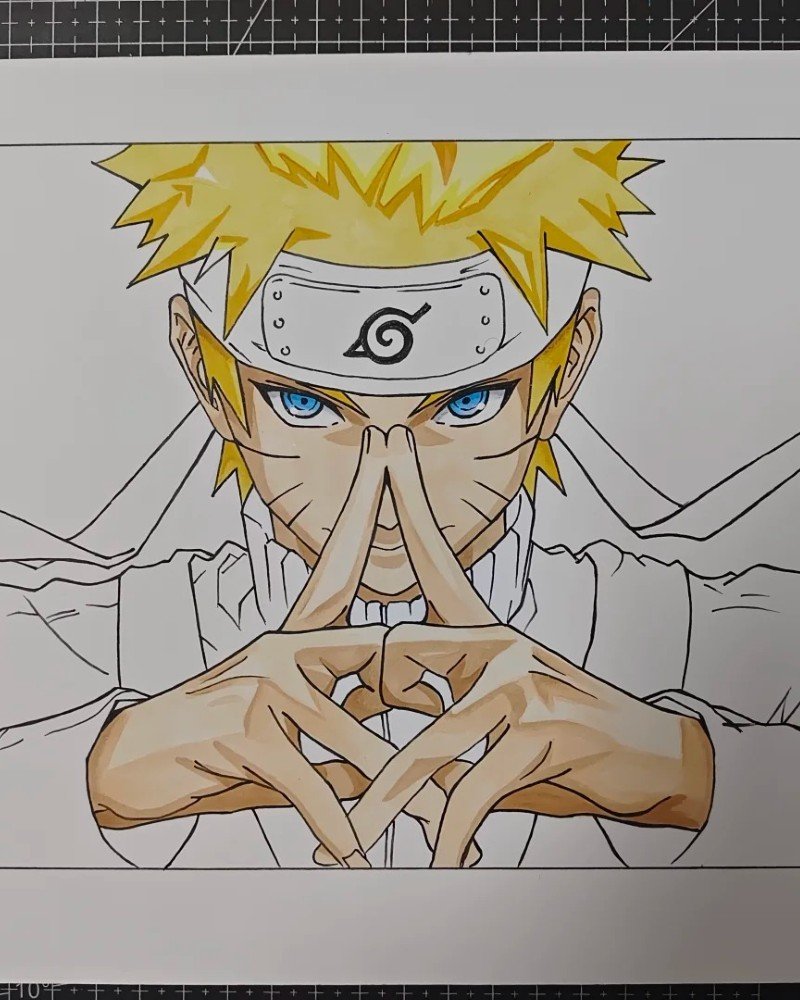
Step 1: Begin by sketching Naruto’s iconic spiky hair. Make the hair sharp and exaggerated to match his anime style.
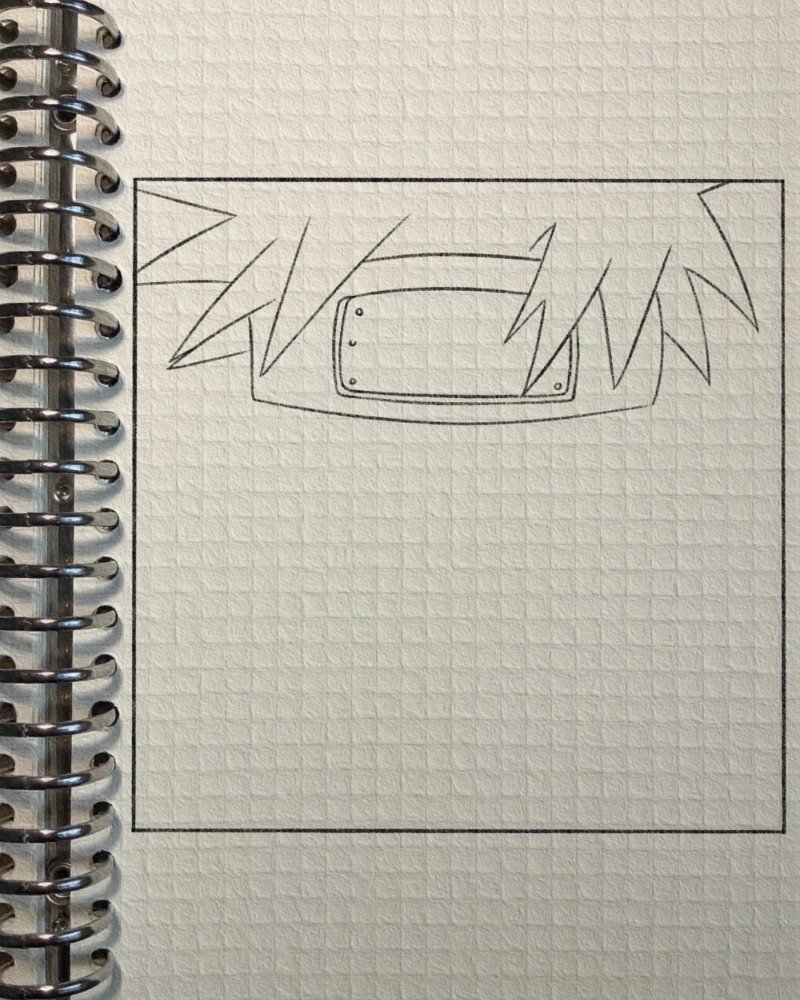
Step 2: Draw the outline of the headband across his forehead, leaving space in the center for the Leaf Village symbol.
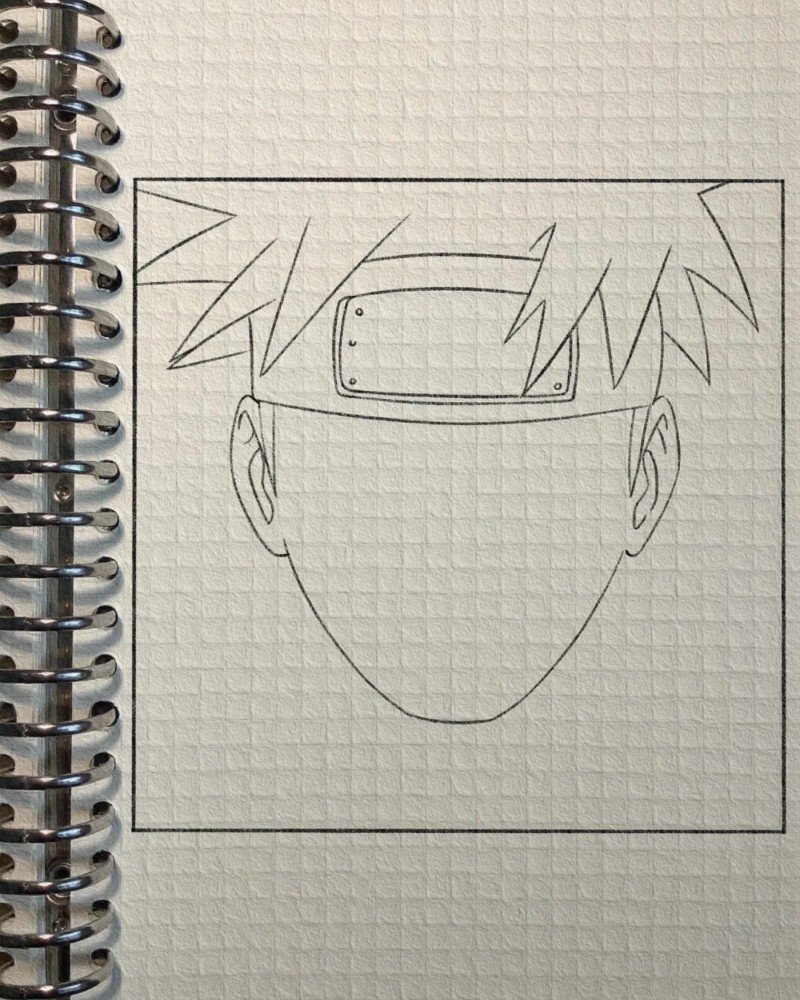
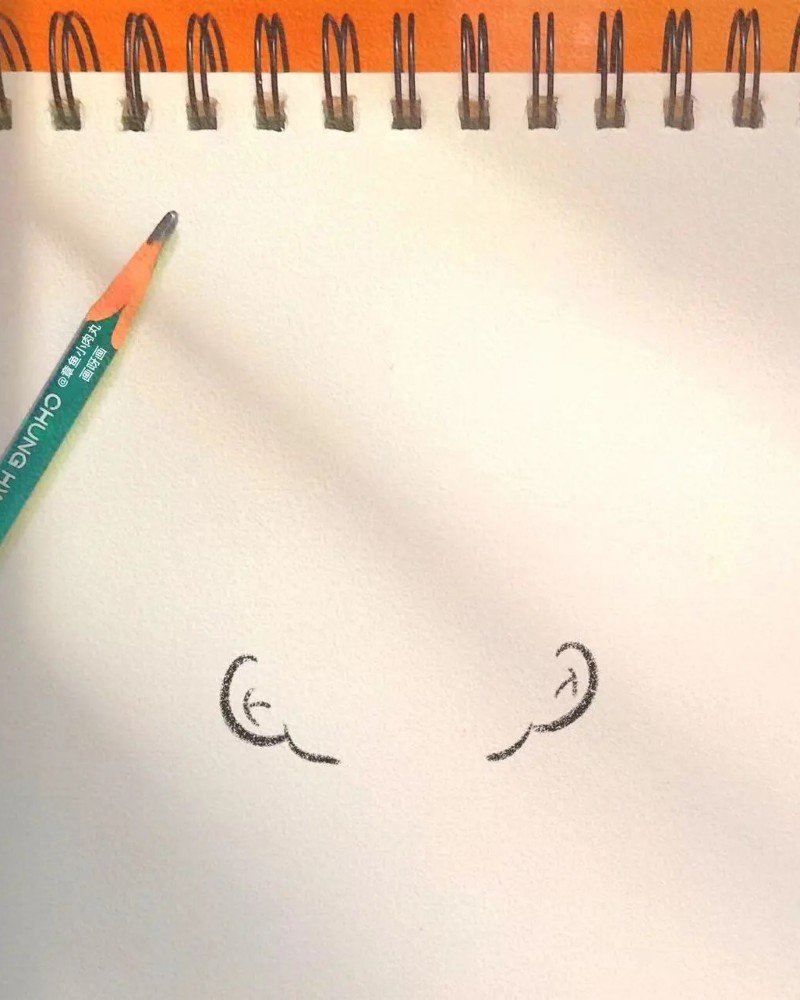
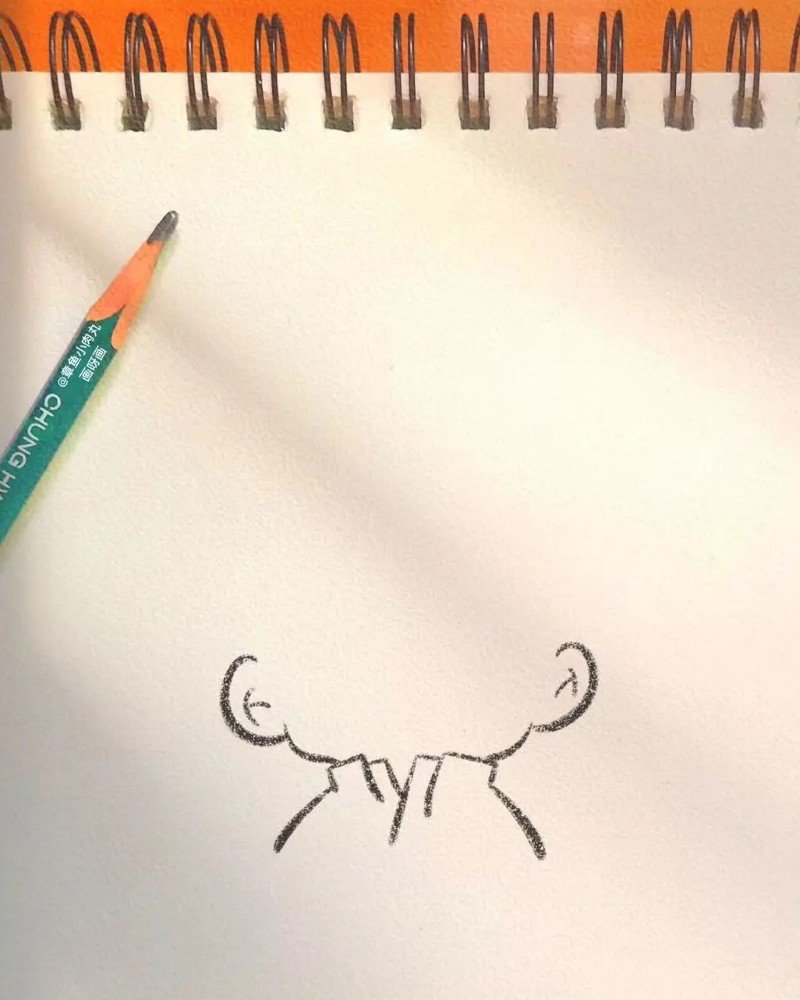
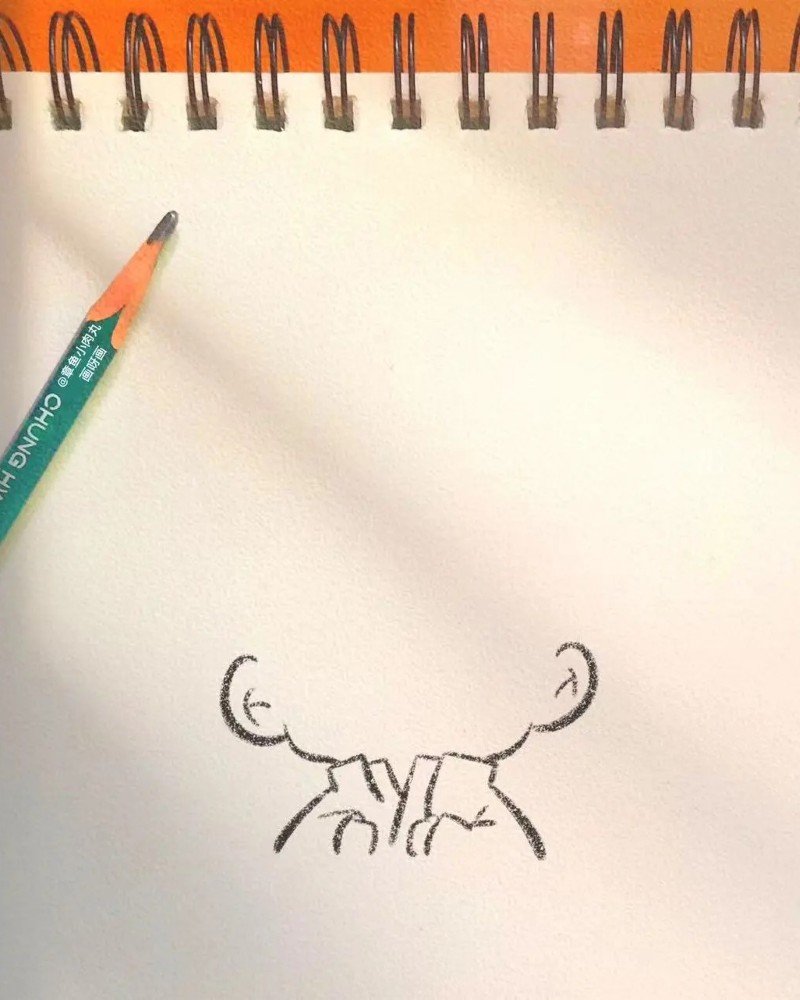
Step 3: Add the face shape with a smooth jawline. Leave room for facial features and ears on both sides.
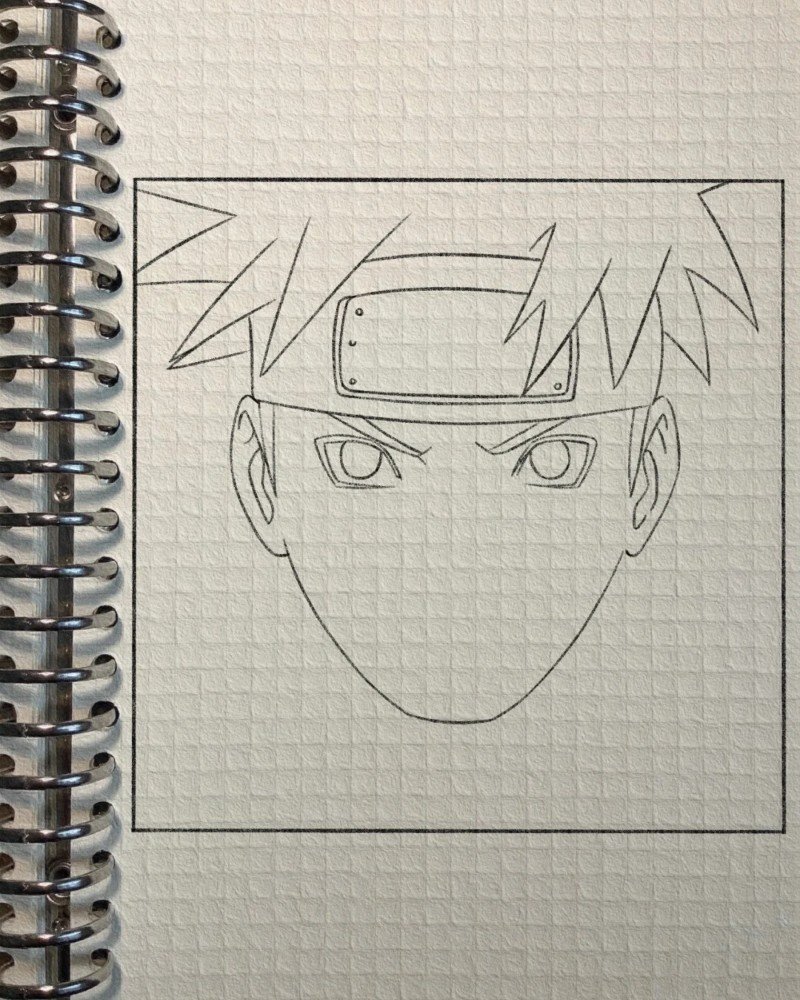
Step 4: Sketch the eyes using large circles, and lightly mark where the pupils and eyebrows will go.
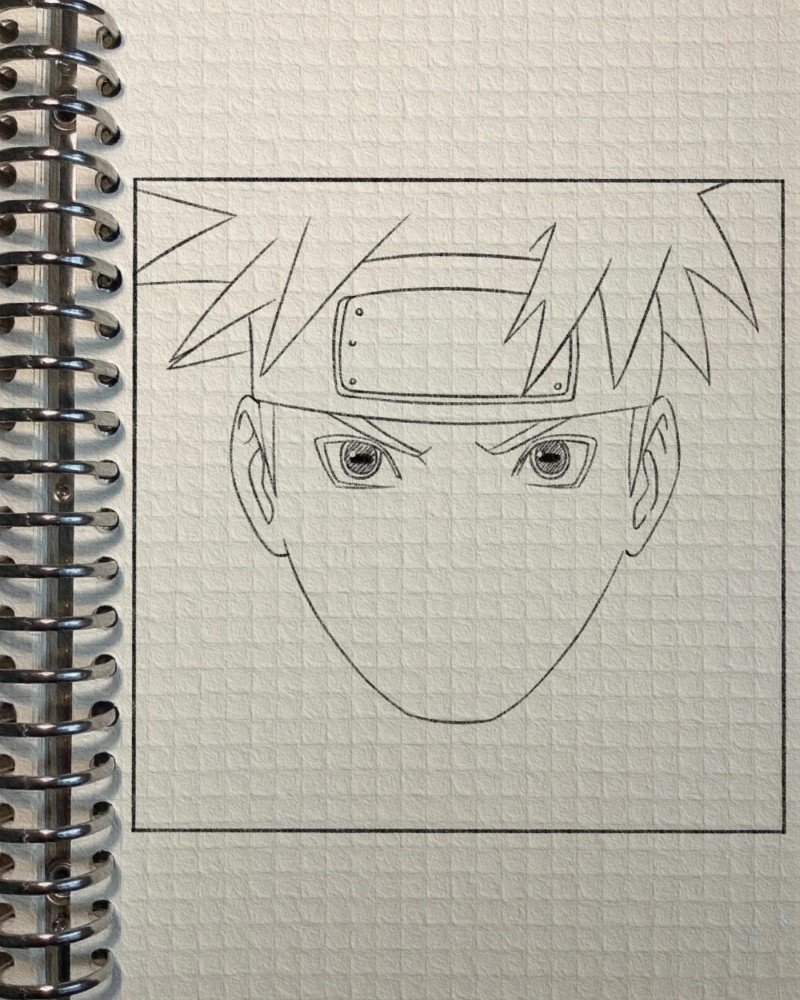
Step 5: Draw detailed features like the pupils, eyebrows, and Naruto’s signature whisker marks on his cheeks.
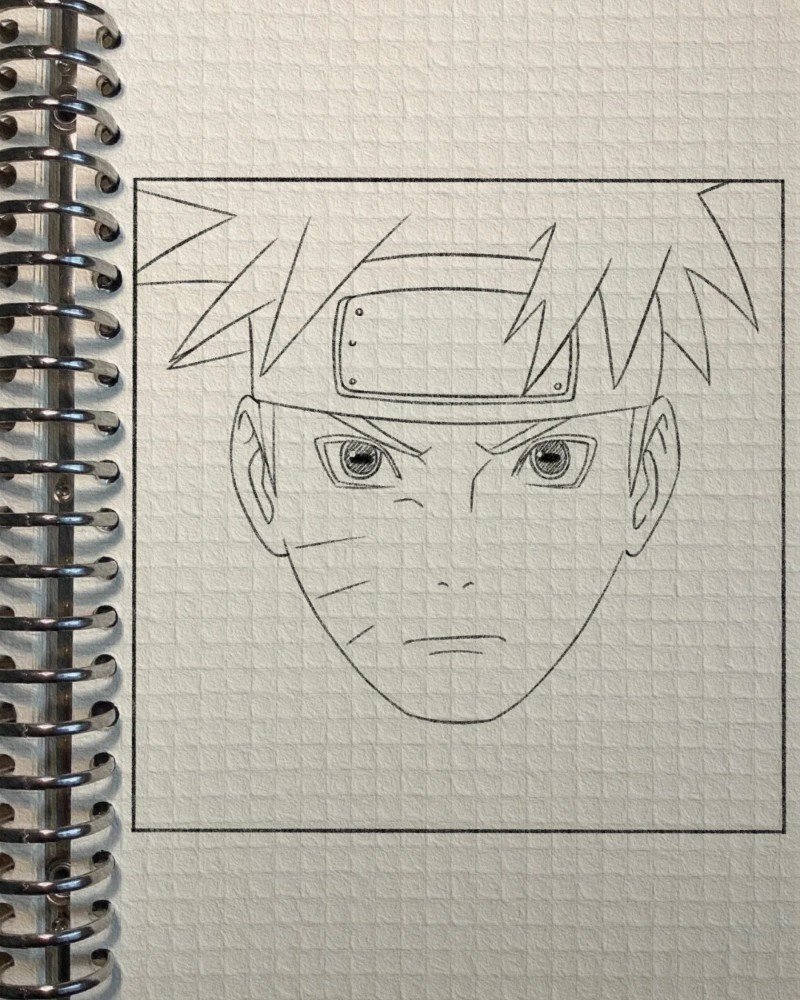
Step 6: Add the Leaf Village symbol (Konoha) on the headband and refine the nose, mouth, and eyes for expression.
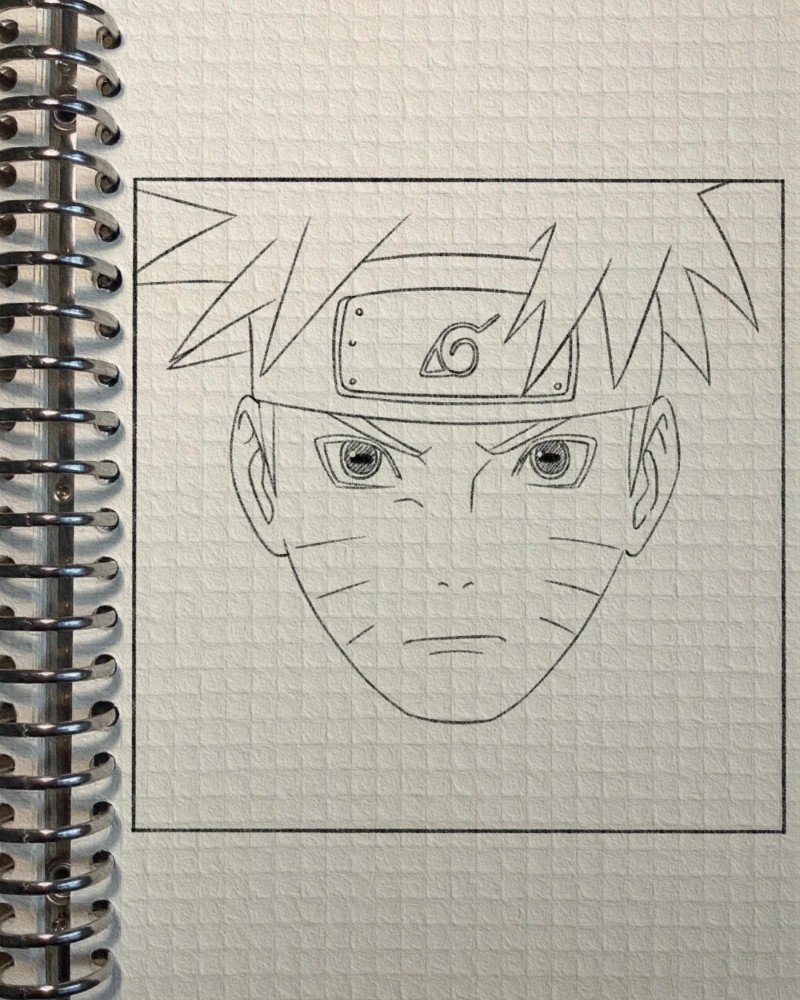
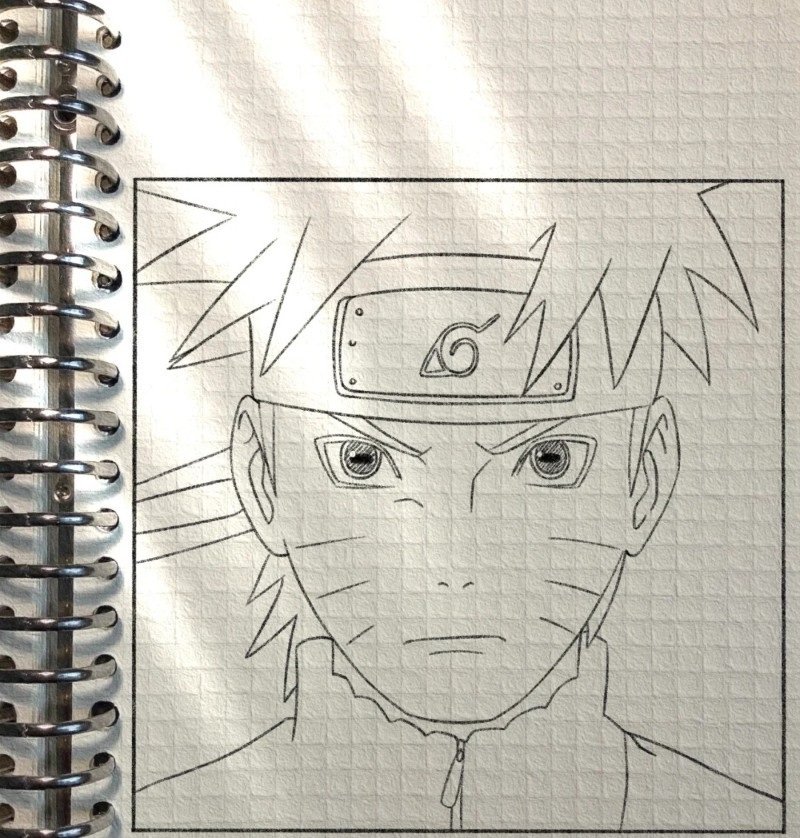
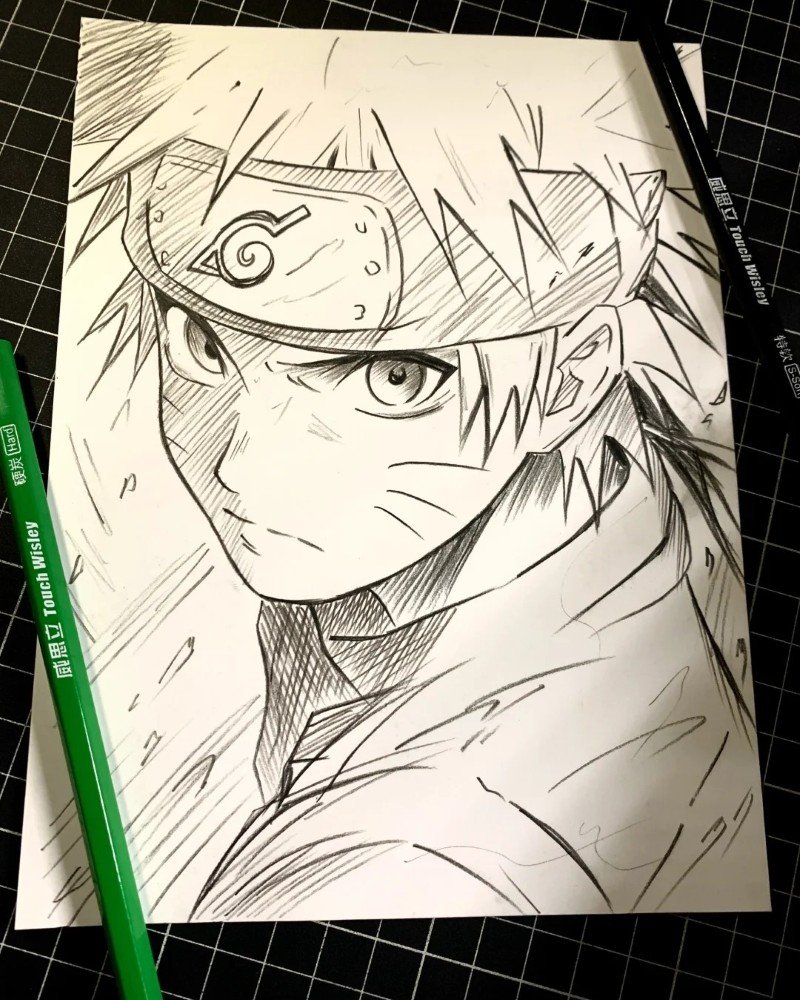
Step 7: Finalize your drawing with clean outlines, adjust hair and face proportions, and add fine details to complete Naruto’s look.
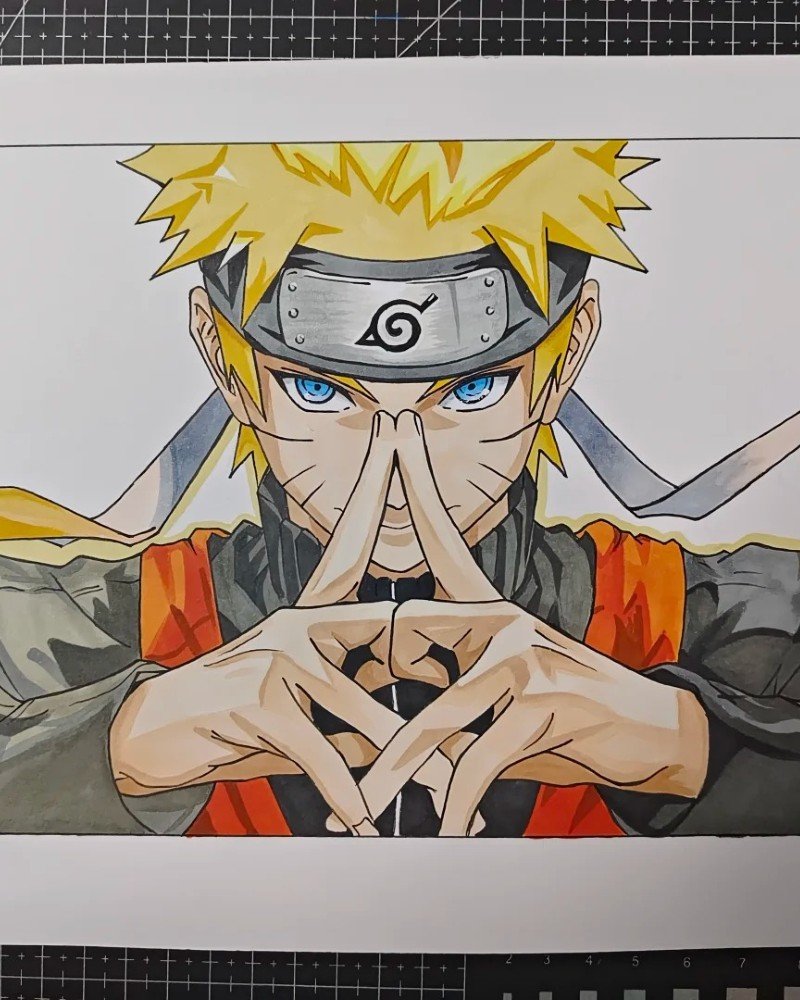
How to draw anime Naruto
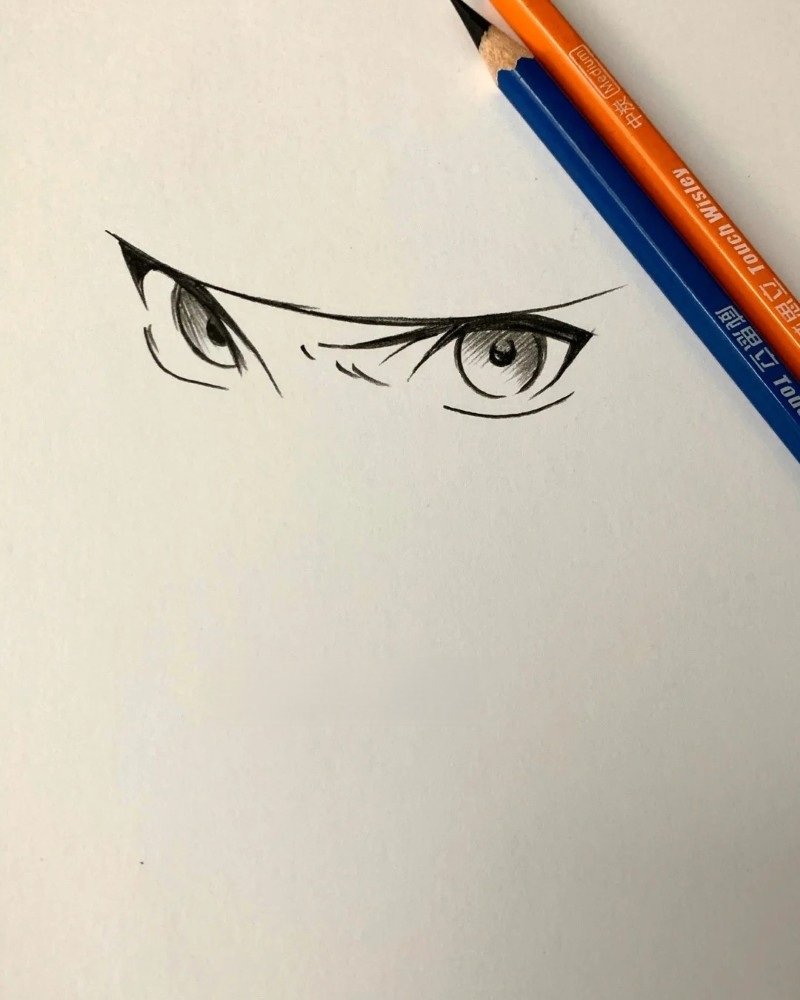
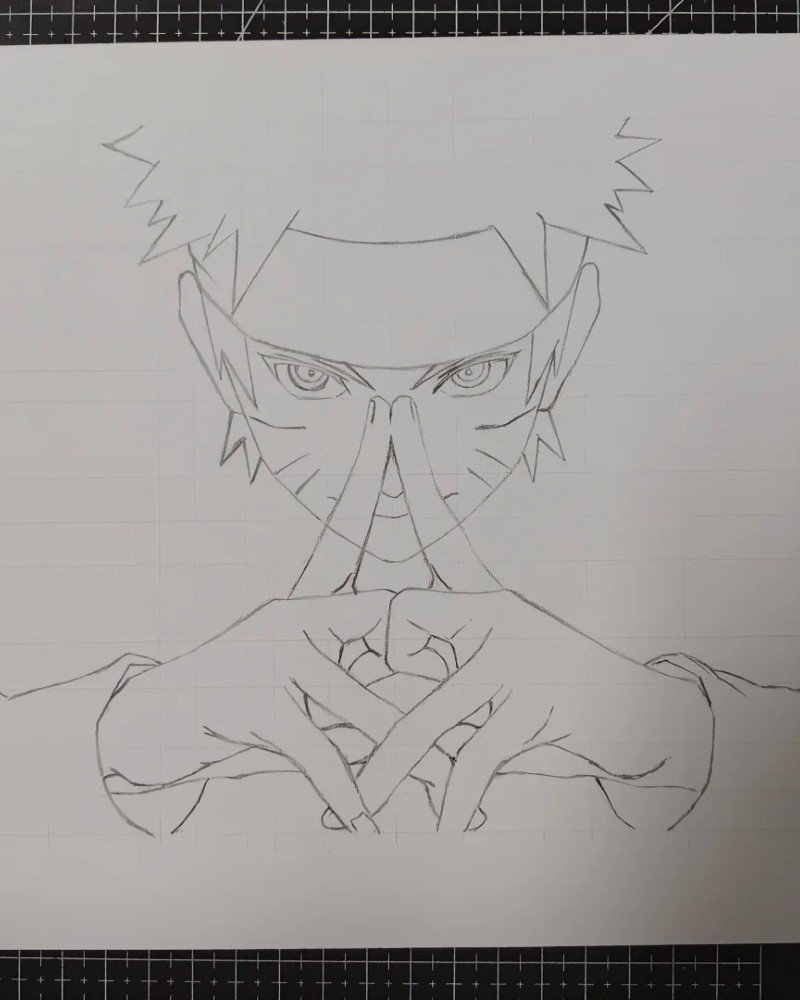
Step 1: Begin by drawing Naruto’s intense anime-style eye, focusing on the sharp eyelid line and small iris to express determination.
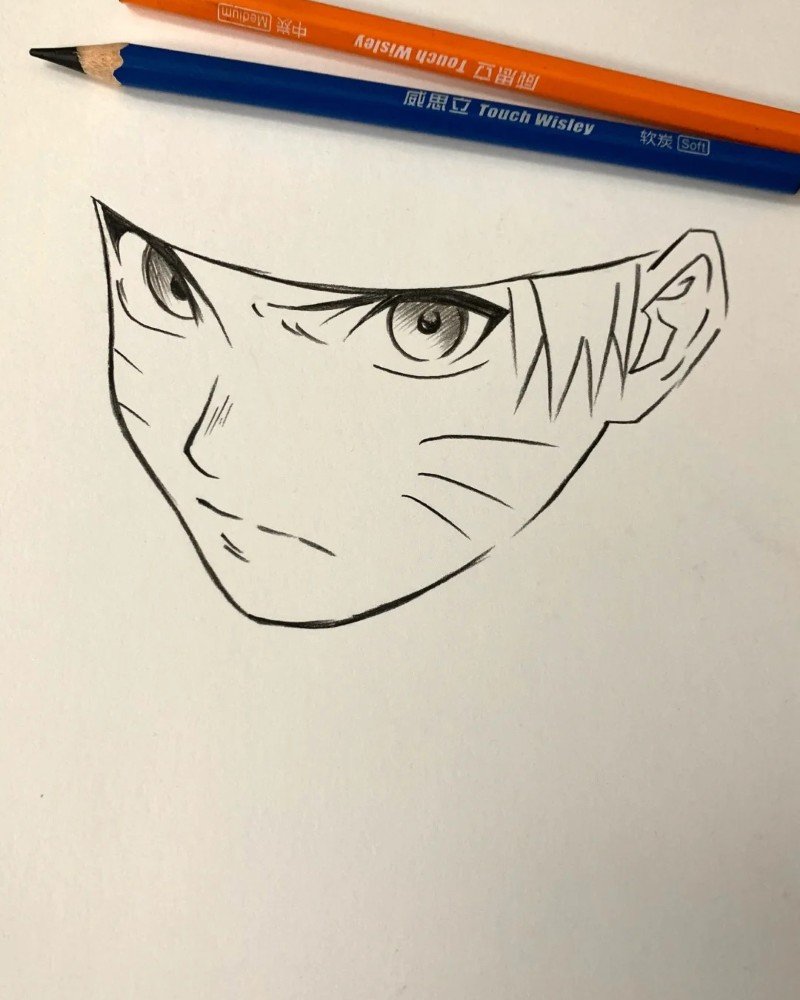
Step 2: Sketch the full outline of Naruto’s face, adding eyebrows, nose, mouth, and his signature whisker marks for an anime look.

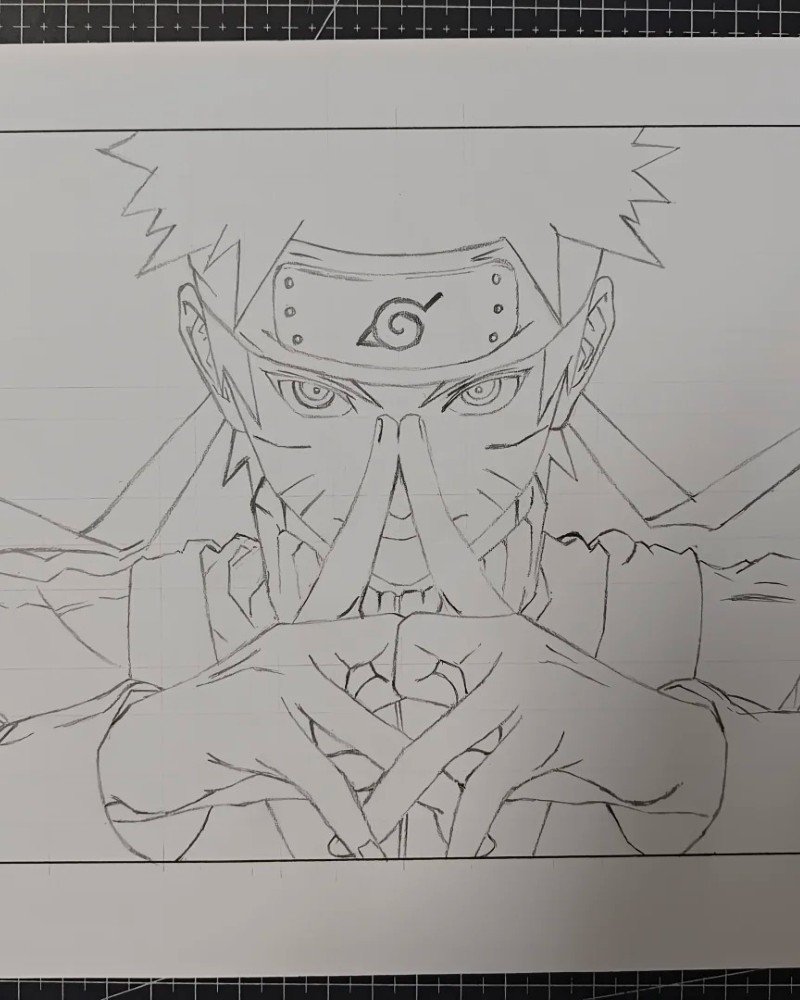
Step 3: Add the headband with the Leaf Village symbol and start drawing the spiky hair to create the iconic Naruto silhouette.
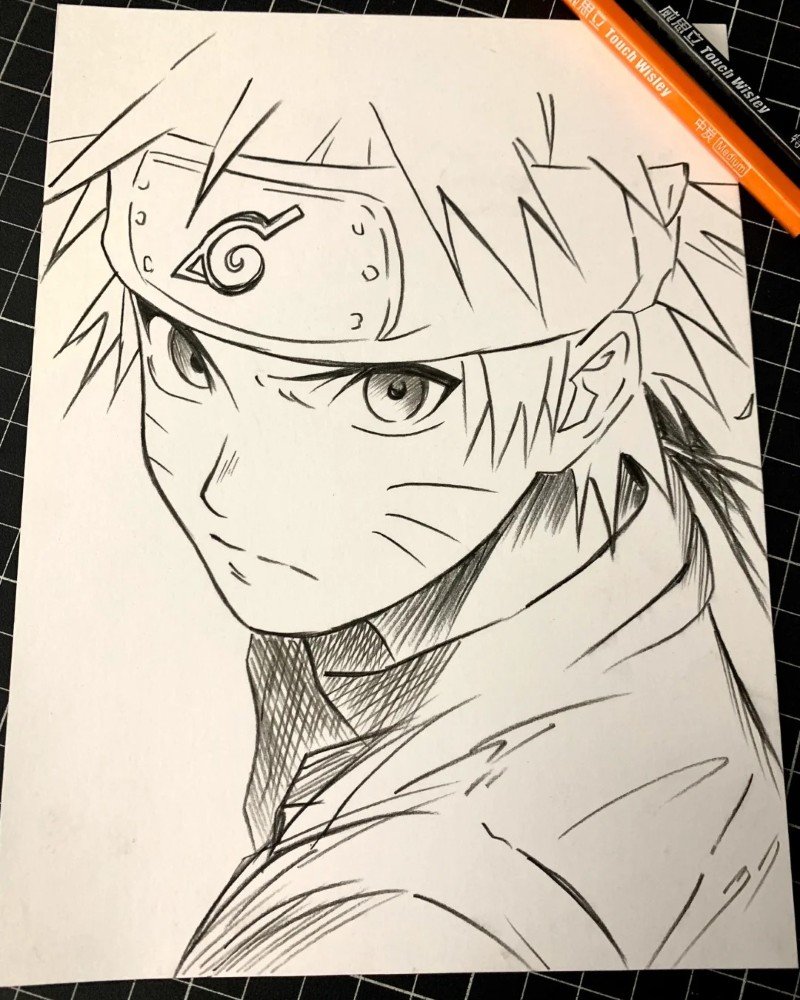
Step 4: Finalize the drawing with darker shading, more defined lines, and small highlights to bring Naruto’s anime expression to life.
How to draw Naruto
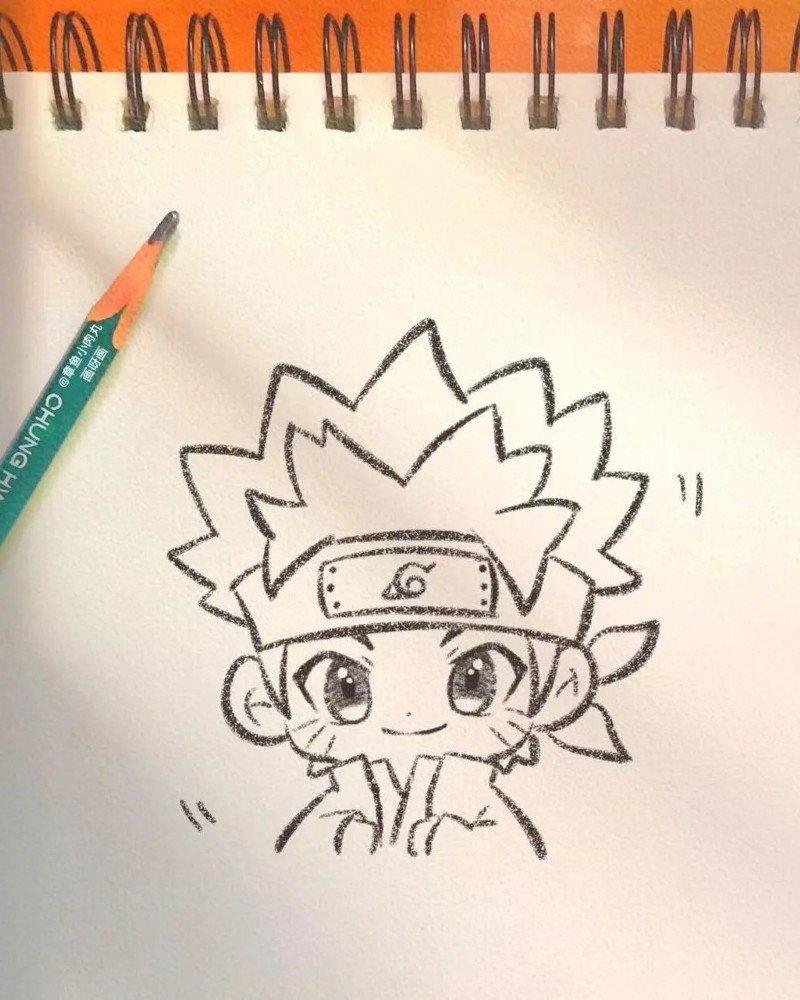
Step 1: Start by drawing Naruto’s small curved eyes, leaving space in between for the nose and mouth later.
Step 2: Add the outline of the face with round cheeks, then sketch two eyebrows above the eyes for a cute chibi expression.
Step 3: Draw Naruto’s signature whisker marks on both cheeks and add a small curved mouth for a cheerful look.
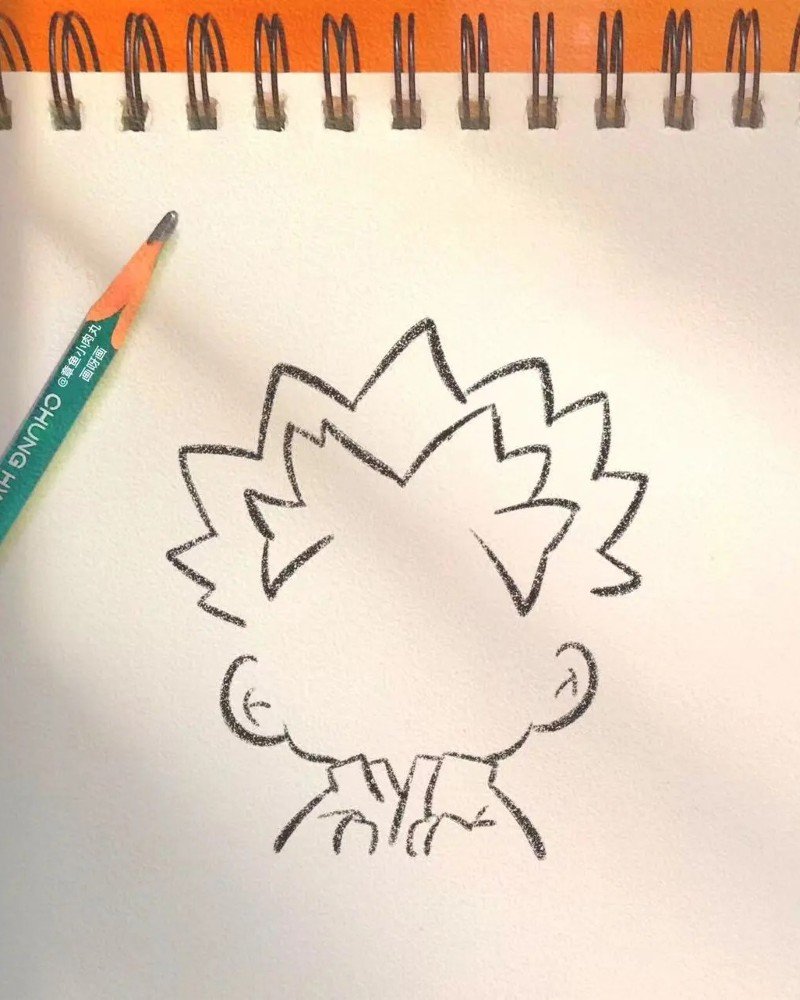
Step 4: Begin sketching the spiky chibi-style hair by adding triangle-shaped tufts surrounding the top of the head.
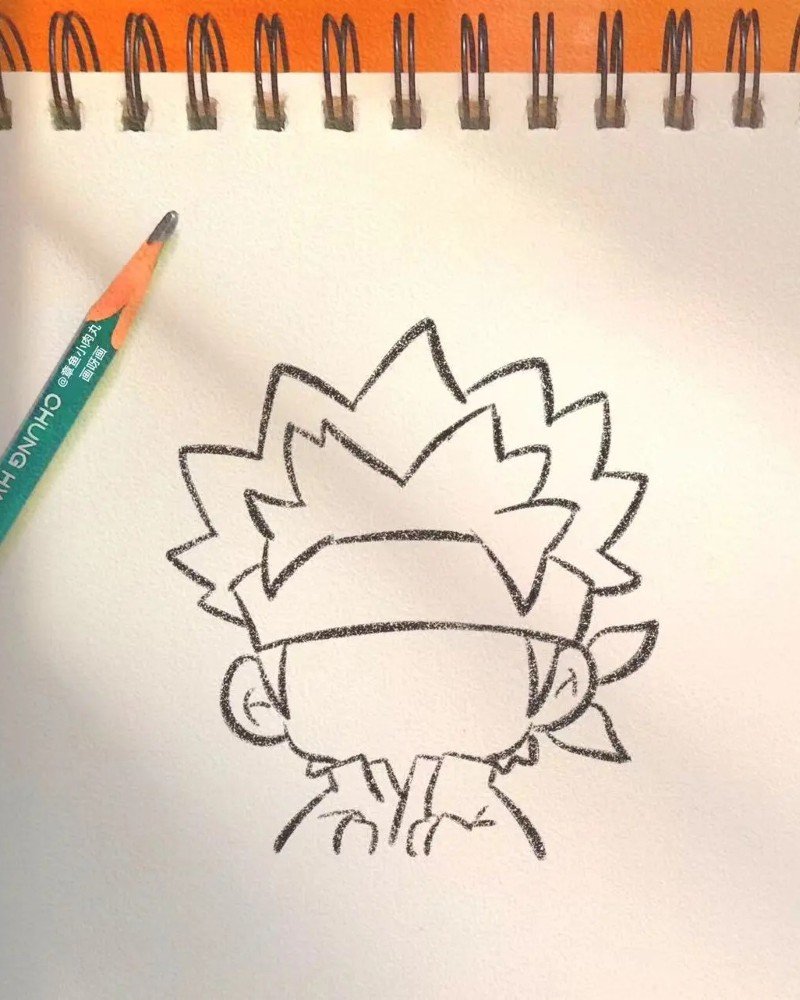
Step 5: Add the ninja headband across the forehead with the basic shape of the Konoha symbol and define the spiky hair further.
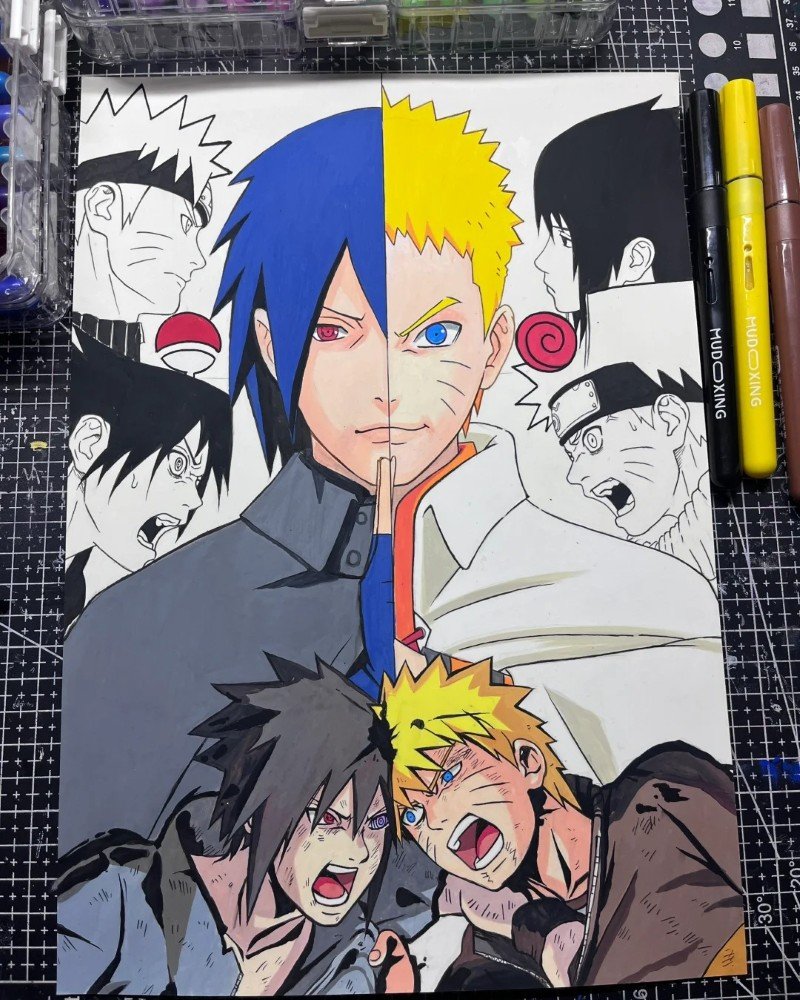
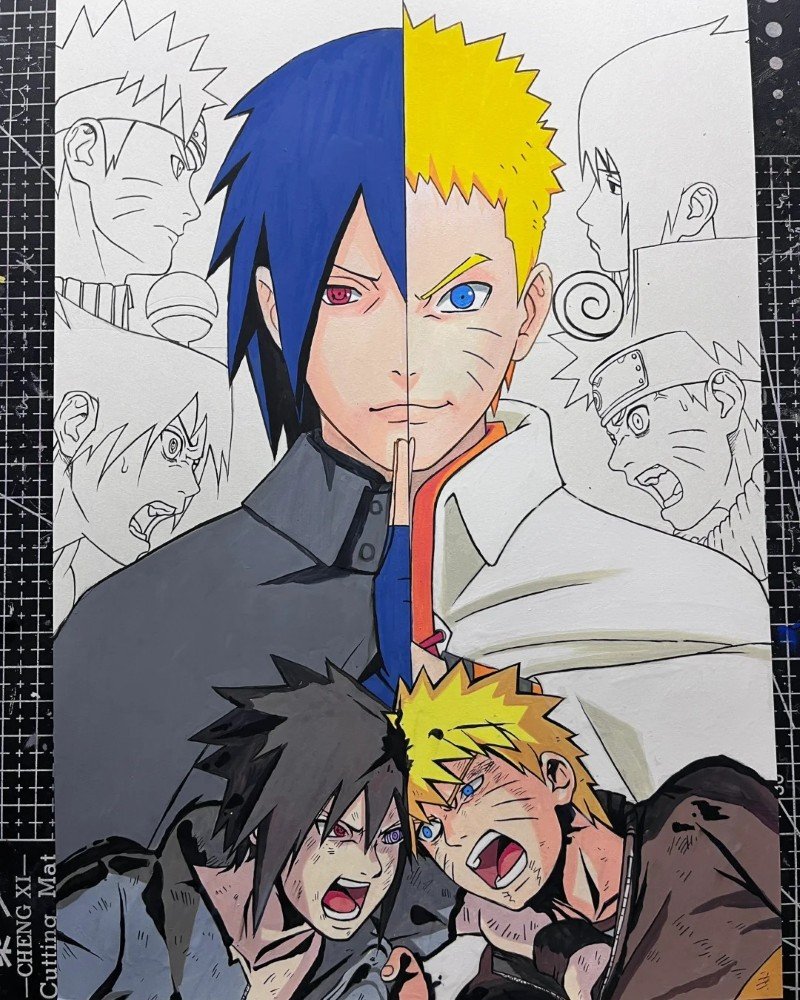
How to draw Naruto anime
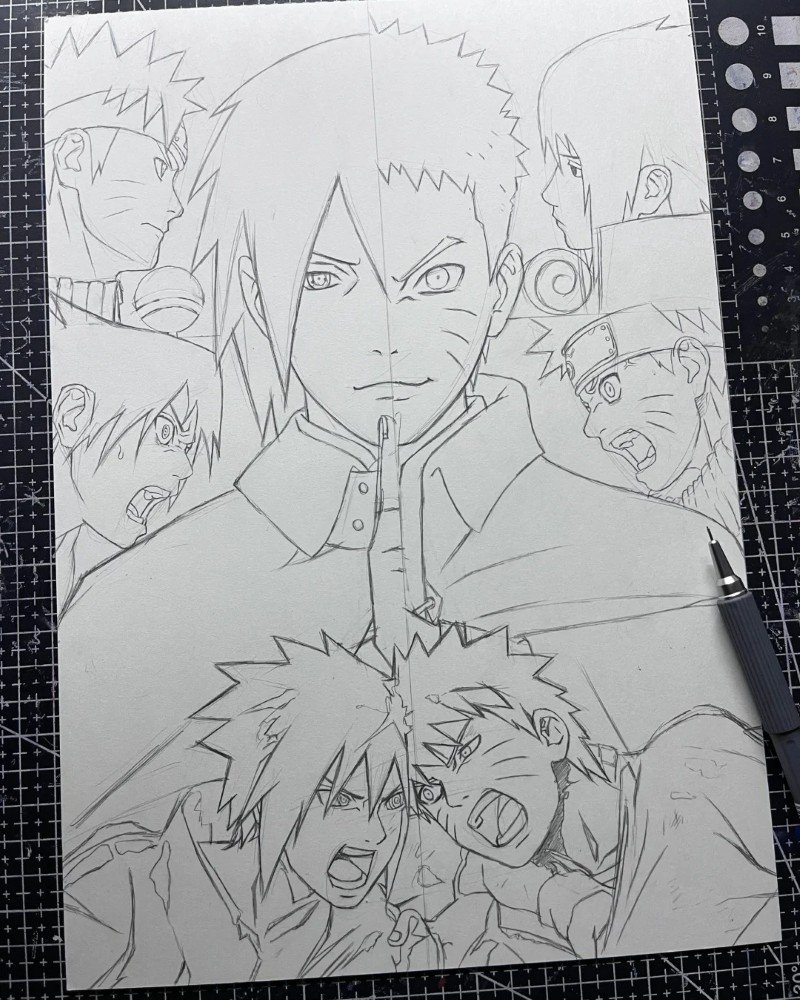
Pencil drawing how to draw funny Naruto

See more:
How to draw an turtle in 7 fun and simple sketching steps
9+ tips to perfect your skills in how to draw an Easter bunny
5 Easy Steps on How to Draw a Witch Hat Like a Pro
With the right steps and a little practice, anyone can master how to draw Naruto and impress their friends with awesome ninja art. Don’t worry if it’s not perfect at first—every great artist starts somewhere. Keep practicing, keep having fun, and remember: just like Naruto, never give up! For more cool drawing tutorials and anime inspiration