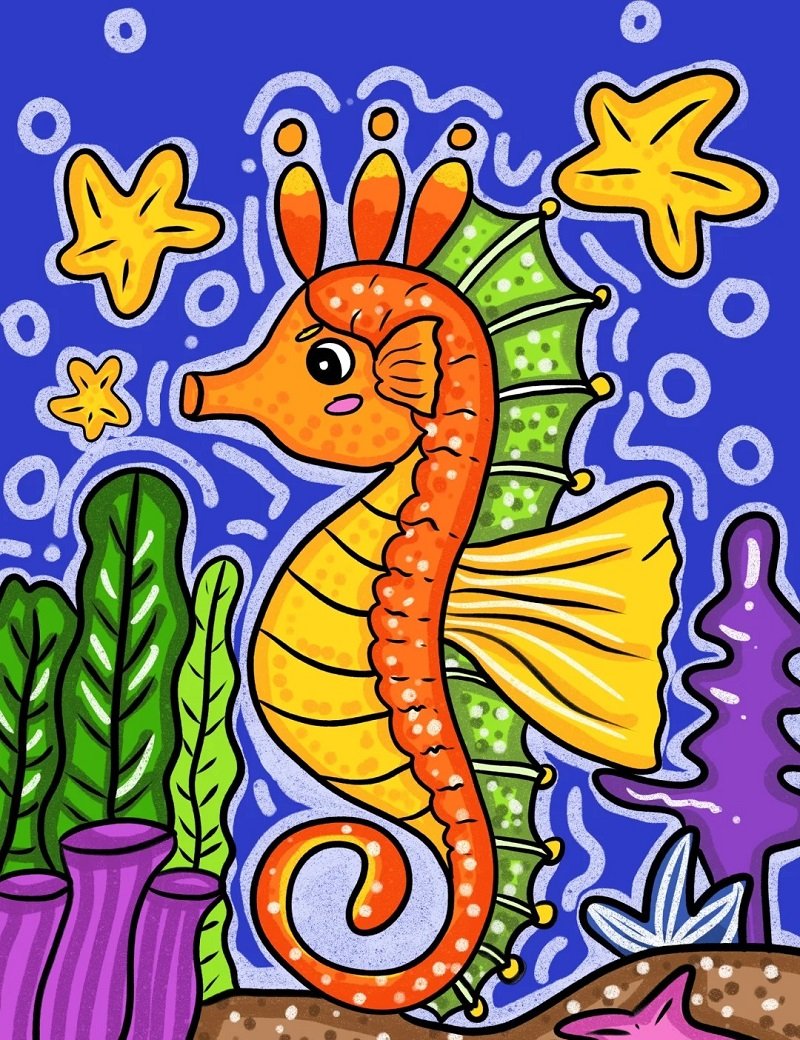
Want to bring ocean magic to your sketchbook? Discover how to draw a seahorse in fun and easy steps! With their swirly tails and elegant fins, seahorses are perfect for adding a whimsical touch to your art. Whether you’re a beginner or just looking for inspiration, we’ve got you covered with fresh, modern tutorials. Learn to draw cute or realistic seahorses in minutes using our creative guides. It’s a great way to level up your drawing skills while having fun. Explore your inner artist and ride the wave of creativity. All tutorials are available now on dooduko – your go-to hub for cool drawing ideas!
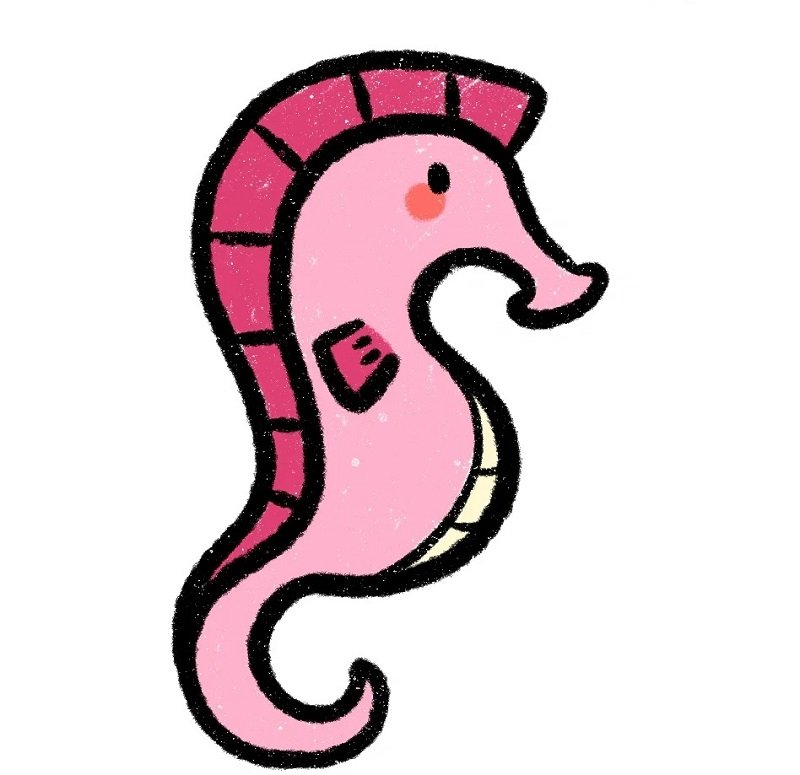
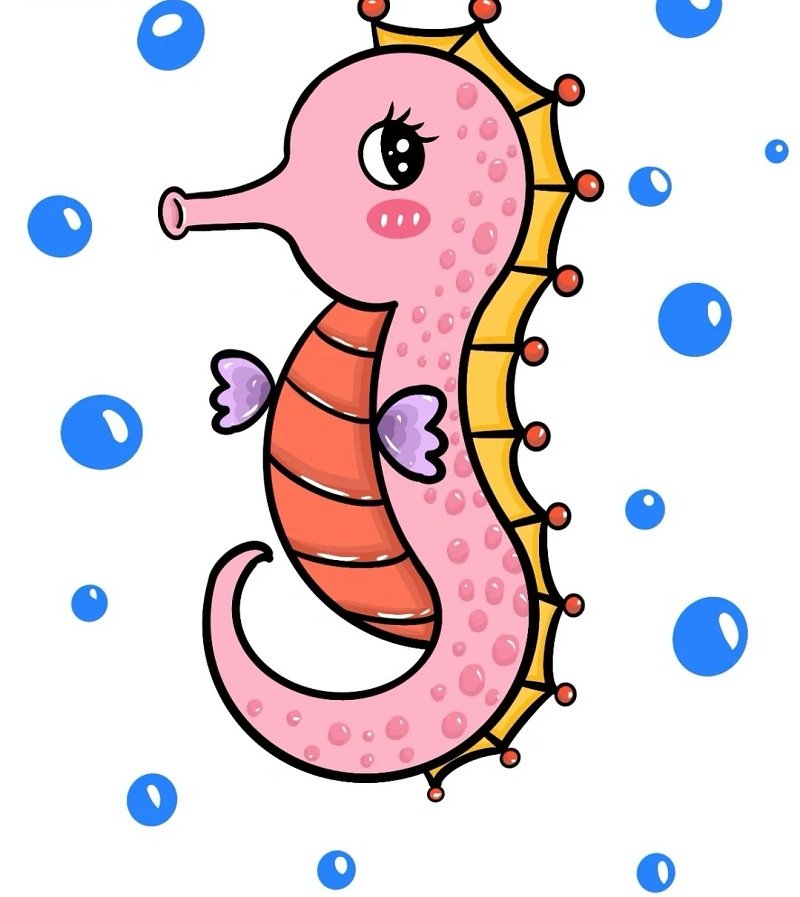
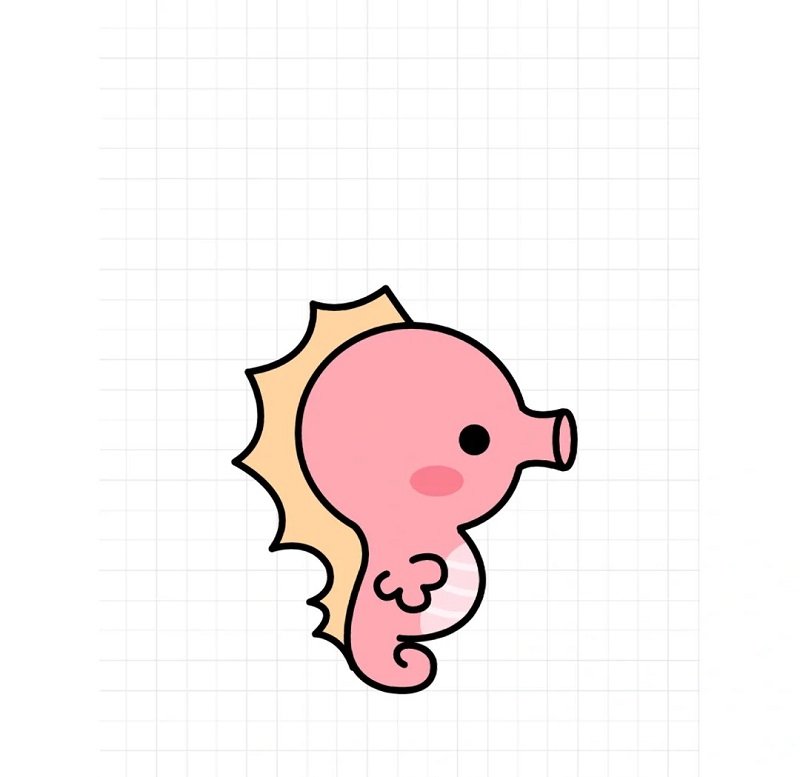
How to draw a Seahorse cute
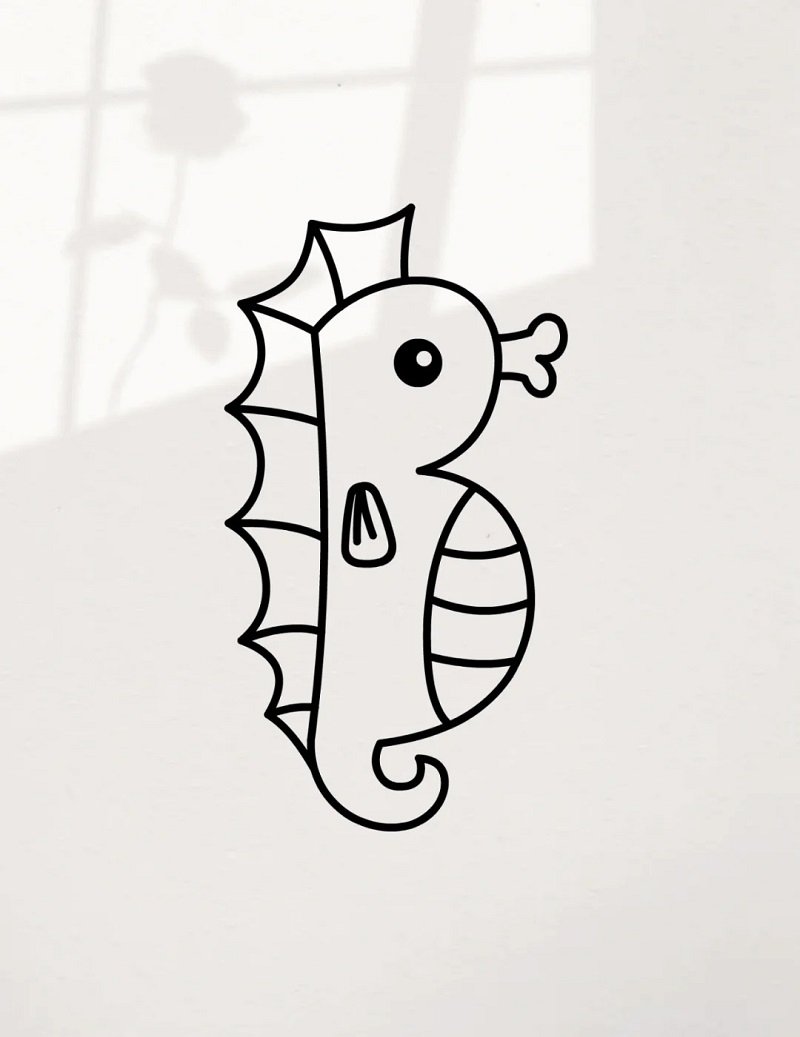
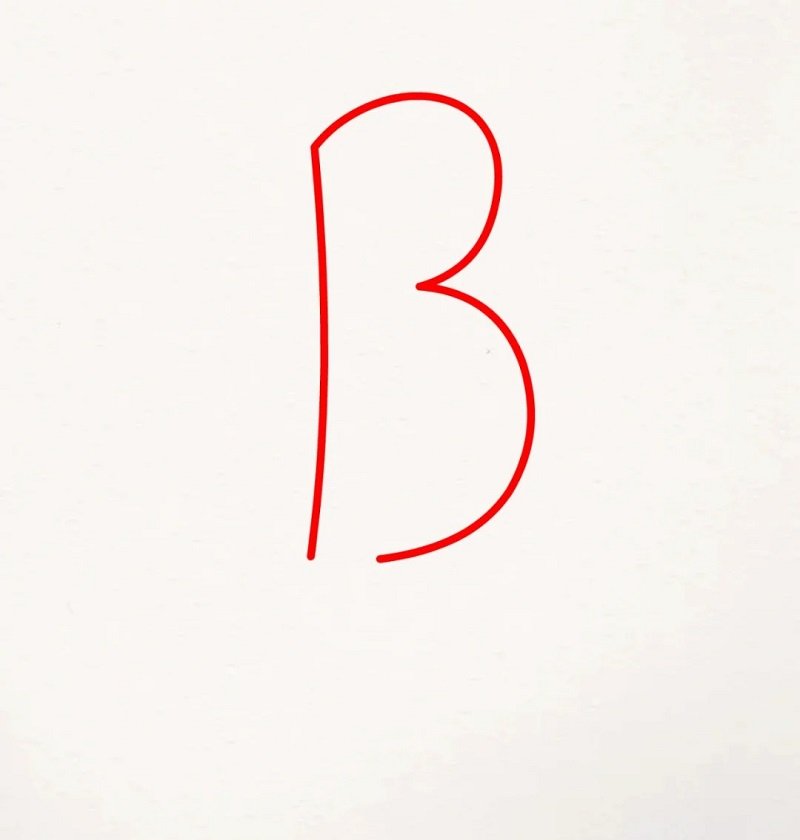
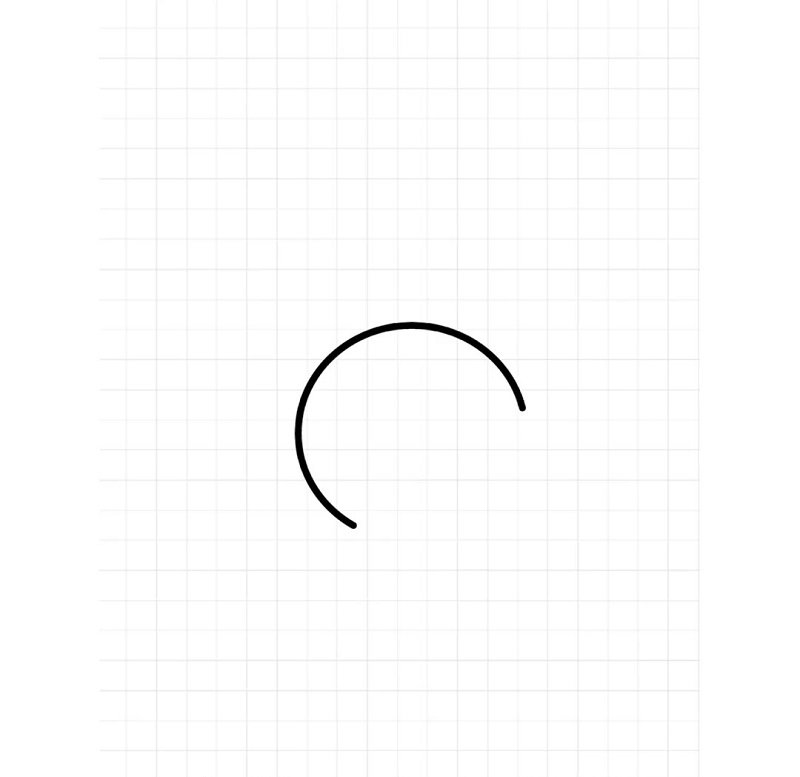
Step 1: Draw a large capital letter “B” lying on its back to form the head and body outline of the seahorse, using smooth and rounded curves for a cute look.

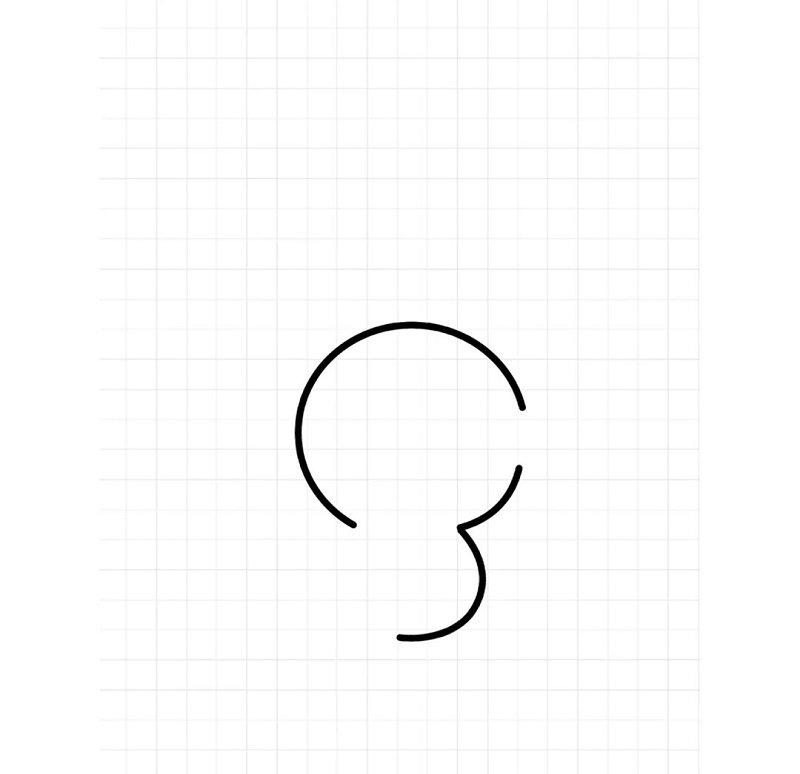
Step 2: Add a curly tail at the bottom of the body and outline the “B” to turn it into a continuous shape, making the body more organic and seahorse-like.
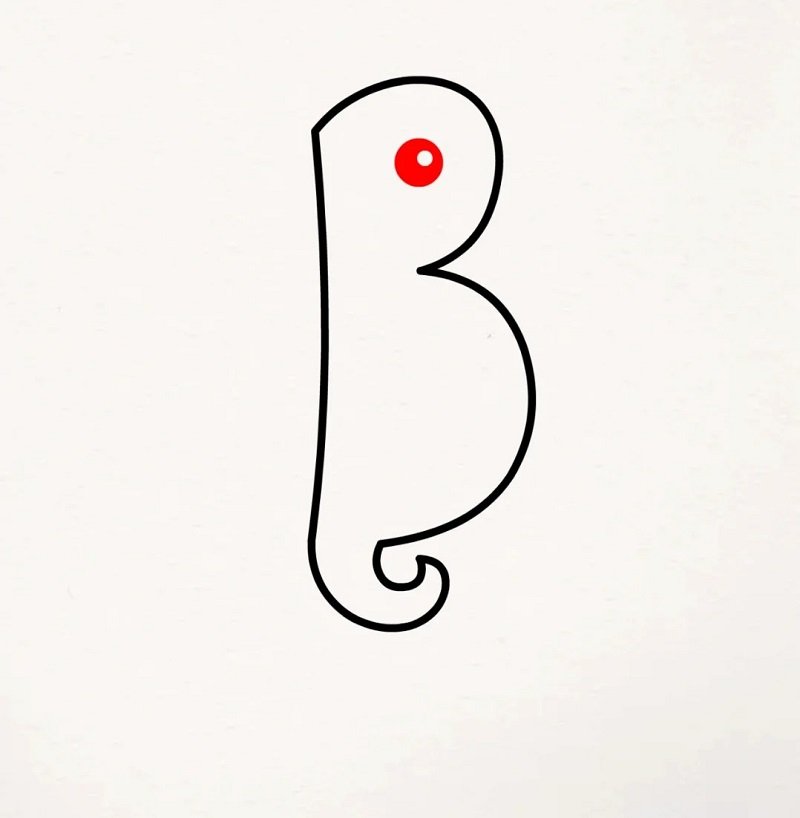
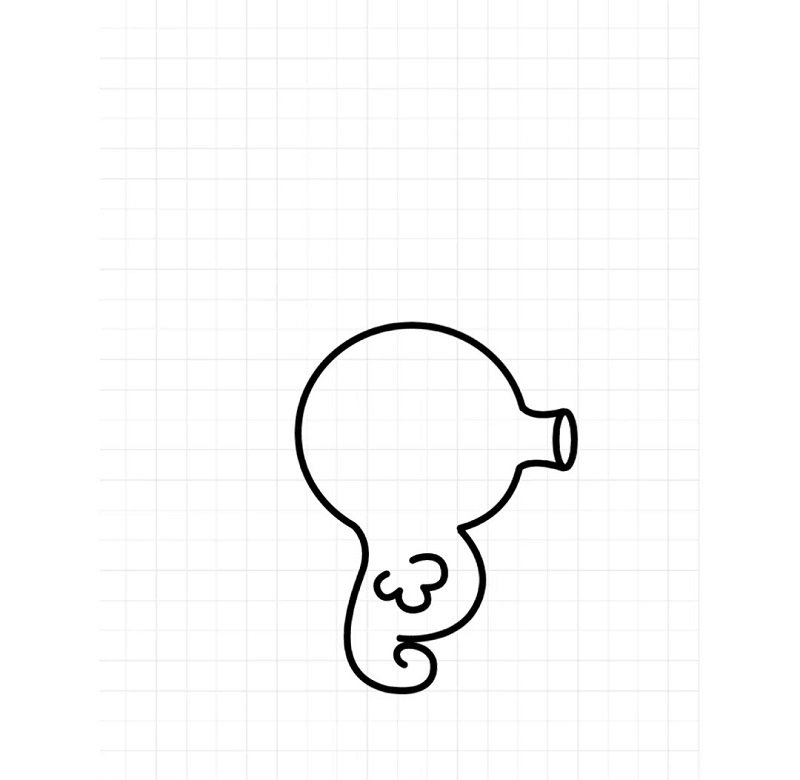
Step 3: Draw a small black circle for the eye and a red dot inside it, then add a tiny curl to the tail tip to complete the basic face and tail detail.
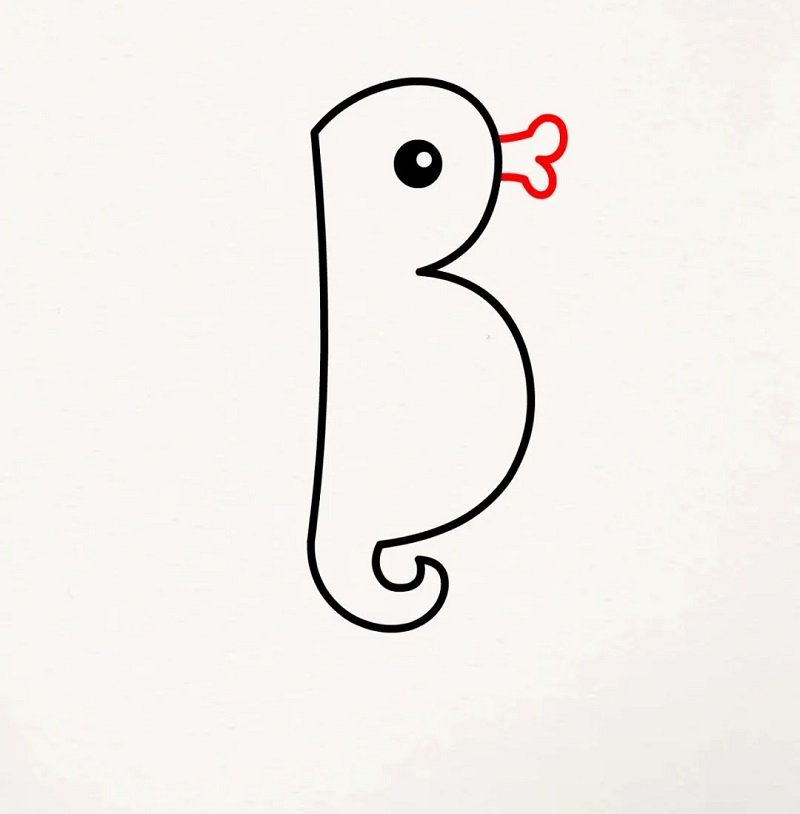
Step 4: Sketch a small bow near the head to give it a playful personality, and thicken the outline to make the character stand out more vividly.
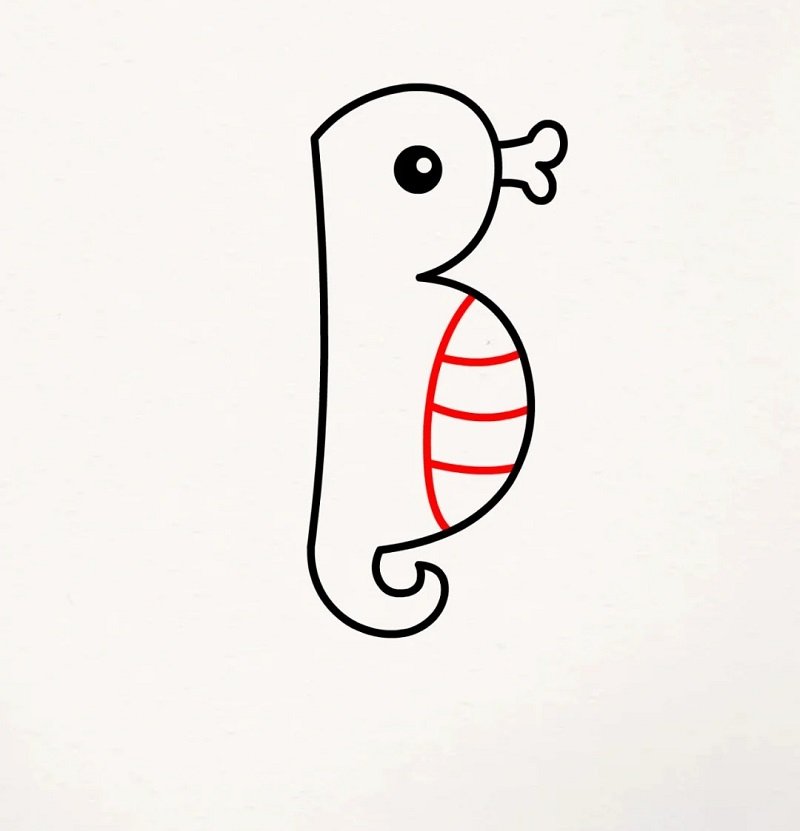
Step 5: Draw three red stripes on the belly area to mimic the seahorse’s segmented body, keeping the lines curved to follow the body’s round shape.
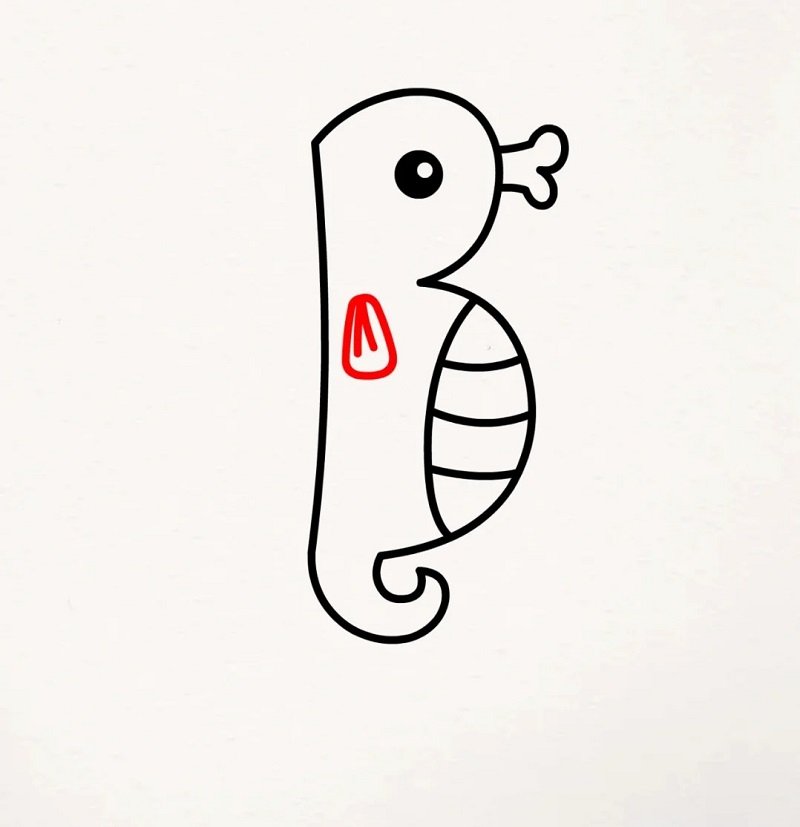
Step 6: Add a cute little red heart on the body near the cheek, enhancing its charm and giving it a friendly, loving vibe for young artists.
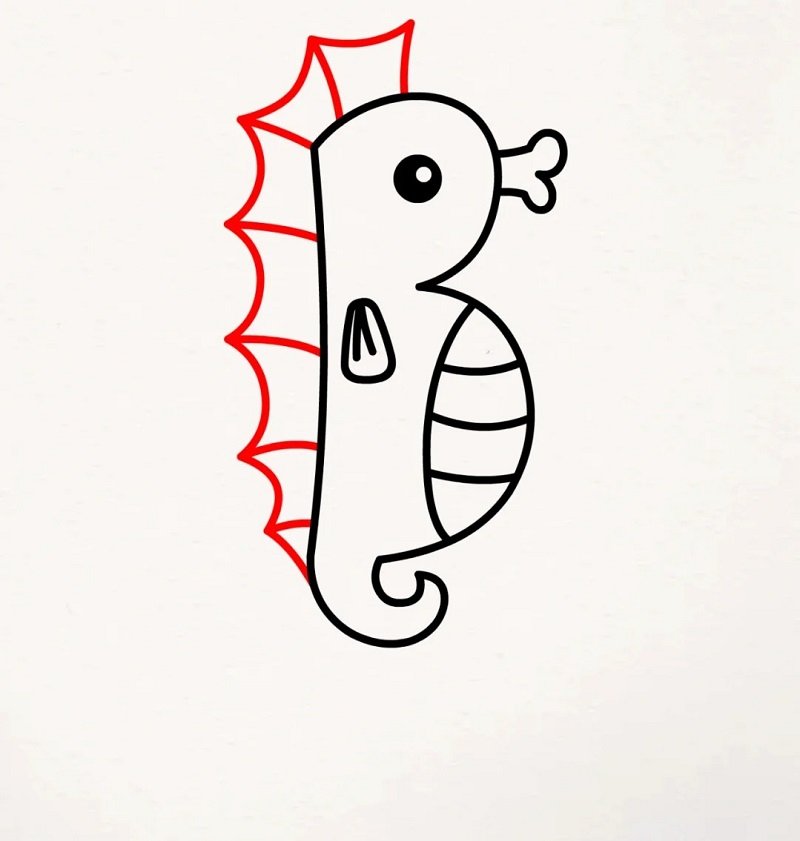
Step 7: Draw red triangular spikes along the back from head to tail, forming the seahorse’s fin structure and giving it a more complete cartoonish design.
How to draw a Seahorse easy
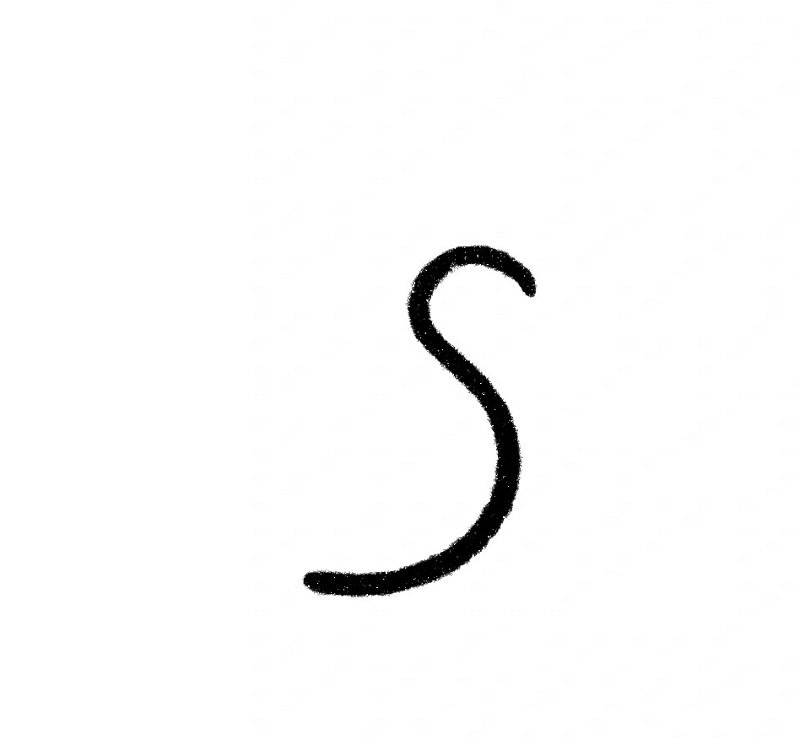
Step 1: Start by drawing a large “S” shape that curves smoothly from top to bottom to create the elegant and flowing backbone of the seahorse’s body.
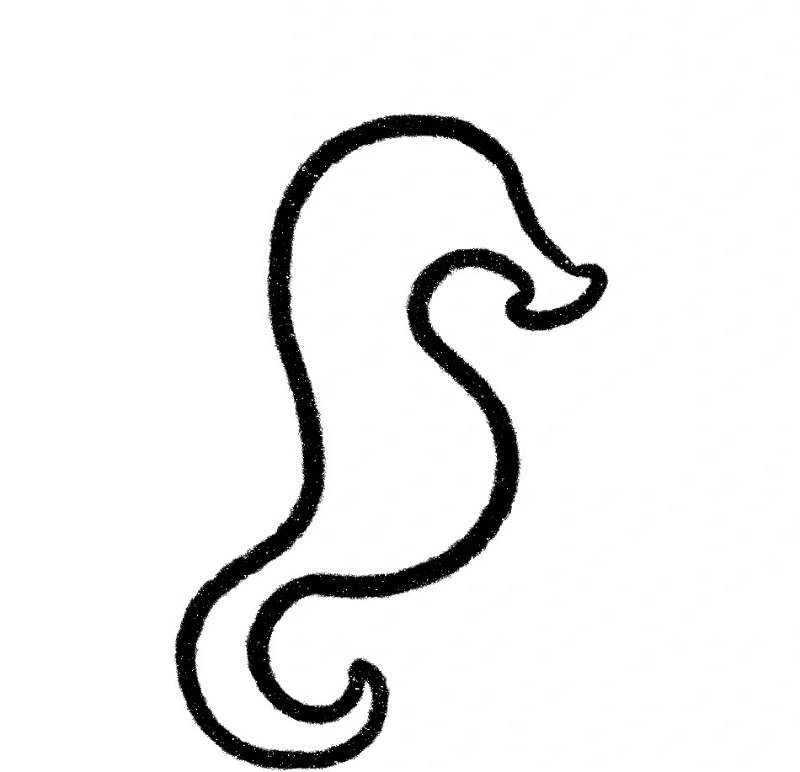
Step 2: Add a wavy line starting from the top to form the head and snout, then connect it to the lower part to complete the full outline of the body.
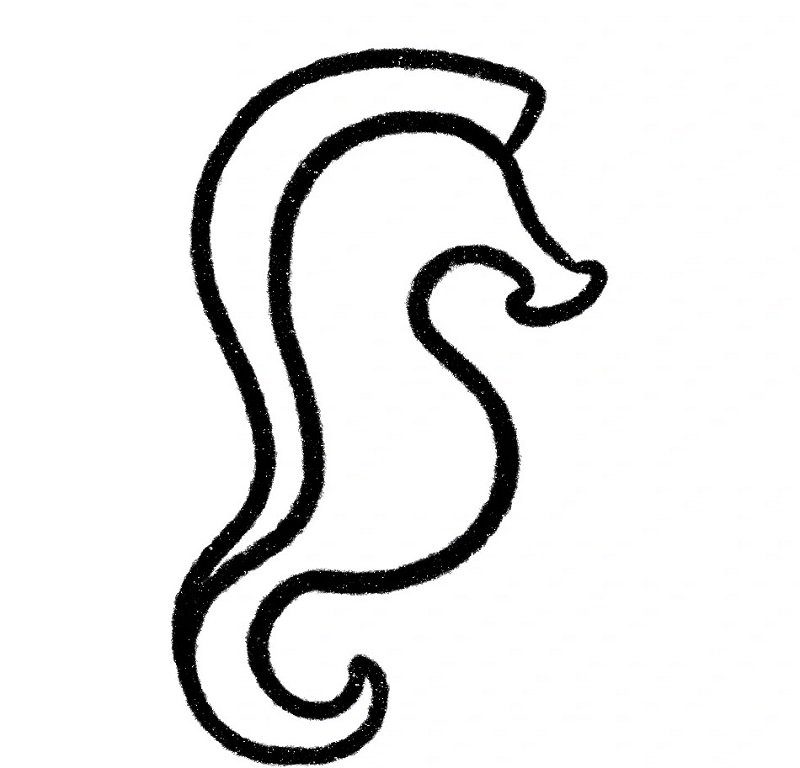
Step 3: Draw a fin on the back using a scalloped curve, outline the belly and snout details, and darken the lines to make the seahorse’s form clear.
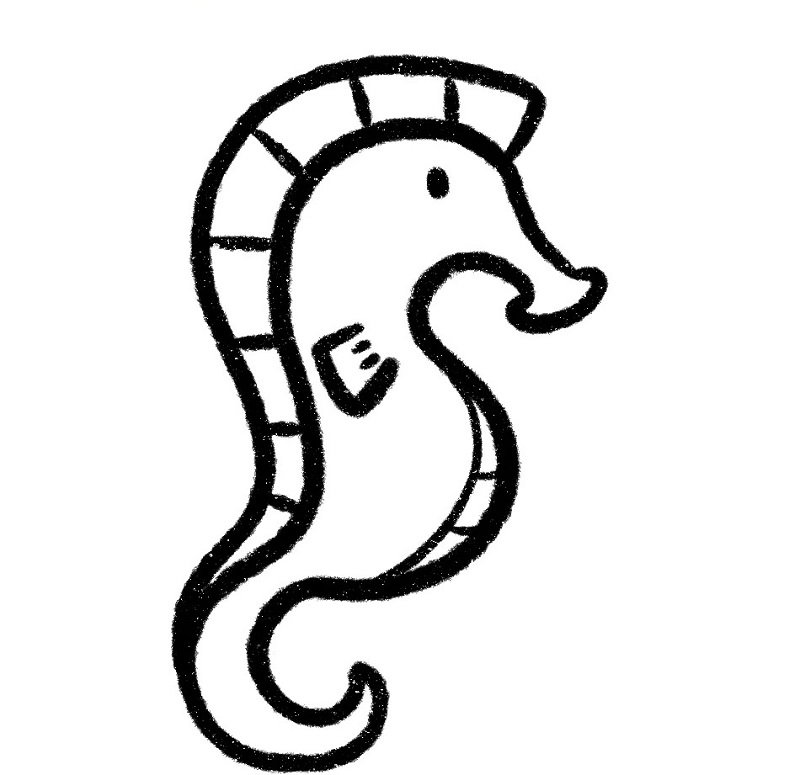
Step 4: Add eye, gills, and rectangular patterns on the head and back to give texture and personality, finishing with bold lines to highlight every detail.
How to draw a Seahorse easy step by step
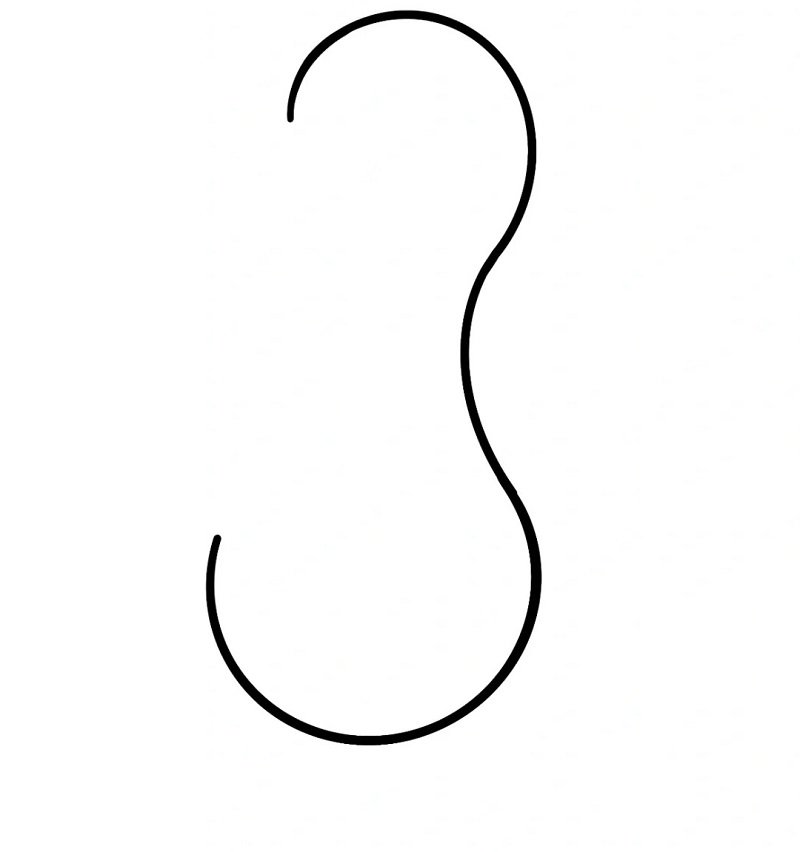
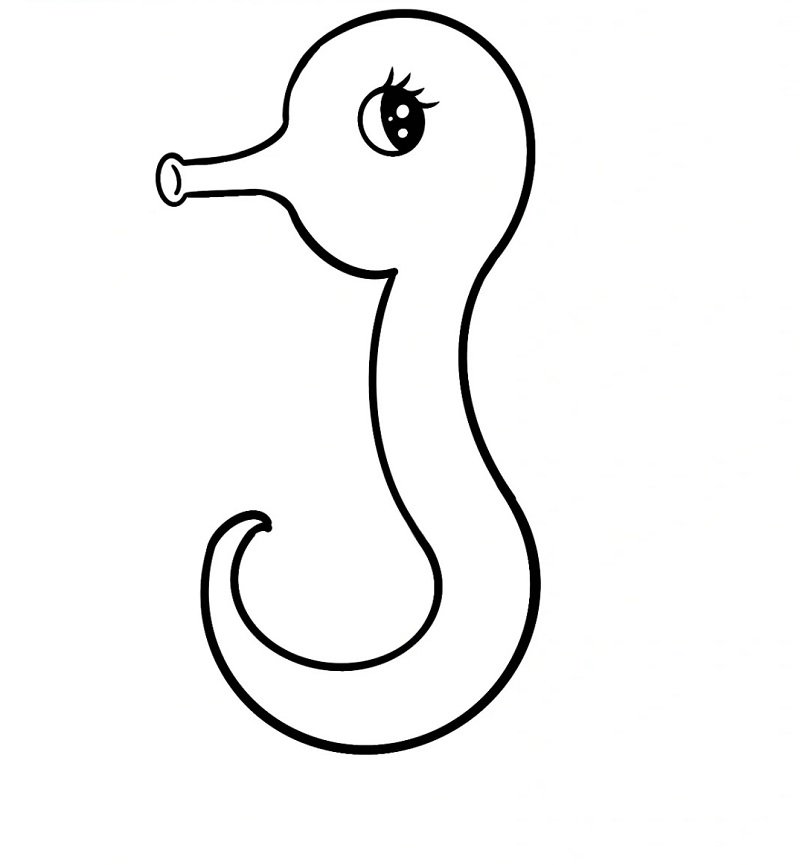
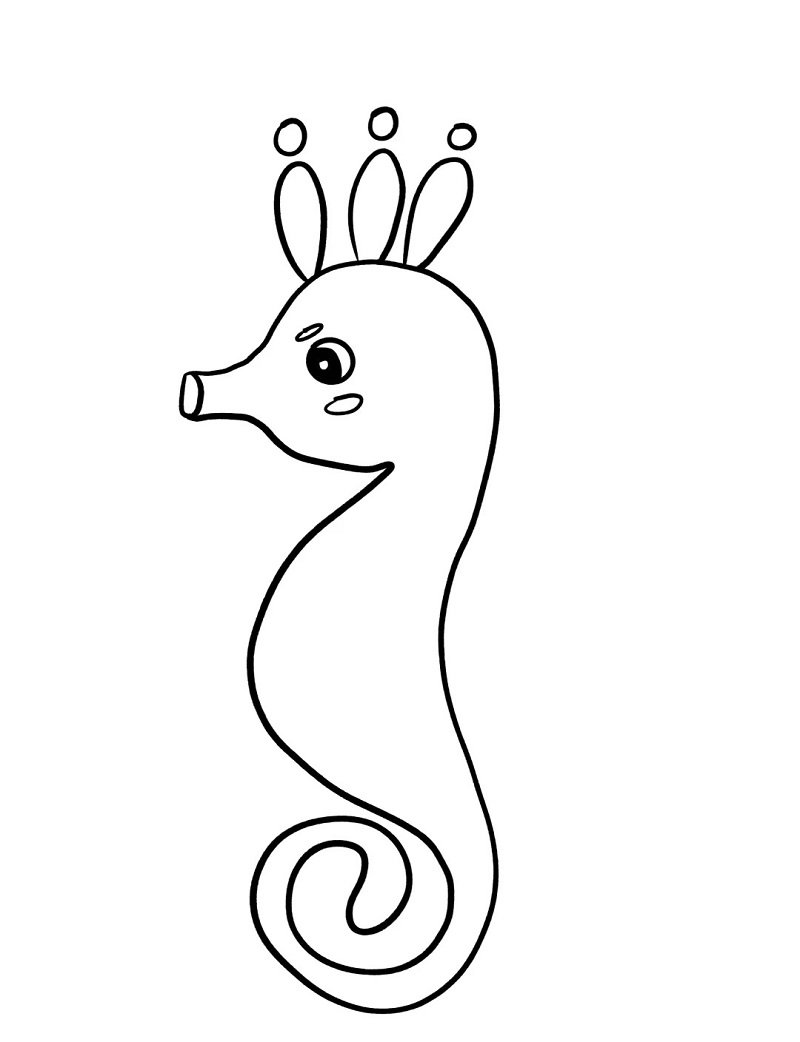
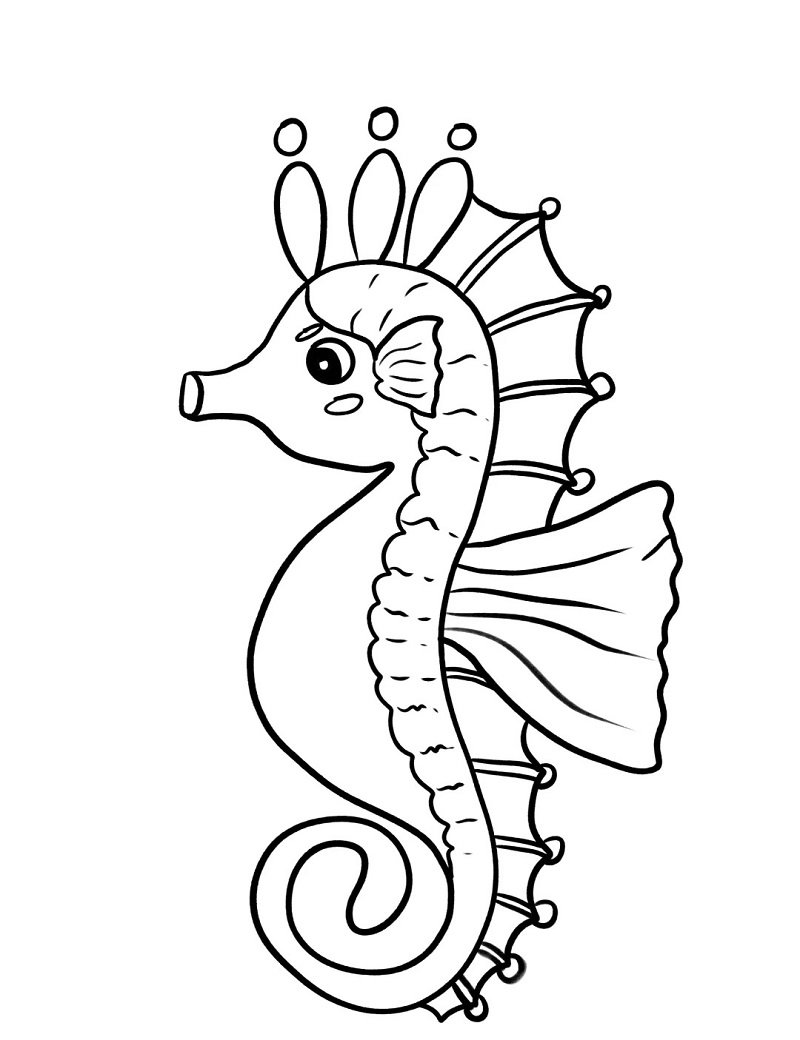
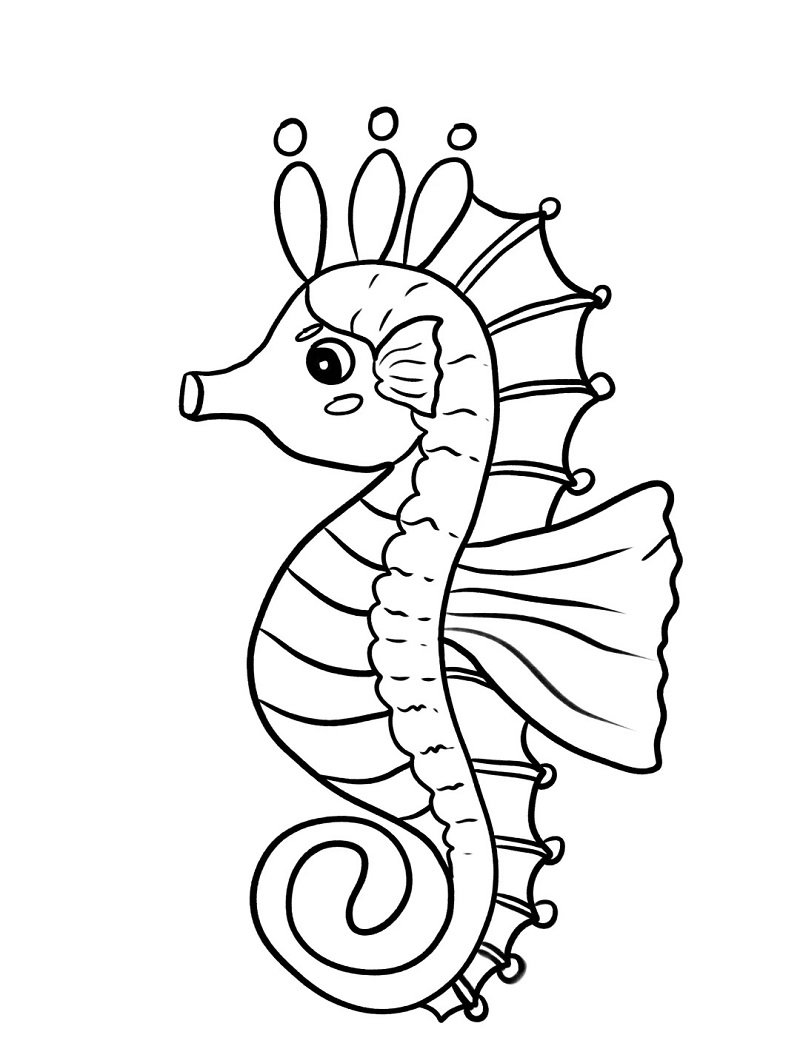
Step 1: Draw a large number “3” shape rotated vertically to form the main curve of the seahorse’s head, belly, and curled tail outline in one smooth stroke.
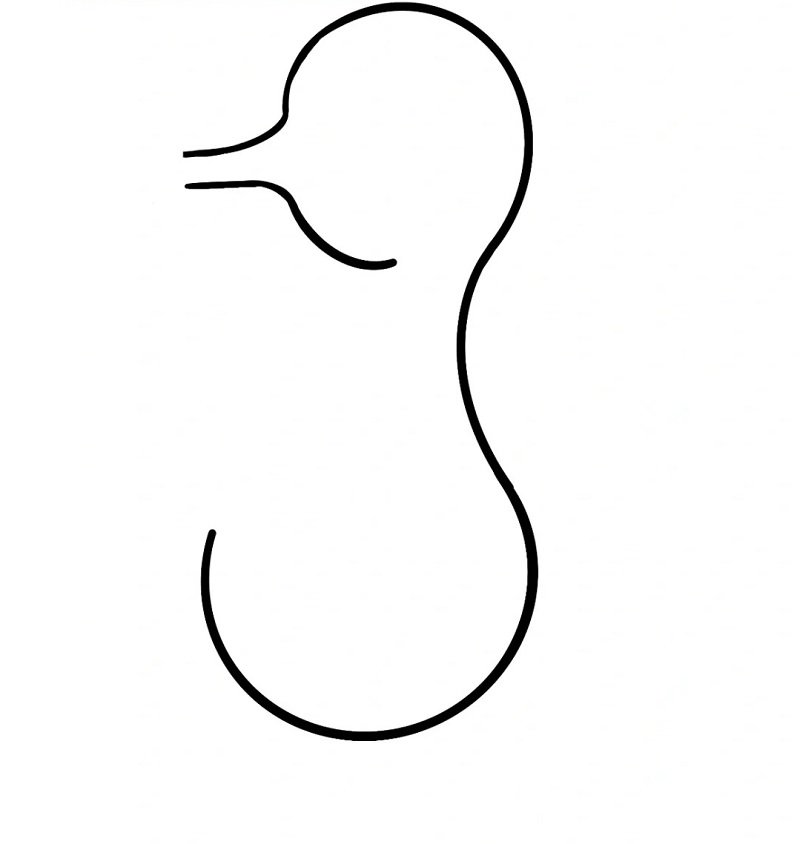
Step 2: Add a snout by drawing a short beak-like extension on the upper curve, giving the head its iconic seahorse look with a gentle rounded tip.
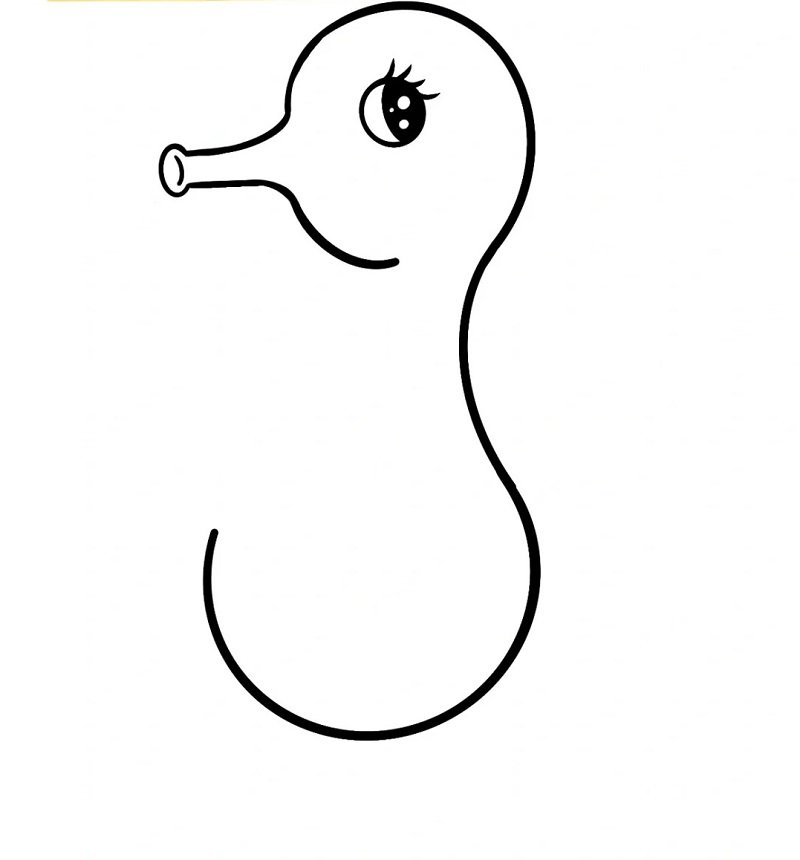
Step 3: Draw a round eye with a black dot in the center, then refine the snout and curve edges to make the seahorse’s face look cuter and clearer.
Step 4: Add a dorsal fin and small curved lines to enhance body shape, keeping the lines smooth and balanced to preserve the cartoon style.
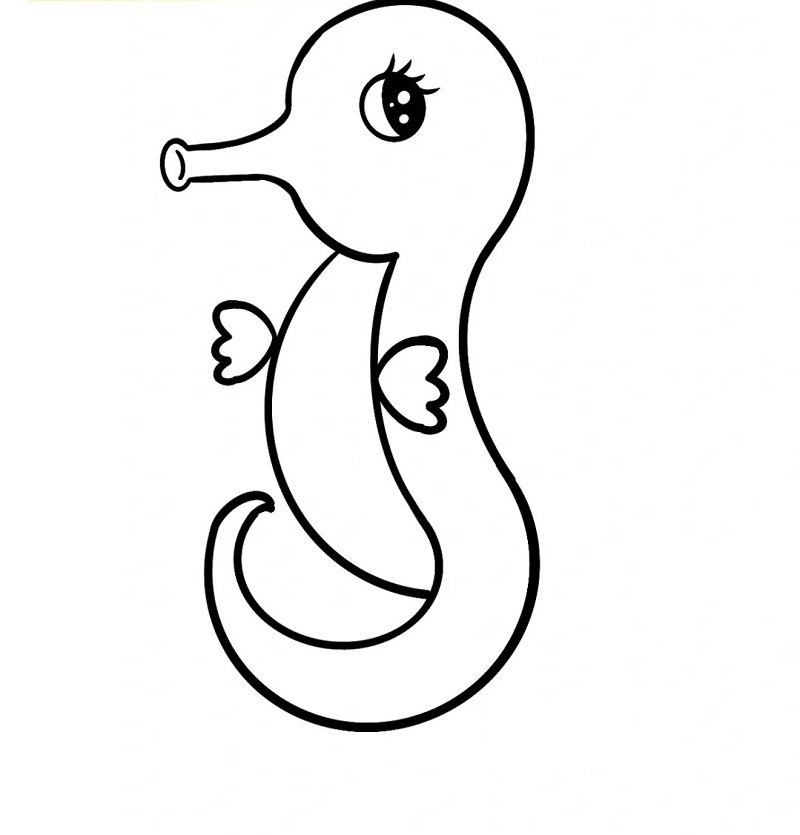
Step 5: Sketch two pectoral fins with soft edges and add subtle curves to the tail, making sure the fins match the cute style of the whole drawing.
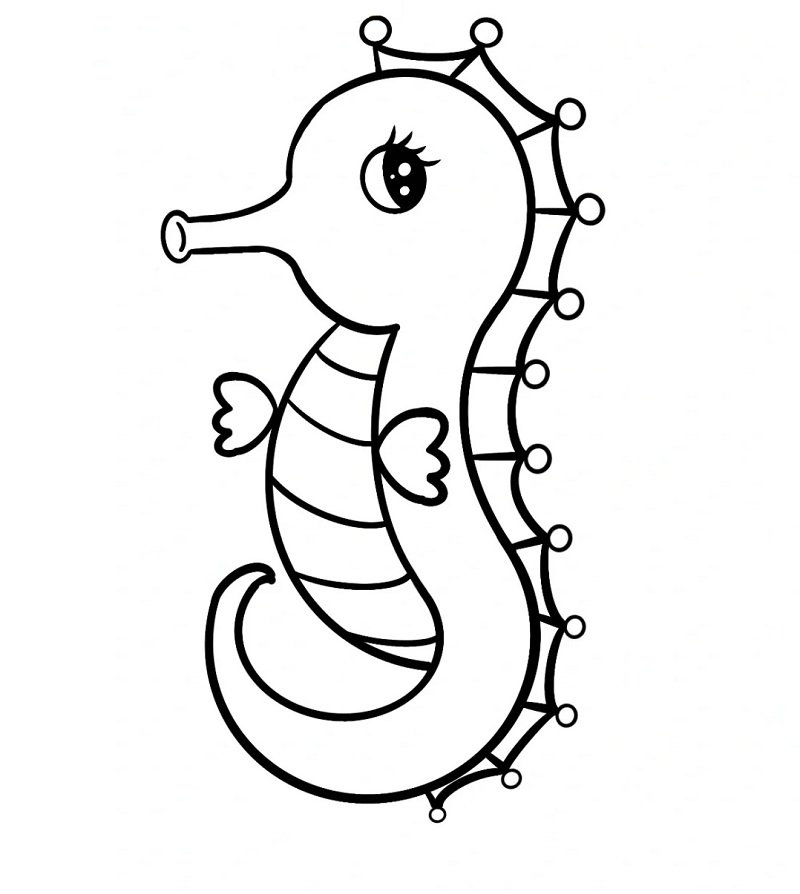
Step 6: Add small spikes along the back and a heart near the belly to finish your seahorse with charm, personality, and an adorable final design.
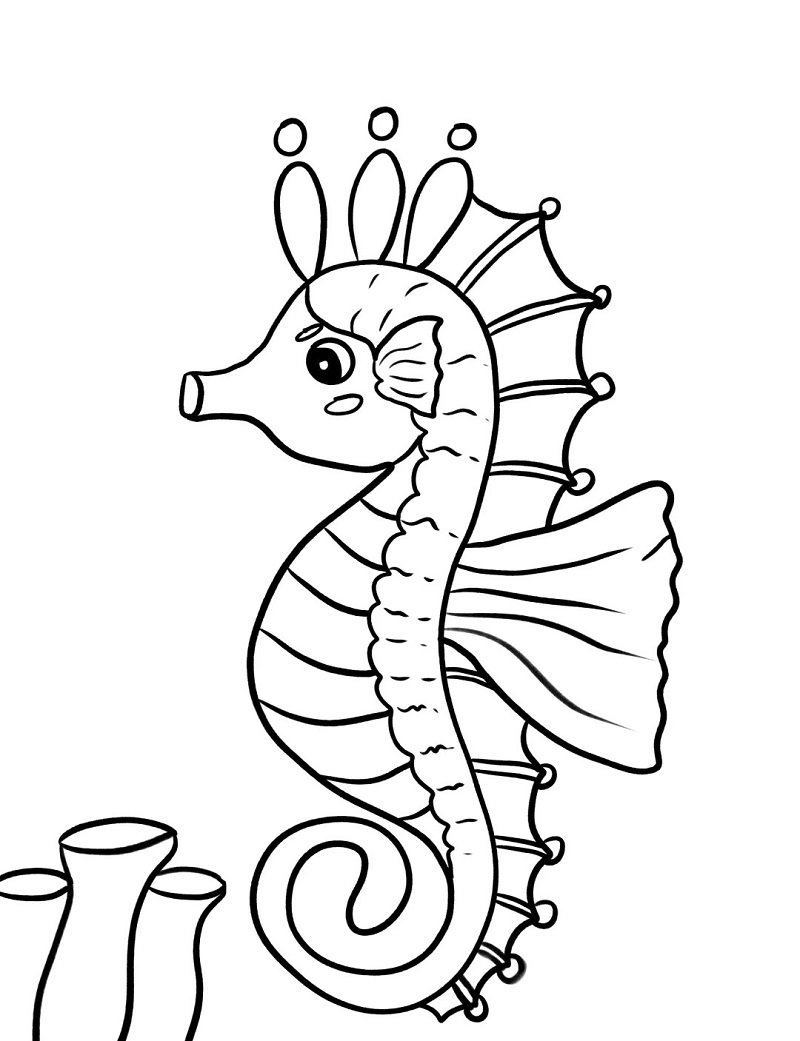
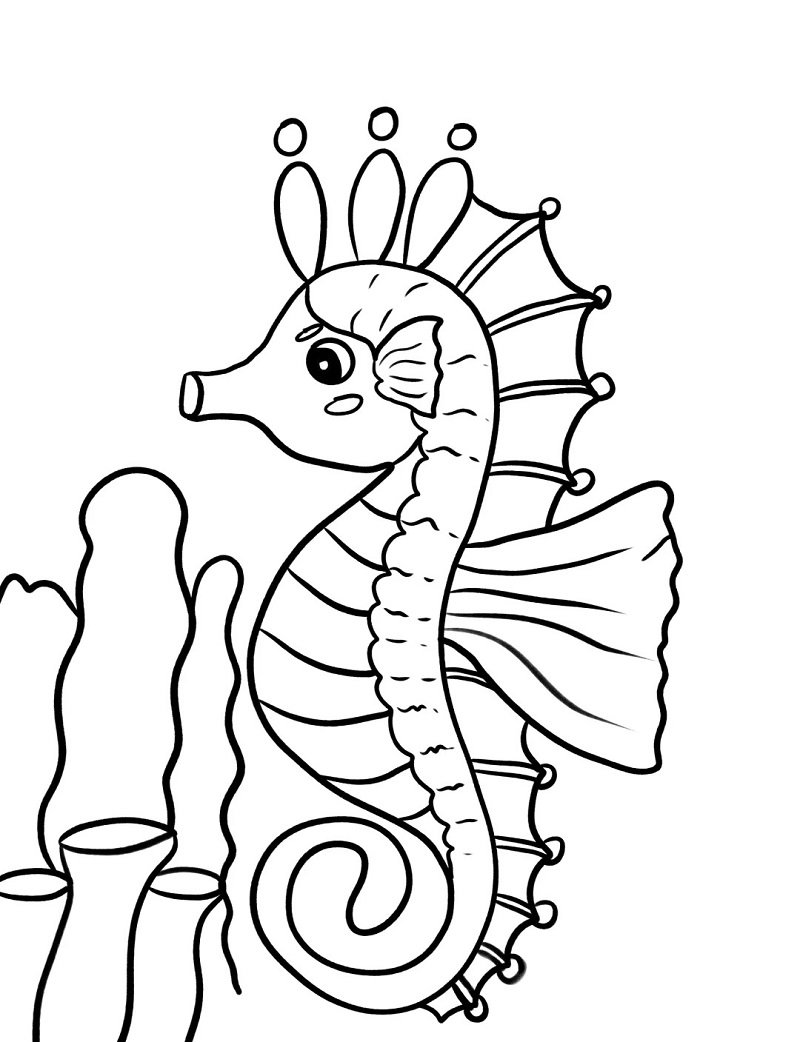
How to draw a Seahorse for kids step by step

Step 1: Start by drawing a small oval for the eye near the center of the page to guide the seahorse’s head position and create its focal facial feature.
Step 2: Add the seahorse’s head and neck curve, forming a gentle “S” shape that flows from the top of the head into the body outline.
Step 3: Sketch the full outline of the body, including a curled tail at the bottom, giving the seahorse its iconic spiral tail shape.
Step 4: Draw the belly line inside the body and add a curved fin on the back for balance and realism in your cartoon seahorse.
Step 5: Add vertical belly stripes and eye detail, giving the drawing more texture and personality while keeping it fun and simple.
Step 6: Draw the frills along the back by sketching wavy spikes to enhance the seahorse’s silhouette and mimic its natural bony plates.
Step 7: Add small details like the mouth and refine the dorsal fin to make the seahorse look livelier and more expressive. 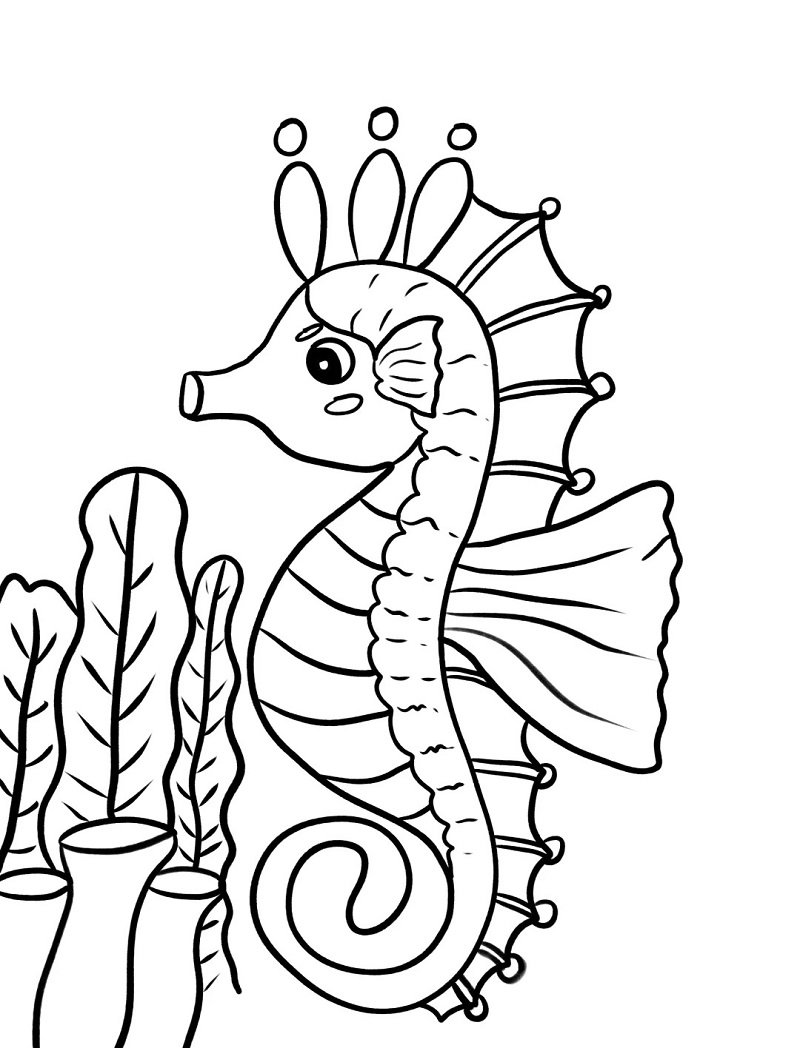
Step 8: Begin sketching the underwater environment by adding seaweed, stones, and coral beside the seahorse for context.
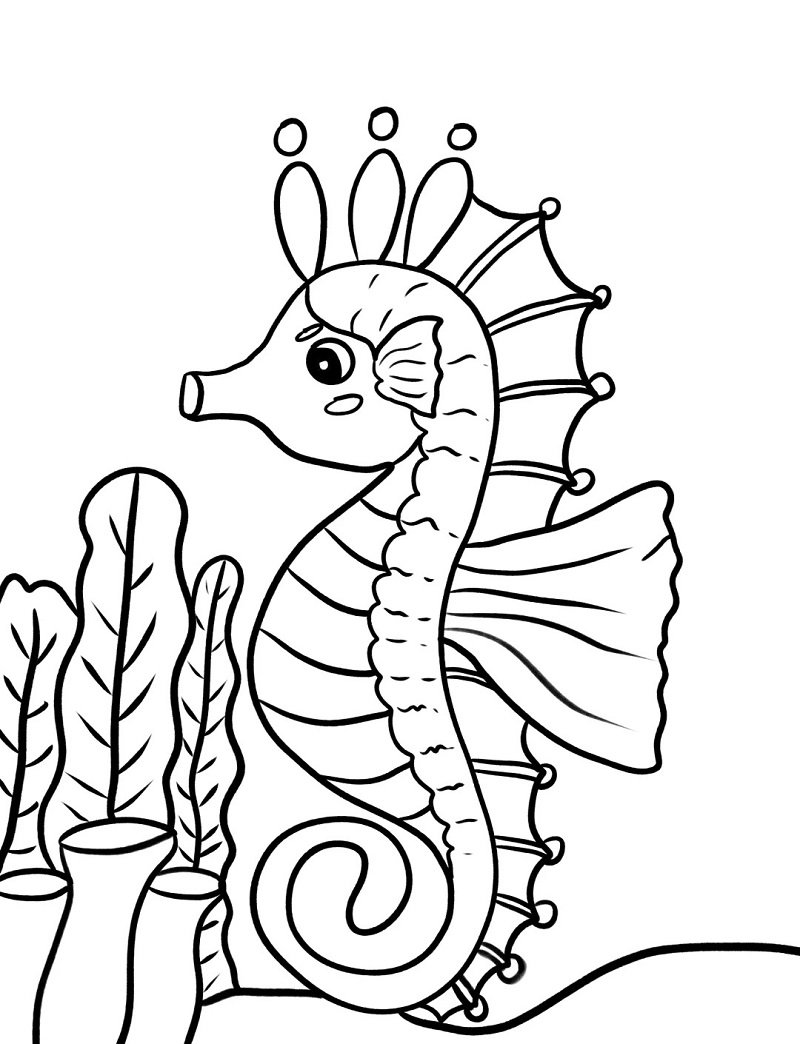
Step 9: Continue building the scenery with more underwater plants and textures to give the drawing a fun and vibrant ocean vibe.
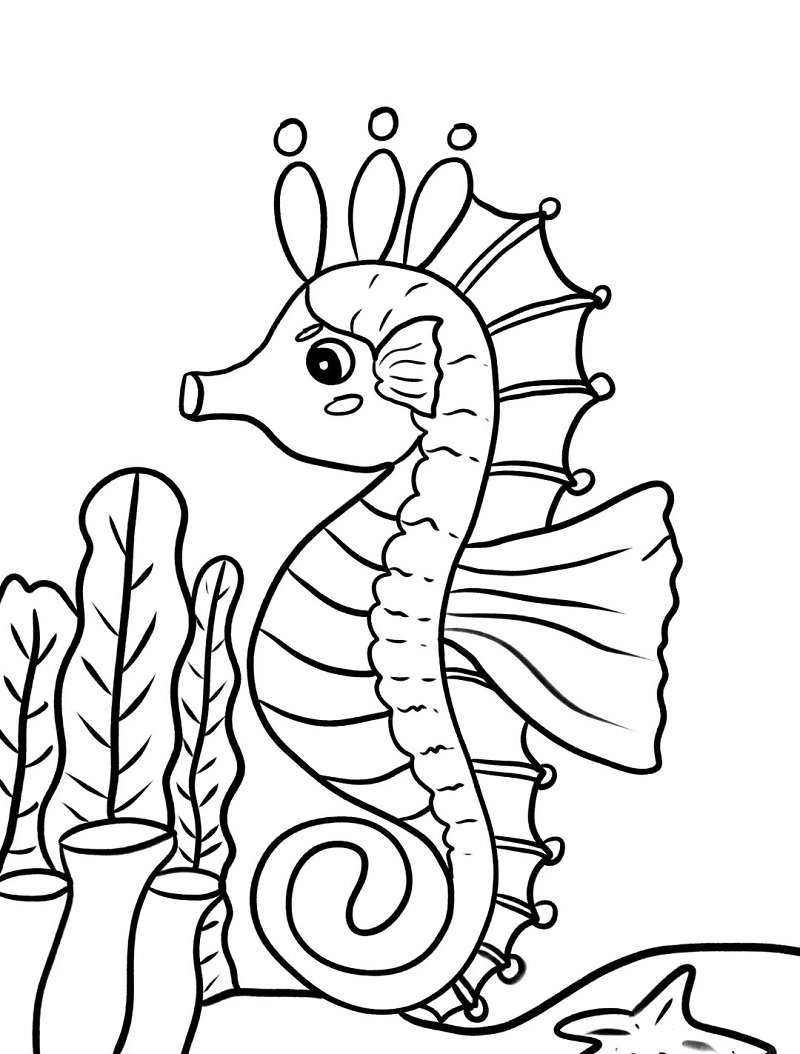
Step 10: Add a rock and shell beside the seahorse’s tail, grounding the scene and adding natural elements kids love to draw.
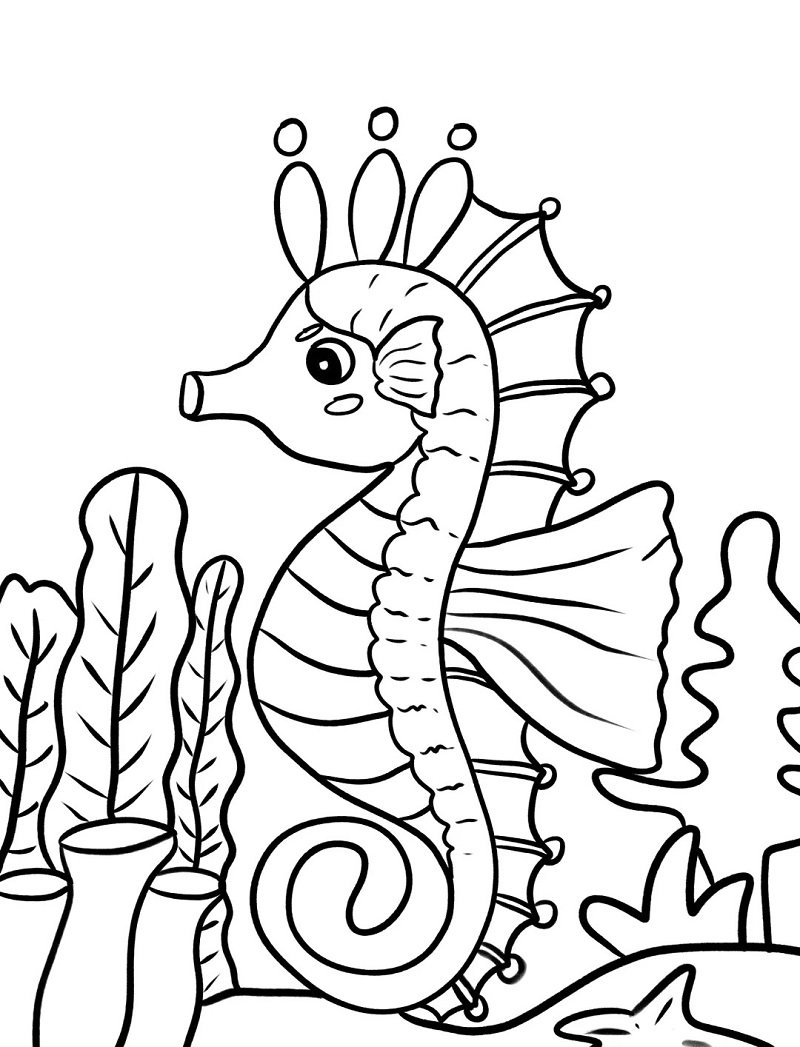
Step 11: Draw another small coral piece and refine seaweed lines to create a lively underwater playground feel.
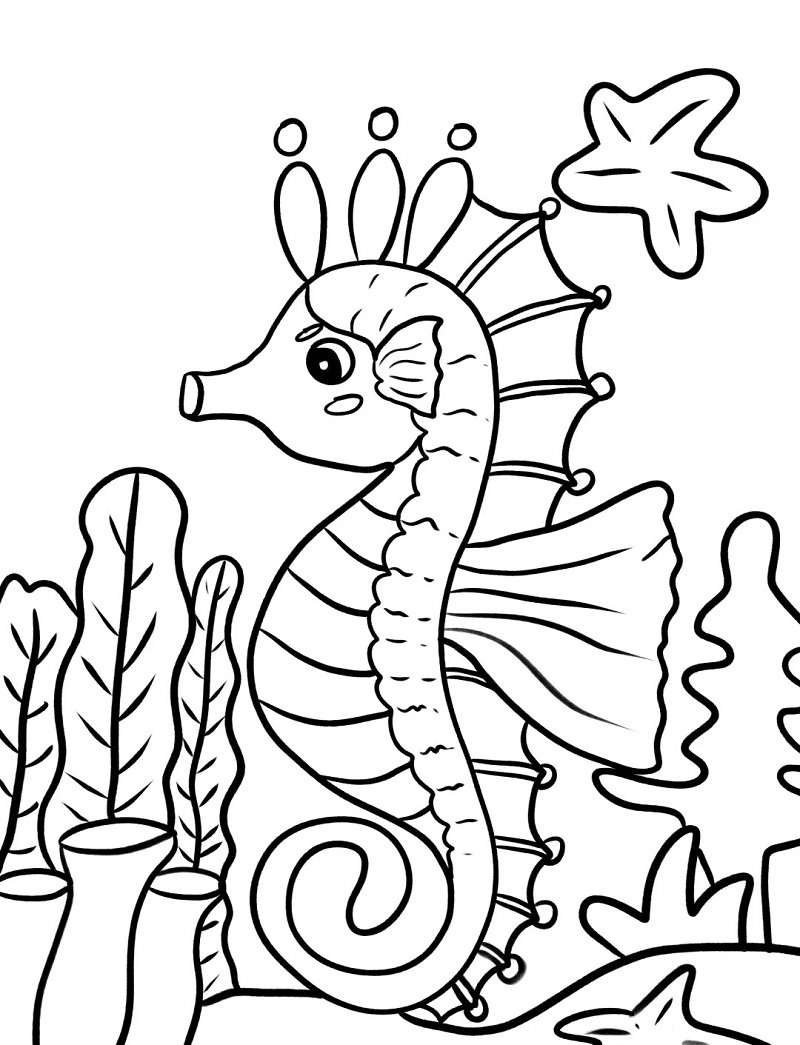
Step 12: Add some fun bubbles above the seahorse to suggest it’s underwater and make the scene more dynamic and cheerful.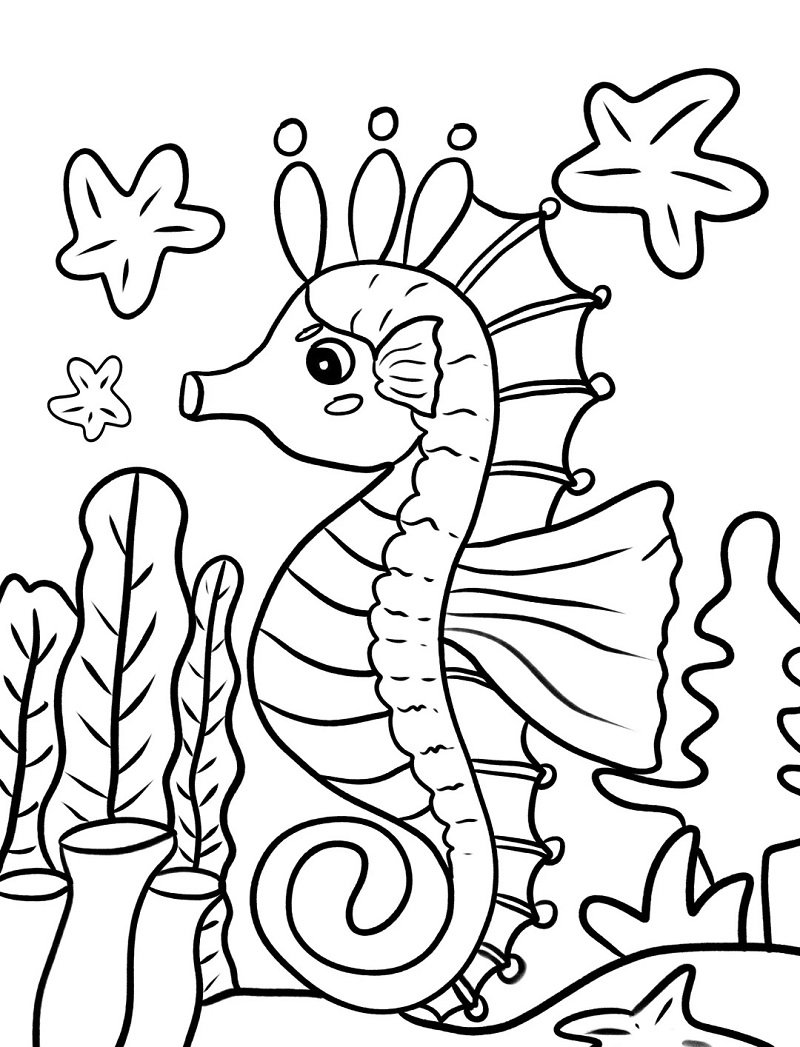
Step 13: Sketch a cute little fish swimming beside the seahorse to add a friend and boost the sense of underwater storytelling.
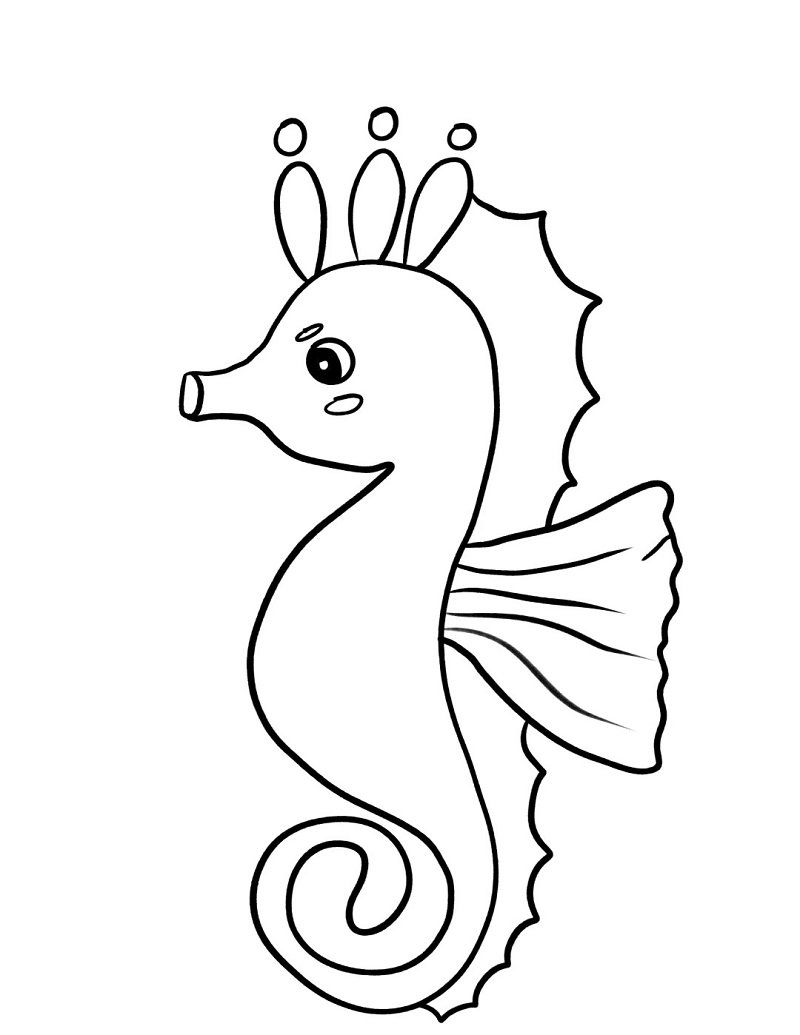
How to draw a Seahorse step by step
Step 1: Begin with a semi-circle curve to outline the top of the seahorse’s head, forming the basic round shape that leads into the neck and face.
Step 2: Extend the shape downward to create the snout and lower part of the head, with a small bump forming the start of the body curve.

Step 3: Draw a spiral-shaped tail and a curved line flowing from the head, completing the body with the classic curled seahorse pose.
Step 4: Add small line details to the tail and darken the outline to emphasize the unique posture and shape of the cartoon seahorse.
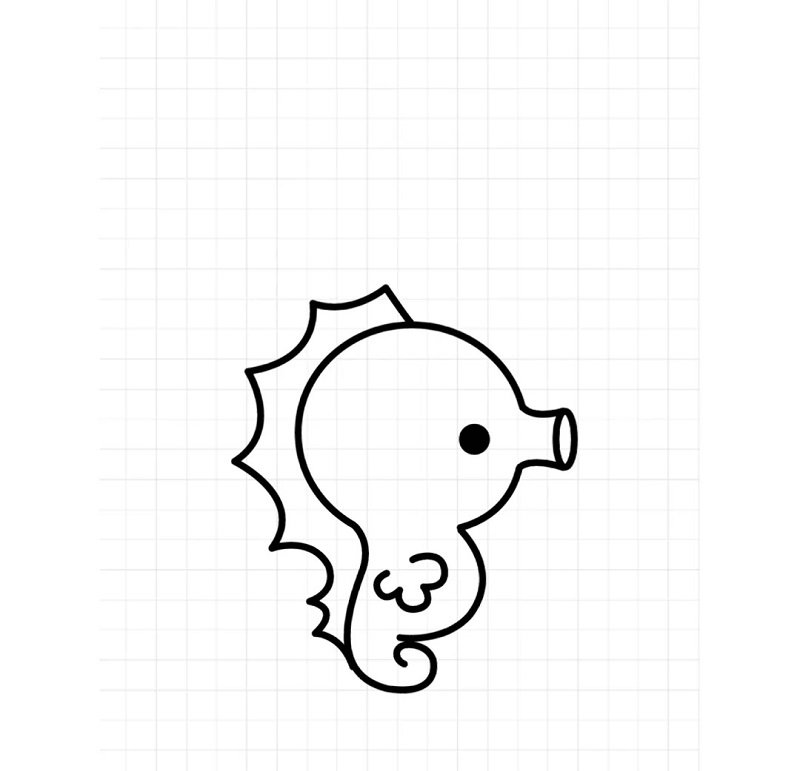
Step 5: Finish by drawing the eye, dorsal fin, and ear-like frill, giving your seahorse more expression, texture, and personality
See more:
Collection 10+ Tips for kids learning how to draw a school
Top 5+ guides on how to draw a robot for total beginners
Learn how to draw a Lamborghini in just 6 quick stages
Drawing a seahorse isn’t just about technique – it’s about expressing your imagination. With just a few steps, anyone can bring this charming sea creature to life on paper. Whether you’re sketching for fun, school, or social media content, seahorses are always a hit. Keep practicing, try different styles, and let your creativity swim free!