Wanna learn how to draw ice cream that’s as cool as your favorite summer treat? You’ve come to the right place! Drawing ice cream isn’t just fun—it’s the perfect blend of creativity, cuteness, and color. Whether you’re sketching for fun, decorating your notes, or leveling up your art skills, these tutorials are made for you. We’ll guide you step by step with styles ranging from simple cones to kawaii cups. No need for fancy tools—just bring your vibe and imagination. Explore your creative side and turn your sketchbook into a dessert gallery. Find all the sweetest guides now on dooduko.com!
How to draw ice cream


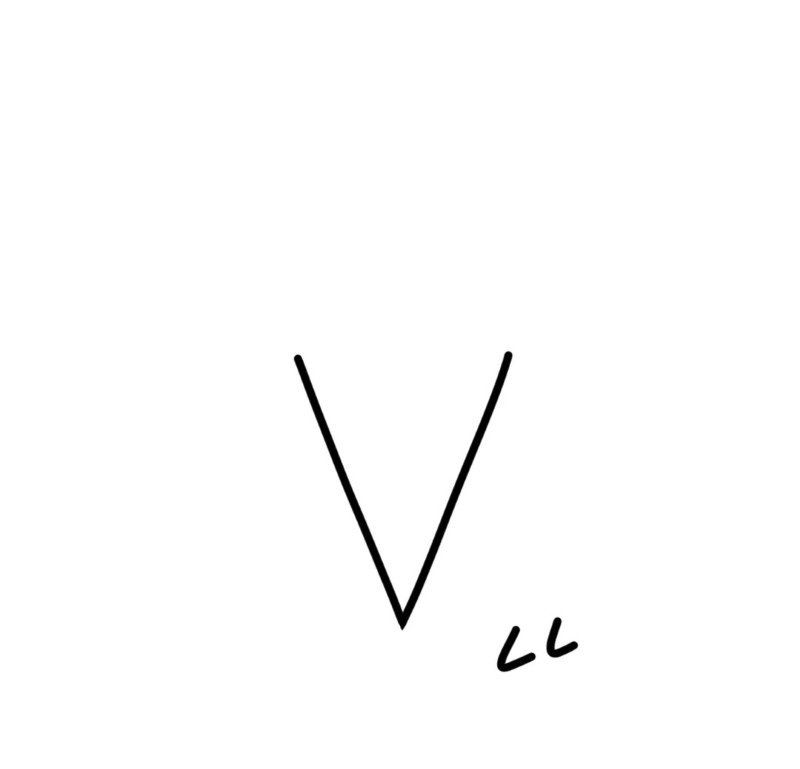
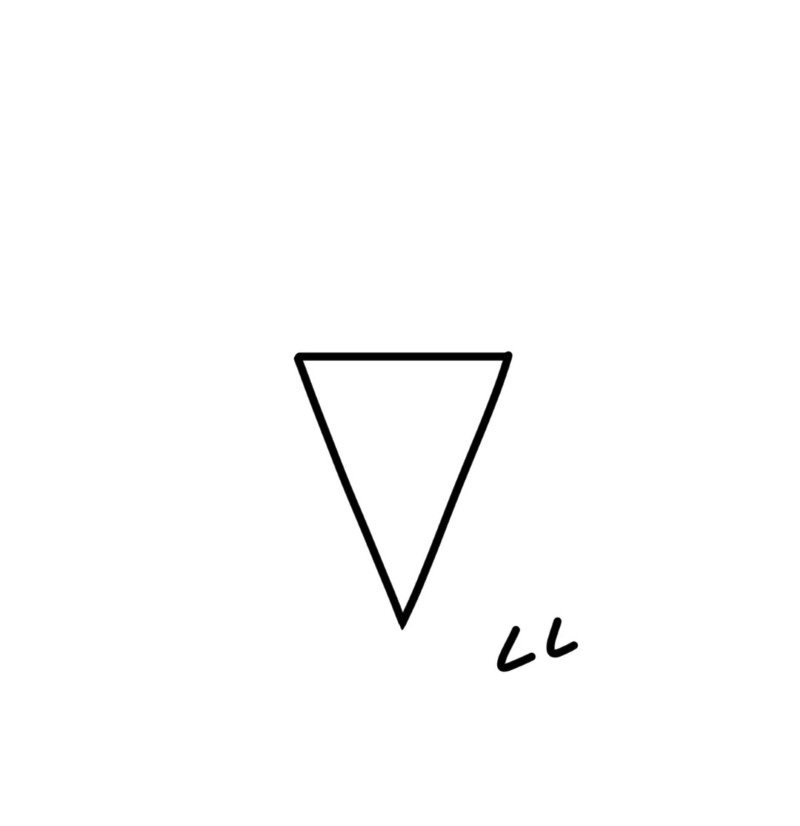
Step 1: Draw a wide V shape to form the cone base of your ice cream—this will be the bottom part holding all the sweetness.
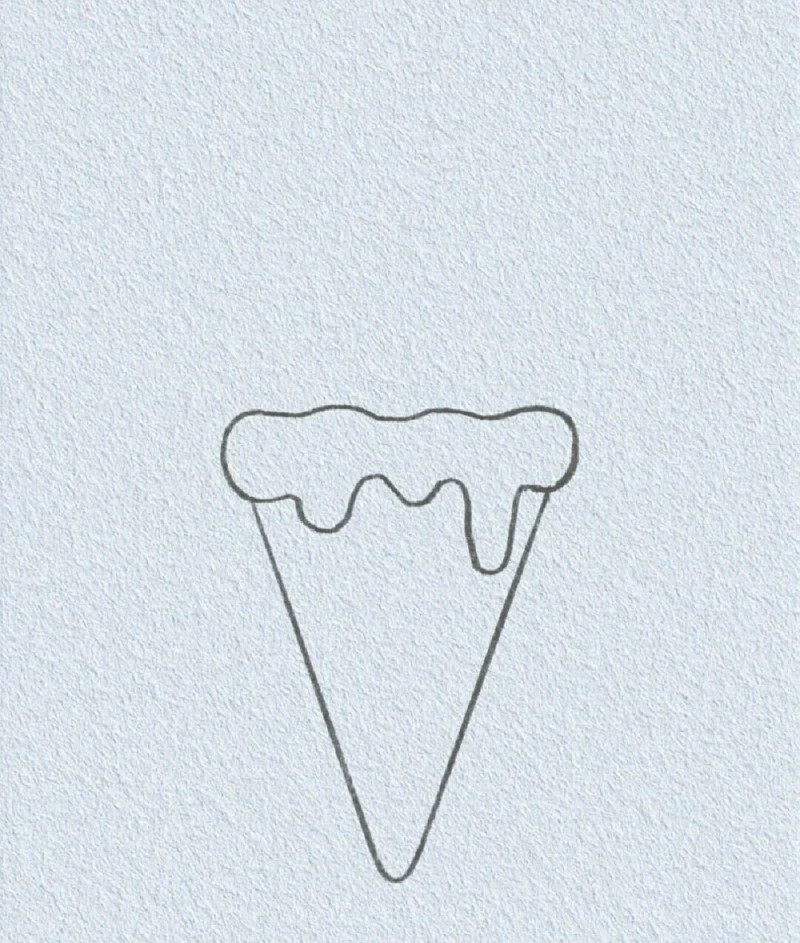
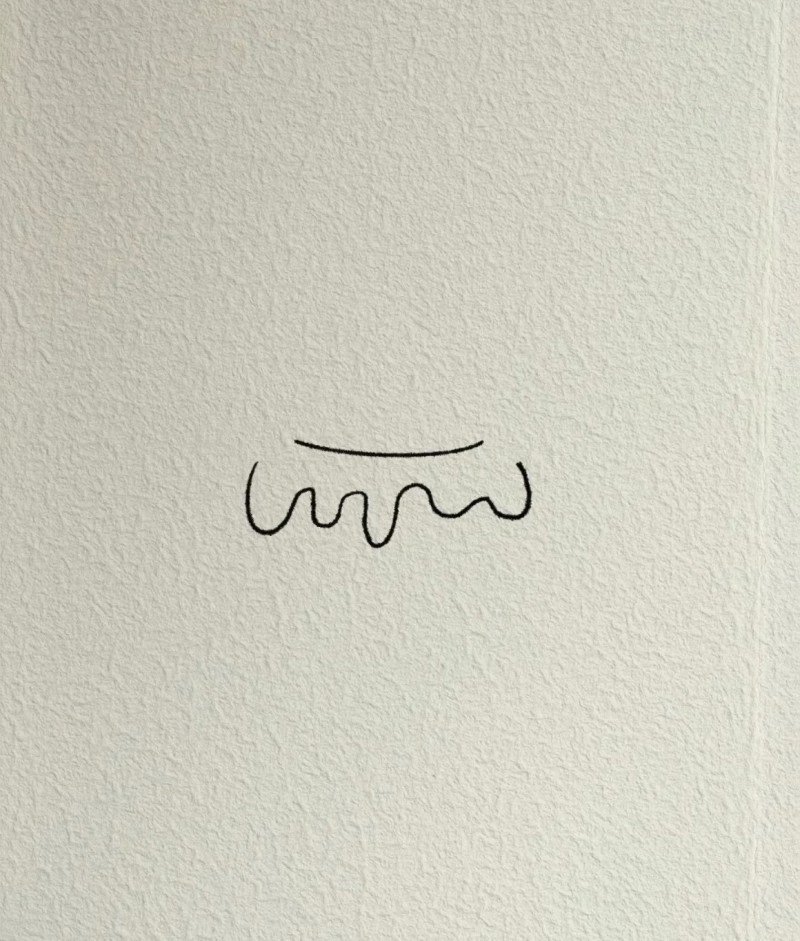
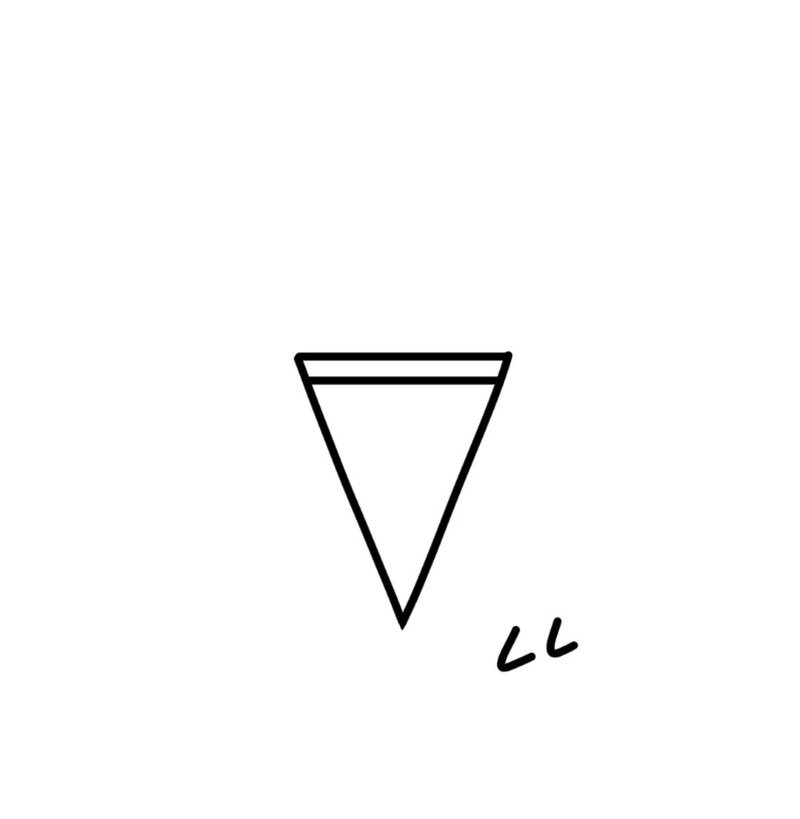
Step 2: Add a wavy line on top of the cone to outline the melting edge of the first scoop—it looks like dripping cream.
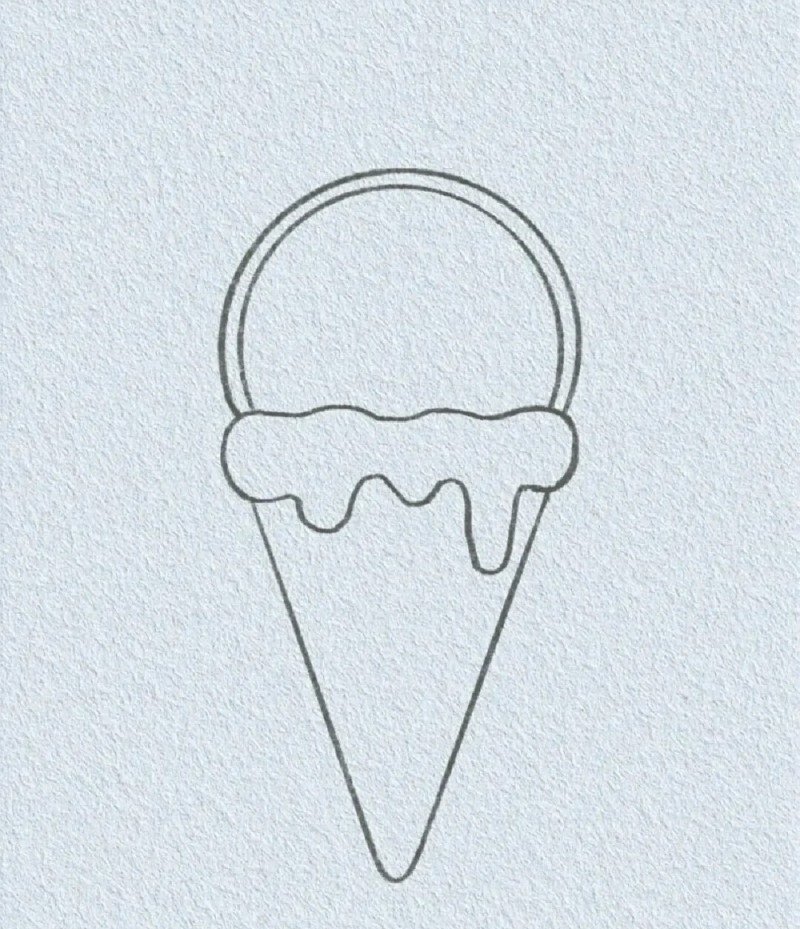
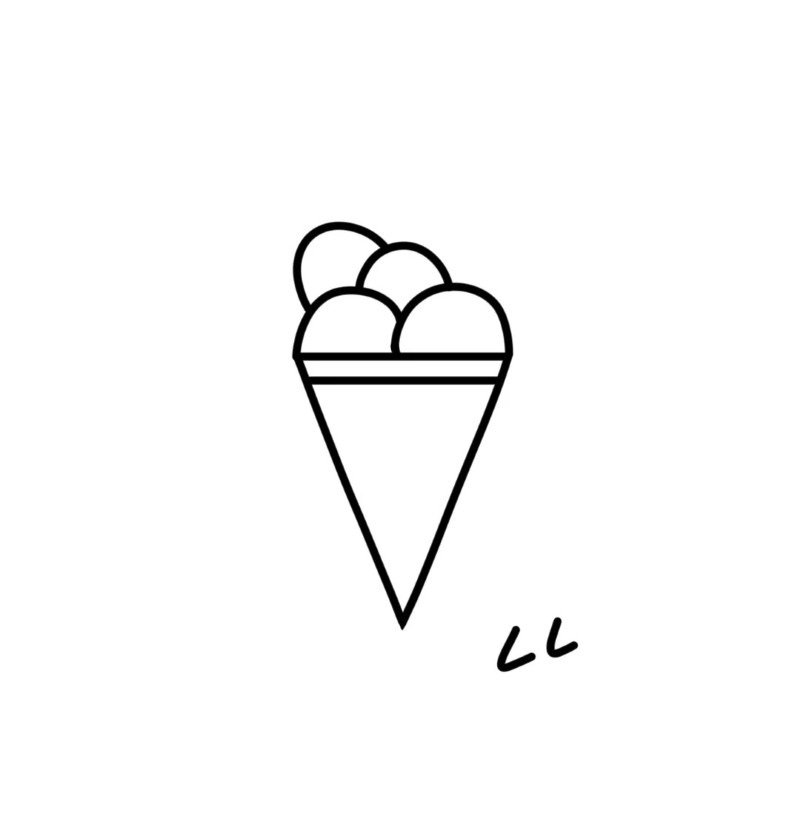
Step 3: Draw a large dome shape above the wavy line to complete the first scoop—it should be round and centered.
Step 4: Add a second wavy line under the dome to show layered scoops—this adds a cute double-scoop effect.
Step 5: Finish by adding sprinkles or chocolate chips on top and texture lines on the cone for a fun, detailed look.
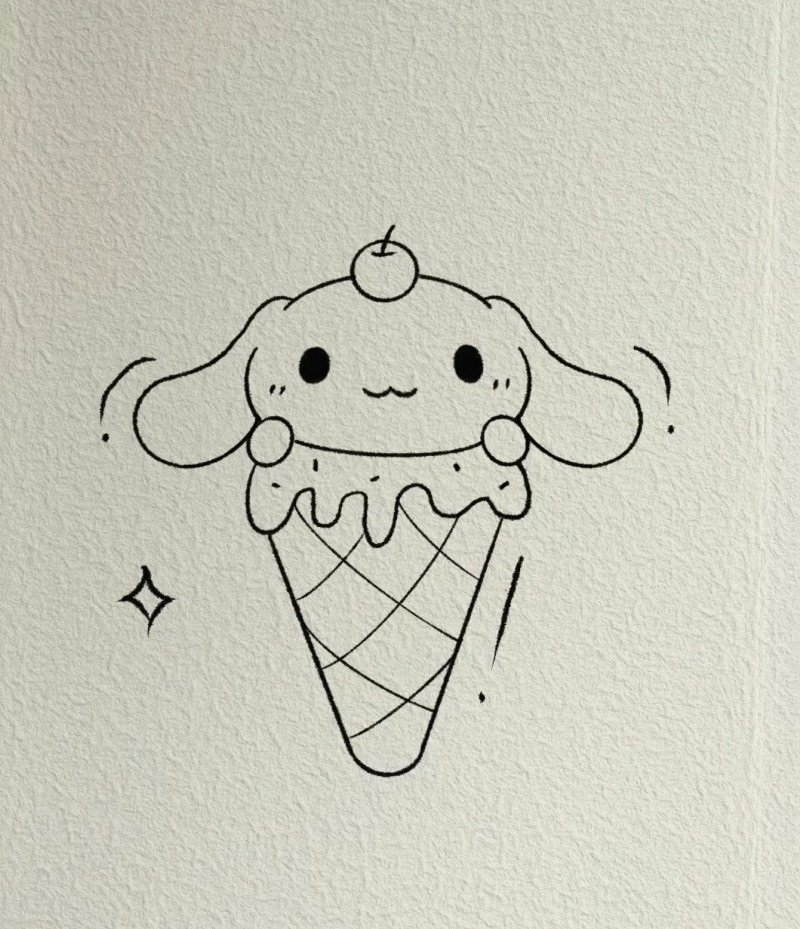
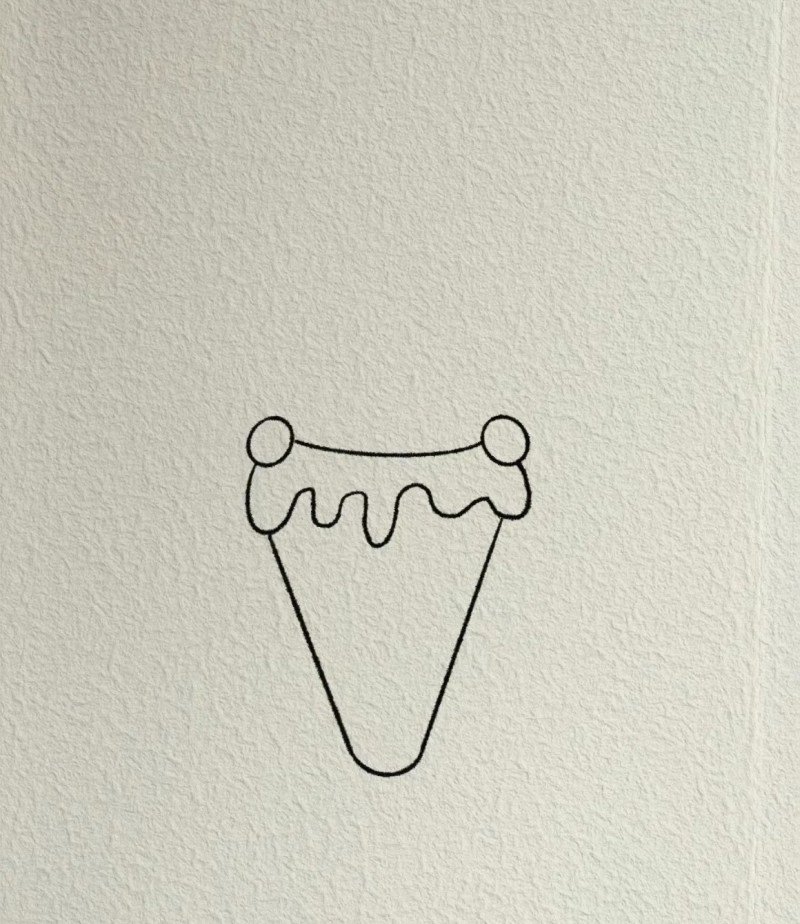
How to draw a ice cream cone
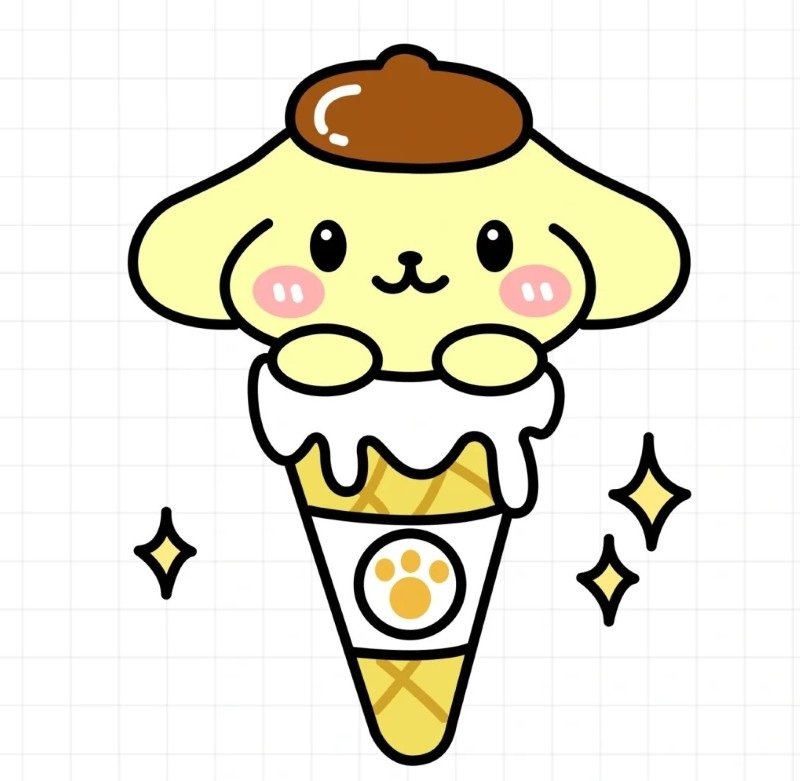

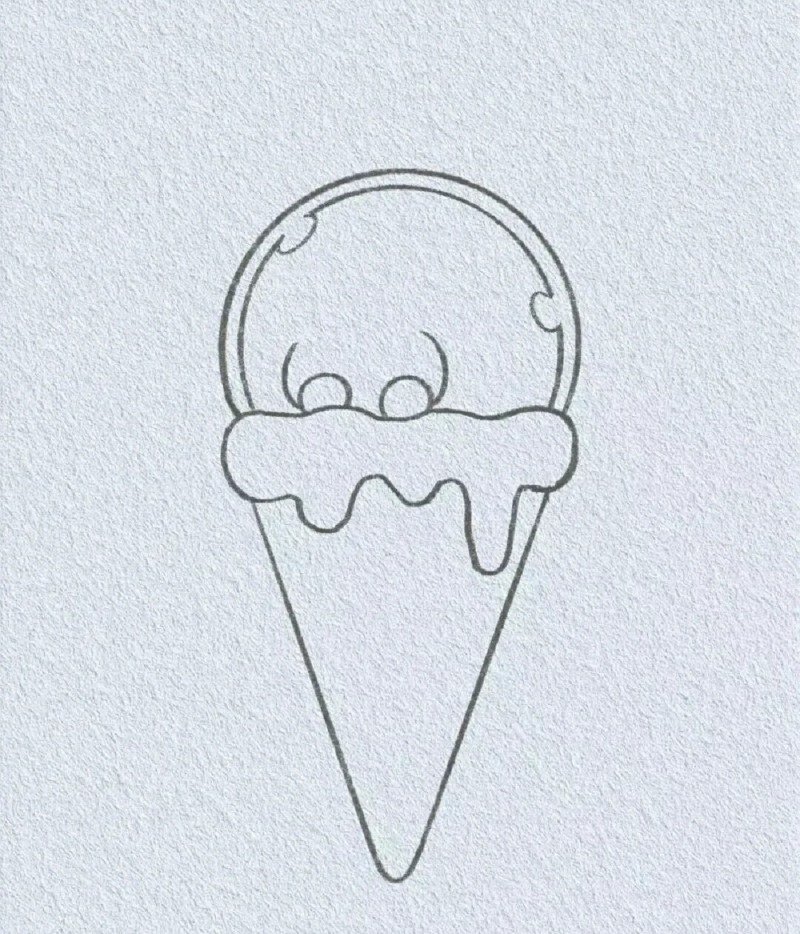
Step 1: Draw two curved lines to start shaping the top of the ice cream scoop—this will become the sides of the character’s face.
Step 2: Add the ears by connecting small curved bumps on each side, and draw two ovals underneath for the hands.
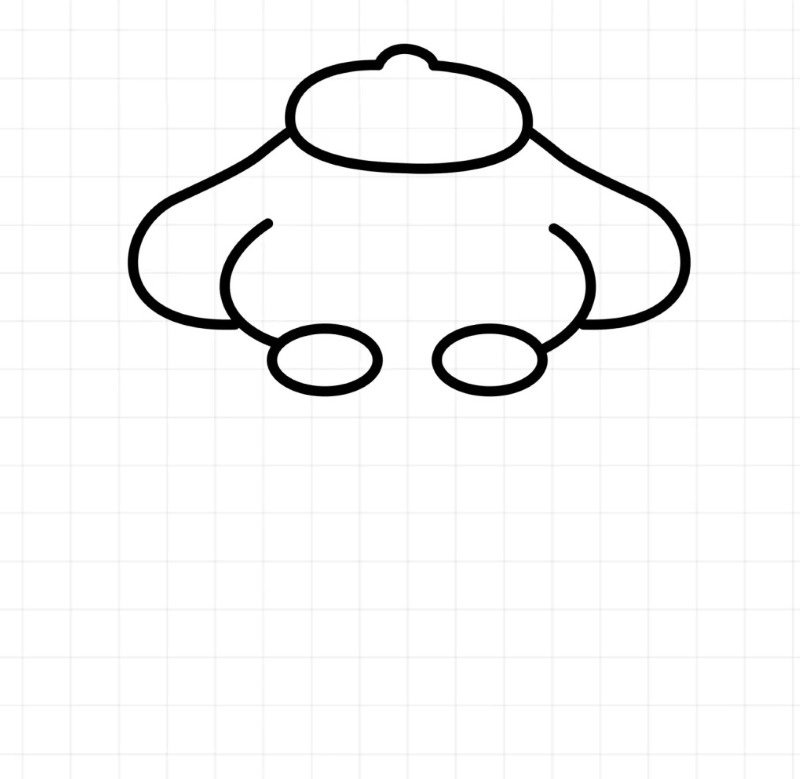
Step 3: Draw a rounded, puffy top to complete the scoop, and add two oval feet under the hands to build a full character body.
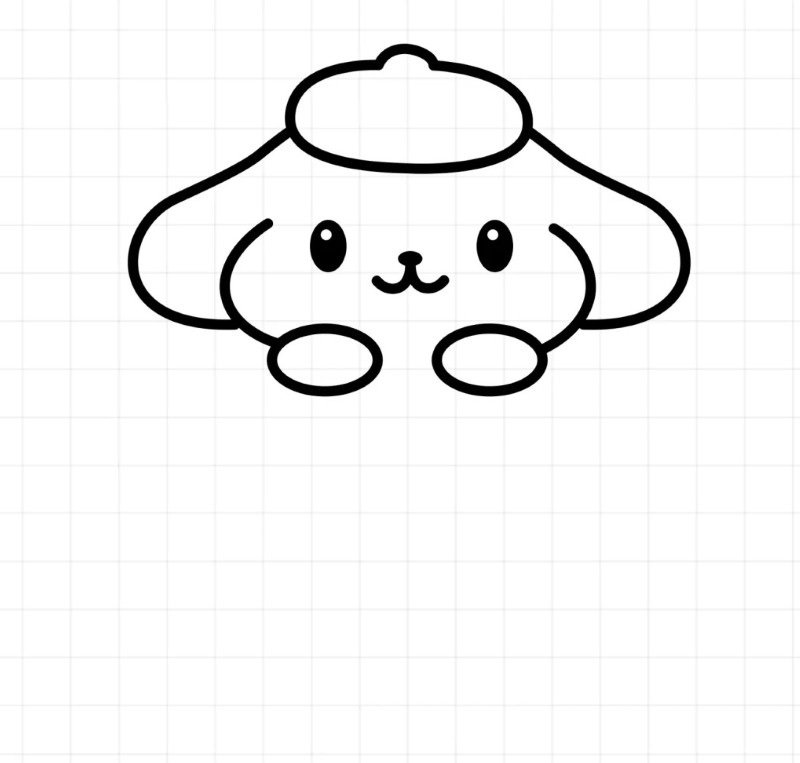
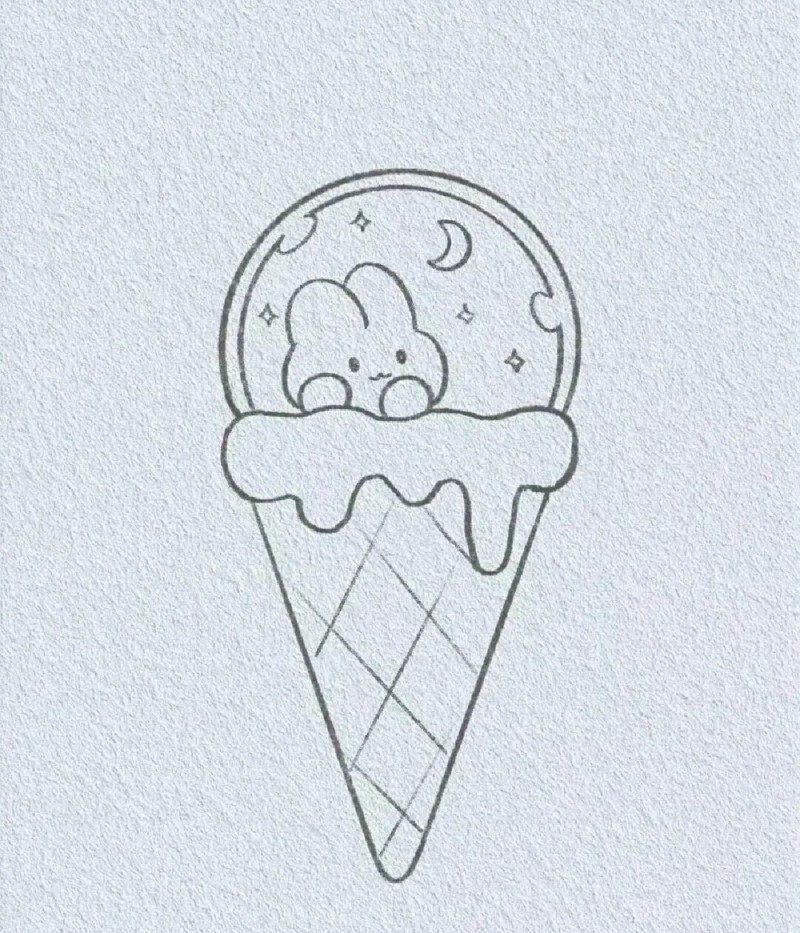
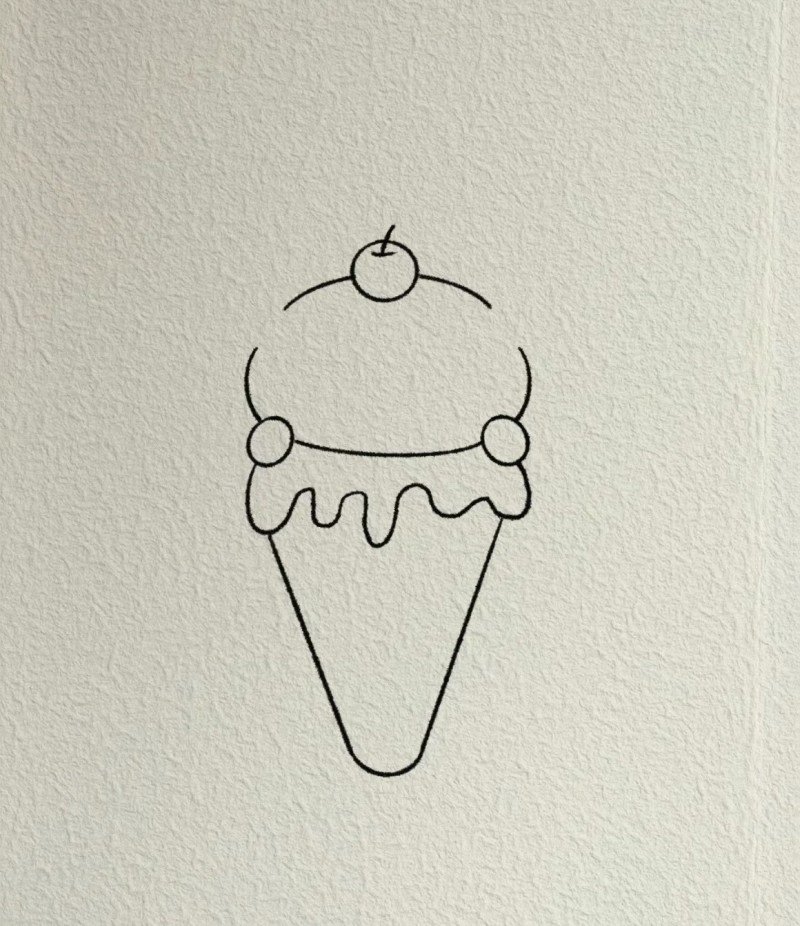
Step 4: Add two eyes, a cute nose, and a small smile to bring the face to life—your scoop is now an adorable character 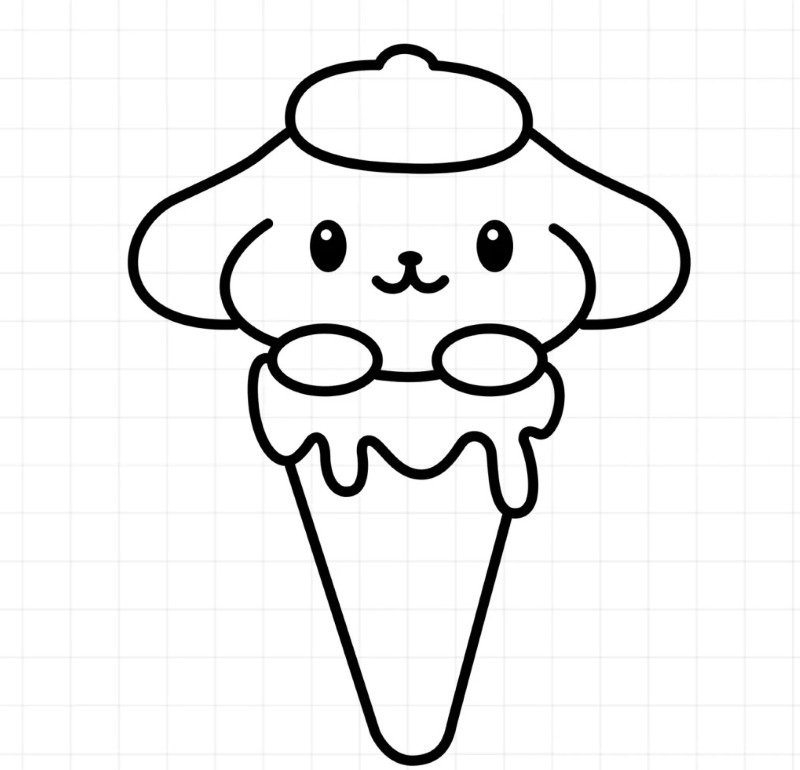
Step 5: Draw a melting line and a V-shaped cone below the scoop to turn it into a full ice cream cone character.
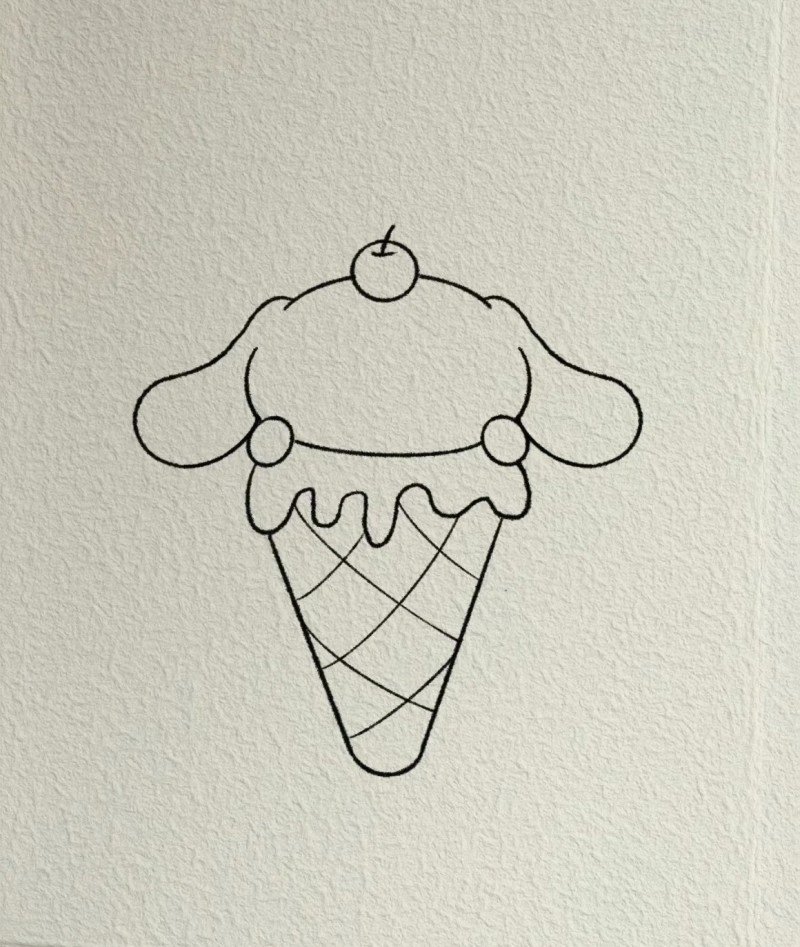
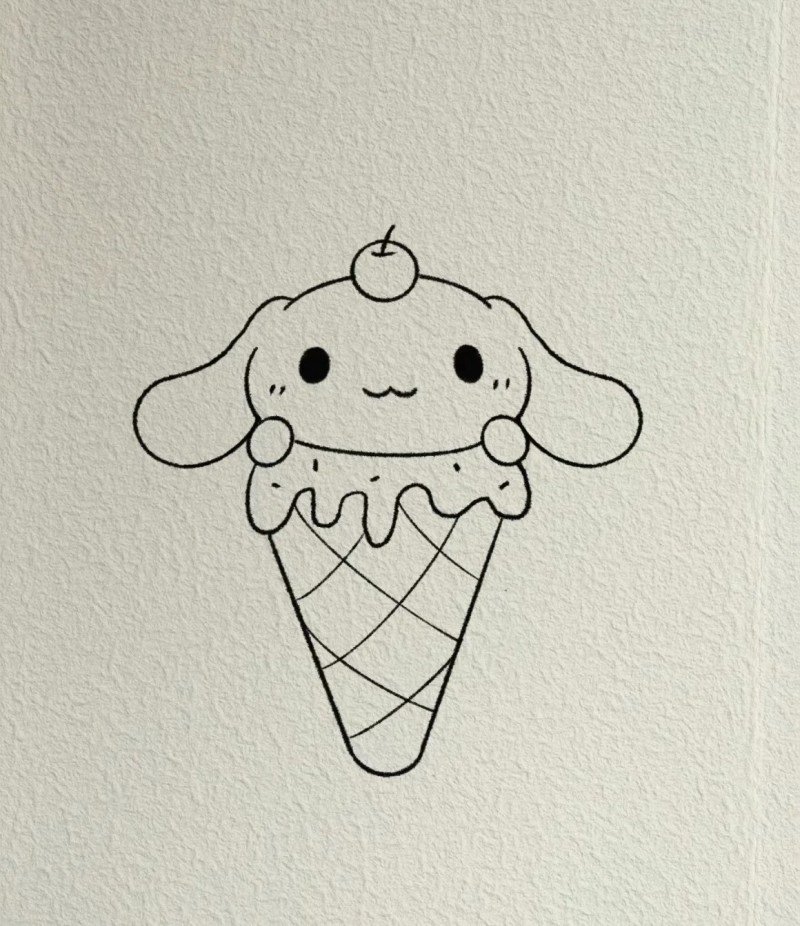
Step 6: Add a smaller scoop and swirl details on top, plus decorations on the cone to finish your kawaii ice cream buddy!
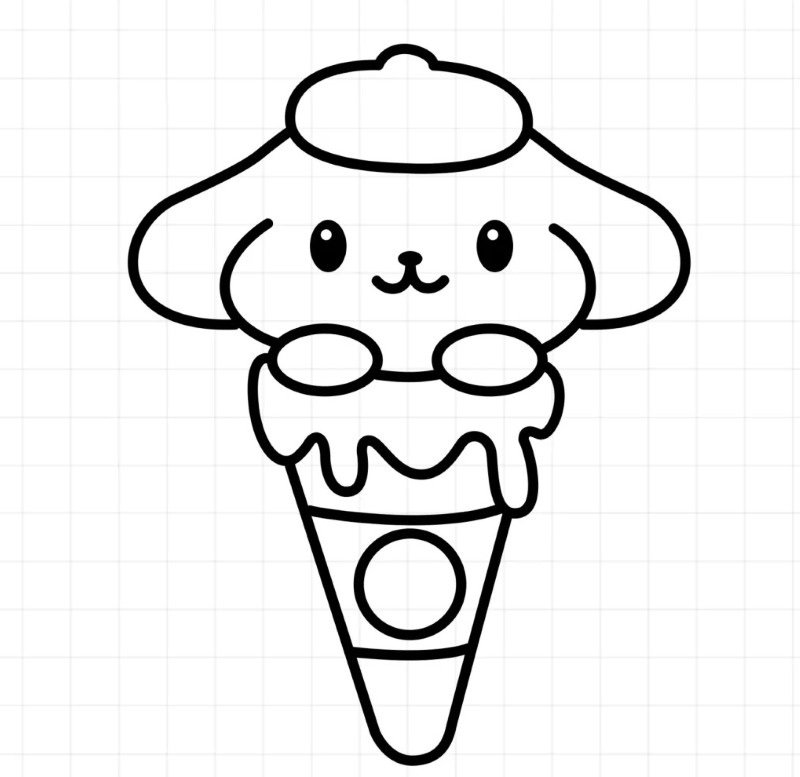
How to draw an ice cream cone
Step 1: Draw a wavy line to form the melting top of the scoop—this will be the upper edge of your ice cream.
Step 2: Add a V shape below the scoop to create the cone, then sketch small bumps on the scoop sides for ears or puffs.
Step 3: Draw a round dome over the wavy line to complete the top scoop—now your ice cream starts to look fluffy and cute.
Step 4: Add crosshatch lines inside the cone to give it texture, and draw small circles for the eyes.
Step 5: Complete the face with a dot nose and a tiny smile—your adorable ice cream cone character is now ready!
How to draw ice cream

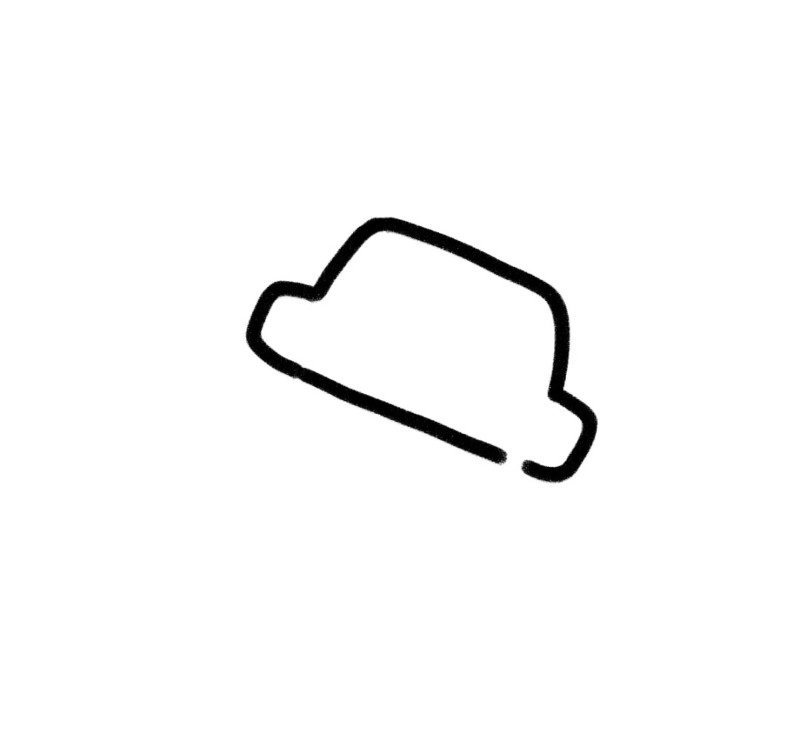
Step 1: Start by drawing a tilted rectangle with rounded corners—this will be the top part of the ice cream.
Step 2: Add a curved bottom below it to form the popsicle body—your basic shape is now complete.
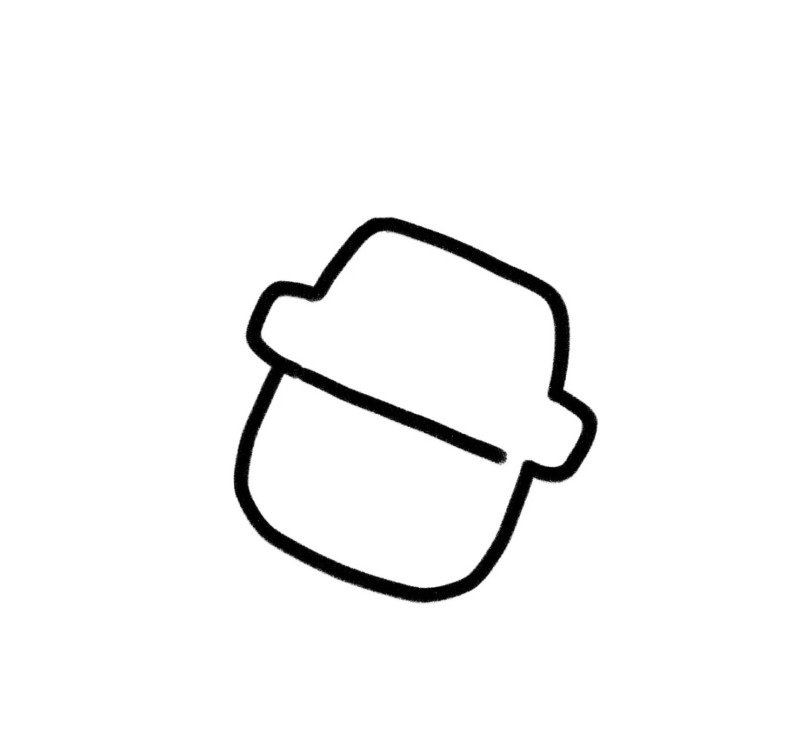
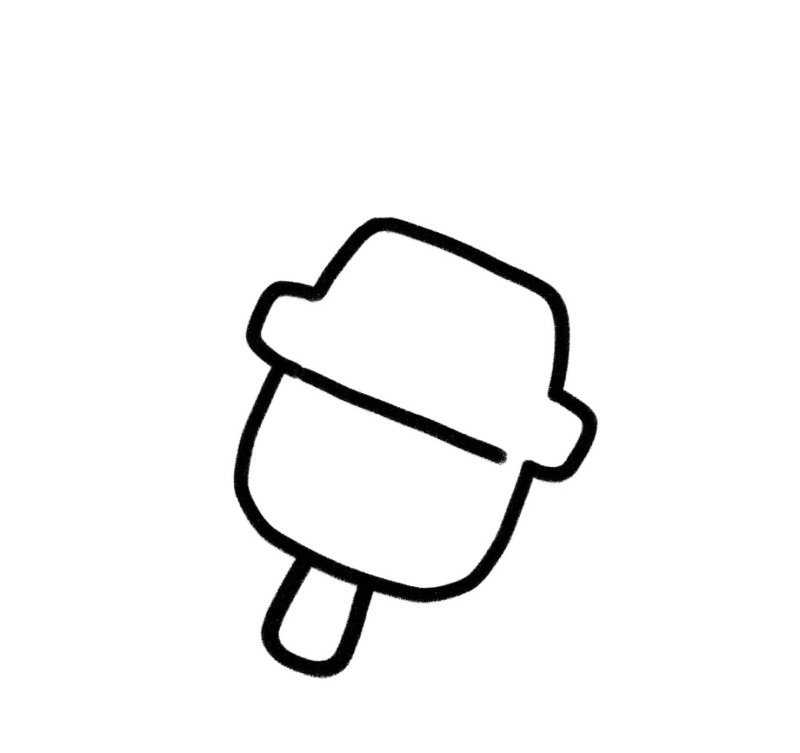 Step 3: Outline the stick and define the shape more clearly with bold, clean lines for the popsicle and stick.
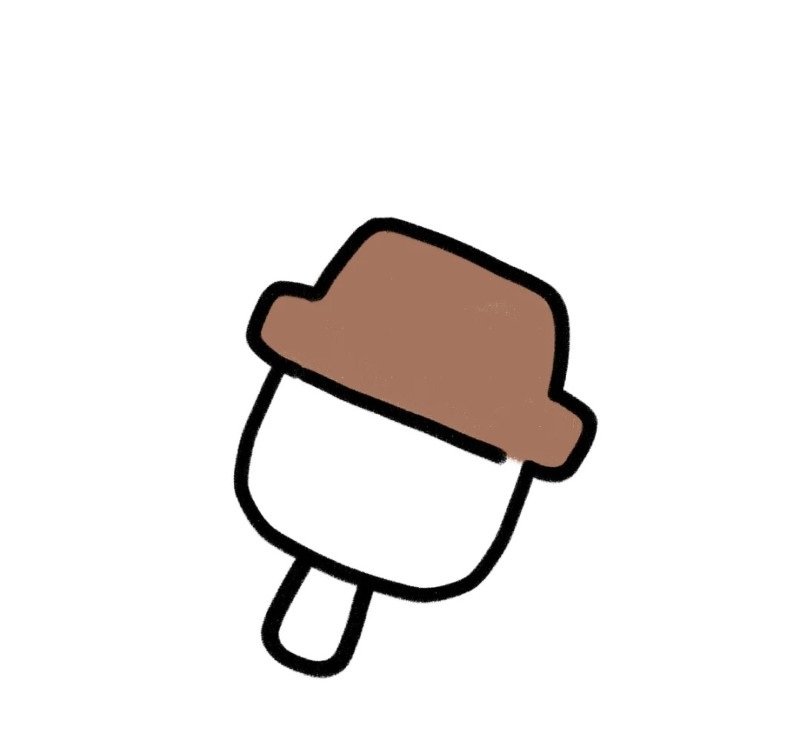
Step 4: Color the top scoop in brown to look like chocolate and the stick in beige for a wooden effect.

Step 5: Add cute facial features—two eyes and a small smile—for a playful and friendly look.

Step 6: Finalize with blush spots and color the body white for a vanilla vibe—your adorable popsicle is done!
How to draw ice cream easy

Step 1: Draw a wide V shape to begin outlining the cone base—this will serve as the bottom of your ice cream.
Step 2: Connect the top ends of the V with a straight line to form a triangle—your cone is now complete.
Step 3: Add parallel lines inside the triangle for a 3D effect—this gives the cone some texture and depth
Step 4: Draw three round scoops stacked on top of the cone to start forming the ice cream layers.
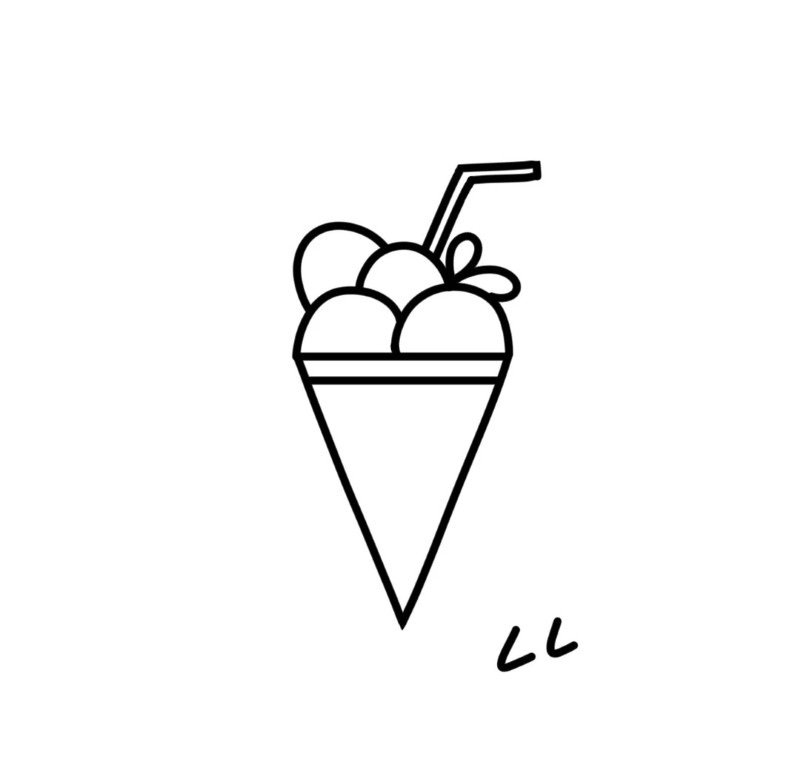
Step 5: Add details like a straw and cherry on top to make it look extra fun and tasty.
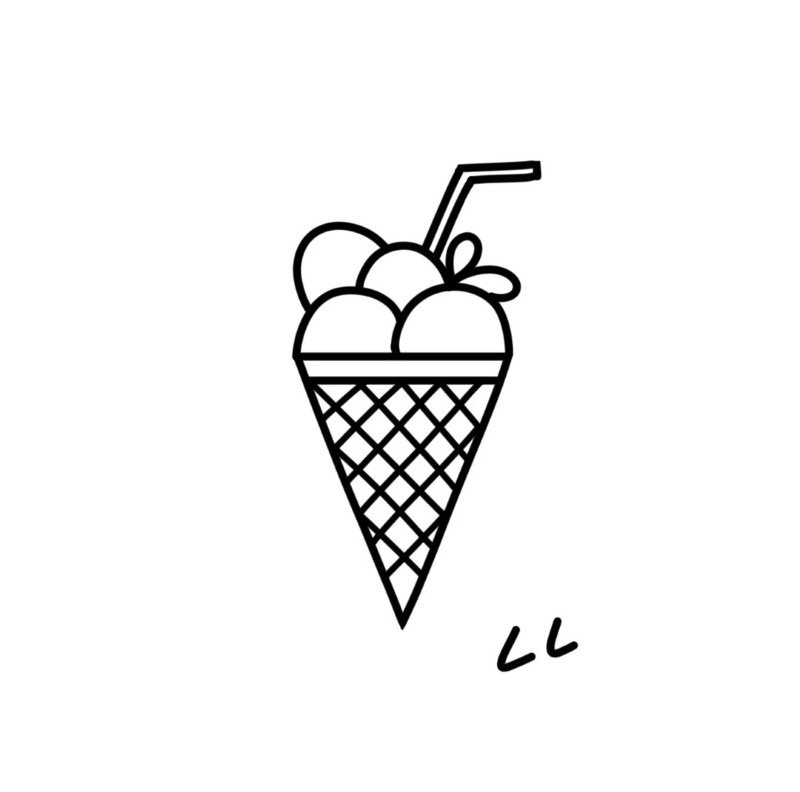
Step 6: Complete with crisscross lines inside the cone for waffle texture—your fancy triple scoop is ready!
See more:
Top 5+ tutorials that show how to draw Harry Potter step-by-step
10+ cool tips to master how to draw guns fast
How to draw Garfield in 8+fun styles you’ll love
Now that you’ve got the scoop on how to draw ice cream, it’s time to pick your flavor and start sketching! From classic cones to dripping popsicles, these fun drawing ideas will keep your creativity flowing. Whether you’re a beginner or already have a sweet art style, remember: practice makes perfect (and extra delicious). Keep experimenting with colors, toppings, and textures—and most importantly, have fun doing it!