Looking for a fun way to bring your sketches to life? Let’s dive into how to draw a pizza — a favorite snack turned into art! Whether you’re a newbie or a young doodler looking to spice up your sketchbook, this guide has all you need. From gooey cheese to pepperoni, every slice will feel real. We’ll cover step-by-step how to make your pizza look tasty and fun. Grab your pencils and markers—it’s time to get creative. With just a few simple moves, you’ll master how to draw a pizza like a pro. Check out more drawing ideas and uploads now at dooduko.com!
How to draw a piece of pizza

Step 1: Draw a wide “V” shape with slightly curved lines to form the basic outline of the pizza slice’s triangle shape.
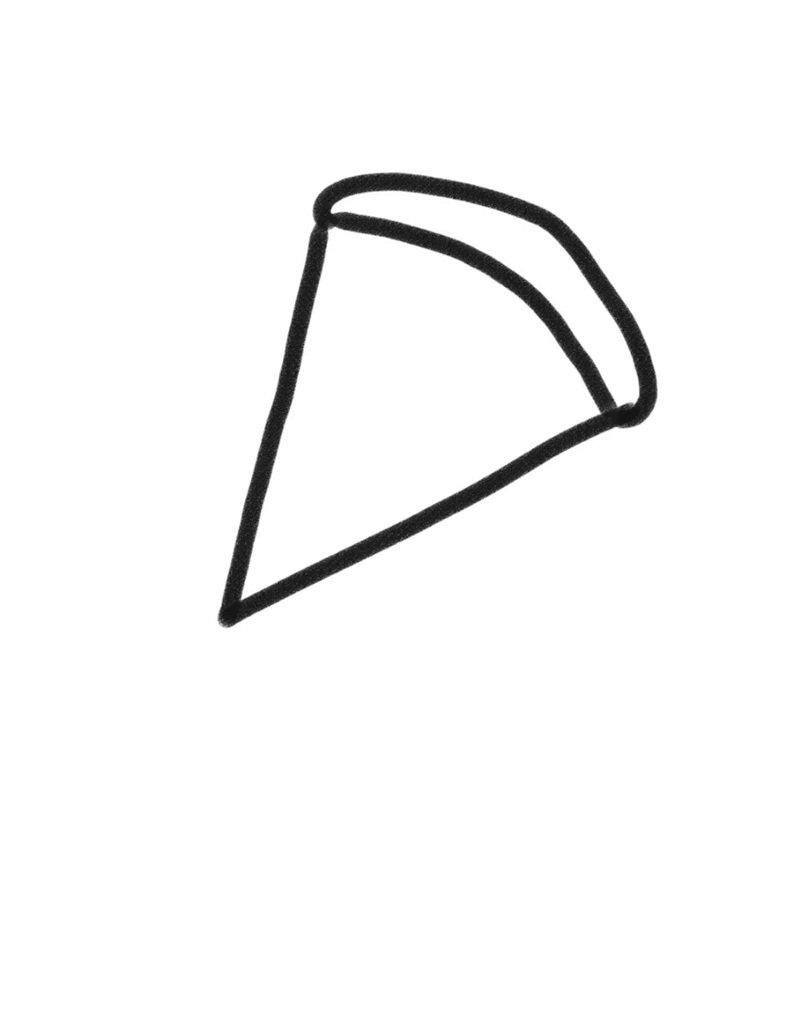
Step 2: Add a curved line across the top to create the crust, making sure it connects smoothly to the ends of the triangle.
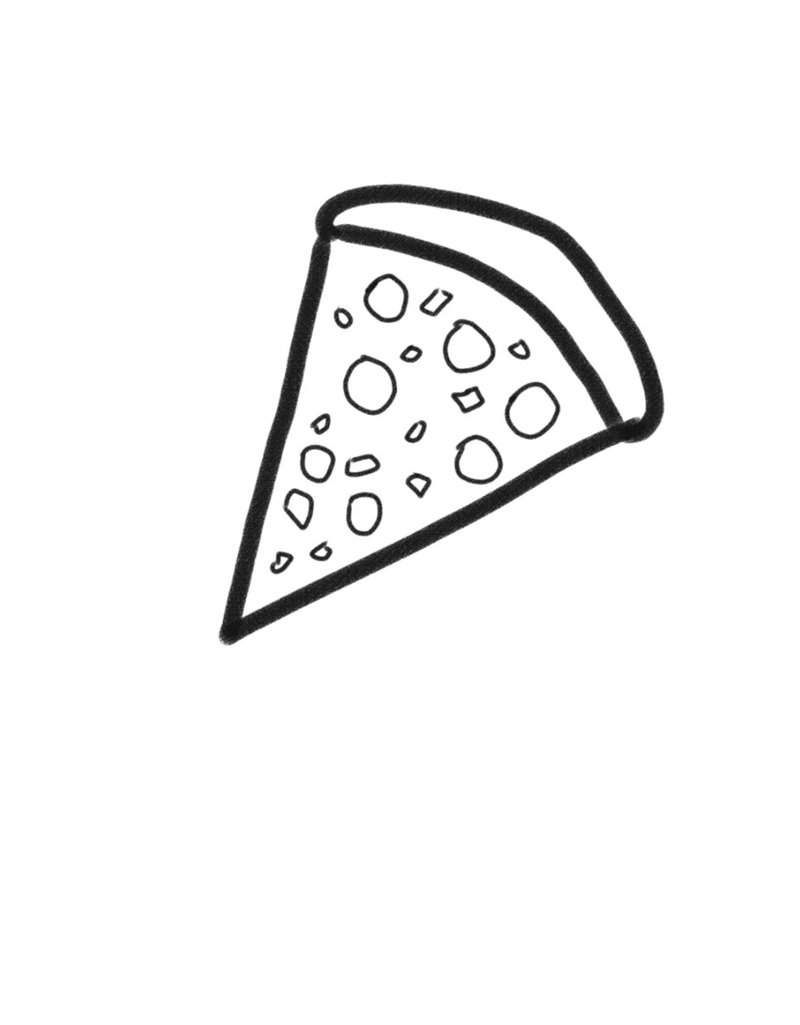
Step 3: Draw small circles and blobs inside the triangle to represent toppings like cheese and pepperoni slices
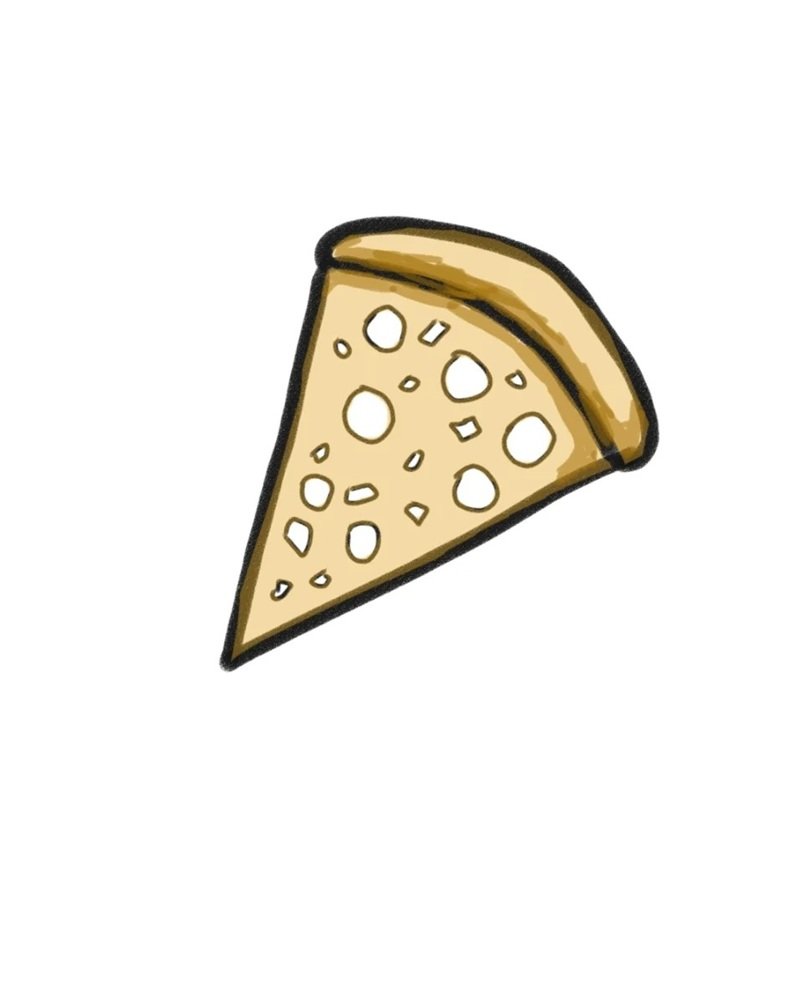
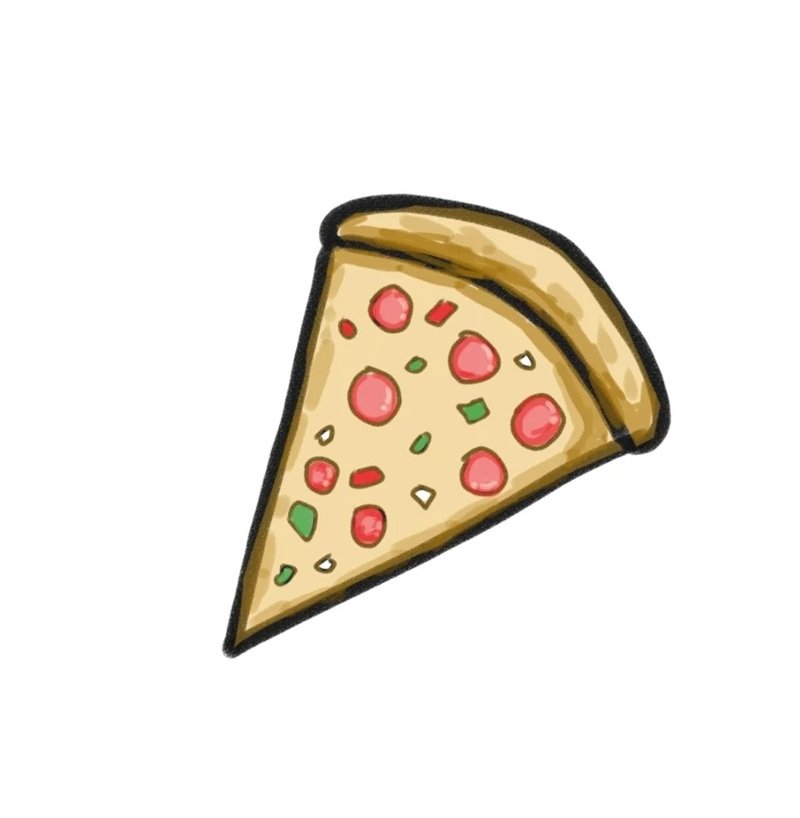
Step 4: Color the crust light brown, the cheese yellow-orange, and toppings red or brown to finish your realistic pizza slice drawing.
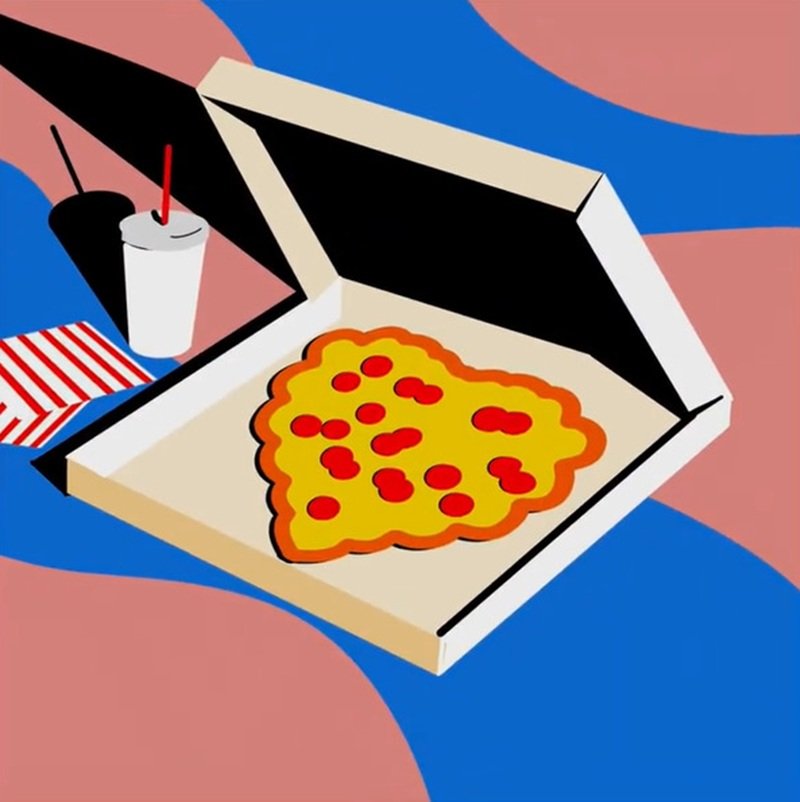
How to draw a pizza box

Step 1: Start by sketching a wavy background using curved lines for a fun, dynamic look before drawing the box.
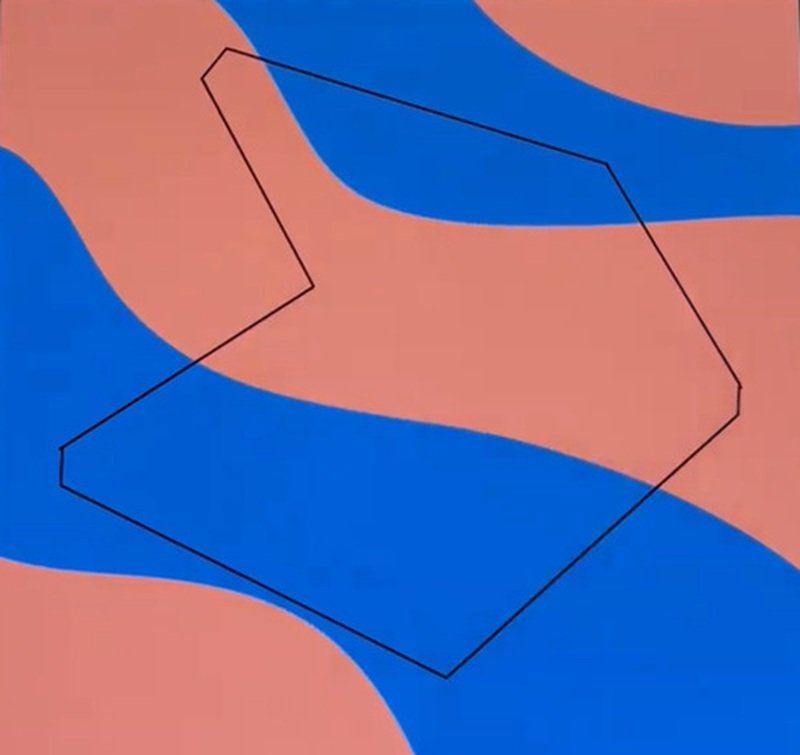
Step 2: Draw a flat diamond shape in the center to form the top view of the pizza box’s base.
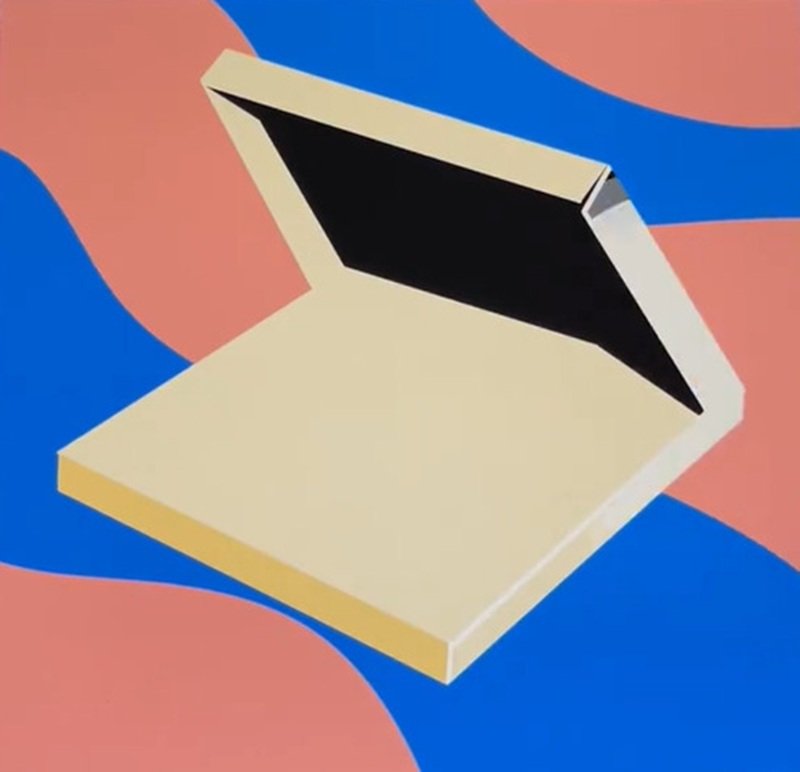
Step 3: Add 3D depth by drawing side panels and a lifted lid, giving the box an open look.
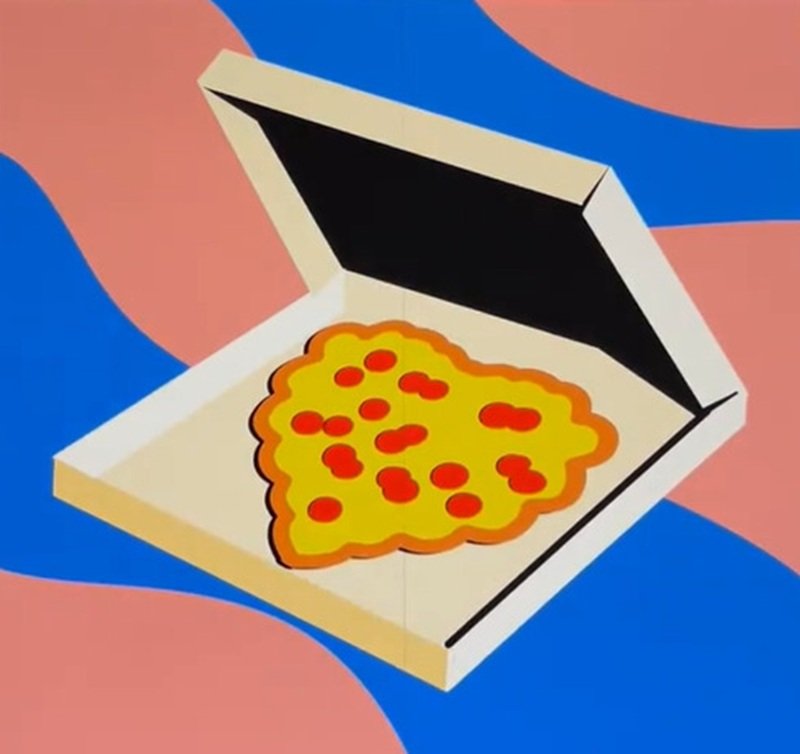
Step 4: Draw a round pizza inside the box and decorate it with toppings like pepperoni and cheese to complete the drawing.
How to draw a pizza easy


Step 1: Draw a large circle with a triangular slice missing to form the basic shape of a whole pizza with one piece taken out.

Step 2: Add a smaller circle inside to create the crust, then sketch various round and wavy shapes to suggest toppings.
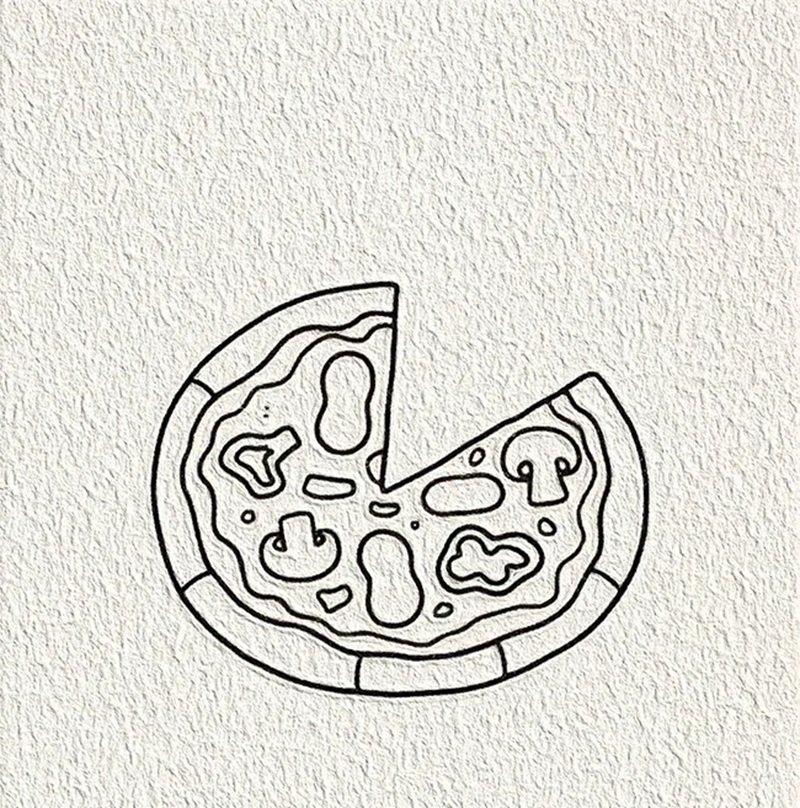
Step 3: Add more details like pepperoni, mushrooms, and olives to give your pizza a realistic and tasty look.

Step 4: Draw the missing pizza slice tilted upward, giving it a fun 3D look as if it’s being lifted from the plate.
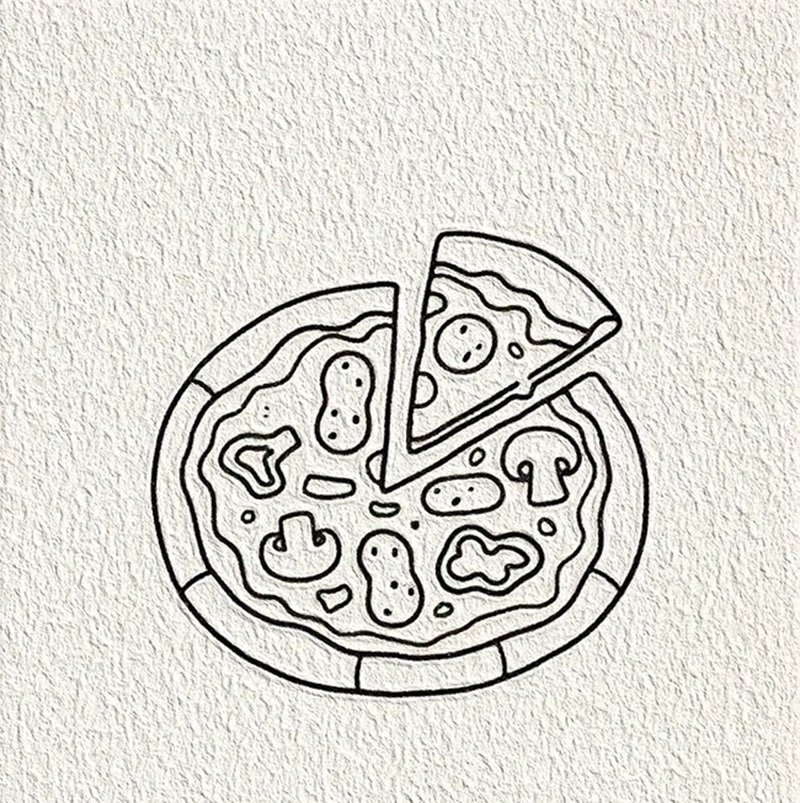
Step 5: Refine the toppings on the lifted slice and the remaining pizza, ensuring everything matches for a finished look.
How to draw a pizza slice
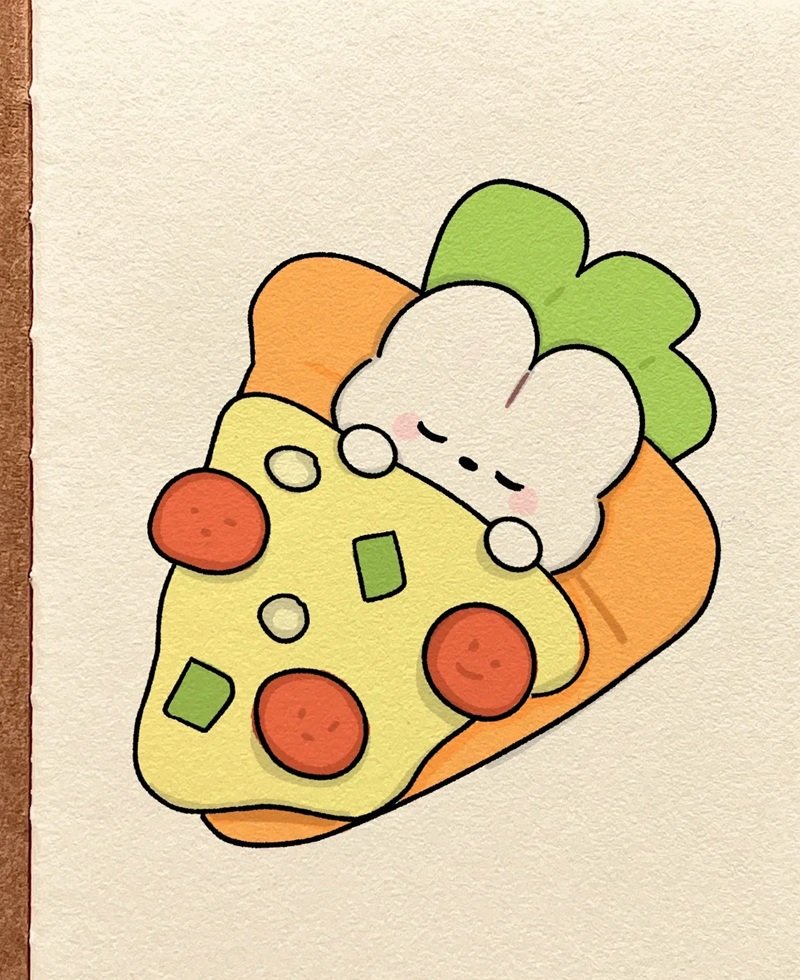

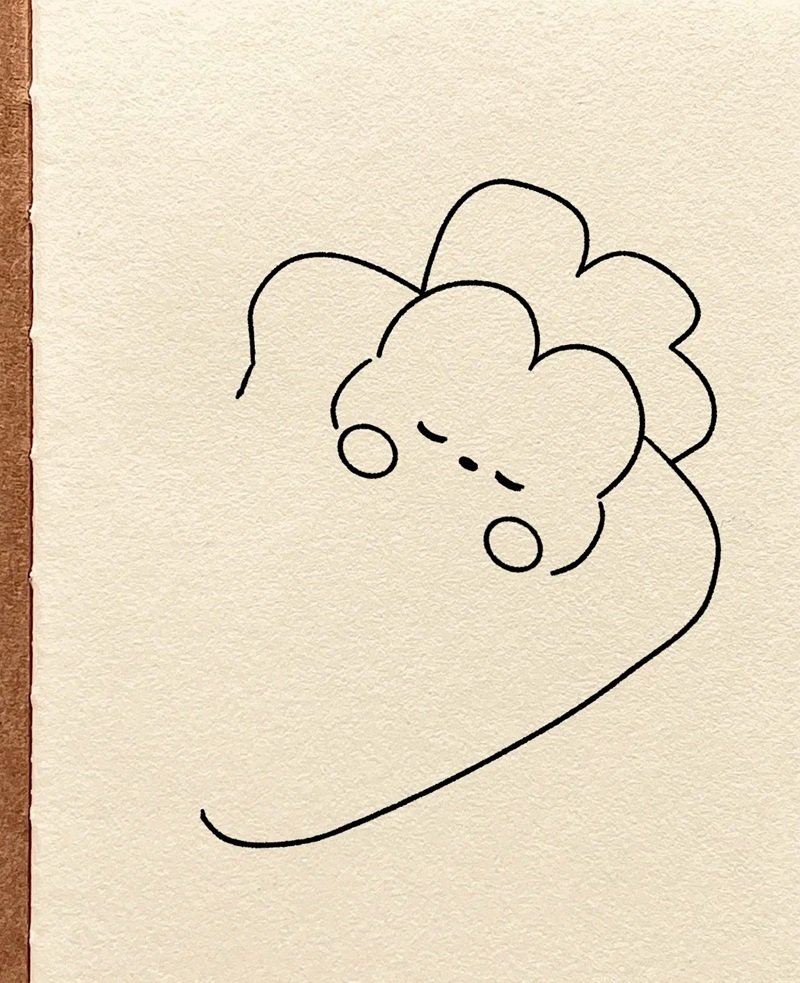
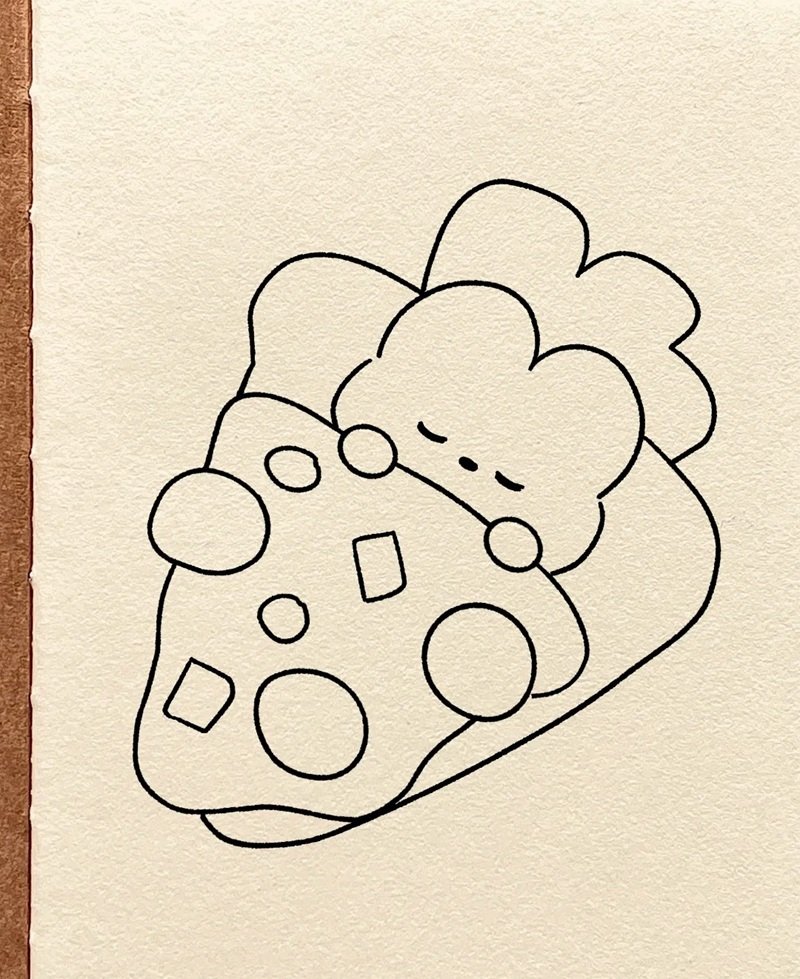
Step 1: Start by drawing a bumpy cloud shape at the top—this will become the crust of your pizza slice.

Step 2: Add some small curved lines inside the crust to show texture and depth for a fluffy, baked look.

Step 3: Extend the crust by connecting more curved lines to complete the rounded top part of the pizza.
Step 4: Draw two diagonal lines from the crust down to form the triangle shape of the pizza slice’s body.
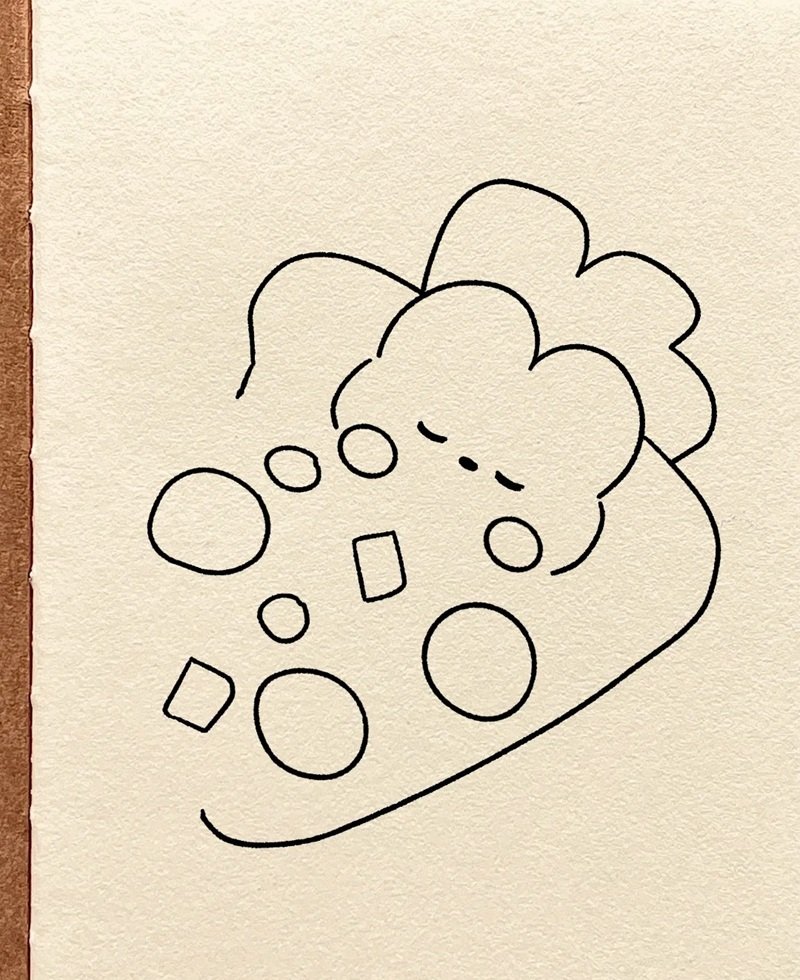
Step 5: Add circles and blobs inside the triangle to represent toppings like pepperoni and melted cheese.
Step 6: Outline all the shapes and details again clearly to finish the slice, making it look delicious and ready to serve.
How to draw a slice of pizza
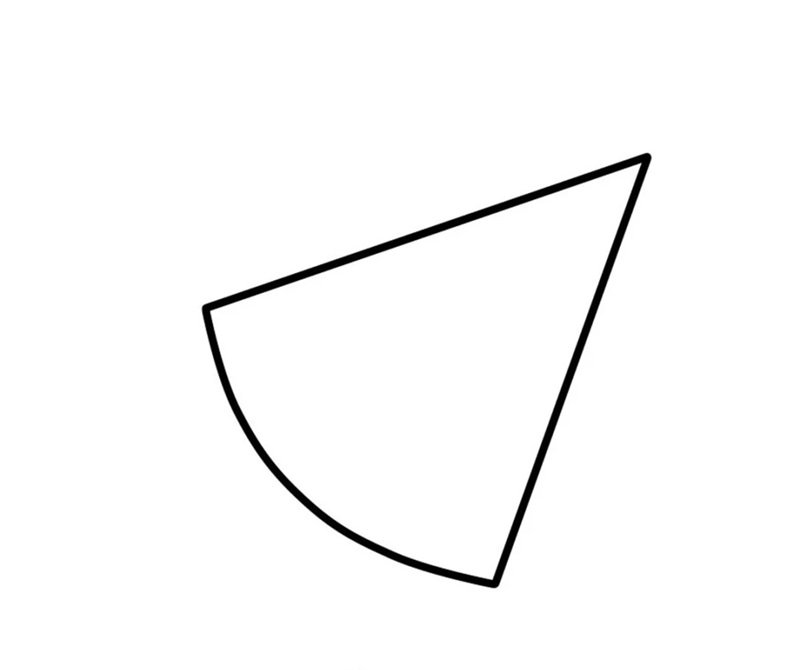
Step 1: Draw a triangle shape with a slightly curved bottom edge—this will form the base shape of your pizza slice.
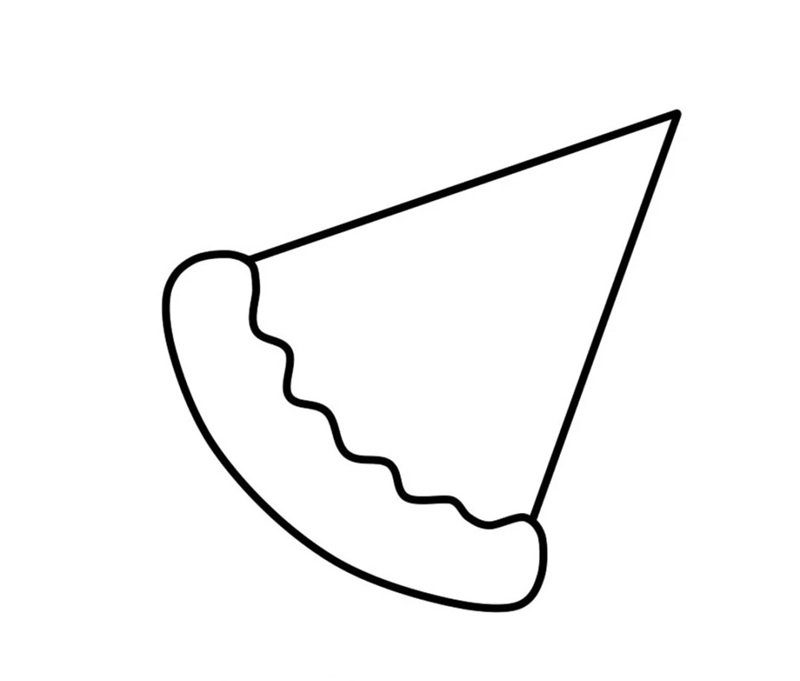
Step 2: Add a wavy line along the top of the triangle to create the crust, giving it a soft and fluffy look.
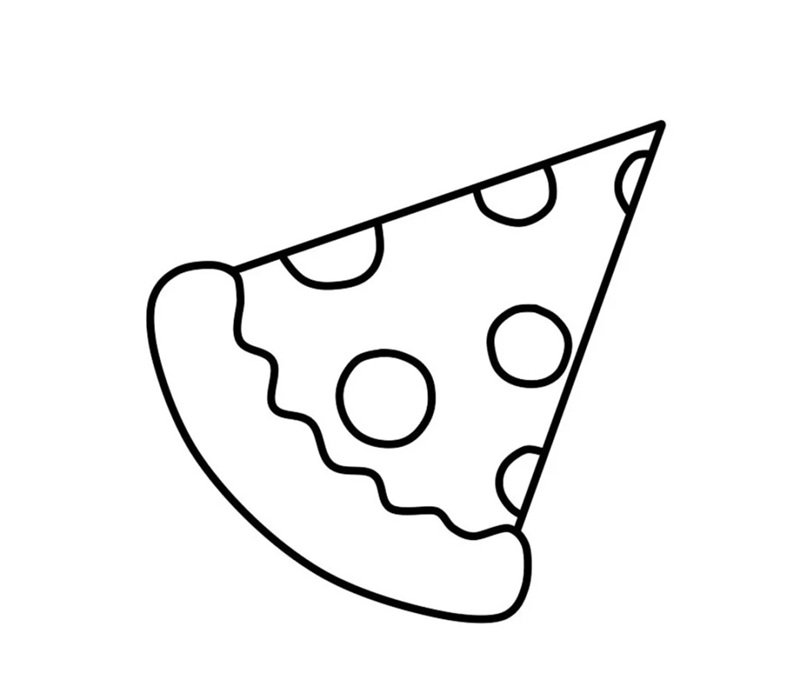
Step 3: Draw large circles and irregular blobs inside the triangle to represent cheese and toppings like mushrooms and pepperoni.
Step 4: Add smaller toppings and extra curves around the cheese to make the pizza look gooey and realistic.

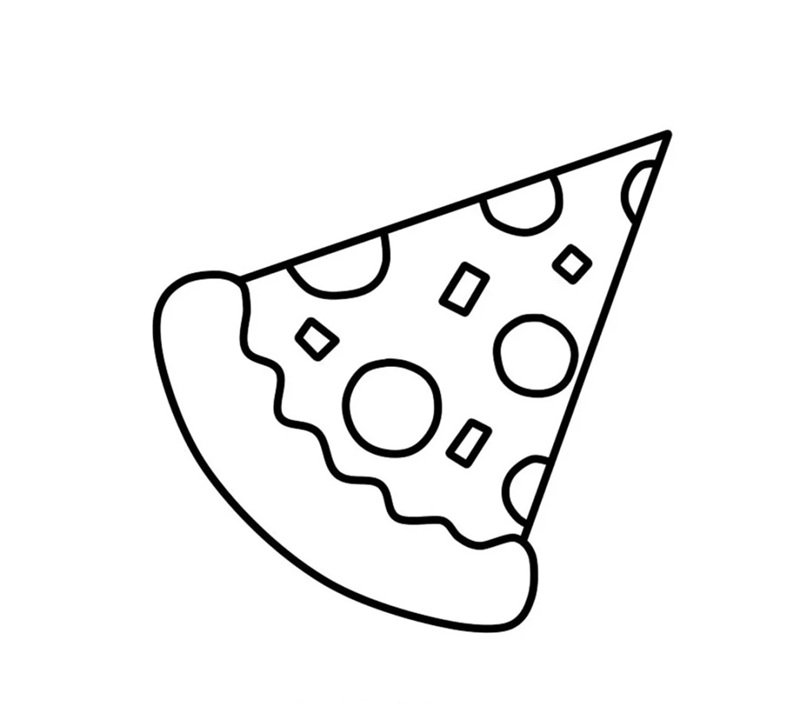
Step 5: Finalize by outlining everything clearly and adding extra dots or texture details to complete the mouthwatering pizza slice
See more:
6+ quick tutorials to master how to draw a pineapple today
Top 7 tips on how to draw a Peacock like a pro
How to Draw a Paw Print in 6 Simple, Fun, and Quick Steps
Drawing a pizza isn’t just a creative exercise — it’s a way to express fun, flavor, and personality through art. From the crust to the toppings, each detail adds life to your drawing. No matter your level, keep practicing and trying new ideas. Your pizza artwork might just be the slice of creativity others crave! Stay inspired and let your imagination rise—just like dough!