Looking to learn how to draw a cap in a fun and easy way? Whether you’re a total beginner or someone with drawing experience, this guide is perfect for you. We’ll walk you through simple steps and creative styles that bring your cap sketches to life. No fancy tools needed—just grab a pencil and paper to get started. This tutorial focuses on styles loved by today’s youth, blending trendiness with technique. From sporty caps to cute cartoon styles, there’s something for every vibe. Explore more unique drawing ideas now on dooduko.com!
How to draw a cap


Step 1: Draw two short parallel lines in the center to form the base of the cap’s front panel.

Step 2: Add a small horizontal curve connecting the lines to shape the front brim.

Step 3: Sketch a rounded dome on top to outline the cap’s crown and make it look 3D.

Step 4: Add a brim curve in front and a button on top to complete the classic cap shape.
How to draw a cap beautiful

Step 1: Draw two short vertical lines to start the base of the cap.

Step 2: Connect them with a wide U-shape curve to form the bottom part.

Step 3: Add a curved rectangle on top to build the lower crown.

Step 4: Draw a tilted diamond above to outline the flat square top.

Step 5: Trace the full diamond clearly to complete the mortarboard.

Step 6: Add a small center dot and a line across for the button and string.
How to draw a cap easy
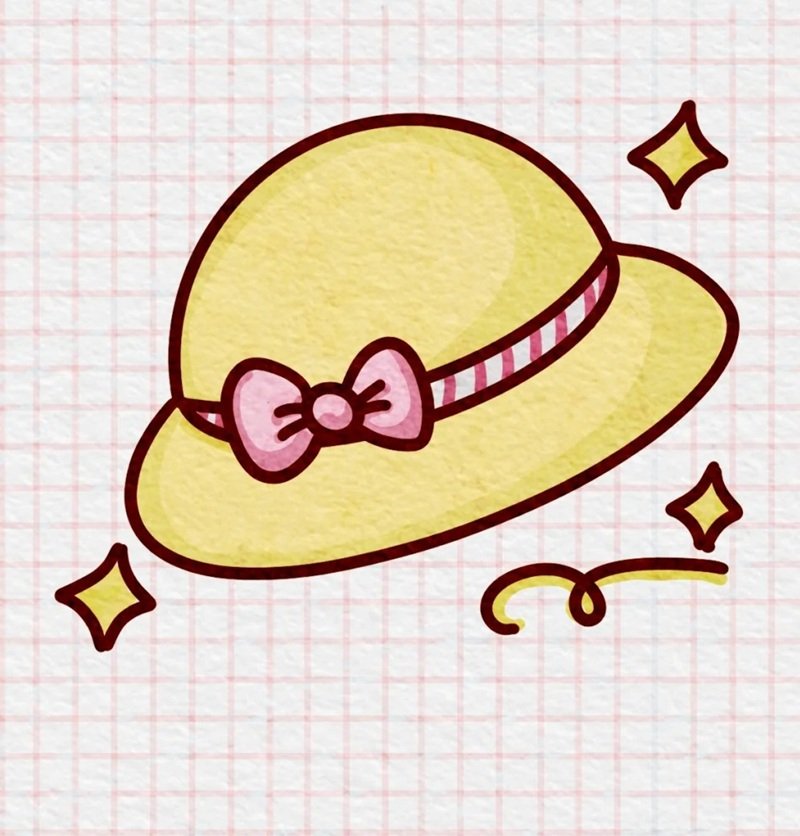

Step 1: Draw a small bow in the center to be the decorative part of the hat.
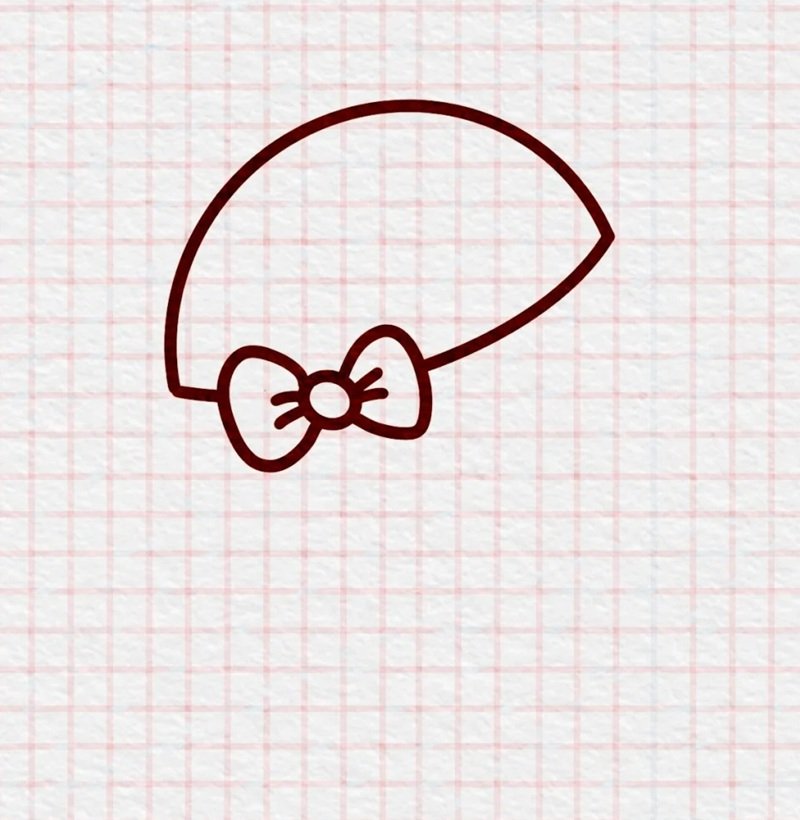
Step 2: Sketch a curved dome over the bow to shape the top of the hat.
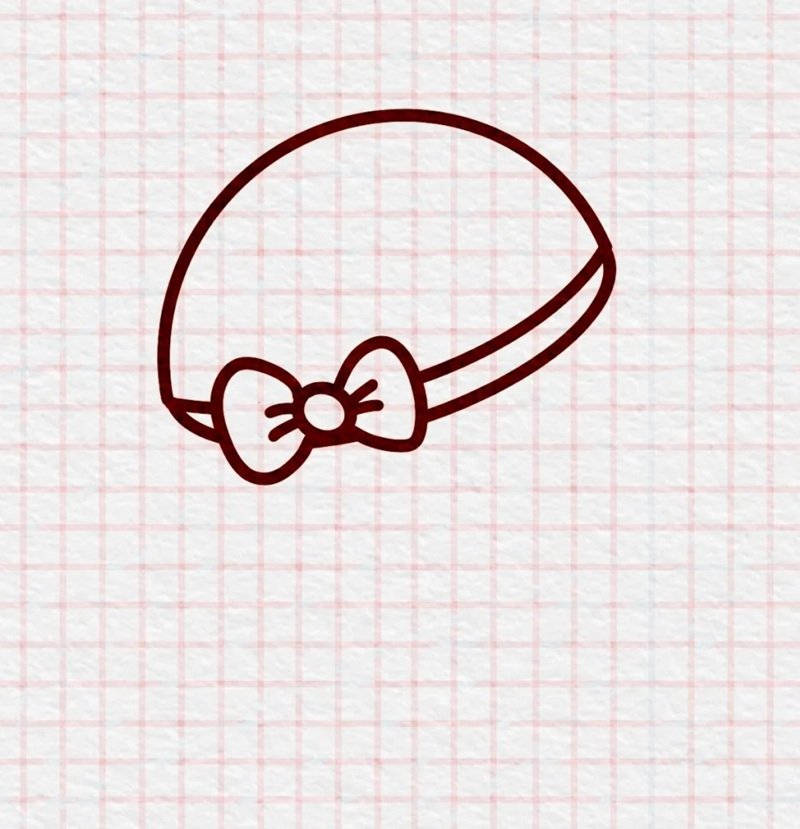
Step 3: Add a bottom curve that hugs the dome to form the hatband.
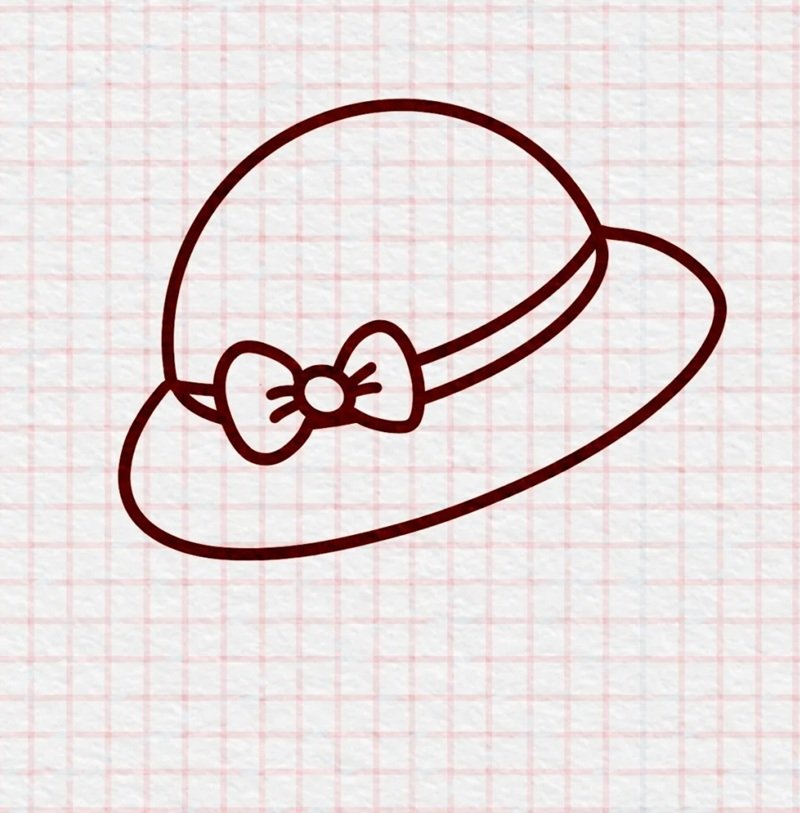
Step 4: Draw a wide oval brim below to complete the full hat shape.

Step 5: Add sparkles and curve details to make the hat look charming and stylish.
How to draw a cap step by step
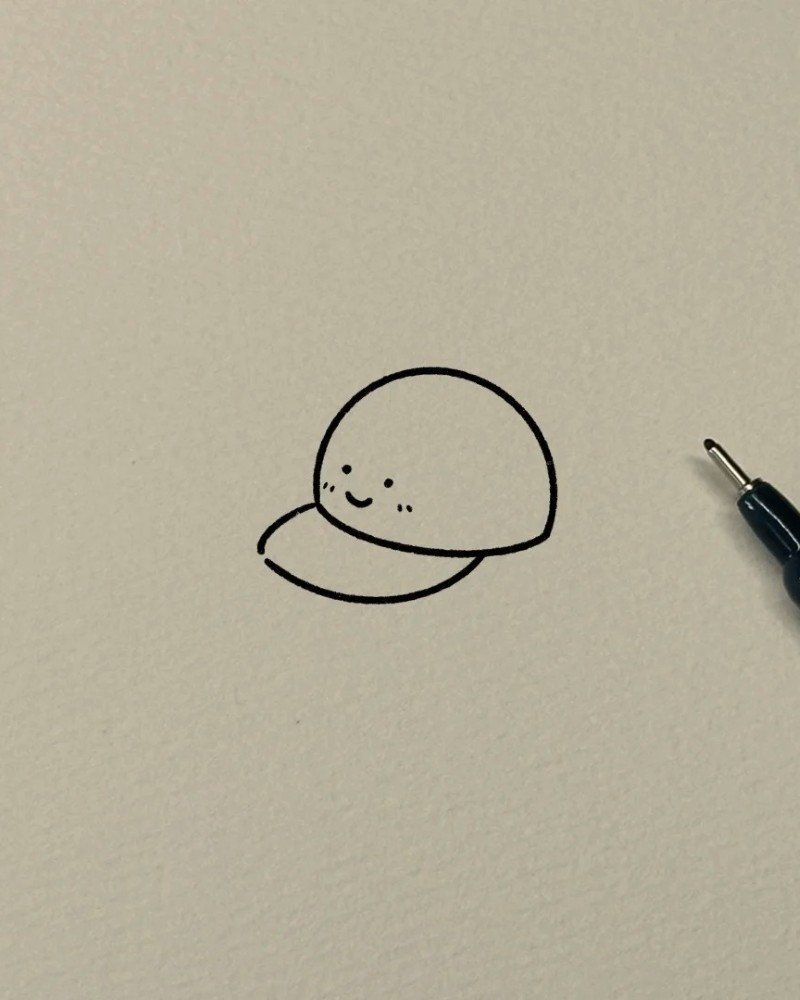
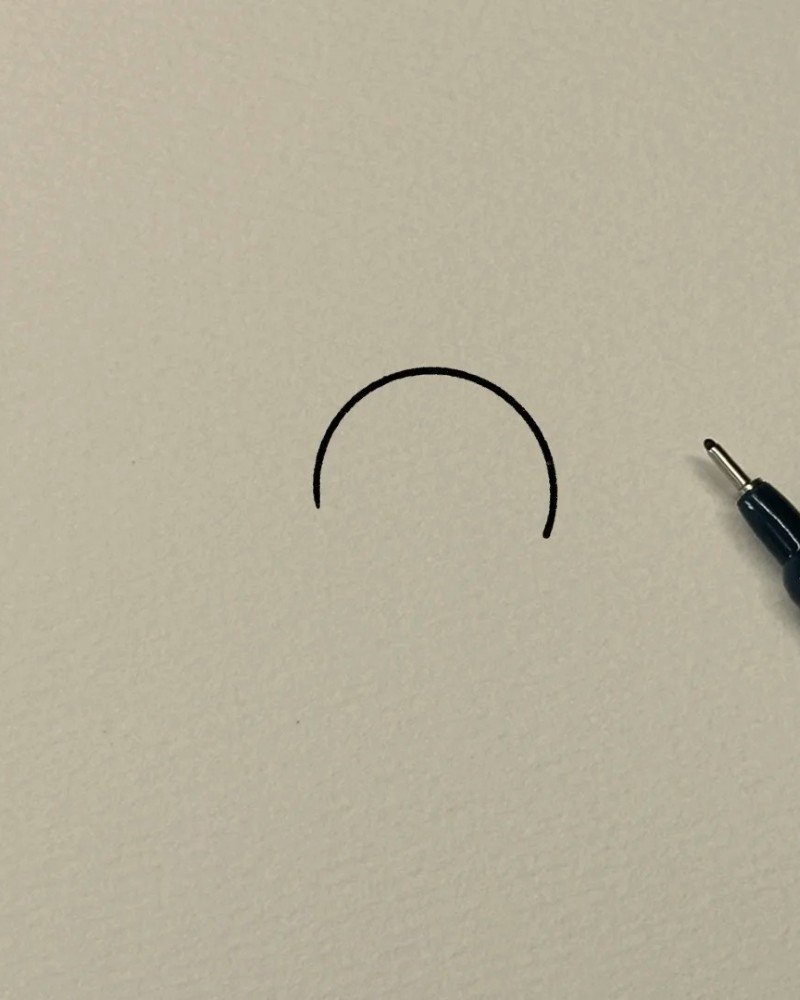
Step 1: Draw a curved arc to form the top dome of the cap.
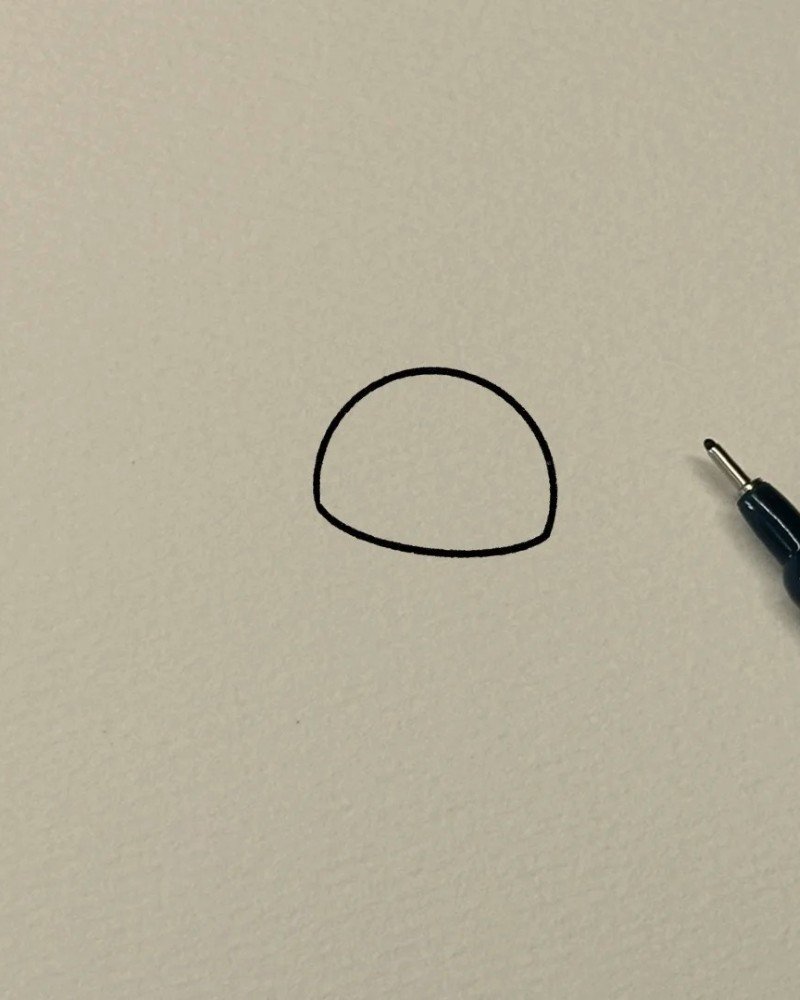
Step 2: Connect the arc into a rounded shape to create the cap’s crown.
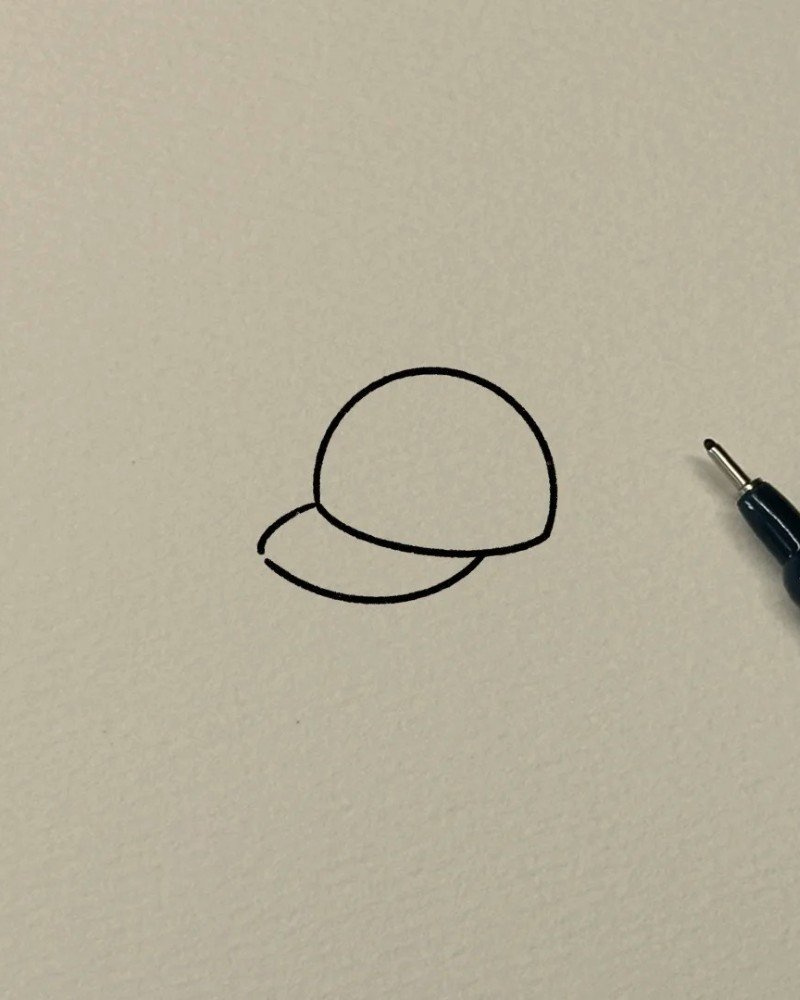
Step 3: Add a curved brim below to complete the basic cap outline.
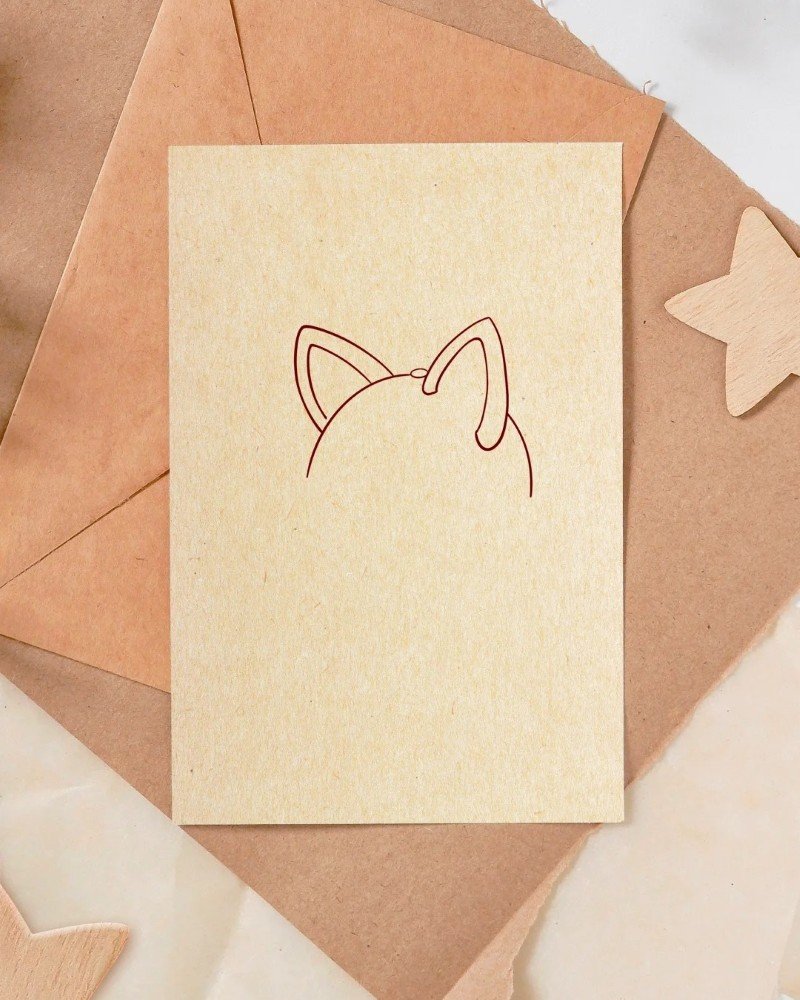
How to draw a cap for kids
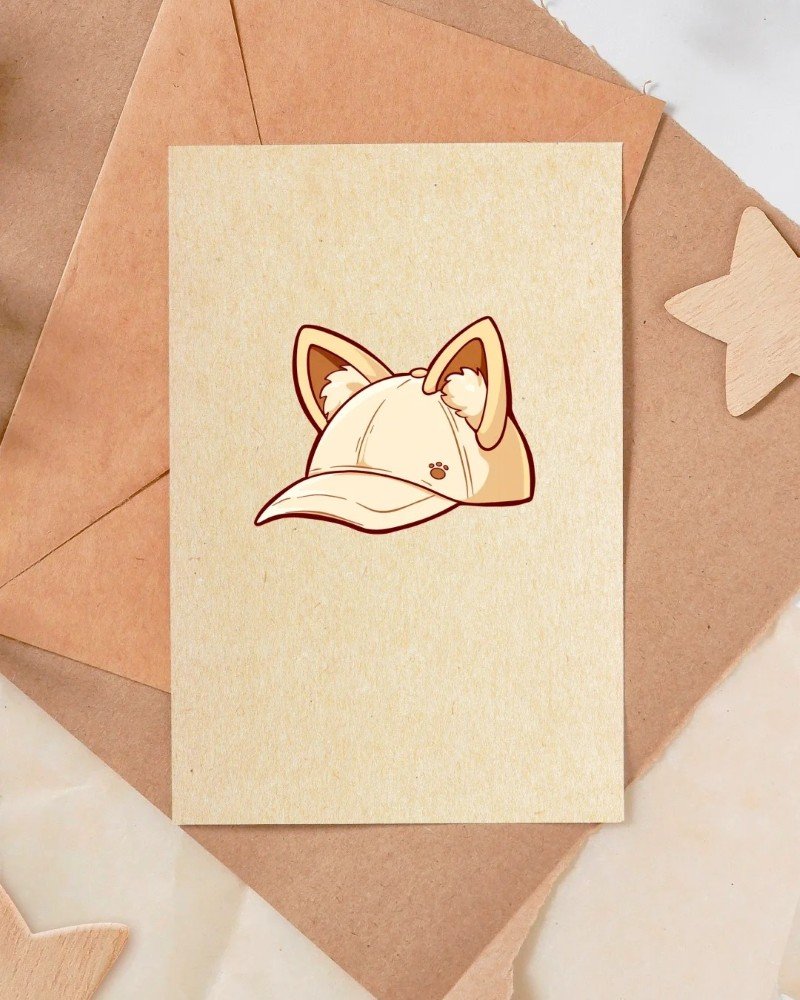

Step 1: Start with a curved shape to form the top of the cap.

Step 2: Draw a small peak in the middle to begin shaping the front.
Step 3: Add curves on both sides to build the base of the cap.
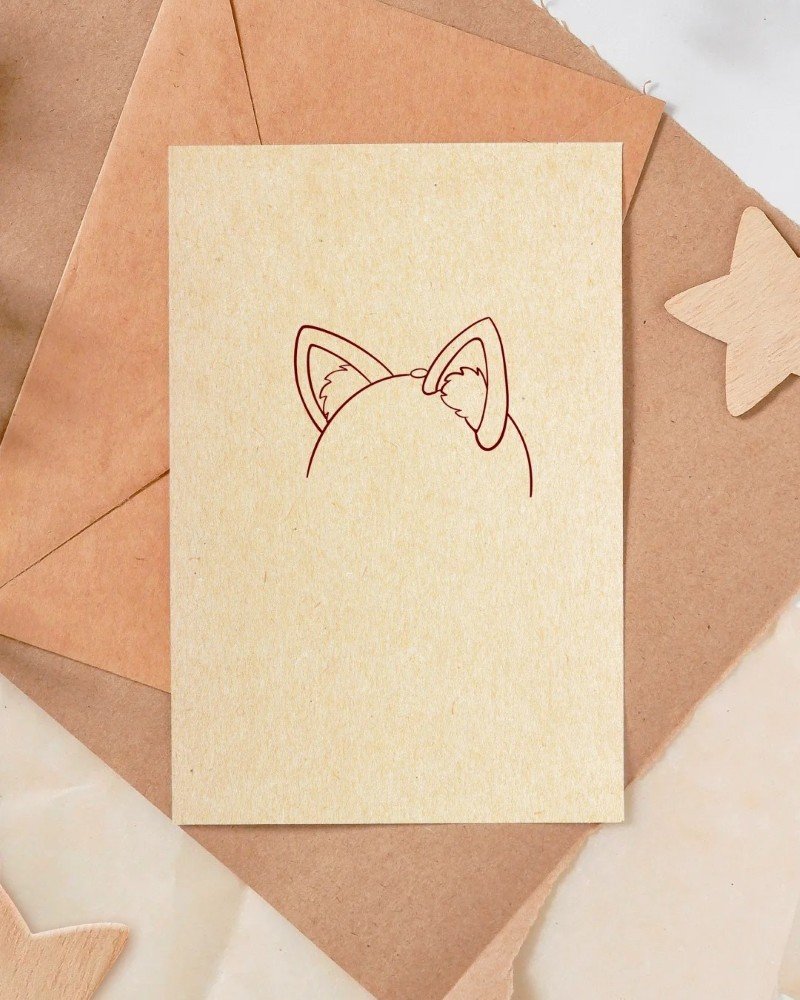
Step 4: Sketch a fluffy, cartoon-like brim across the bottom.
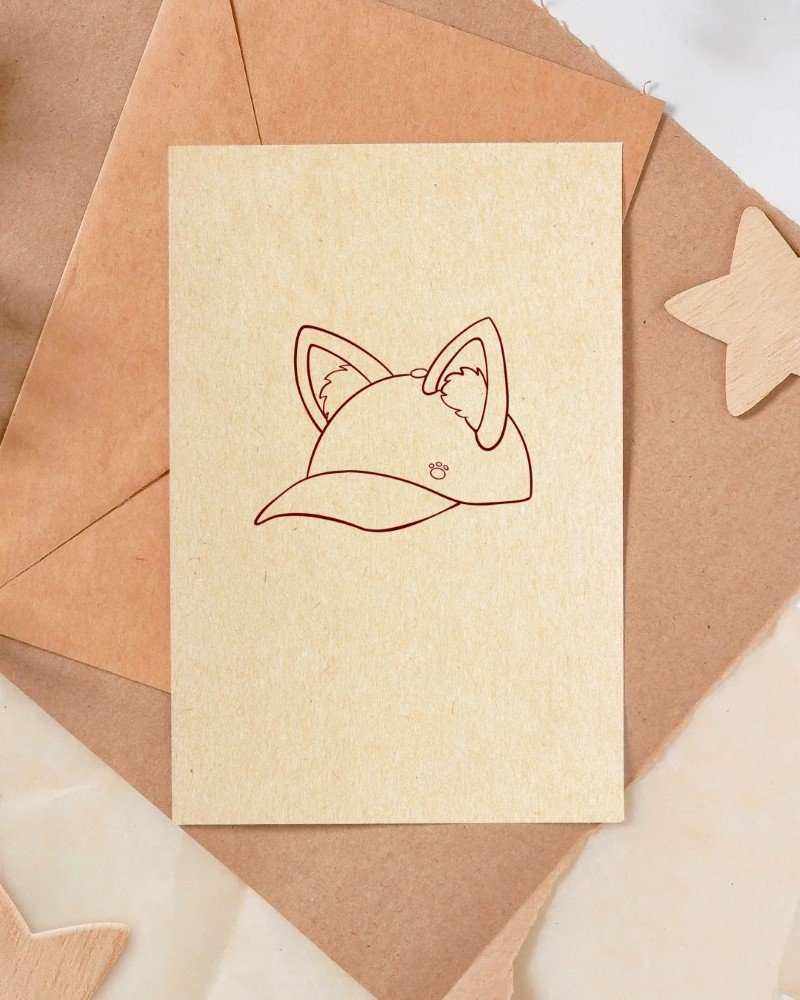
Step 5: Add cat-like ears on top to make the cap playful and fun.

Step 6: Draw facial lines and details to bring the character to life.
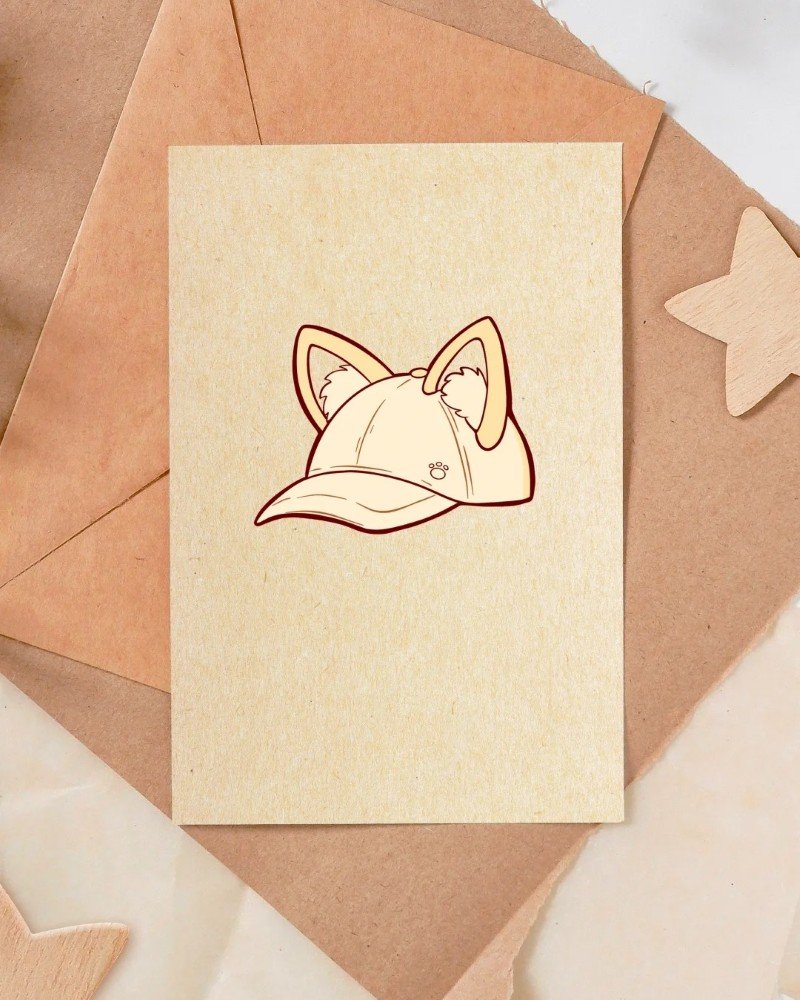
Step 7: Finalize with clean outlines and extra curves to complete the cute cap.
See more:
Top 5+ tutorials on how to draw a candy cane for kids
6+ creative ways to master how to draw a camera
Master how to draw a bat in just 4 easy-to-follow steps
Learning how to draw a cap has never been this easy and exciting. With step-by-step instructions and modern styles, you can create eye-catching cap drawings in no time. Practice regularly, try new shapes and angles, and express your own creativity in every sketch. Whether you draw for fun, for school, or as part of your art journey, each cap you draw adds to your skills and style. Keep exploring, stay inspired, and don’t forget to check out more awesome art tutorials to level up your drawing game!