Learning how to draw a microphone is not just about sketching a musical tool — it’s about expressing your voice visually! Whether you’re into podcasting, rap, karaoke, or just love music, drawing a mic adds a fun flair to your art skills. From retro vibes to modern stage mics, each type tells a story. In this article, we’ll walk you through various ways to draw a microphone — from easy doodles to realistic styles. Perfect for beginners, kids, and even aspiring artists who want to spice up their sketchbooks. Simple tools, step-by-step guides, and creative sparks await you. Let’s bring your microphone sketch to life with dooduko.com as your creative sidekick!
How to draw a cartoon microphone
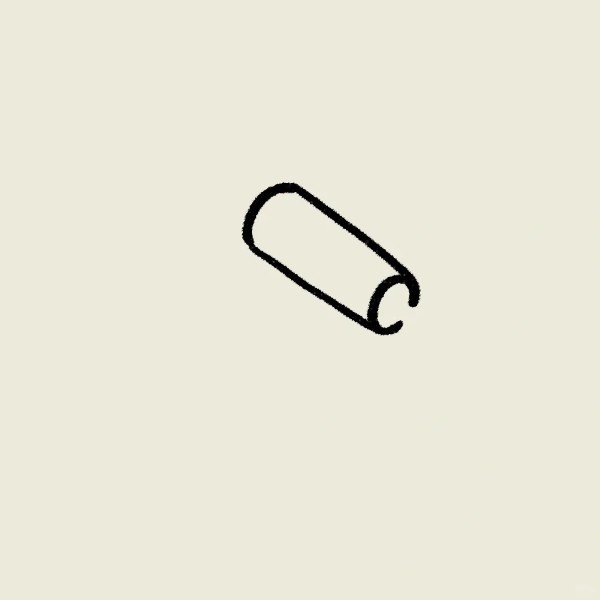
Step 1: Draw a small slanted cylinder to form the microphone’s body, keeping the lines light and simple for adjustments later.
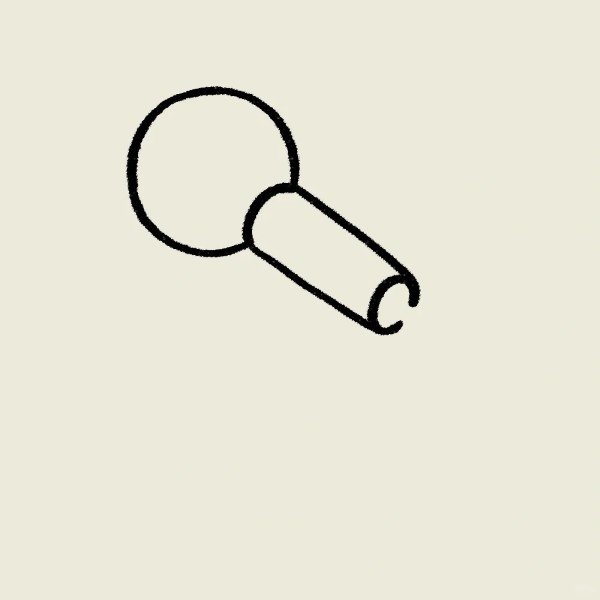
Step 2: Add a circle at the top of the cylinder to begin shaping the mic head, making sure it overlaps slightly with the body for connection.
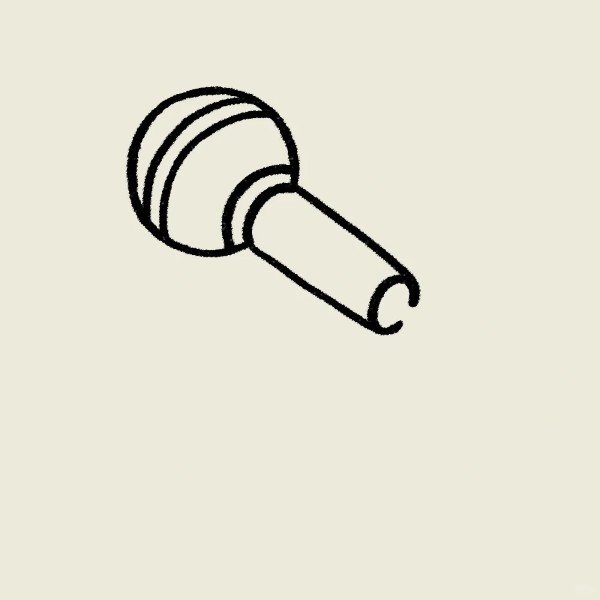
Step 3: Draw a ring around the base of the circle to represent the connector ring between the mic head and the body.
Step 4: Add curved lines around the mic head to simulate a mesh-like texture, giving it a realistic cartoon feel.

Step 5: Complete the head by thickening the lines and adding more mesh detail for depth and dimension.
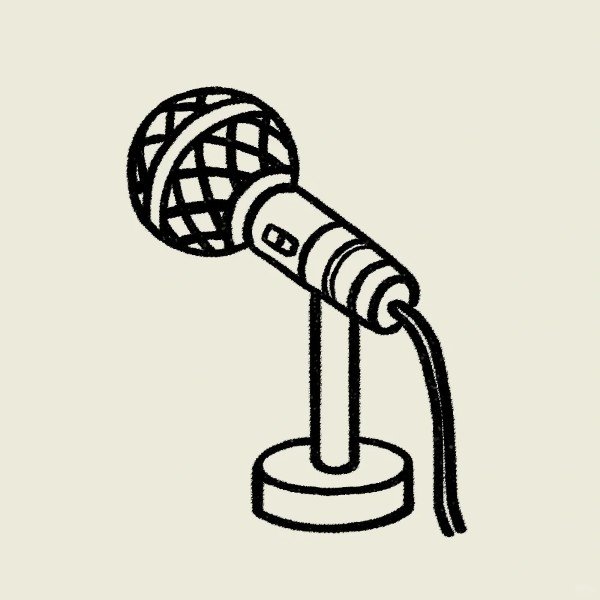
Step 6: Add a small angled line to show where the cord would connect, giving your mic a dynamic and complete look.

Step 7: Draw a base stand below the mic and connect it with a small arm to make it look like a desk microphone setup.
How to draw a easy microphone
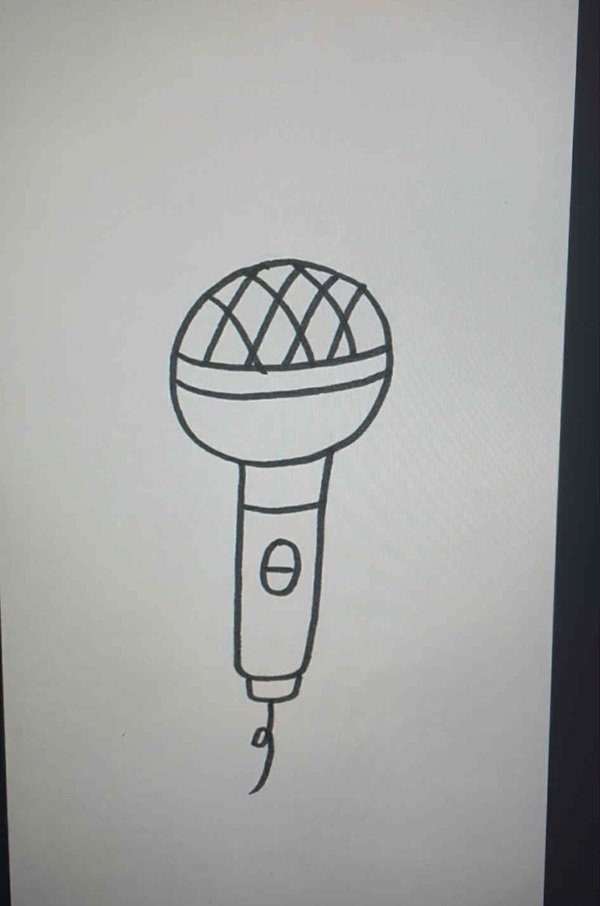
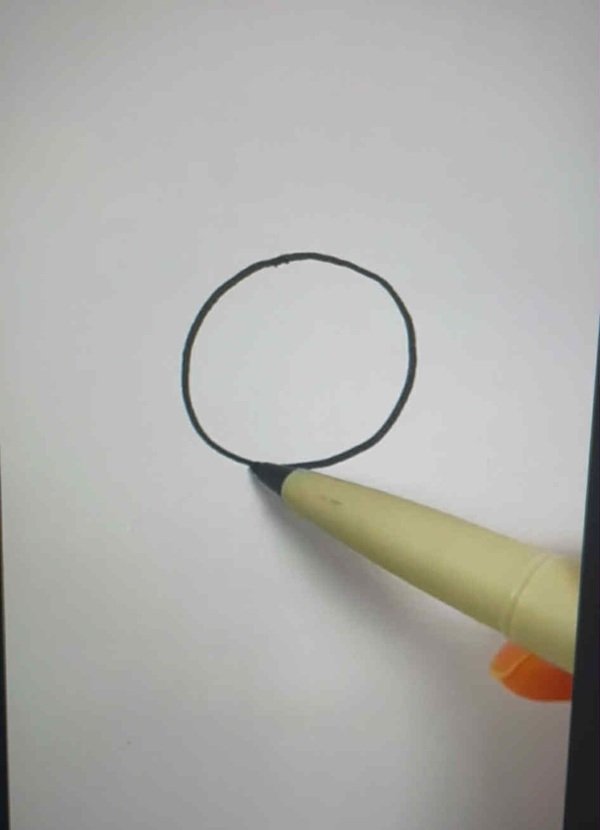
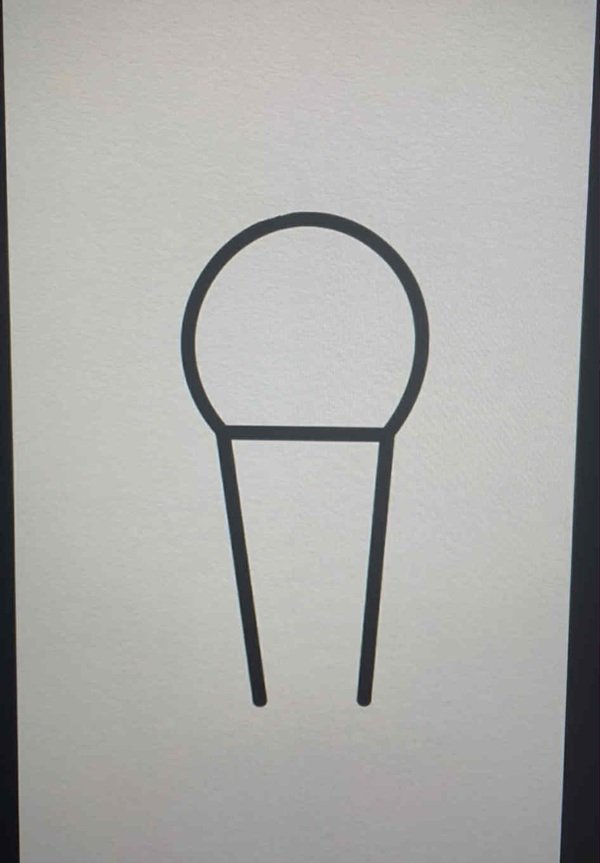
Step 1: Draw a perfect circle near the top of your paper to form the head of the microphone; use a pencil for easy erasing if needed.
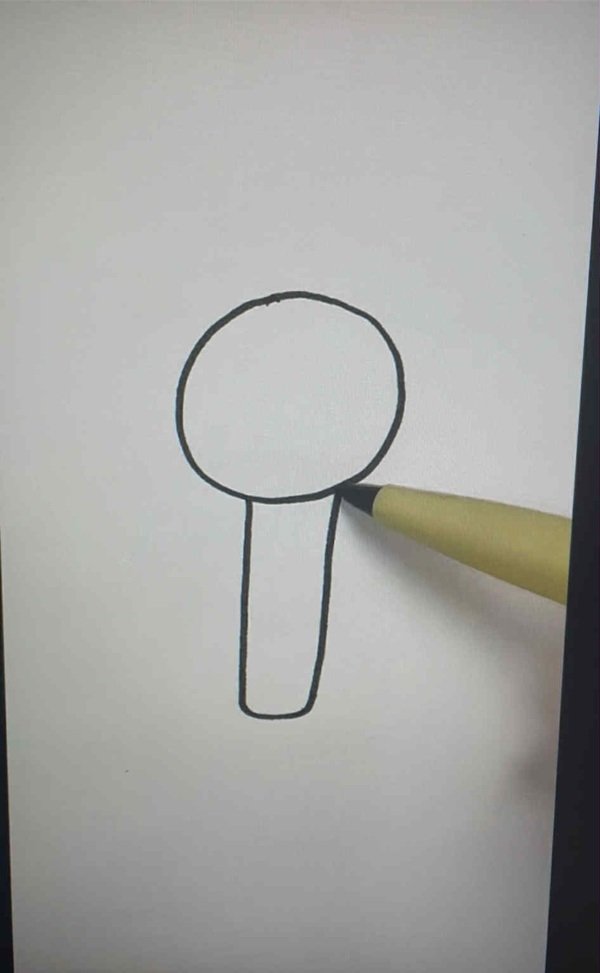
tep 2: Add a short vertical line going down from the circle and connect it with two curved lines to form the microphone handle.
Step 3: Draw two curved lines near the bottom of the circle to create the mic’s metal grille section, showing separation from the body.
Step 4: Add a small rectangle near the center of the handle for the power button, keeping it centered and aligned vertically.
Step 5: Draw a small circle just below the grille section to represent a light indicator or screw on the mic’s body.
Step 6: Add diagonal curved lines inside the mic head to give it texture and create a detailed mesh appearance.
How to draw a microphone
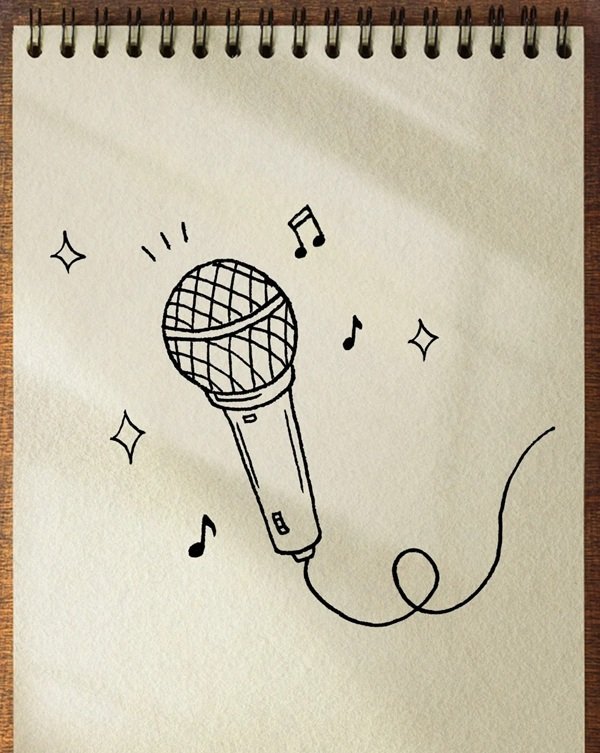
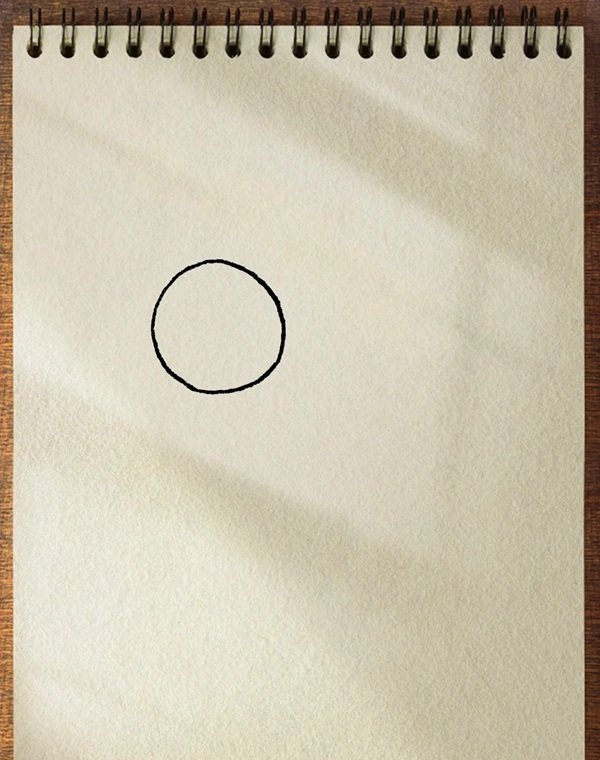
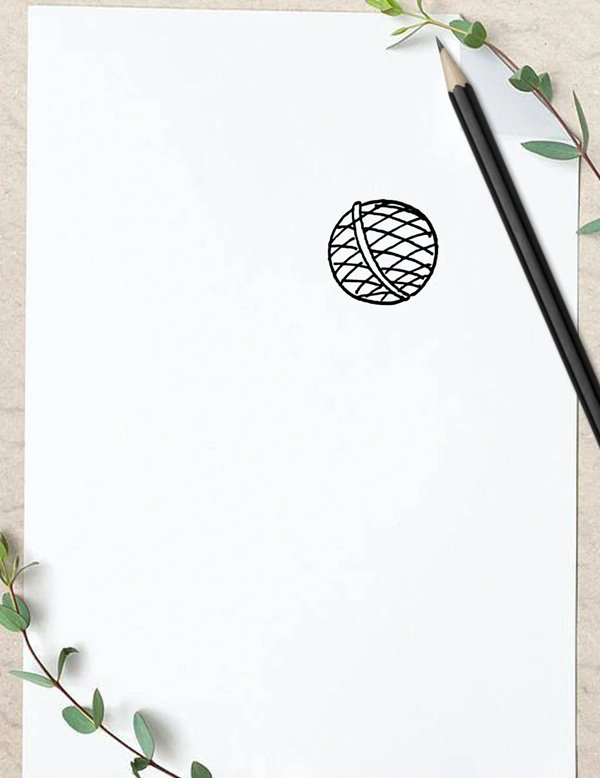
Step 1: Begin with a neat circle in the center of your page — this will be the top grille part of the microphone.
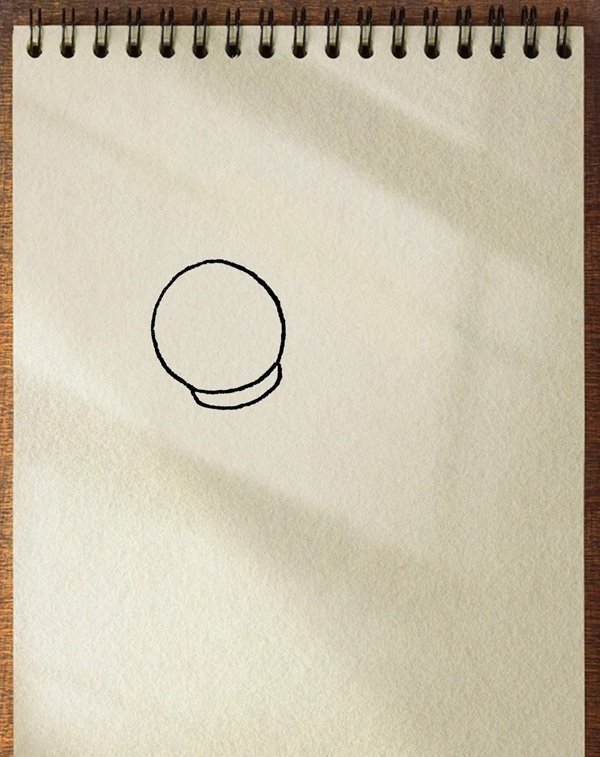
Step 2: Add a slight curve to the circle edge and draw a small ellipse to give the mic head a 3D tilt and realistic angle.
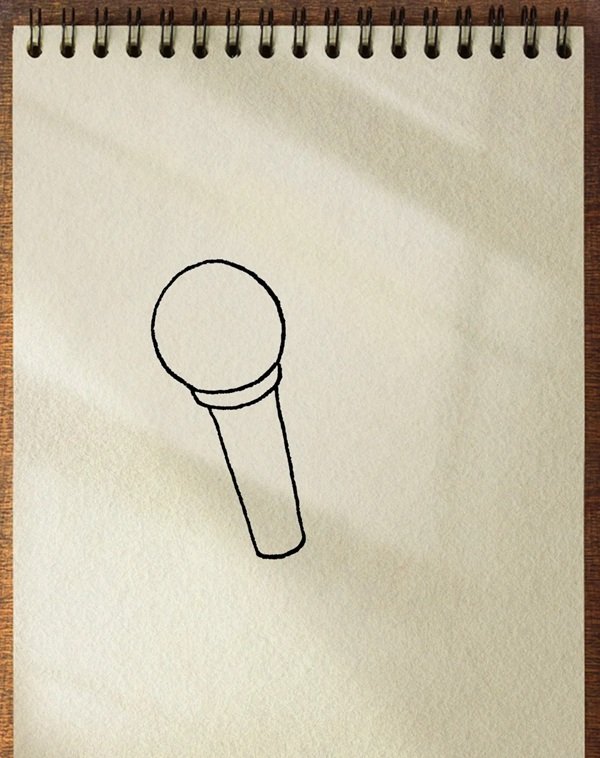
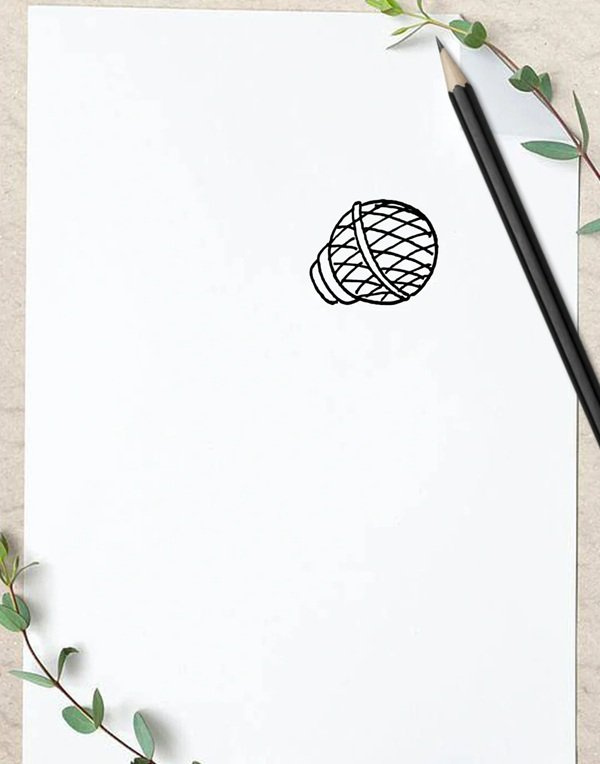
Step 3: Sketch a slanted rectangle connected to the mic head for the body, then curve the bottom slightly to make it more natural.
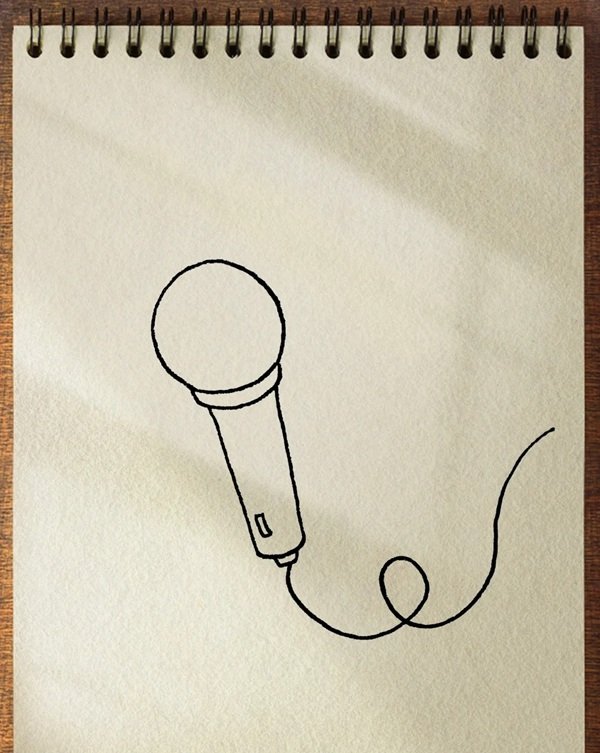
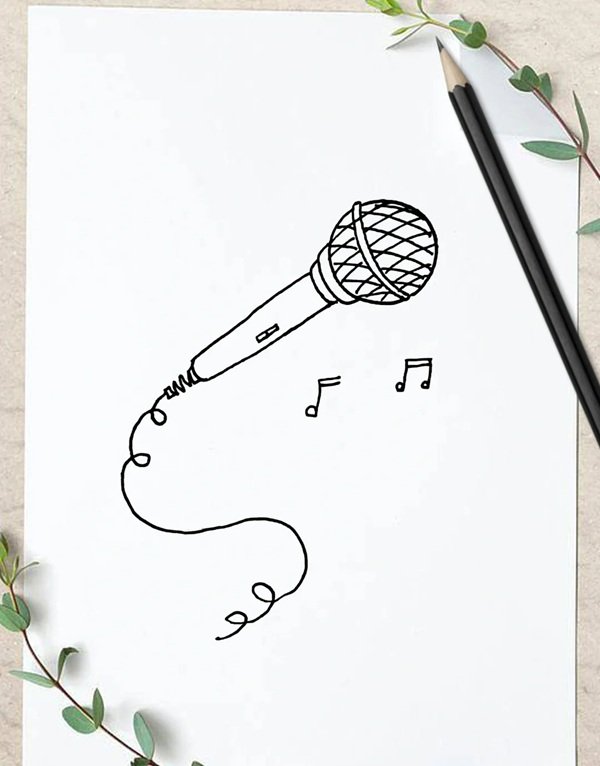
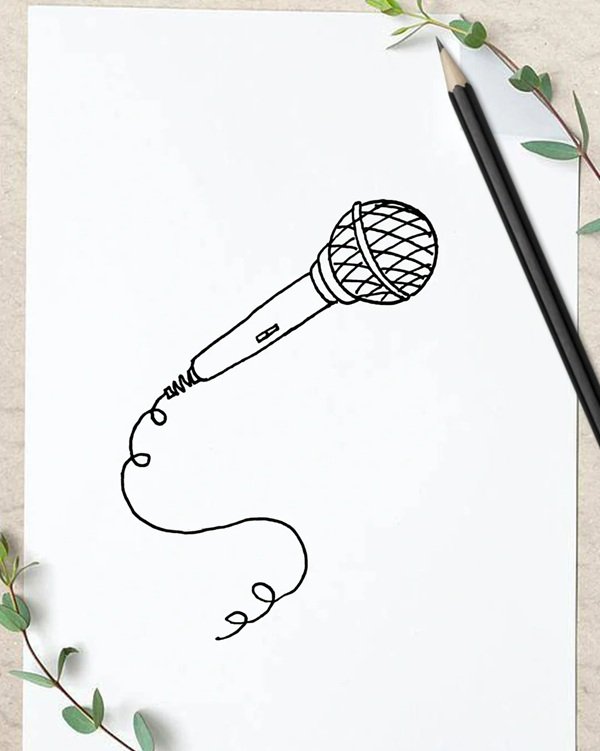
Step 4: Draw a long cord from the bottom of the mic body, letting it curve freely to bring movement and flow to your drawing.

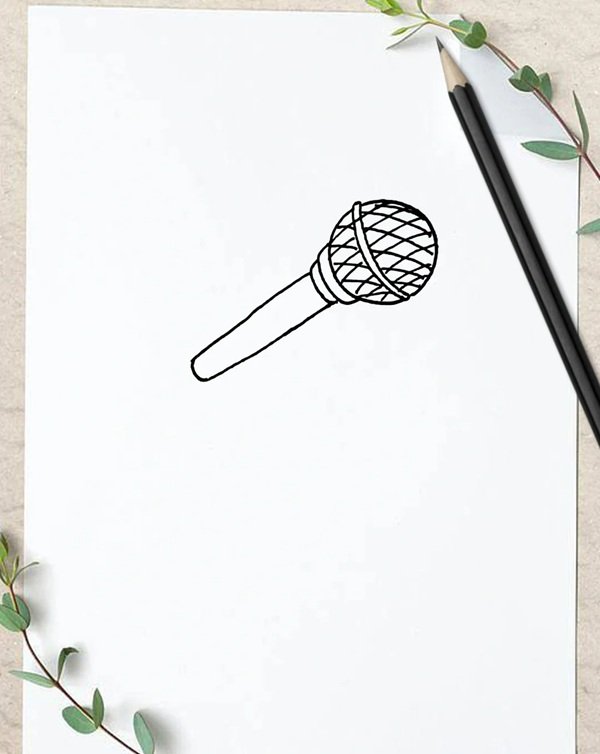
Step 5: Add crosshatch lines inside the mic head to create a detailed grille texture, completing the realistic look of the microphone.
How to draw a microphone beautiful
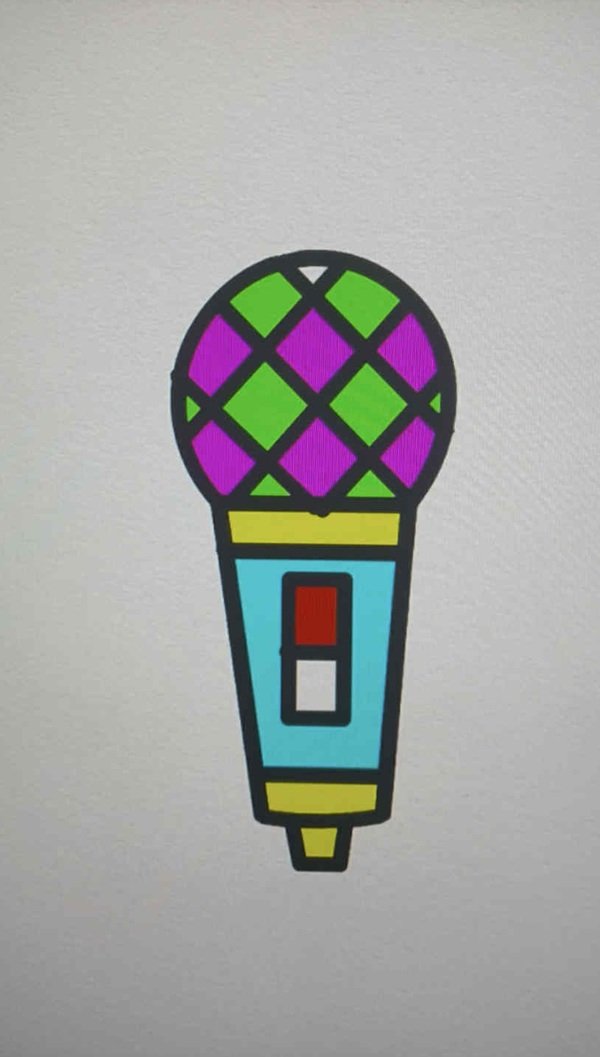
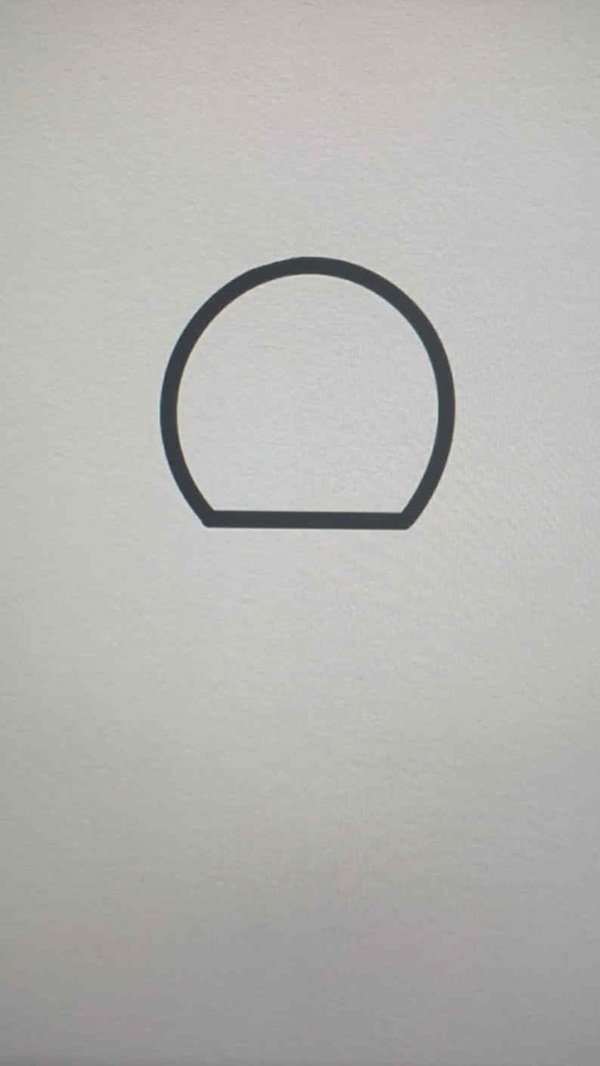
Step 1: Draw a semicircle facing down to create the top of the microphone, then add a straight line underneath to begin shaping the body.
Step 2: Extend two straight lines down from each side of the semicircle and connect them with a short horizontal line to form the mic handle.
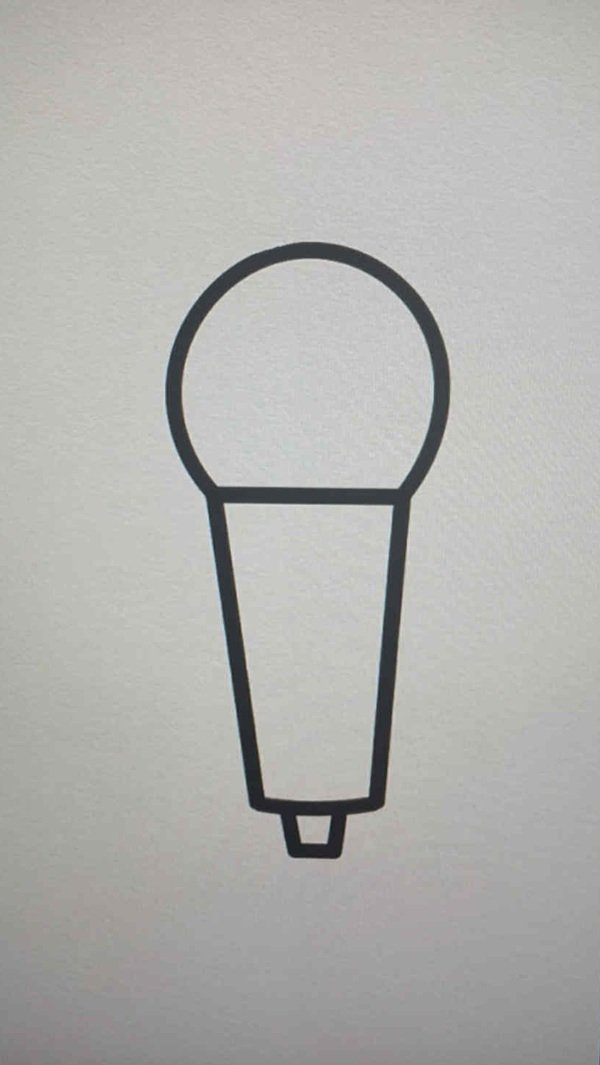
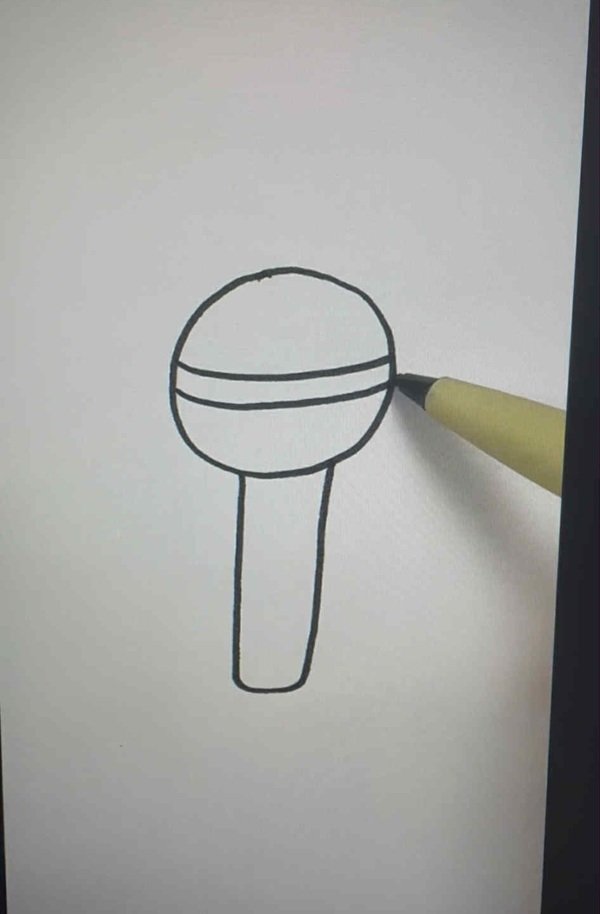
Step 3: Draw a large circle enclosing the semicircle to finish the full mic head, making sure it’s proportionate and centered above the handle.
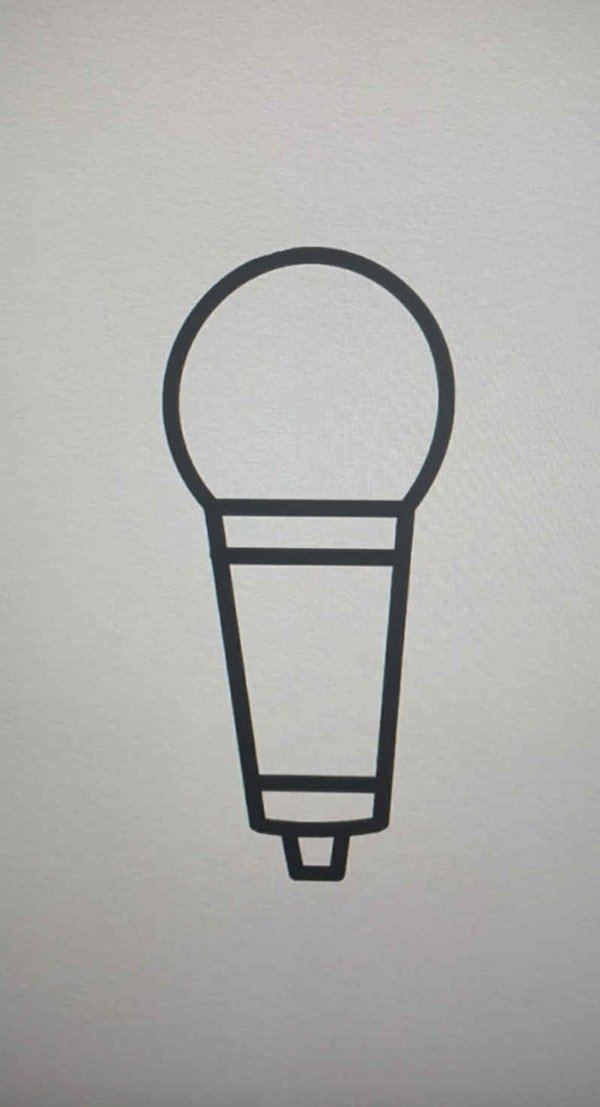
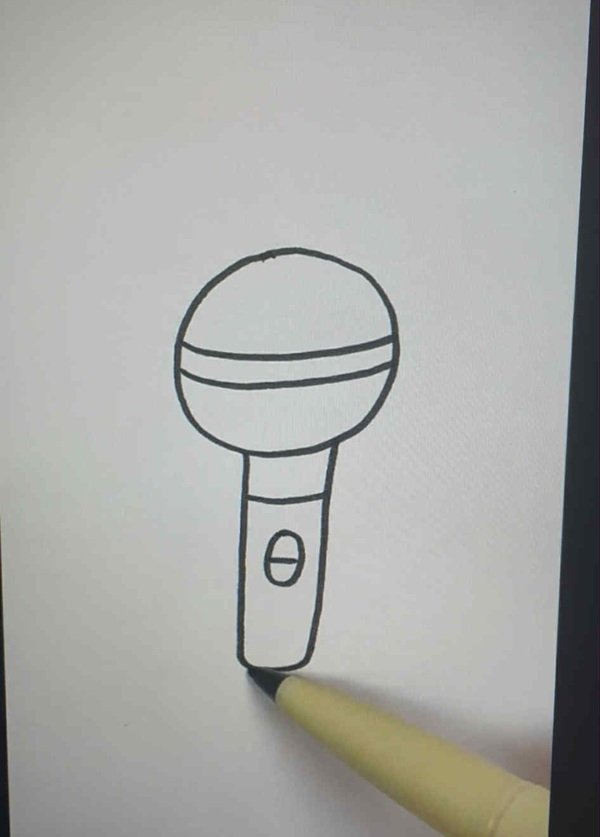
Step 4: Add a small rectangle near the top of the handle to indicate a button or label area, giving the mic a more realistic feel.

Step 5: Inside the circle, sketch a band separating the head from the mesh to enhance its structure and definition
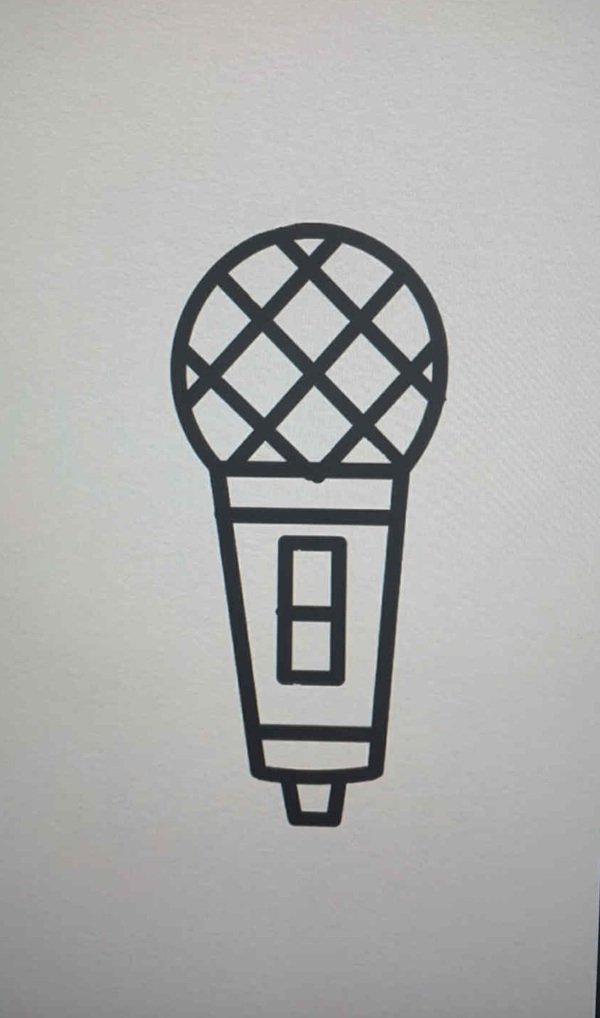
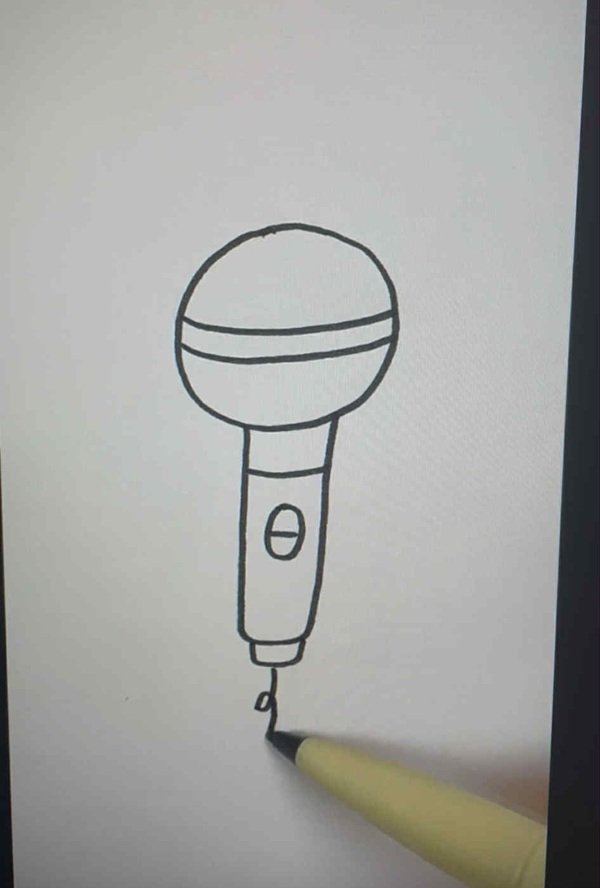
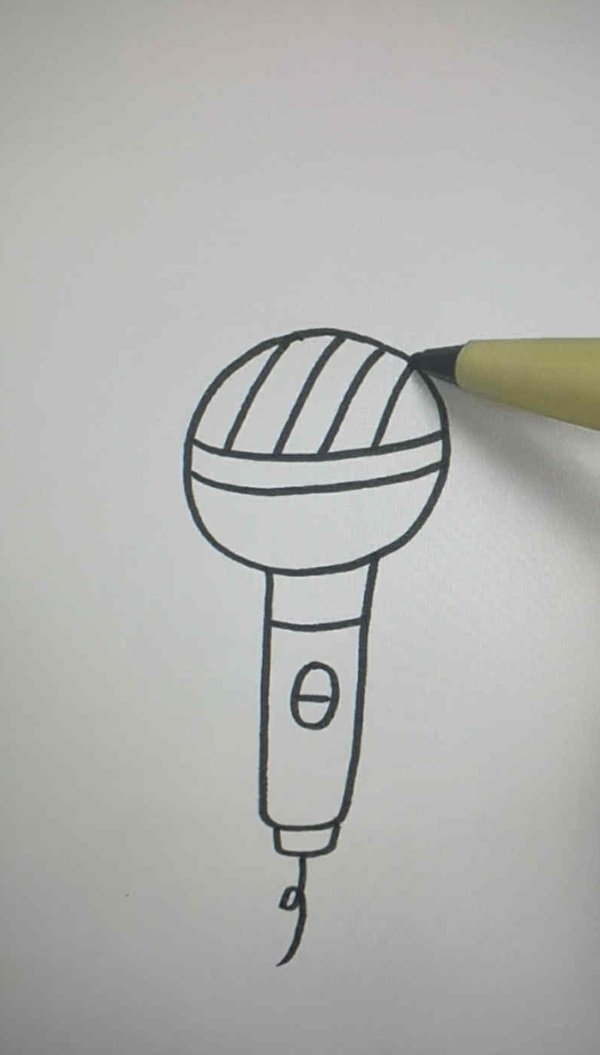
Step 6: Complete the drawing by adding crisscrossing lines inside the mic head to simulate the mesh grille for a stylish, beautiful look.
How to draw a microphone easy
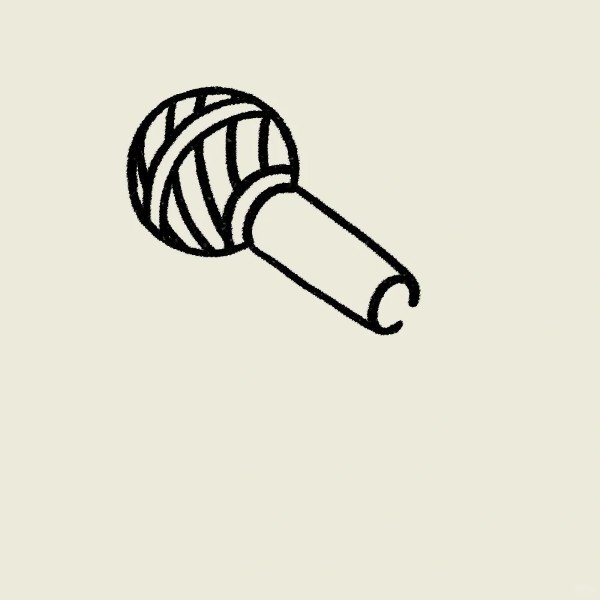
Step 1: Begin by drawing a rounded mesh-like oval for the microphone head, using short curves to mimic the texture of a real mic grille.
Step 2: Add a partial ellipse at the back of the head to create a 3D effect, giving the mic depth and a more realistic angle.
Step 3: Draw a tapered body extending from the mic head, making sure it narrows slightly towards the bottom to create a dynamic shape.
Step 4: Add fine detail to the body like a small switch or logo, then draw a cord extending out with a playful curve for visual movement.
See more:
5+ easy steps on how to draw a lotus flower for beginners
How to draw a knight in 6 detailed and fun steps
Top 7 tips for mastering how to draw a Hedgehog cutely
Now that you’ve explored several techniques on how to draw a microphone, it’s time to grab your pencil and put those skills to the test! Whether you’re sketching a vintage mic or designing a cool cartoon version, remember — every artist starts with a line. Keep practicing, try out different angles and styles, and soon you’ll develop your own artistic rhythm. Don’t forget to add your unique personality into each sketch. Art isn’t about being perfect — it’s about having fun and expressing yourself. So go ahead and draw your mic, loud and proud