Want to boost your luck and your sketching skills? Learning how to draw a four leaf clover is a fun and easy way to get creative, whether you’re designing cards, decorating journals, or just doodling for fun. In this guide, we’ll show you cool step-by-step methods that anyone can follow — no art degree required! And for even more inspiring drawing tutorials, be sure to visit dooduko, your creative sketching hub.
How to draw a four leaf clover

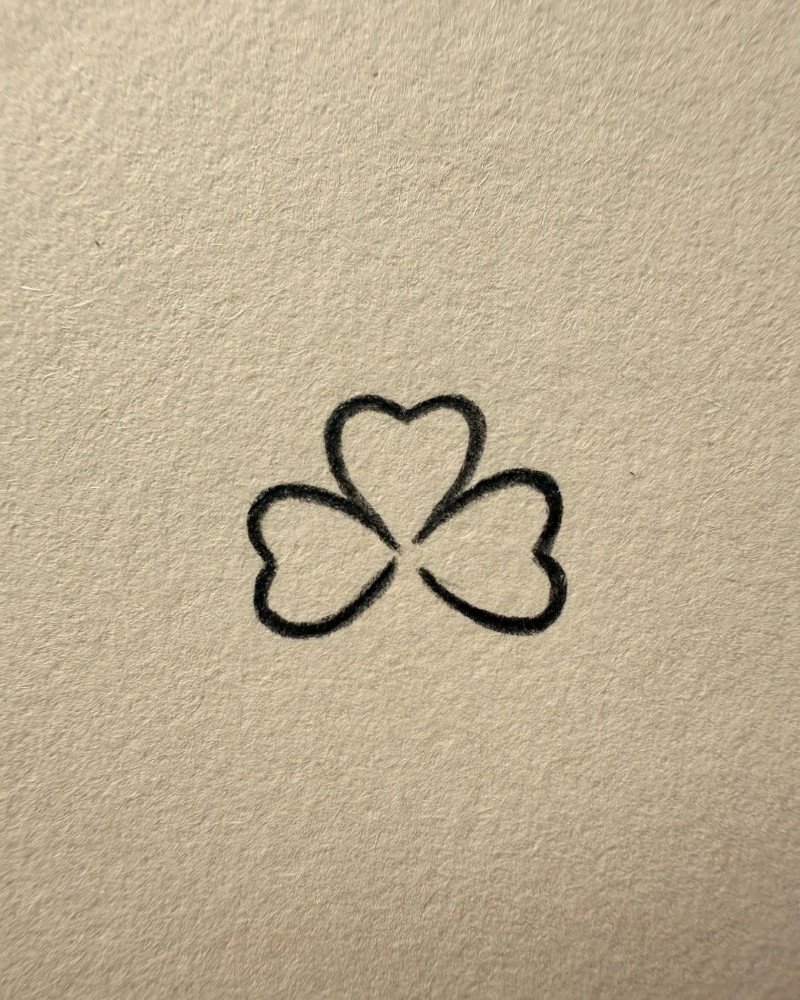
Step 1: Start by drawing an “X” shape — this will be the guide for the leaves.

Step 2: On the top line of the “X”, draw a heart shape to form the first clover leaf.

Step 3: Add two more heart shapes on the left and right to form the side leaves.
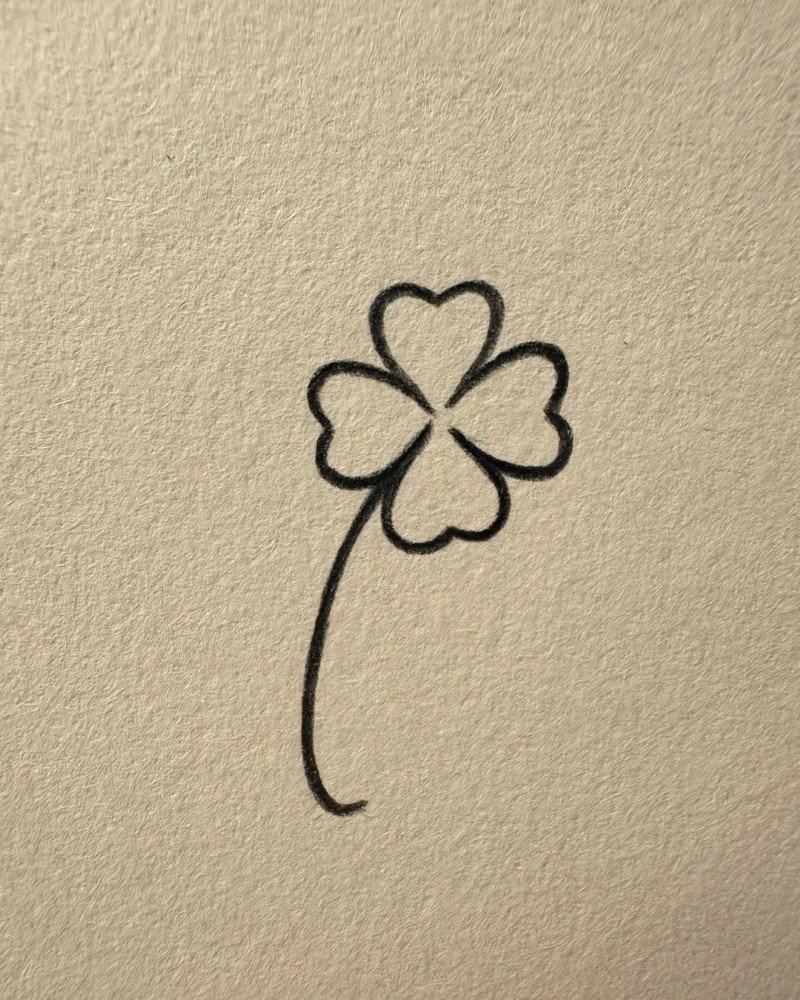
Step 4: Draw the final heart shape on the bottom arm of the “X” to complete all four leaves.
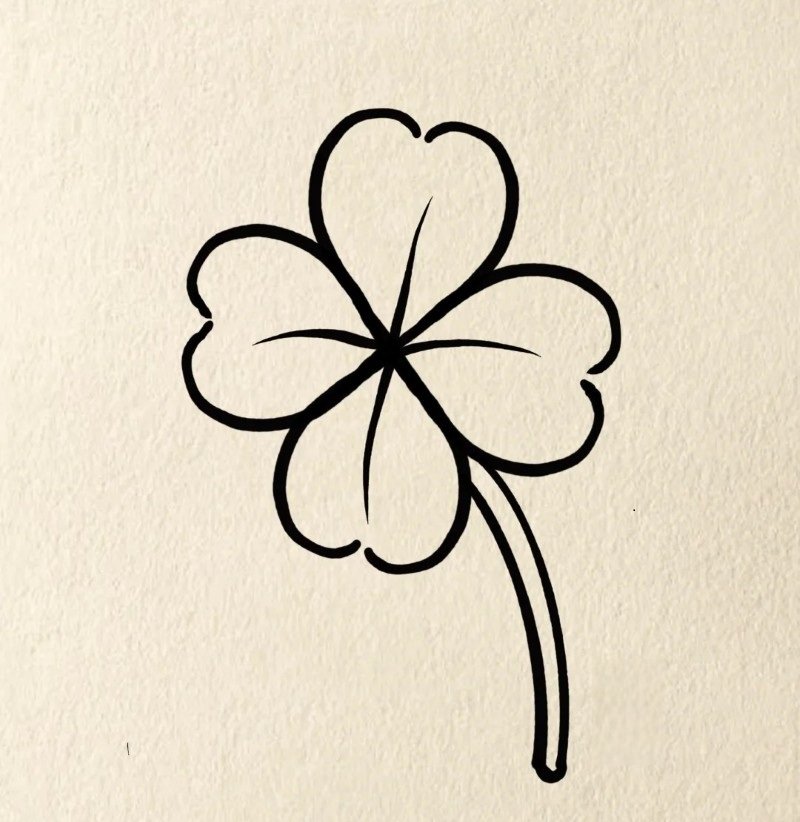
Step 5: Add a curved line below for the stem and refine the outlines to finish your four-leaf clover drawing!
How to draw a four leaf clover easy
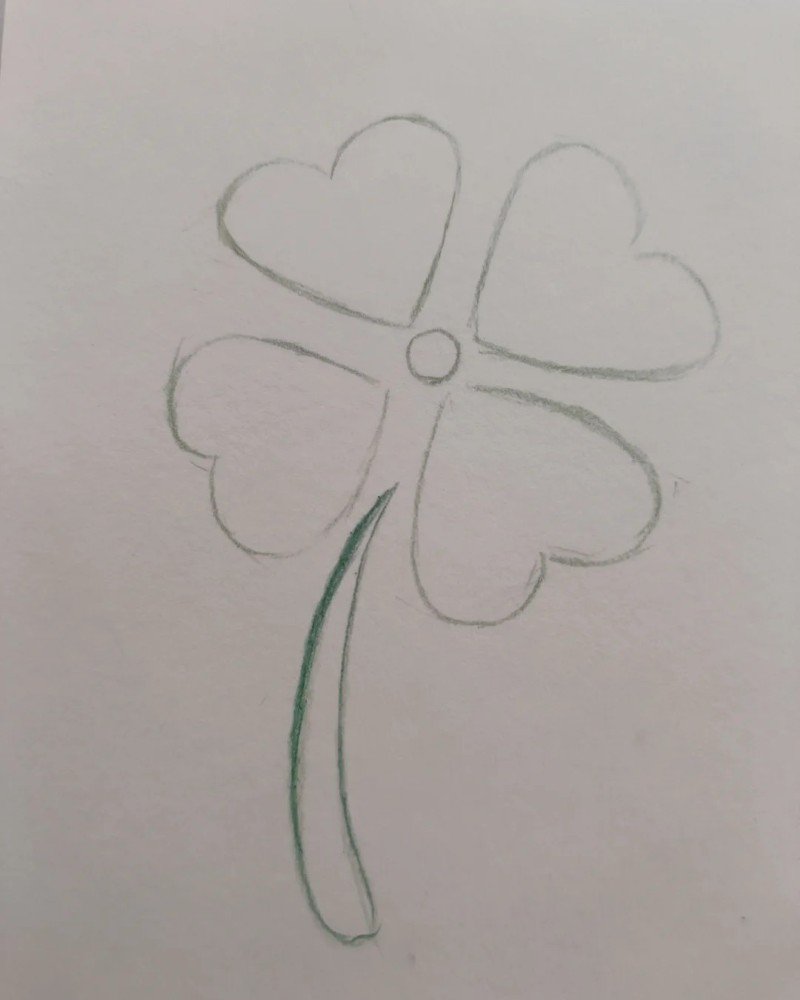
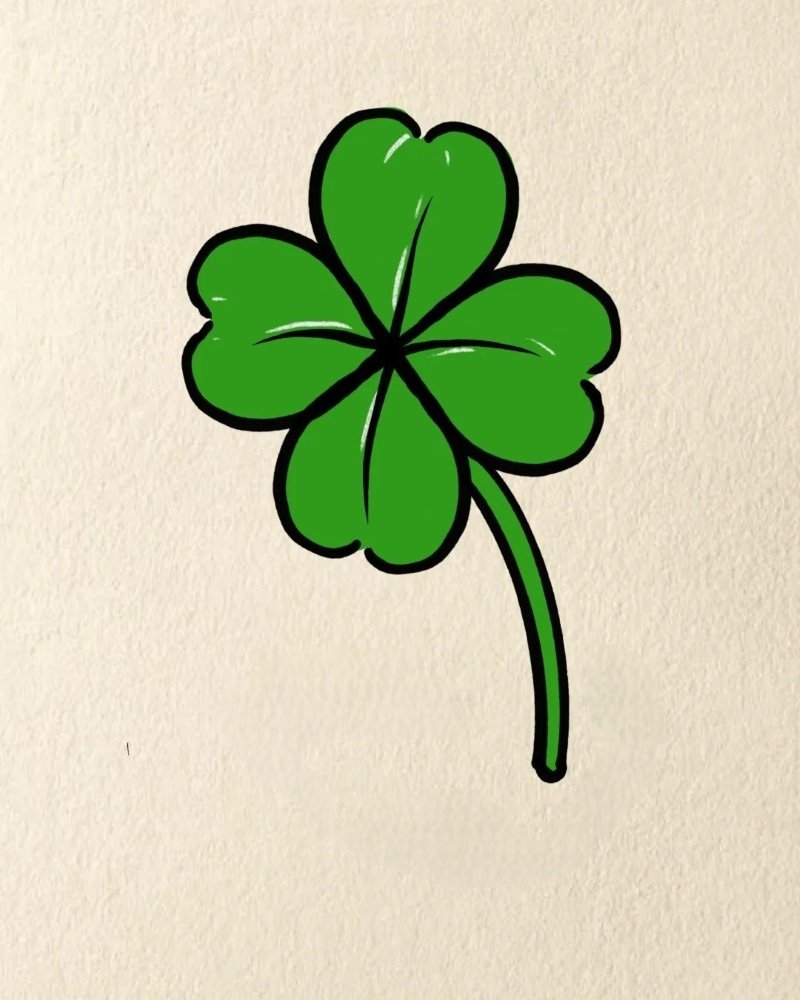
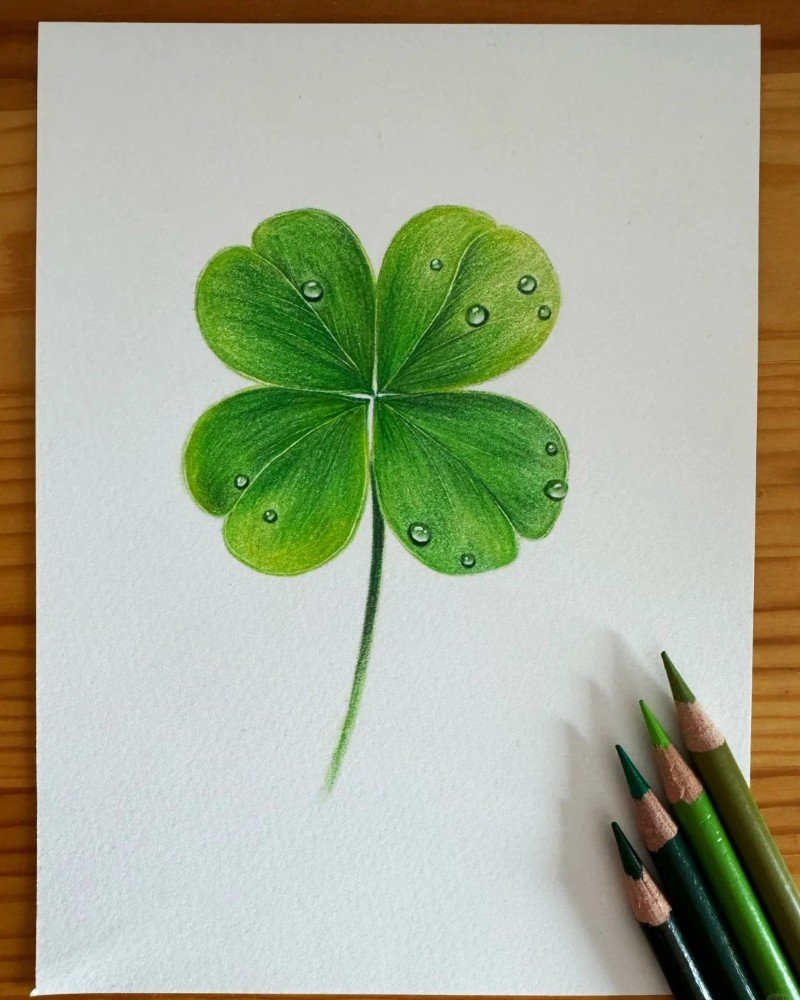
Step 1: Start with a pencil outline of a four-leaf clover — four heart-shaped leaves and a long curved stem.
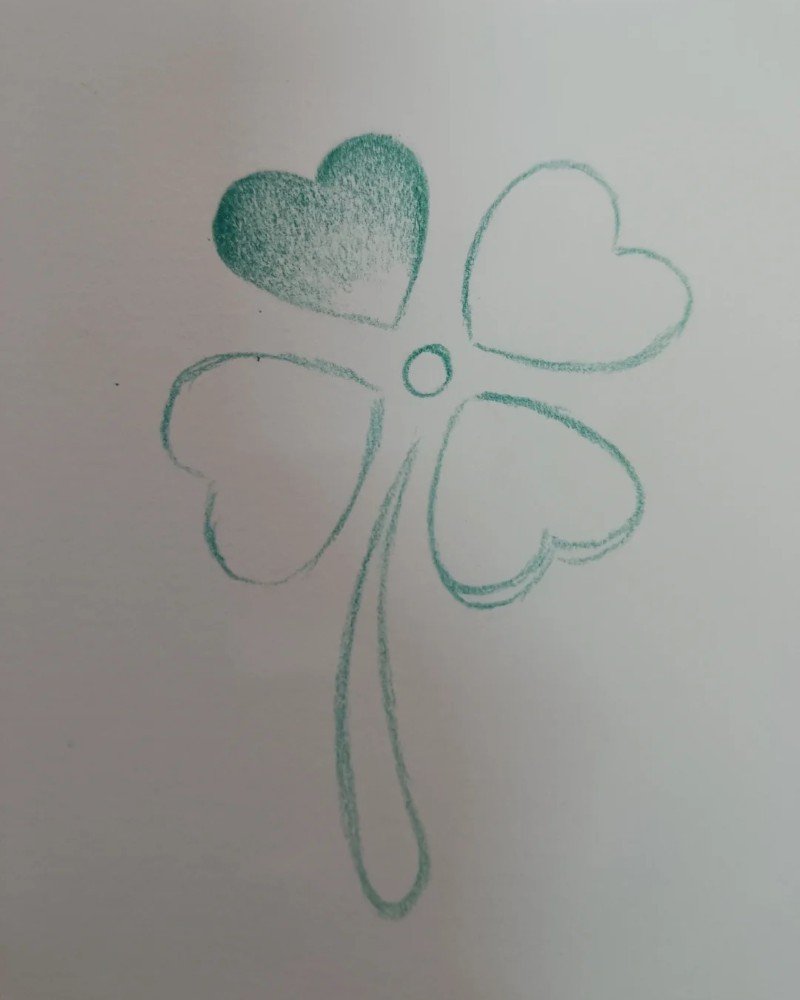
Step 2: Begin shading the top left leaf with green, focusing on a gradient from dark at the top to light near the center.
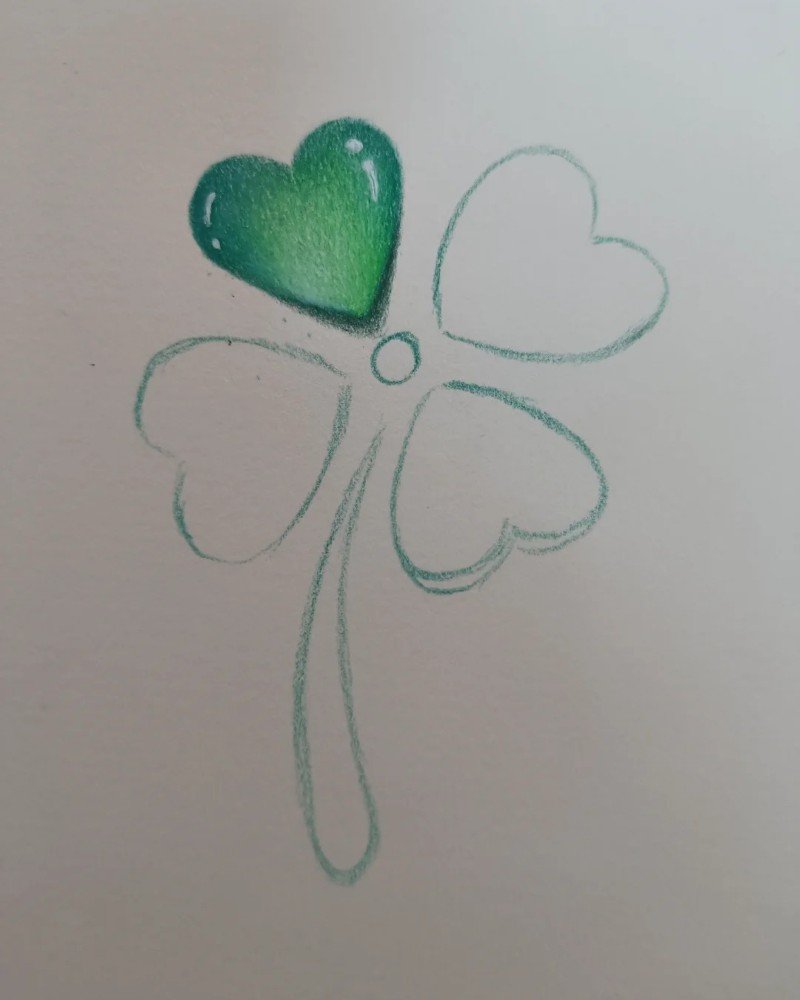
Step 3: Move to the top right leaf and repeat the same soft green gradient technique.
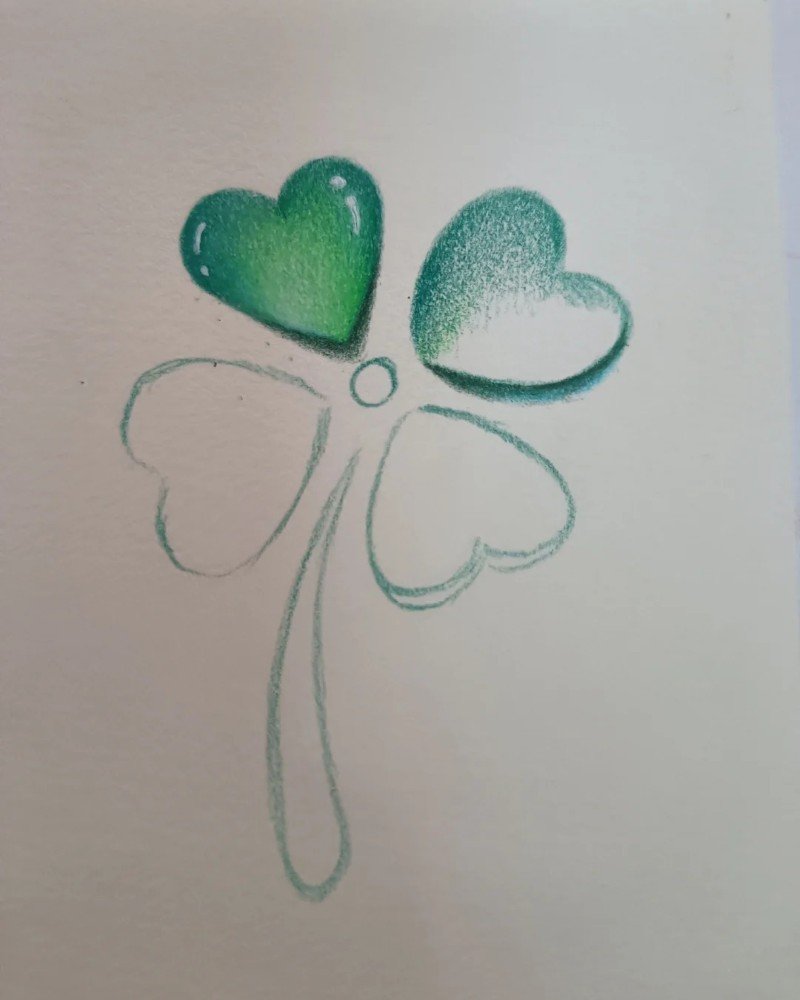
Step 4: Shade the bottom right leaf, blending from deep green edges toward a light center.
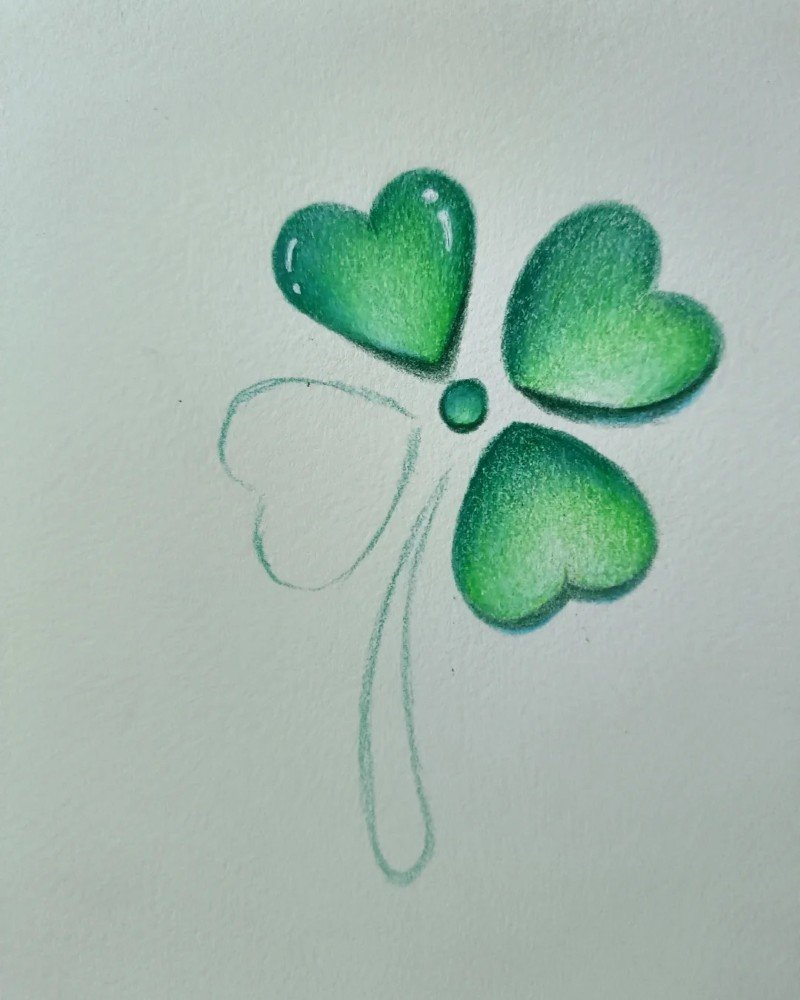
Step 5: Continue with the bottom left leaf, using the same light-to-dark shading style for consistency.
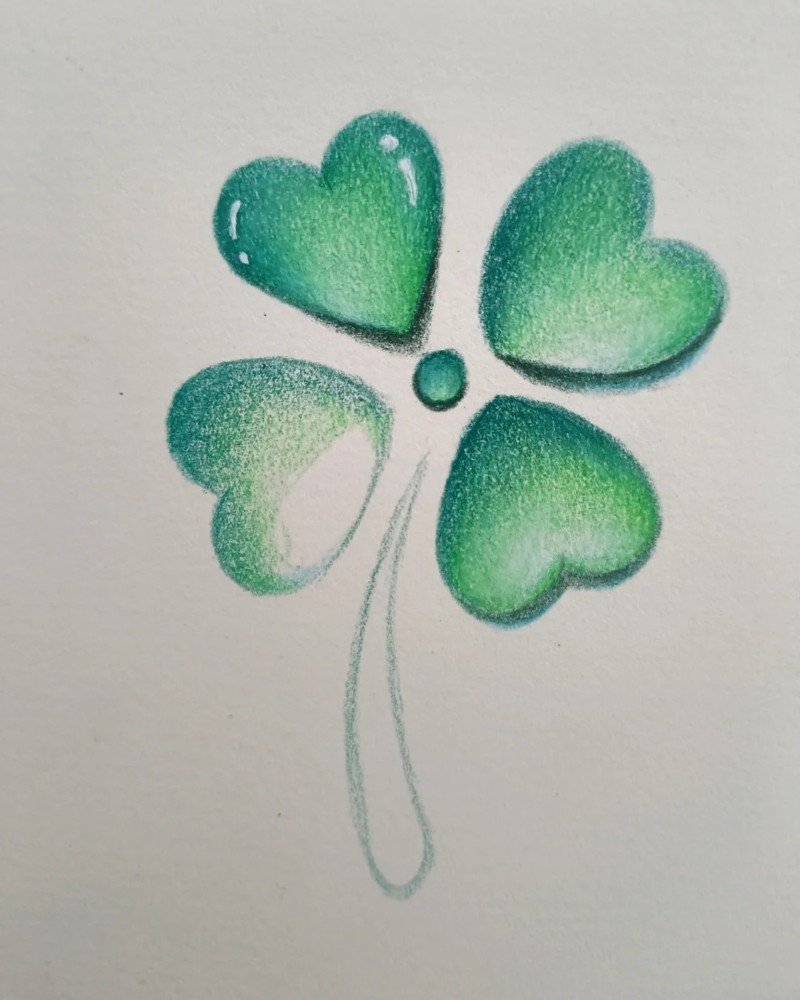
Step 6: Gently add green color to the stem, matching the tone of the leaves.
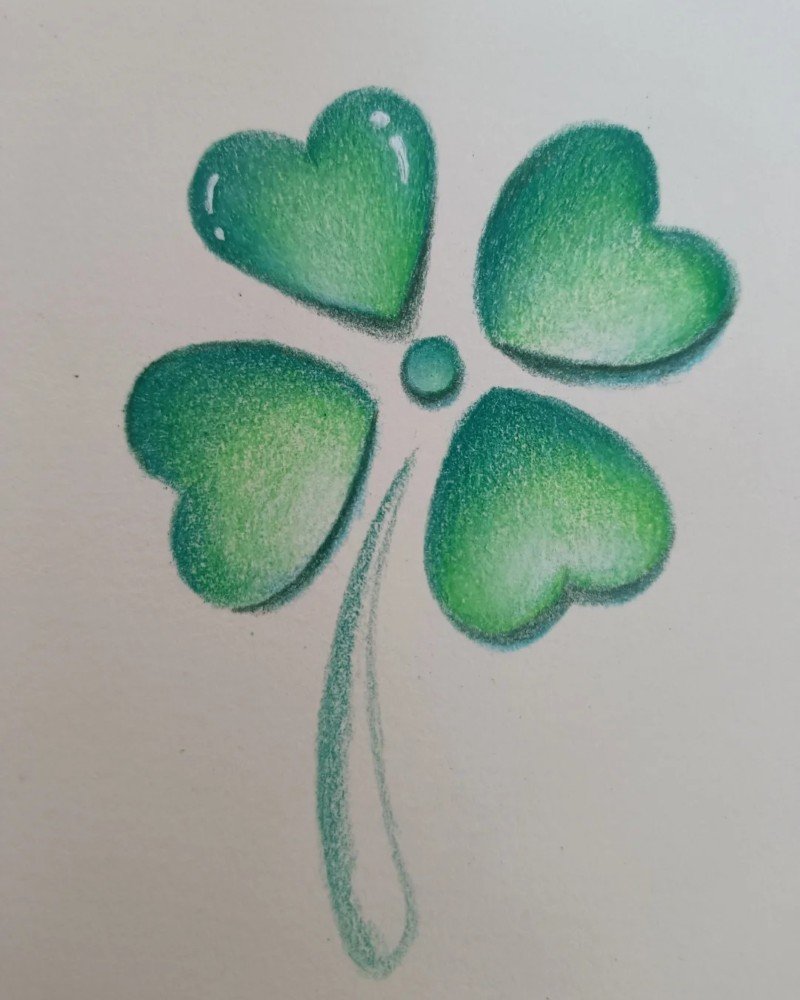
Step 7: Finish by blending all shaded areas smoothly, adjusting highlights and shadows for a soft, natural look.
How to draw a four leaf clover step by step
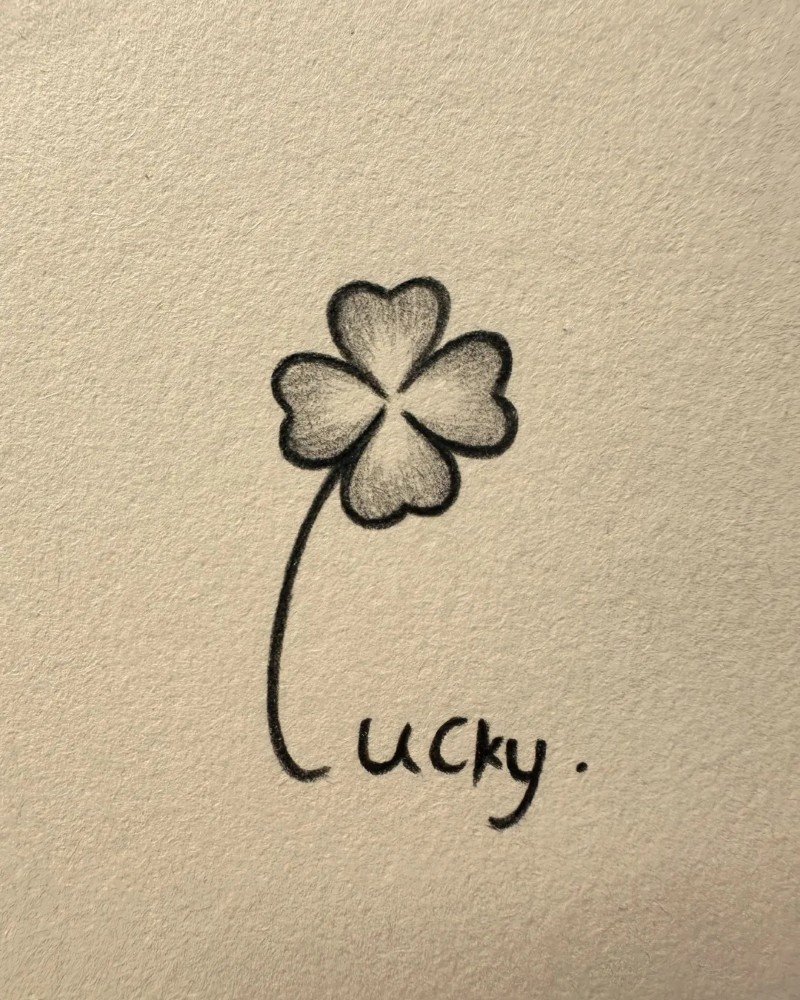

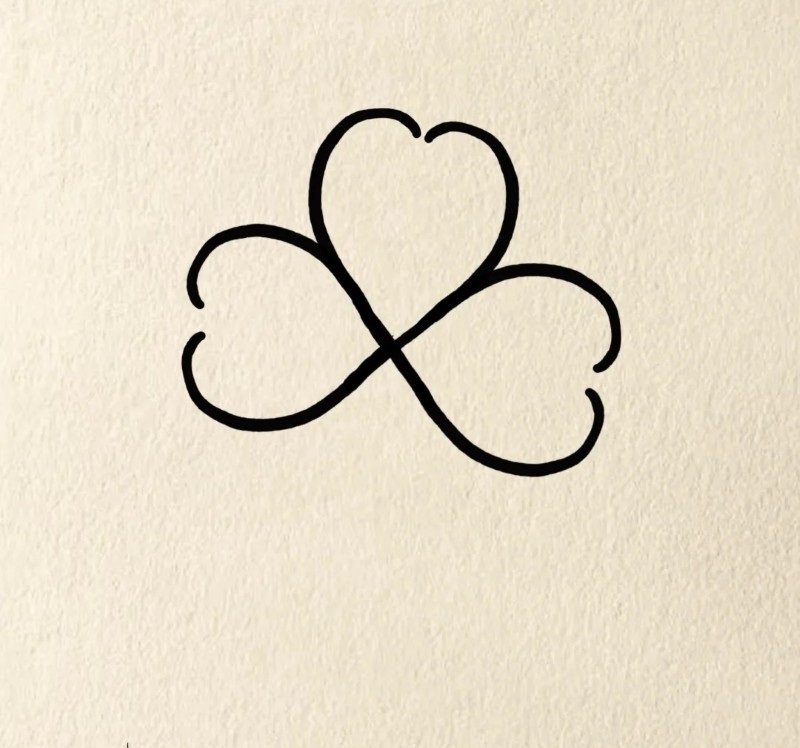
Step 1: Start by drawing a single heart shape — this will be the first leaf.
Step 2: Add three more heart shapes around it to form a full four-leaf clover.
Step 3: Draw a long curved stem coming down from the center.

Step 4: Finish by writing the word “Lucky” under the stem for a fun, charming touch.
How to draw a four leaf clover for kids

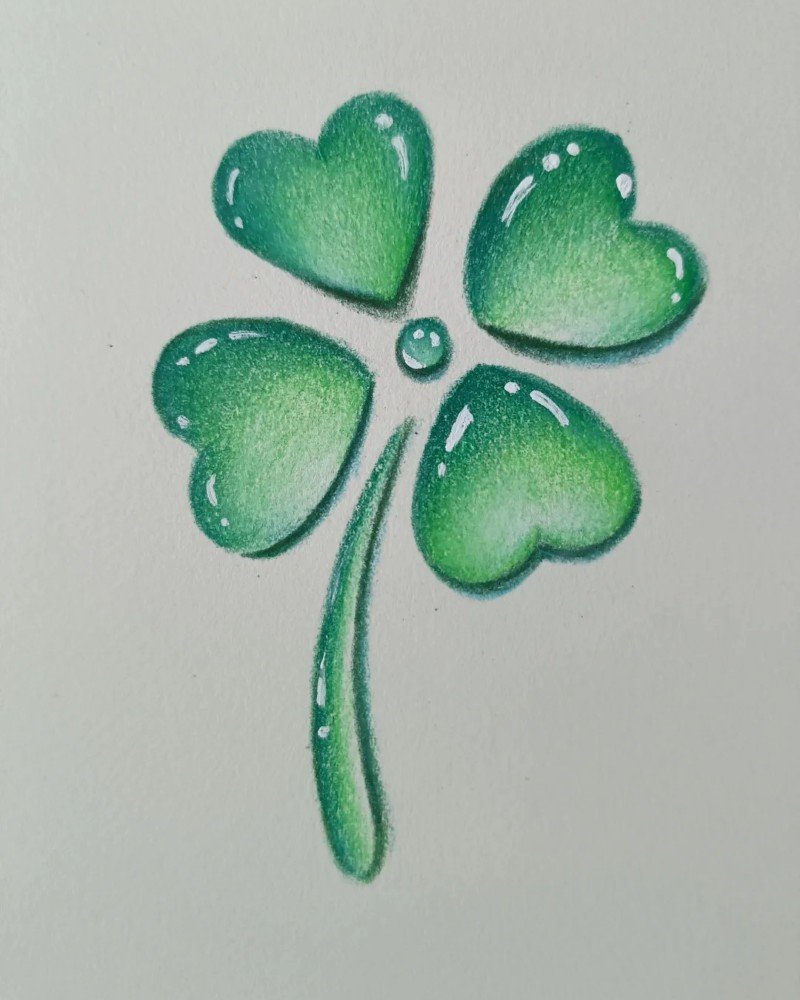
Step 1: Lightly sketch the outline of four heart-shaped leaves and a long stem using a pencil.
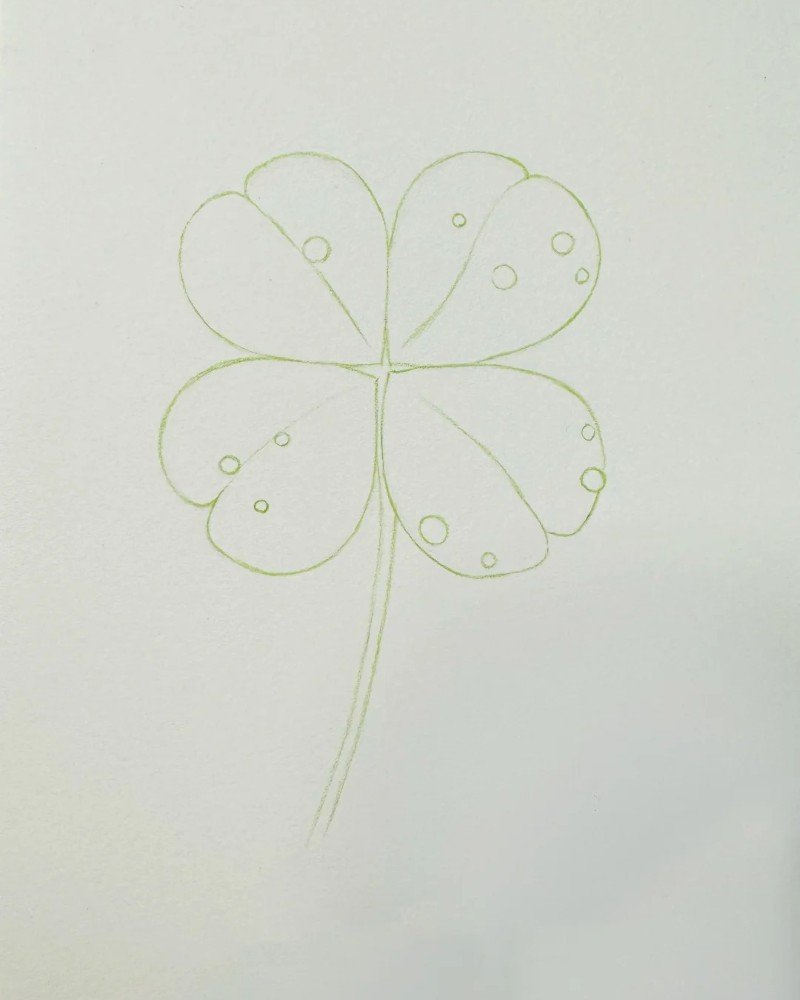
Step 2: Add inner lines and small veins to each leaf to create structure and detail.
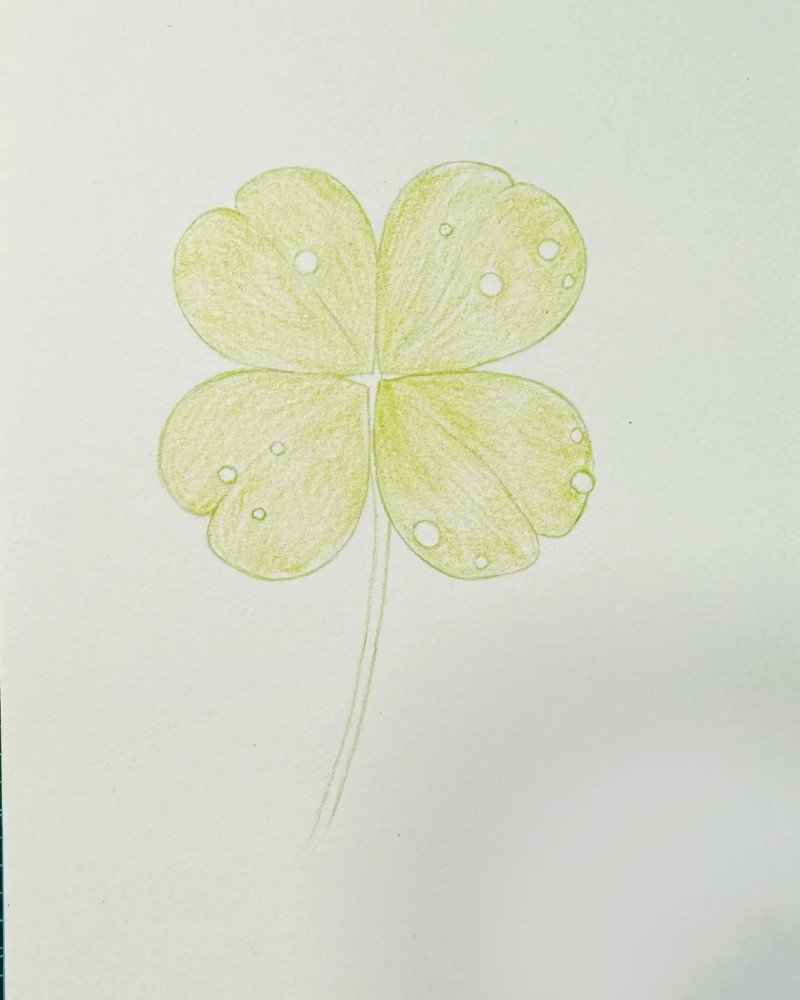
Step 3: Start coloring each leaf with a light yellow-green shade to build the base color.
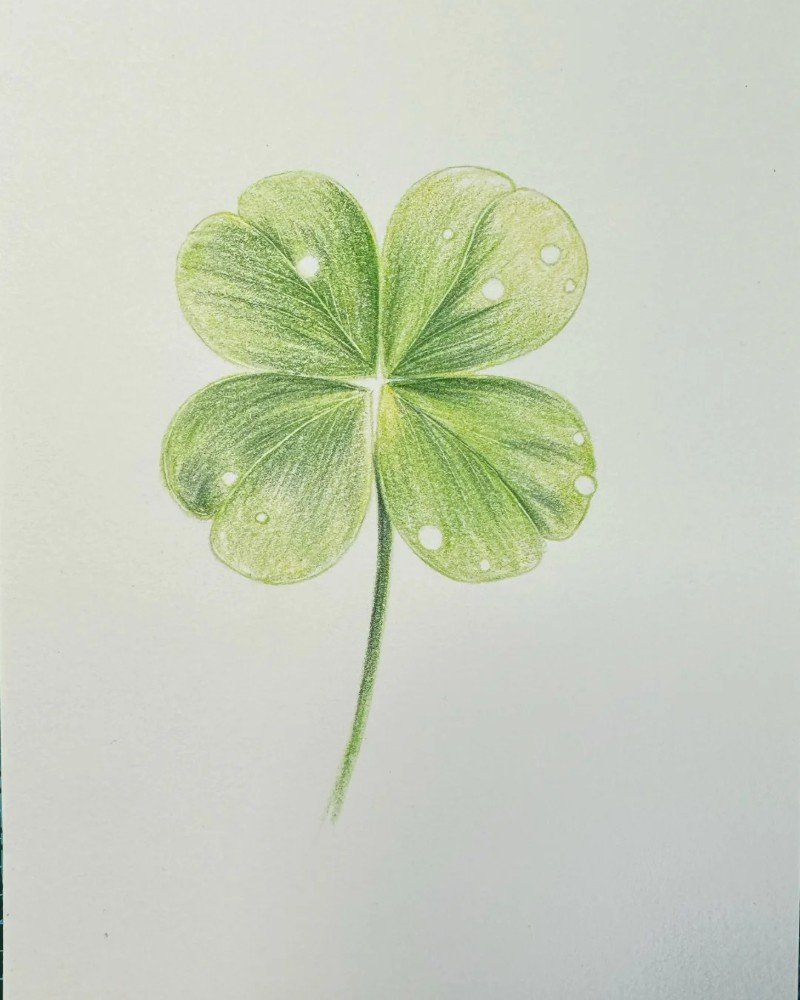
Step 4: Blend in a deeper green toward the outer edges of the leaves for a gradient effect.
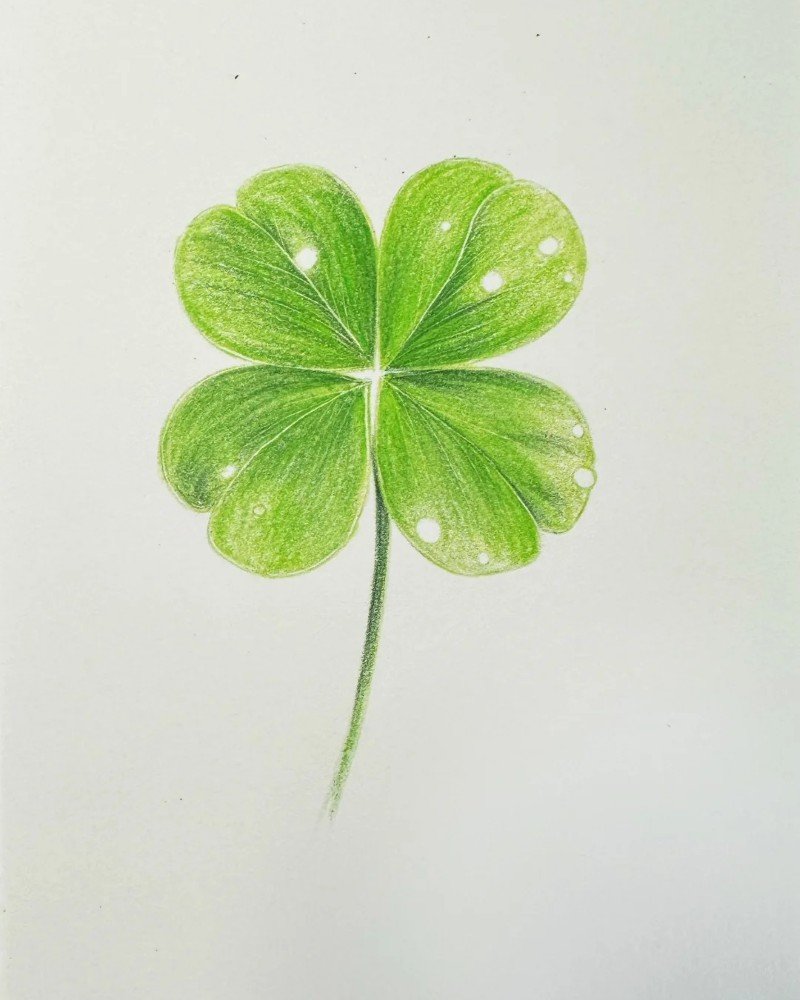
Step 5: Add darker tones and shadows to give the clover a soft, three-dimensional look.
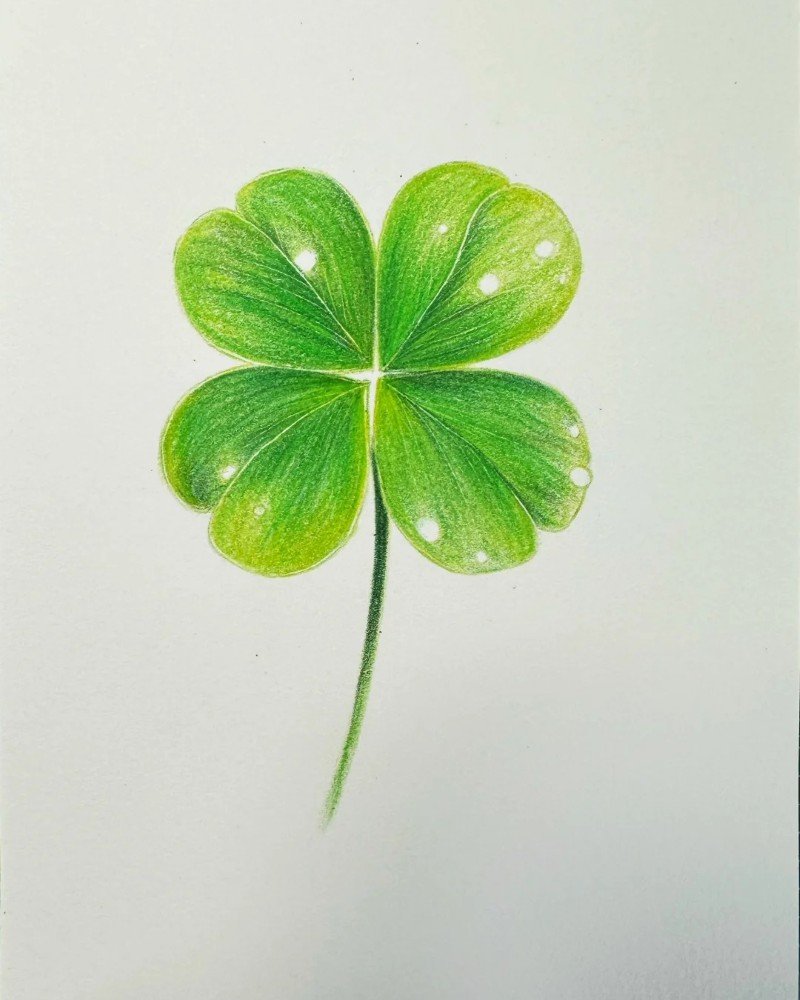
Step 6: Finalize by deepening the center and brightening the highlights to make the four-leaf clover look vivid and fresh.
See more:
How to draw a flame in 5 easy steps for beginners
How to draw a dragon easy – 8+ quick tricks that work
7 fun styles to master how to draw a dog easy
Now you’ve learned how to draw a four leaf clover with confidence and style! Whether you’re going for realistic or cartoony vibes, remember: practice makes perfect. Keep drawing, try different variations, and don’t be afraid to add your personal touch. Who knows — your lucky clover might inspire your next masterpiece!