Learning how to draw a treasure chest can unlock a world of creativity and adventure! Whether you’re sketching for fun, school projects, or pirate-themed art, this guide is perfect for all levels. From simple outlines to cool shading techniques, we’ve packed everything you need into one place. Drawing treasure chests is not just about gold and gems—it’s about imagination, perspective, and storytelling. You’ll learn how to make your drawings look real, dramatic, and full of character. Plus, with styles that range from cartoonish to realistic, you’re free to experiment. Dive in and start sketching today with help from dooduko.com, your go-to hub for fun drawing guides!
How to draw a cartoon treasure chest


Step 1: Start by drawing a slanted lid shape and the top rectangle of the chest to build the basic 3D structure.
Step 2: Sketch the rounded front part of the lid and connect it with curves to shape the chest’s open cover.

Step 3: Add a few coin shapes spilling out to show the treasure, placing them slightly overlapping to create depth.

Step 4: Fill in the chest with more coins, drawing ovals and circles inside the top opening and overflowing out.

Step 5: Draw the wooden planks around the chest’s body and the lid to make it look more realistic and solid.
Step 6: Add thickness to the frame and some structure lines to define the front and side panels of the chest.

Step 7: Draw the keyhole and highlight the wooden texture with short lines and panels on the front.

Step 8: Include gems, necklaces, and rings spilling out to make the treasure look rich and exciting.
Step 9: Add sparkles, shine lines, and details around the treasure to finish the cartoon-style magical chest look.
How to draw a closed treasure chest

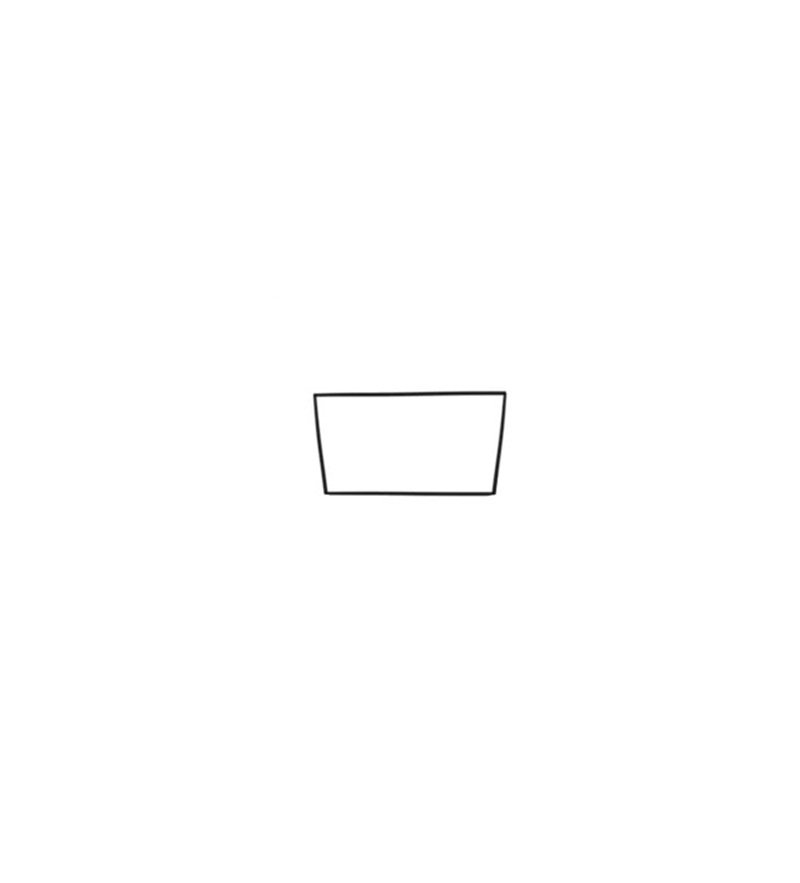
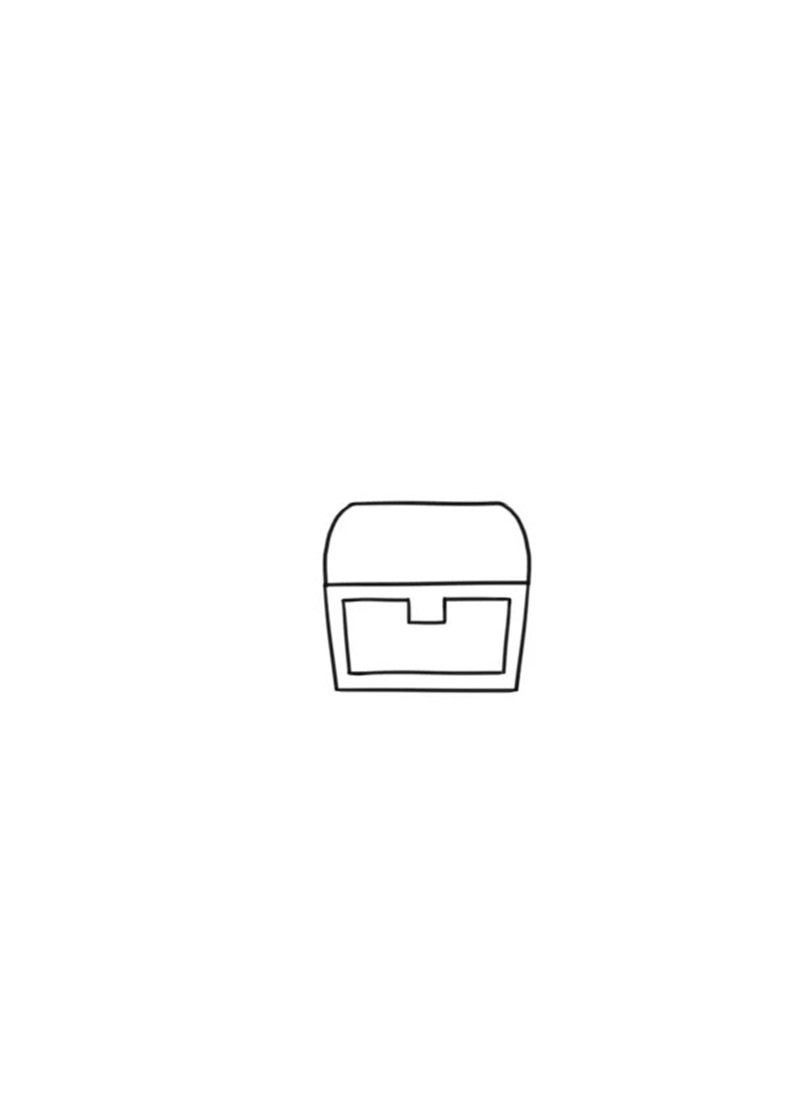
Step 1: Draw a small rectangle to form the front face of the closed treasure chest—this will be your base for adding depth later.
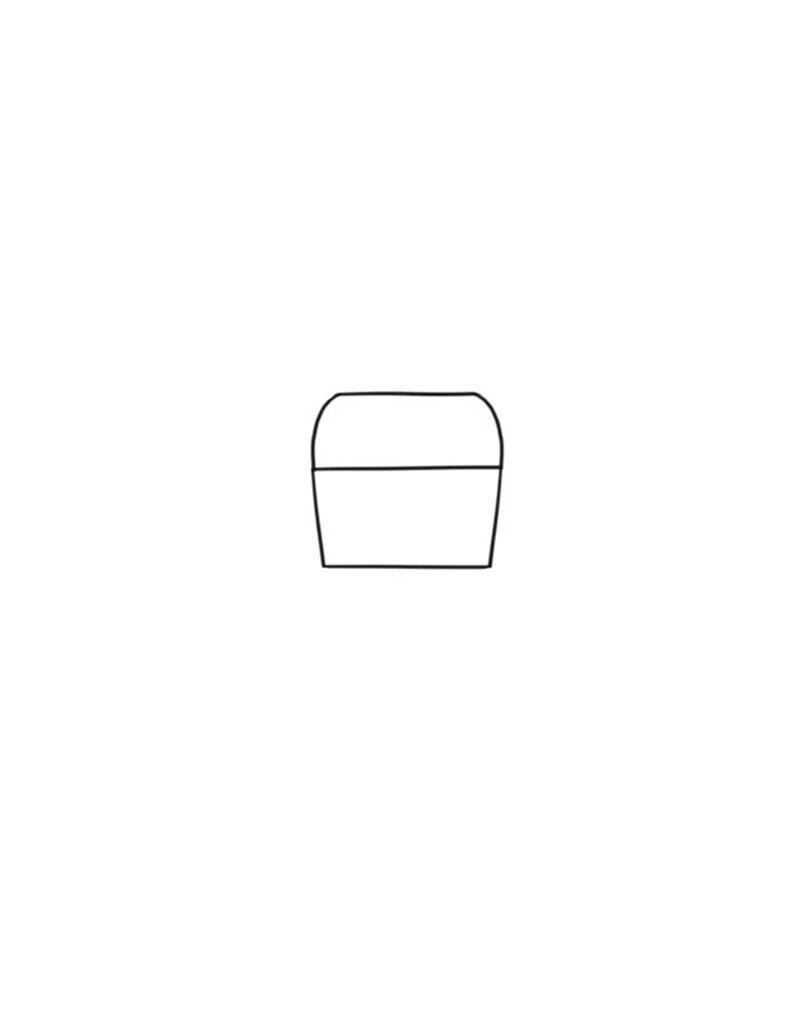
Step 2: Add a curved top edge and side lines to start shaping the lid, making it slightly arched to show volume.
Step 3: Draw the chest’s sides using perspective lines and connect them to create the full 3D box structure.
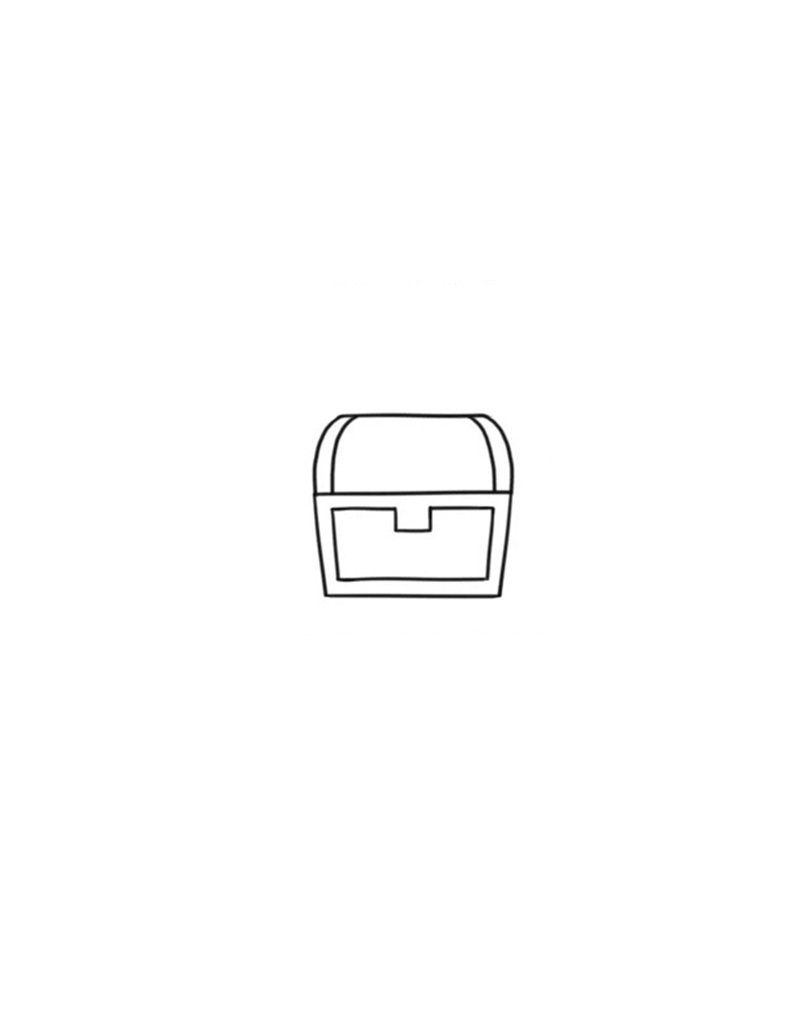
Step 4: Add lid thickness and a center lock line to indicate a secure, closed chest with basic shading hints.
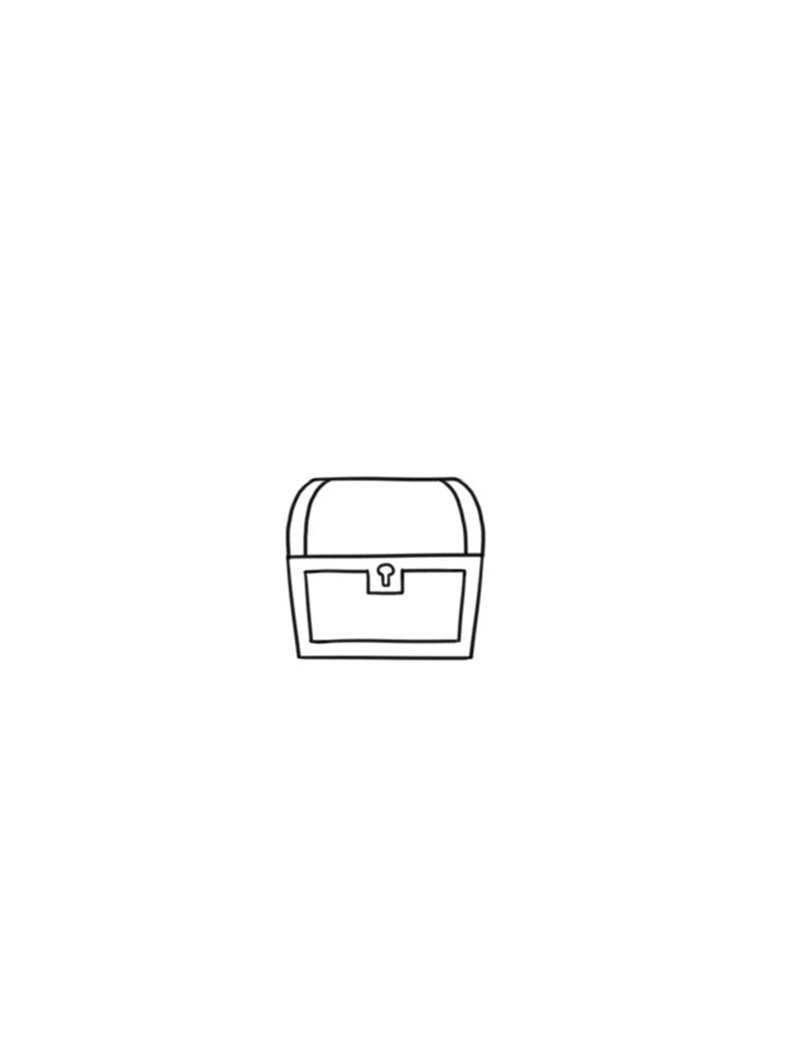
Step 5: Finalize the treasure chest with a keyhole, additional outlines, and light details to complete the closed look.
How to draw a open treasure chest
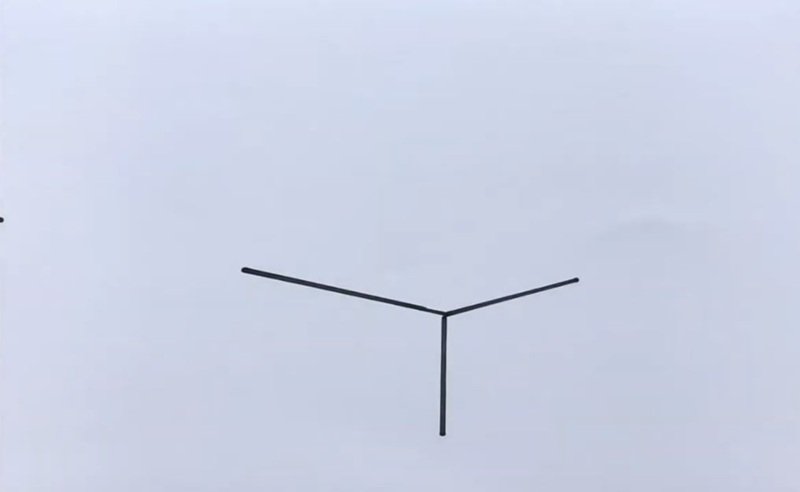
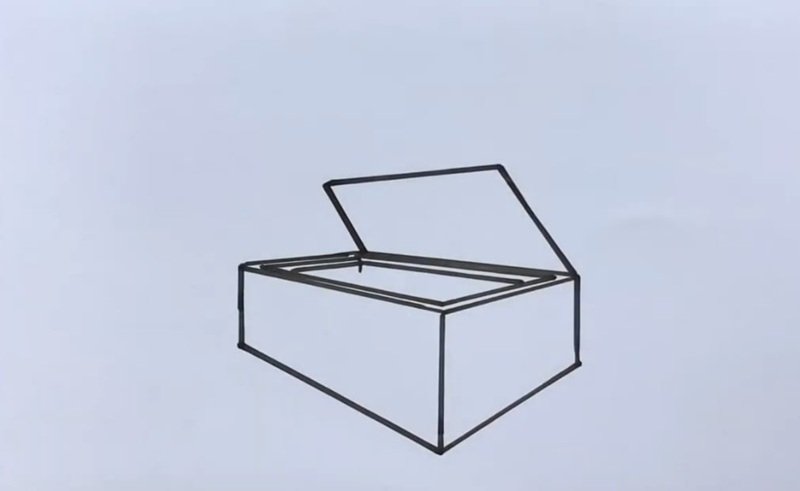
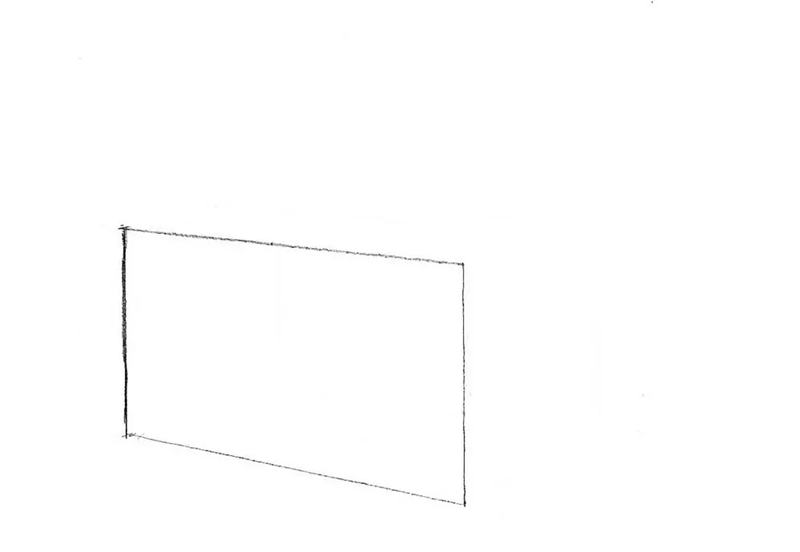
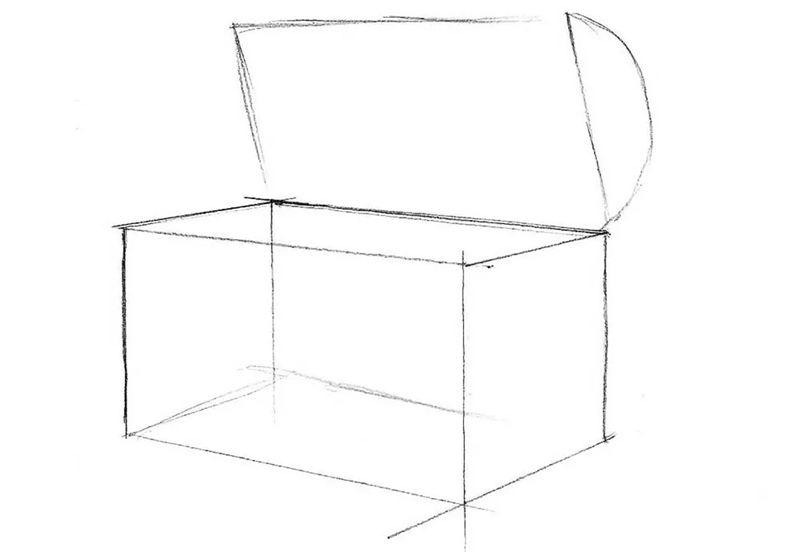
Step 1: Begin with a tilted rectangle to form the top rim of the open chest, setting the perspective and angle of the drawing.
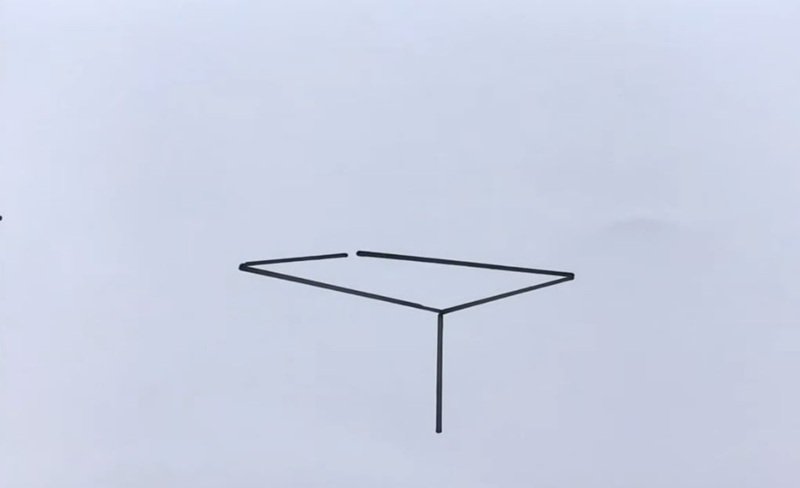
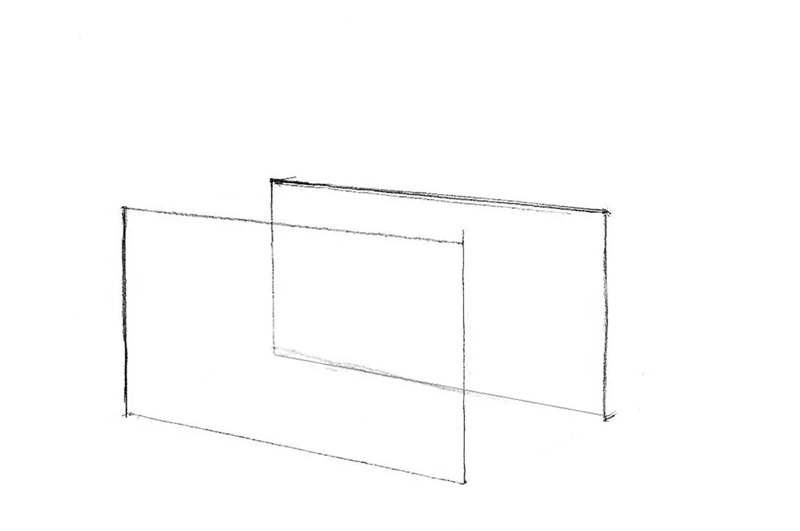
Step 2: Draw the front and back inner lines to show the lid’s thickness and overall shape from an overhead viewpoint.
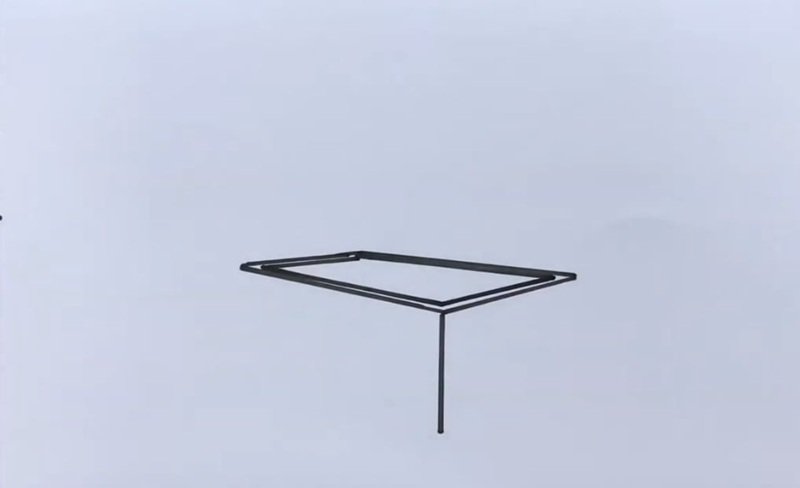
Step 3: Add the top plane by connecting side edges and shaping the upper opening of the chest’s structure.
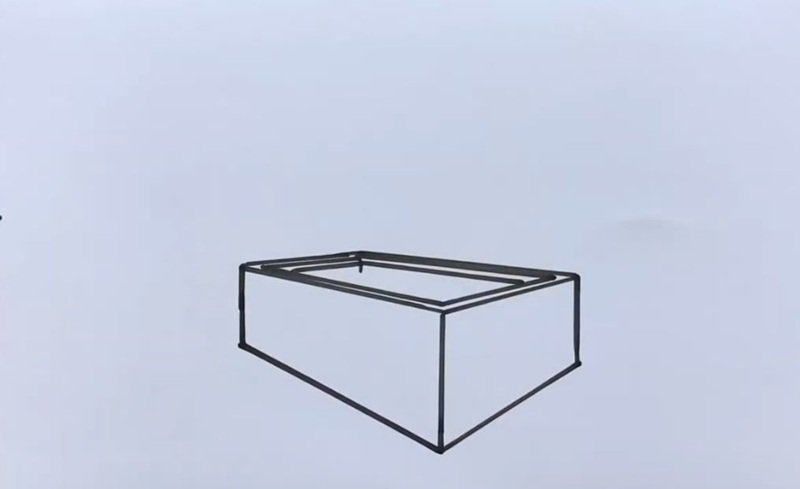
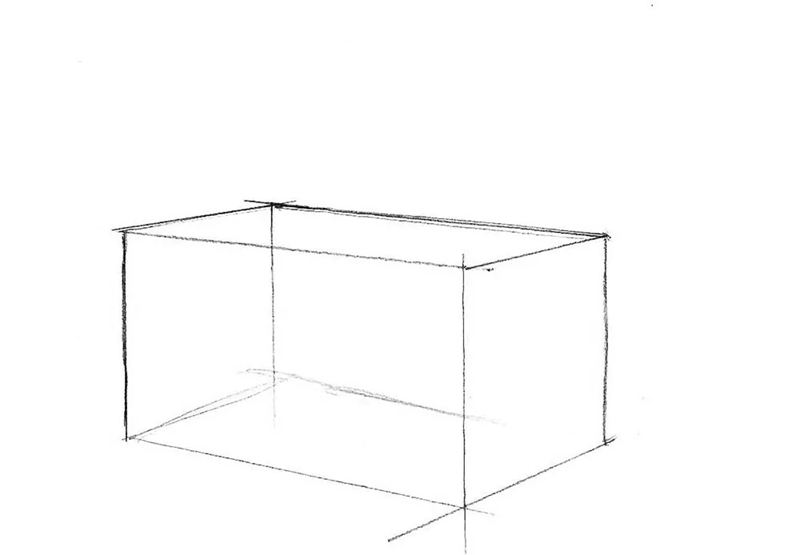
Step 4: Sketch the base of the chest below the opening using perspective lines, forming the body box.
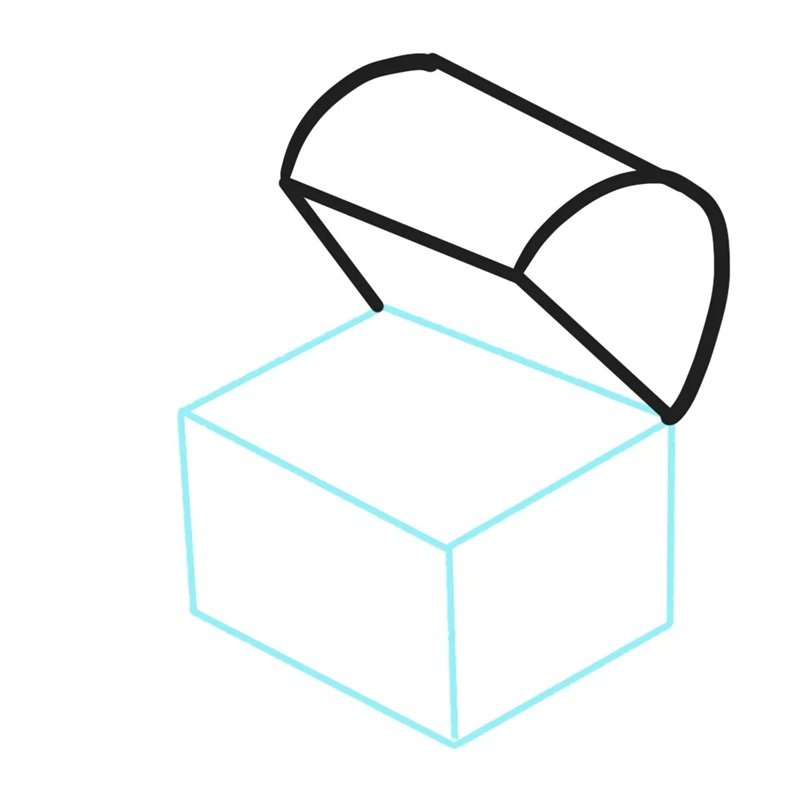
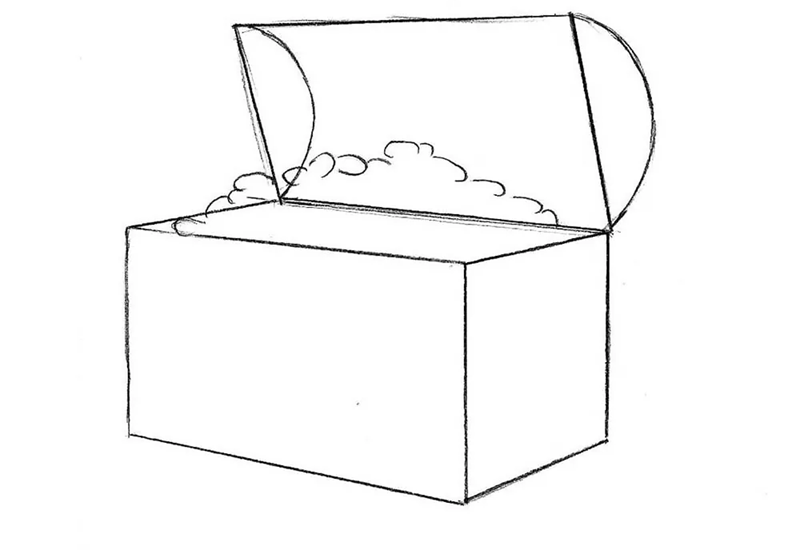
Step 5: Draw the curved lid hinge and partial lid edge to begin building the open cover of the chest.
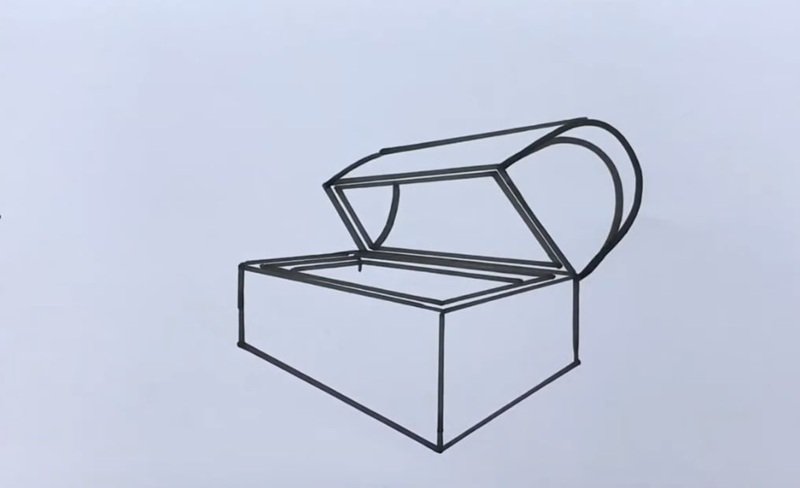
Step 6: Complete the lid with rounded lines and connect it to the box, showing the open angle clearly.
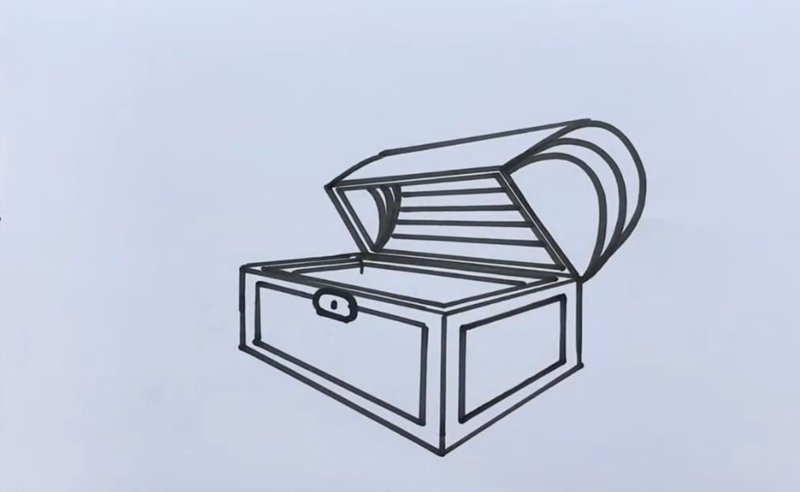
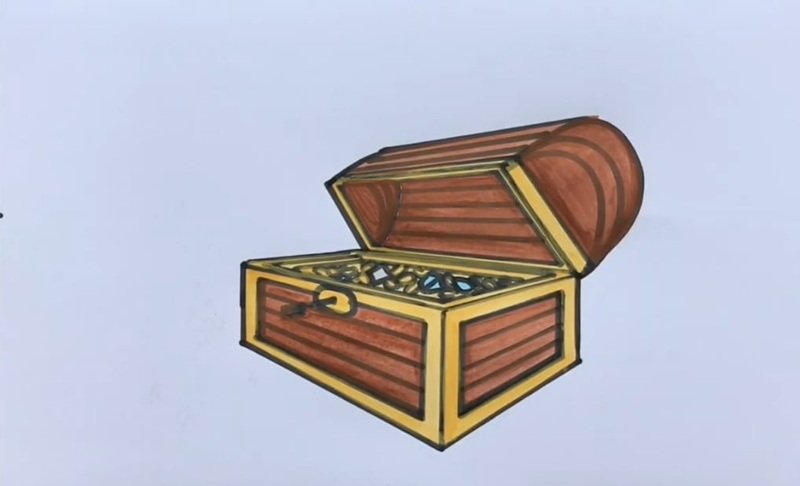
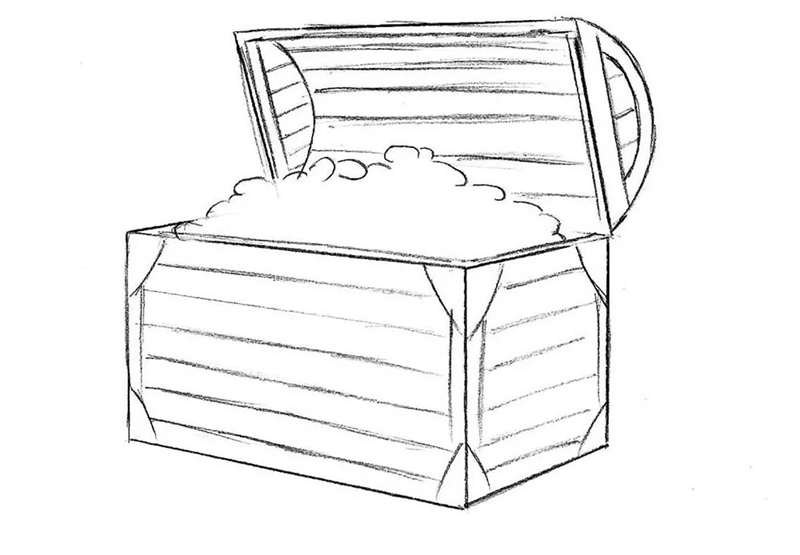
Step 7: Add side and front details like wood grain, metal edge bands, and a thick border to create depth.
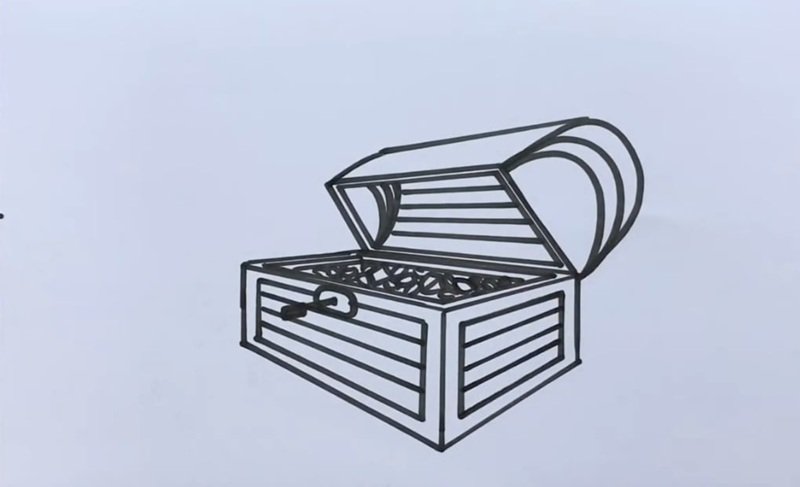
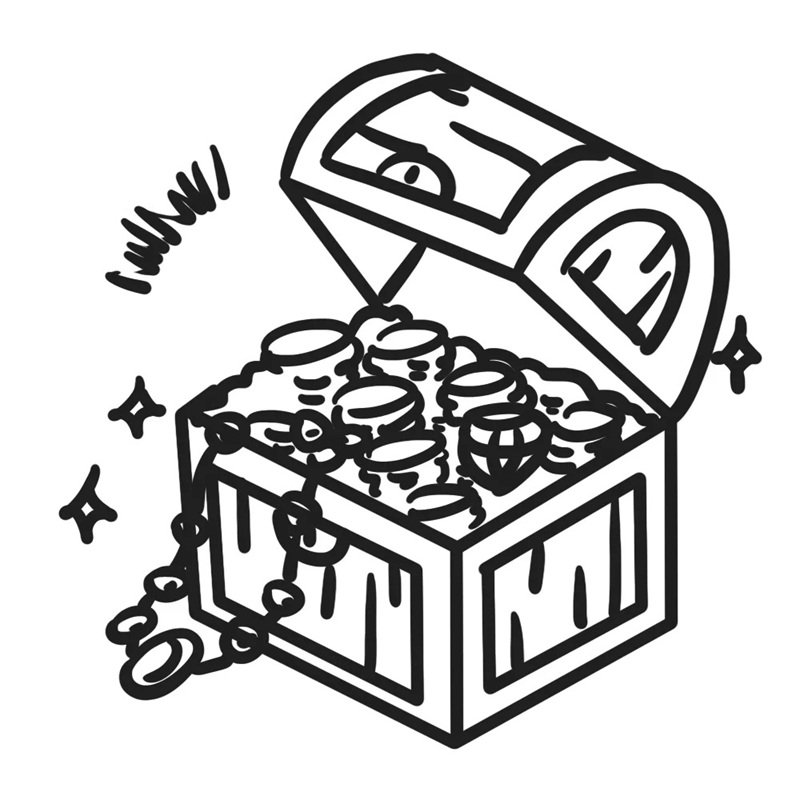
Step 8: Finish with the treasure inside—draw coins, gems, and shading lines to make it look full and rich.
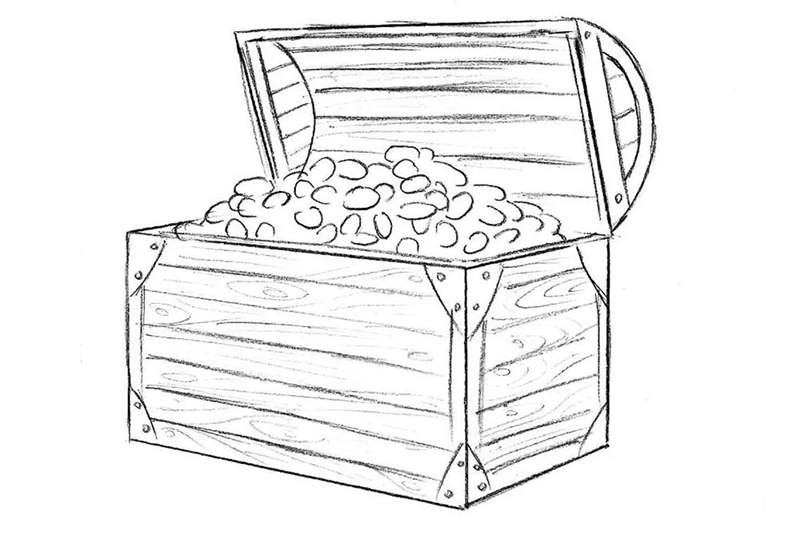
How to draw a treasure chest
See more:
8 simple tips on how to draw a tent like a pro
Learn how to draw a stocking in 6 cool and creative ways
7 cool ways to learn how to draw a soda can in style
Now that you’ve followed each step, you’ve learned how to draw a treasure chest from basic shapes to detailed shading and sparkling gold. Whether it’s open, closed, cartoon-style, or overflowing with treasure, your chest reflects your creativity and style. Keep practicing with different angles, textures, and themes to build your confidence. The more you draw, the more expressive and unique your art becomes. Don’t forget—mastering how to draw a treasure chest is not just about technique, but about bringing adventure and imagination to life on paper. Keep sketching, keep exploring!