Are you ready to sketch the coolest creature of the Arctic? This guide will show you how to draw a polar bear in easy steps, perfect for beginners or anyone who just loves animals. Whether you’re going for realistic or cute cartoon styles, we’ve got the tips and tricks to help your art stand out. Let’s dive into the icy world of drawing! All tutorials are part of our fun art series on dooduko.com – your hub for creative drawing inspiration!
How to draw a cute polar bear
Step 1: Start with a small oval nose and a smooth curve for the snout, laying the foundation for your polar bear’s adorable side-facing head.
Step 2: Draw the rounded outline of the head, add two small ears on top, and sketch the chin to form a soft, cuddly bear profile.

Step 3: Add two vertical lines beneath the head to shape the front legs and outline the shoulder with gentle curves to keep it cute and simple.
Step 4: Finish the bear by sketching a curved back and belly, then draw a small eye and paws to bring your cute polar bear to life.
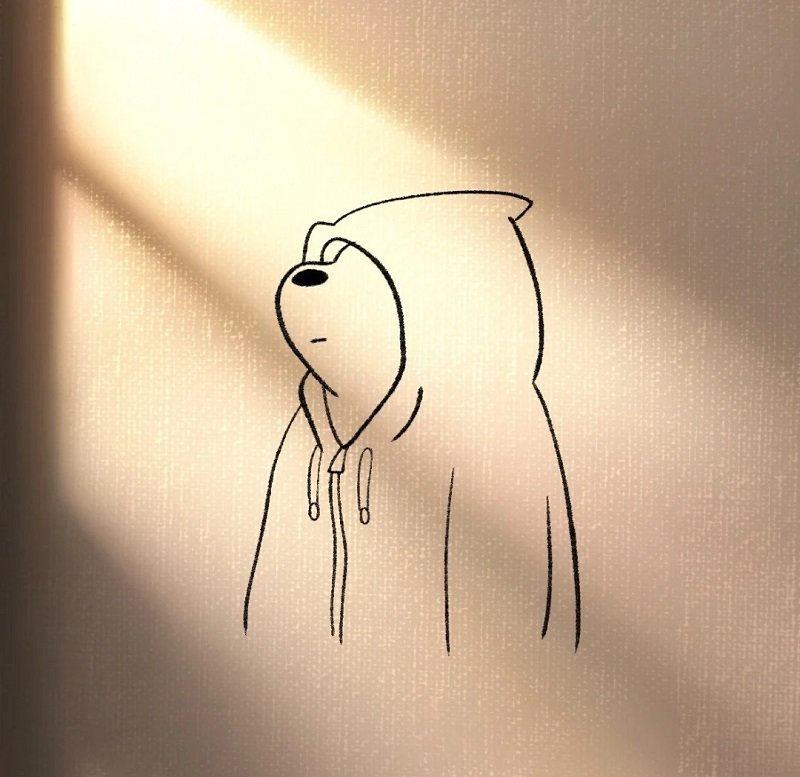
How to draw a polar bear cute
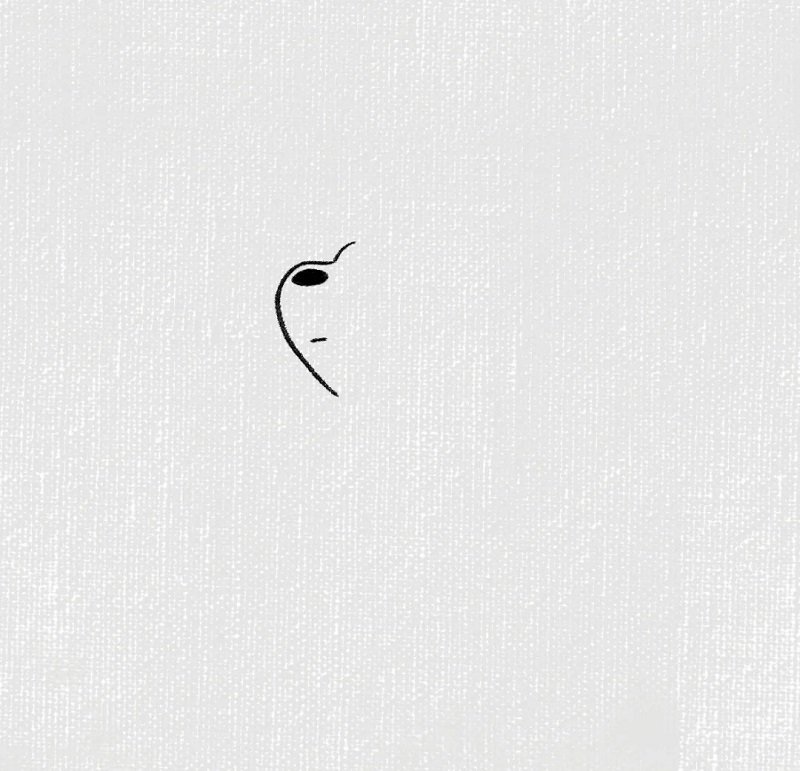
Step 1: Draw a large rounded teardrop shape tilted to the side—this will form the basic outline of the polar bear’s head and cheeks.
Step 2: Inside the shape, sketch a small oval nose and curve out the snout area using a soft hook-like line to define the front of the face.
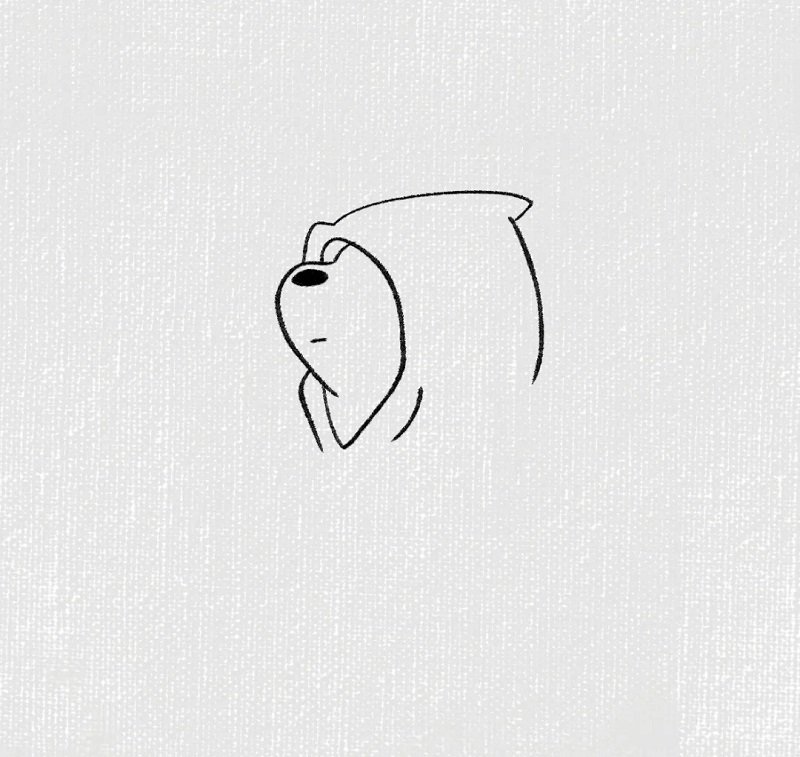
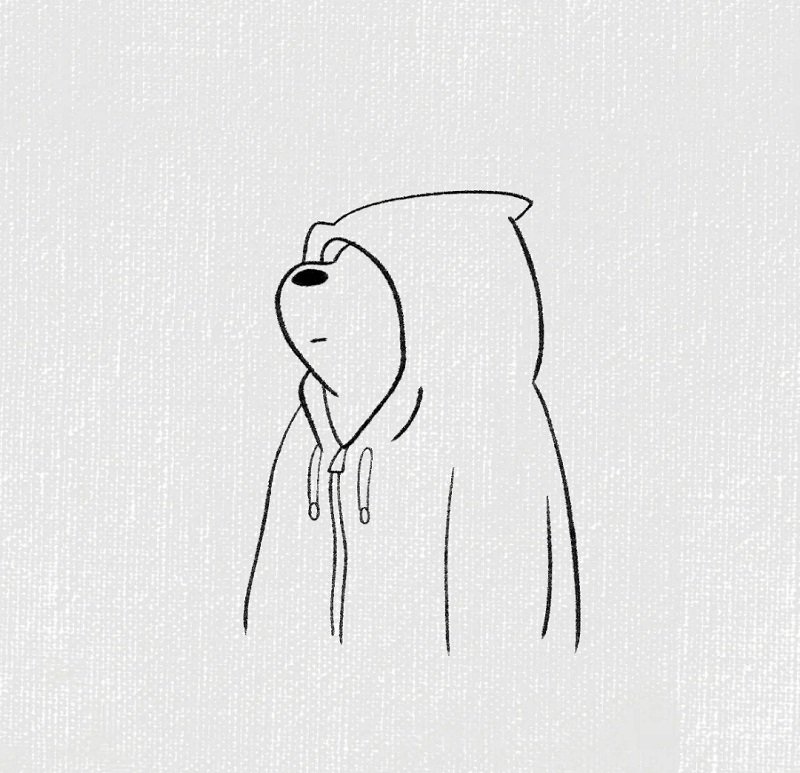
Step 3: Add a small ear near the top left and outline the other ear peeking from behind, then curve the jawline to connect with the snout.
Step 4: Draw the cute sleepy eyes by adding small curved lines under the forehead, then add an eyebrow above for extra expression.

Step 5: Add a gentle smile and a chin line beneath the snout to give the bear a sweet, peaceful look, keeping lines soft and light.
How to draw a polar bear easy
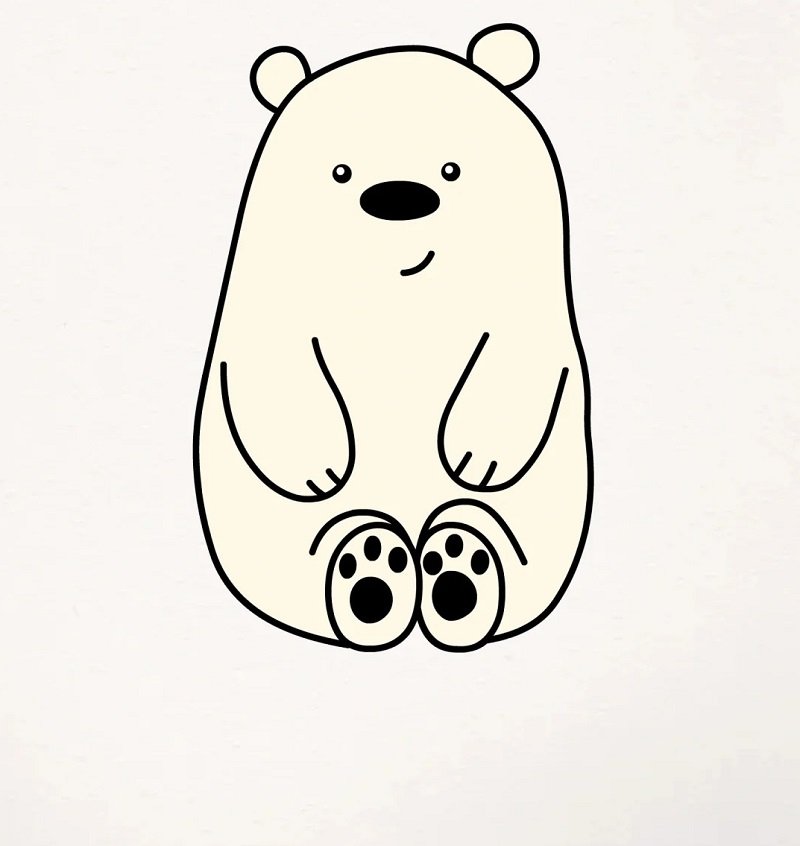
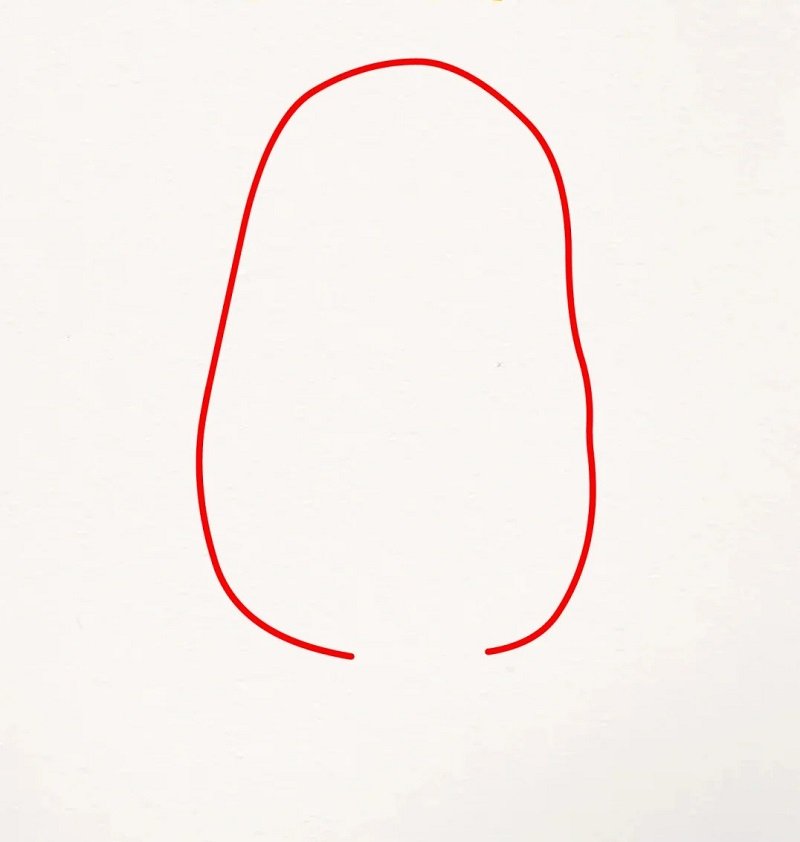
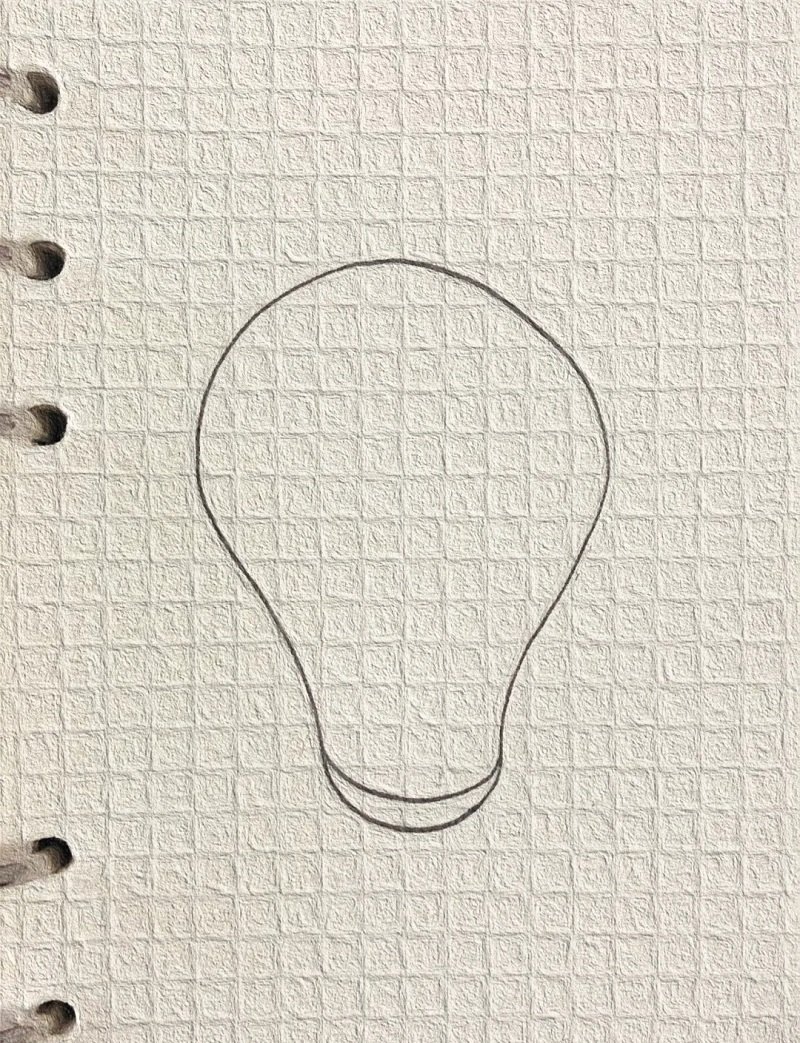
Step 1: Draw a tall oval-like shape with a flat bottom and rounded top—this forms the basic body structure of your cute polar bear.
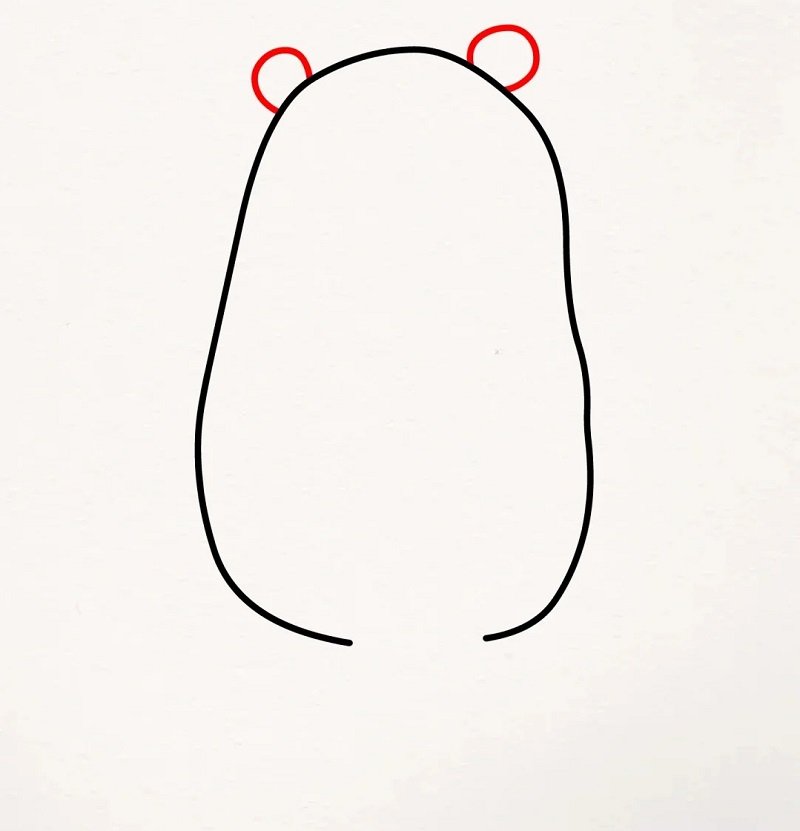
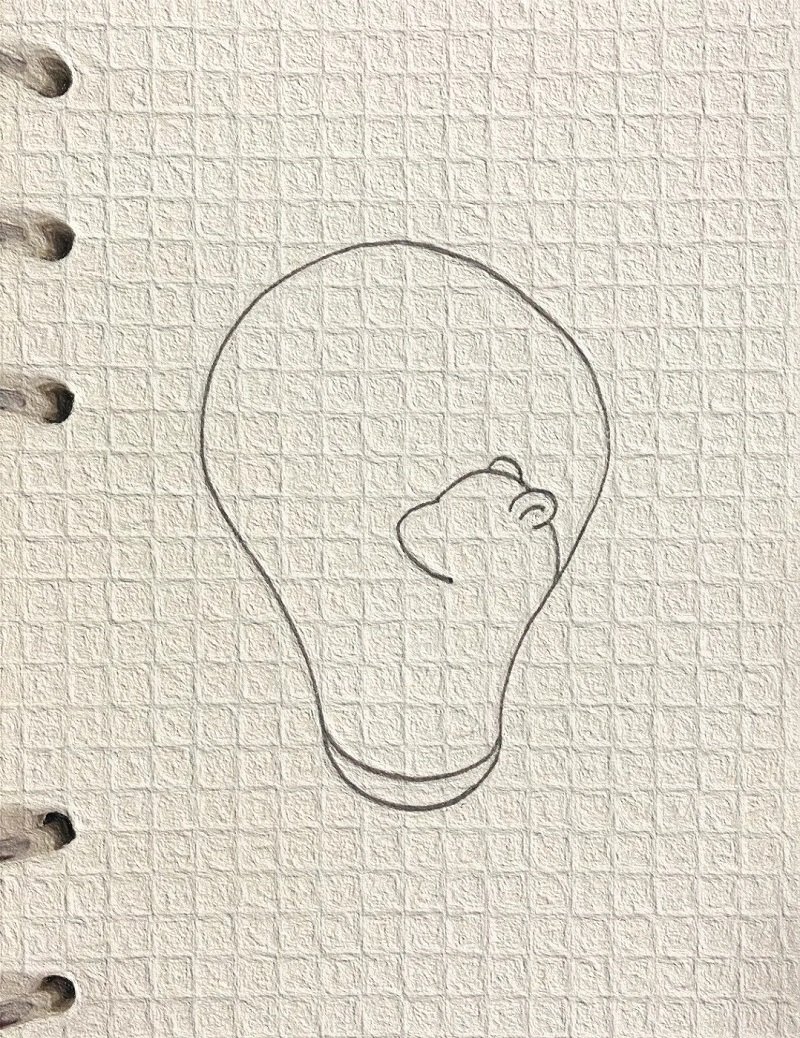
Step 2: Add two small semicircles on top for ears and extend gentle curves from the bottom sides to define the bear’s back and sides.

Step 3: Inside the head, draw a rounded triangle nose and a soft curved smile just below to give the bear a sweet and cheerful face.
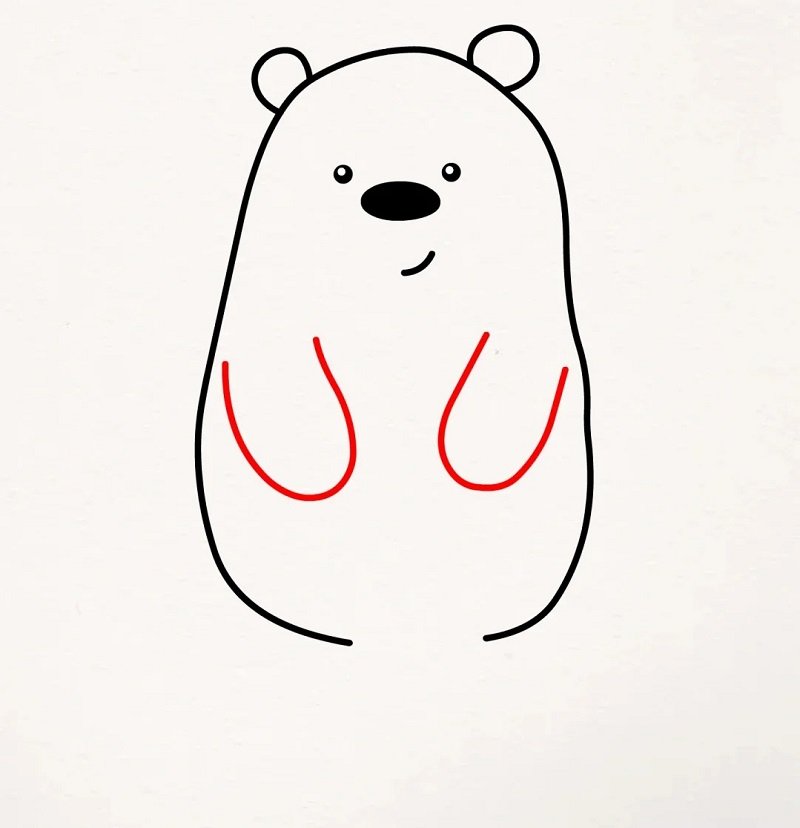
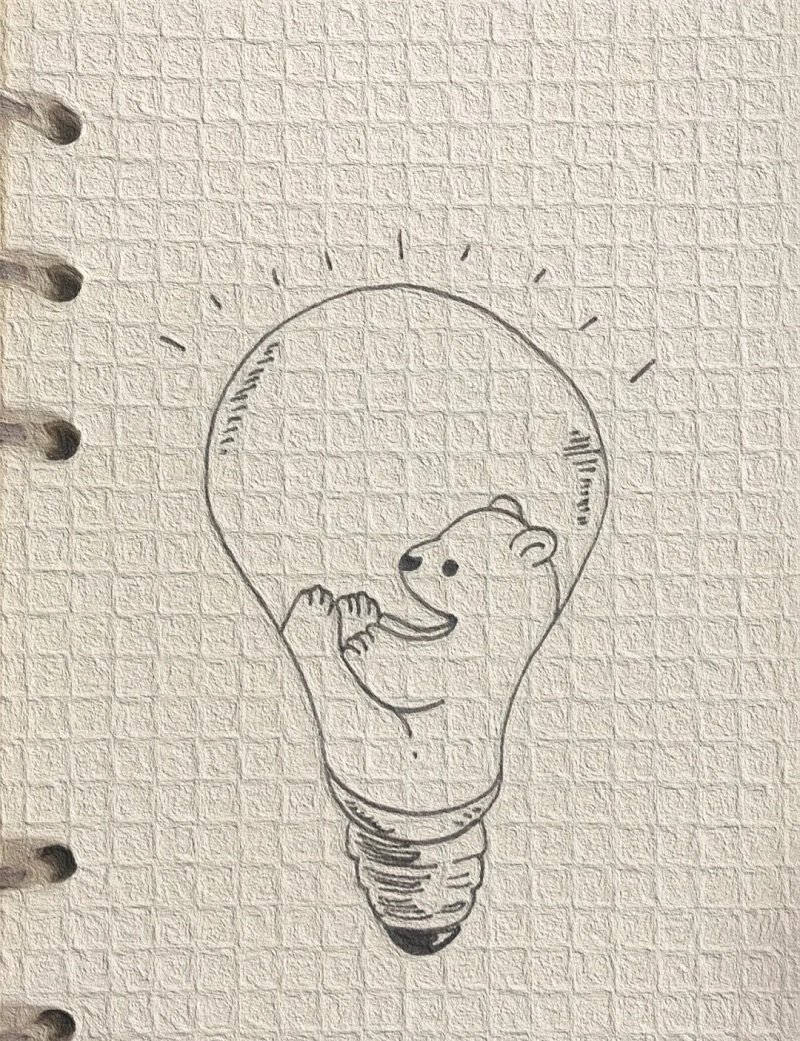
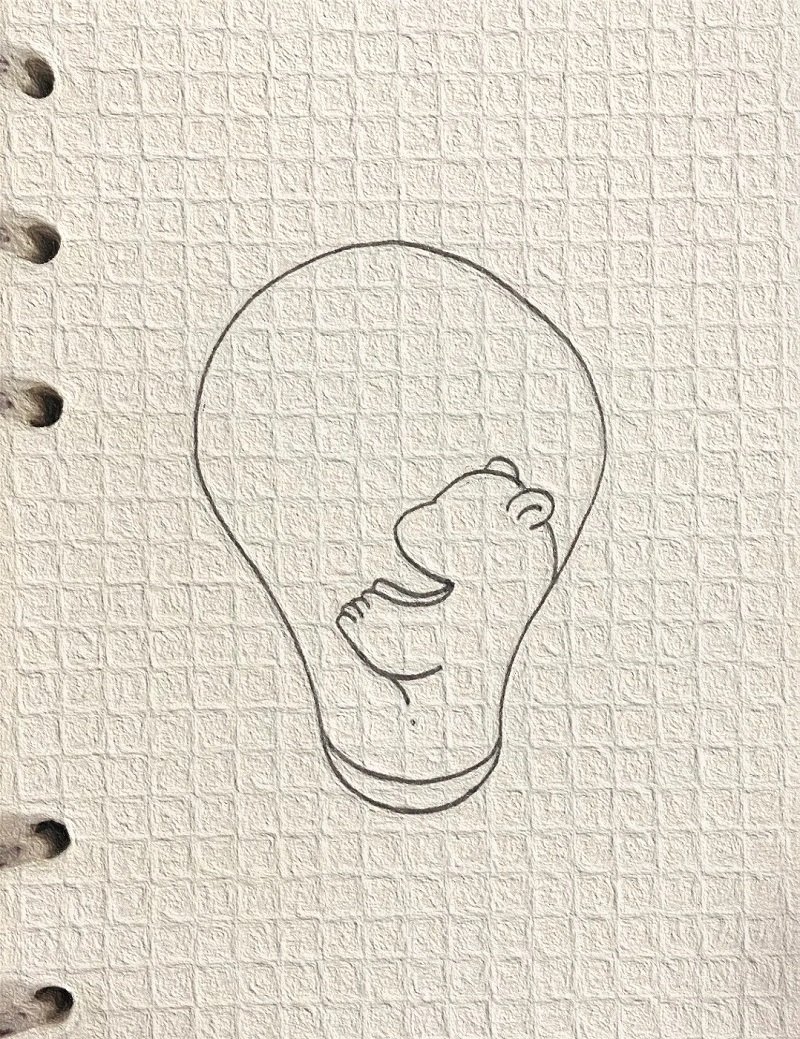
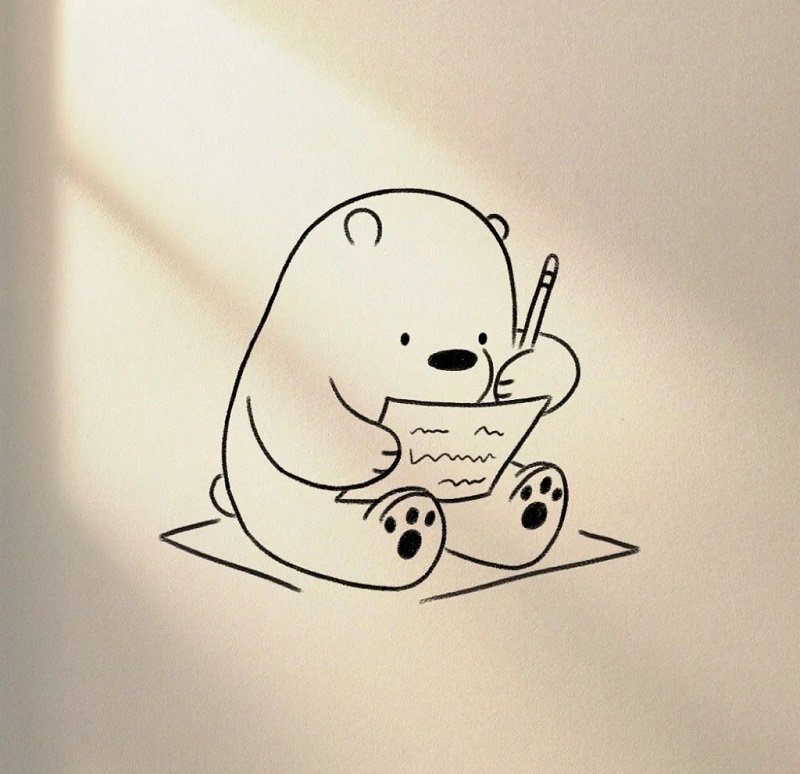
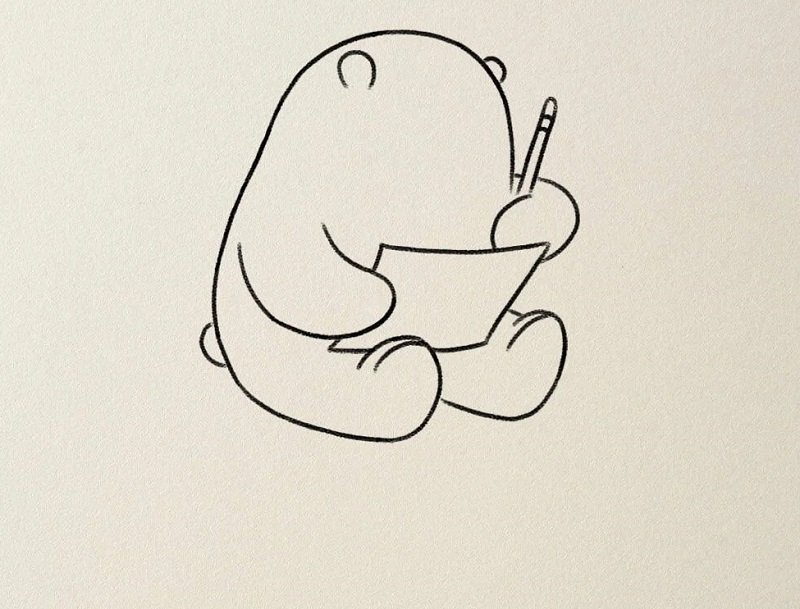
Step 4: Sketch two curved lines on the body for the arms, gently wrapping inward as if the bear is holding something or sitting still.

Step 5: Add two small ovals overlapping the bottom edge of the body to form the bear’s feet, slightly spaced apart for a cute sitting pose.
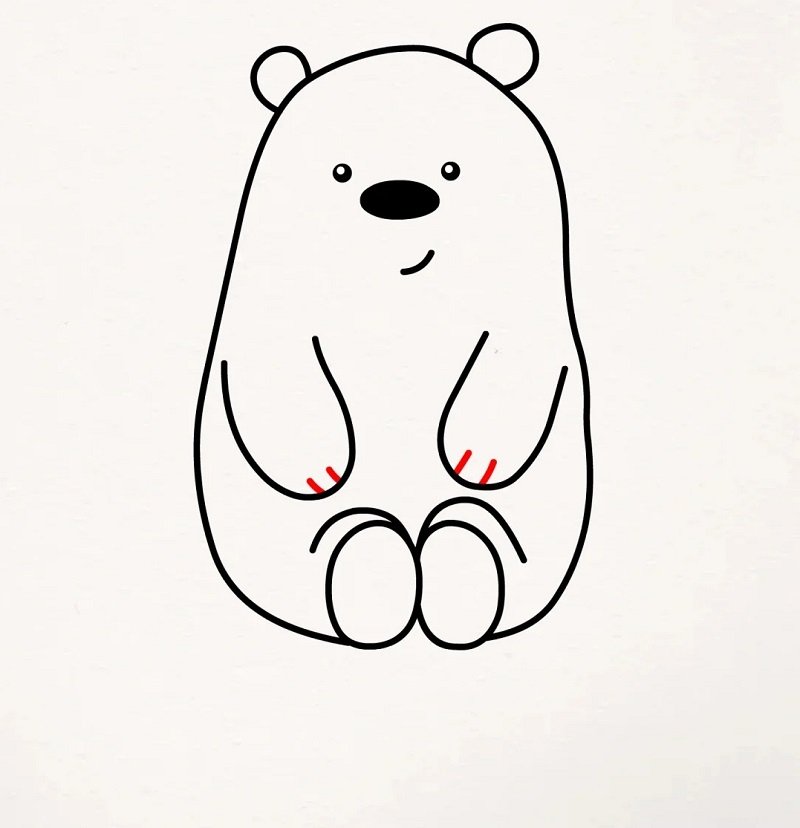
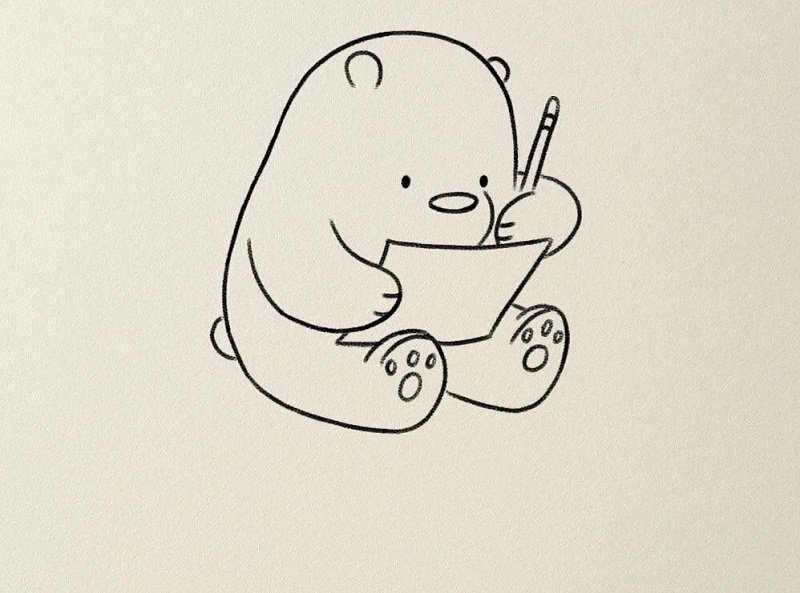
Step 6: Draw two more inner ovals inside the feet to mark the paw pads and define the foot shape more clearly, keeping it rounded and soft.
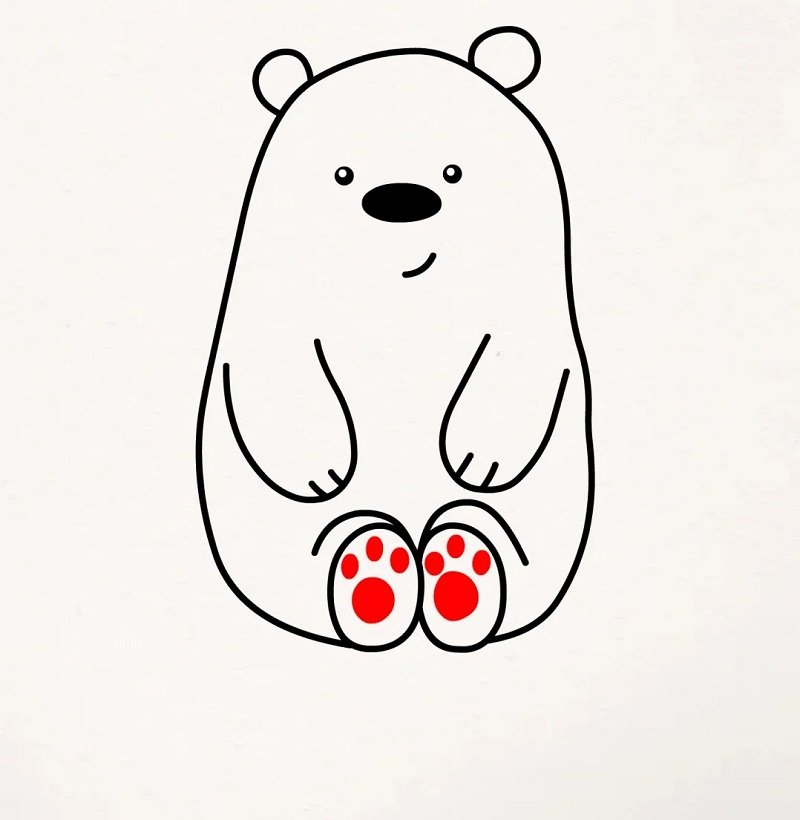
Step 7: Finish by adding three tiny toe marks on each foot pad using small red circles to complete the adorable polar bear’s paws.
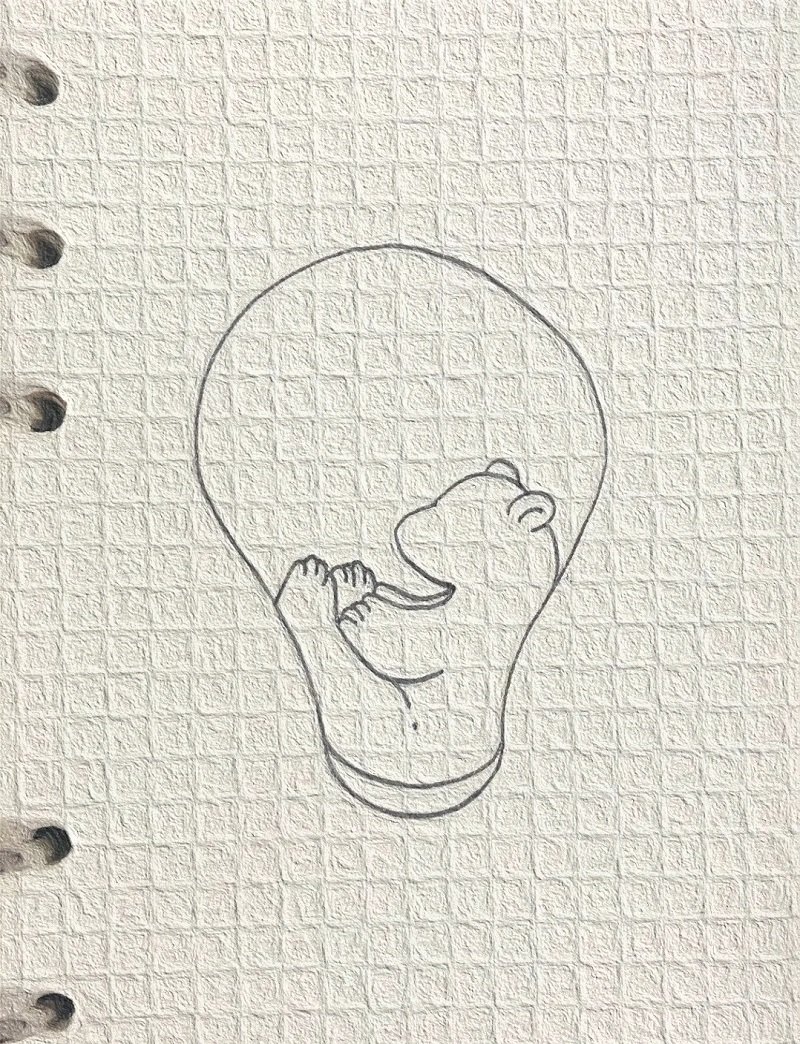
How to draw a polar bear step by step
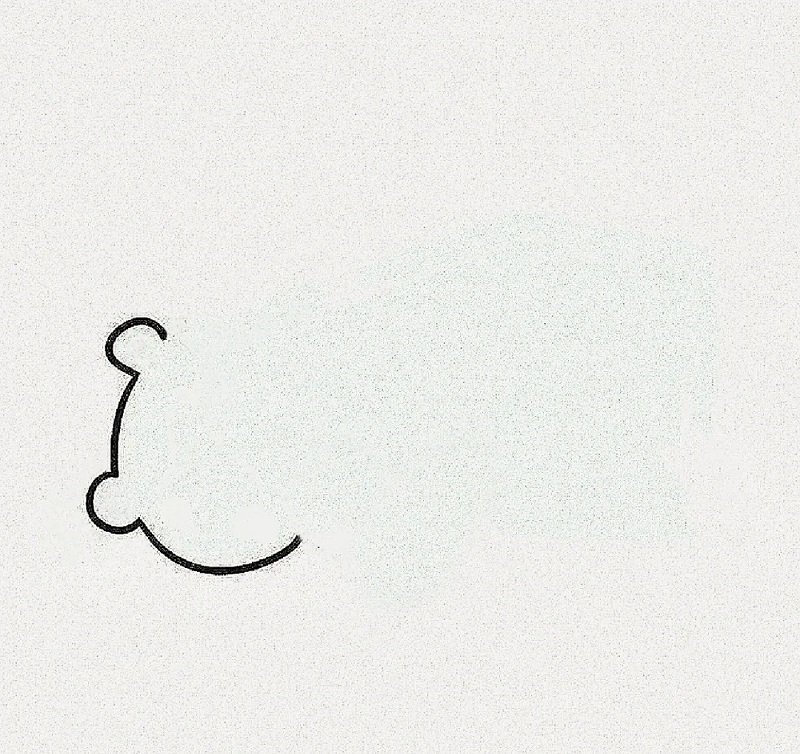
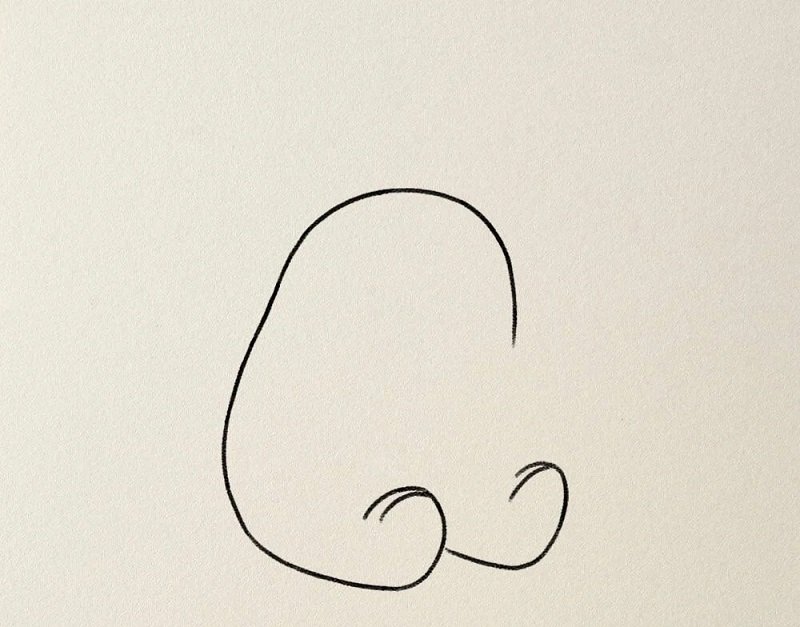
Step 1: Start by drawing a small round nose and a smooth curve to form the outline of the polar bear’s snout and forehead lying down.
Step 2: Add a small ear on top and sketch a curved neck and front paw tucked underneath the head to begin the sleeping pose.

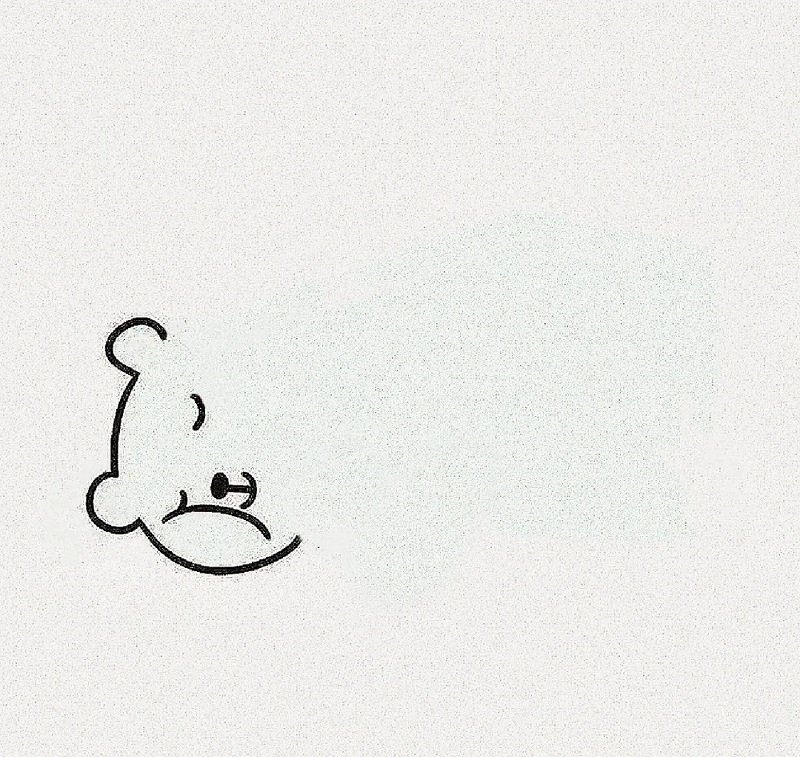
Step 3: Draw the second front paw next to the first, slightly overlapping, and add the eye and mouth to bring life to the relaxed face.
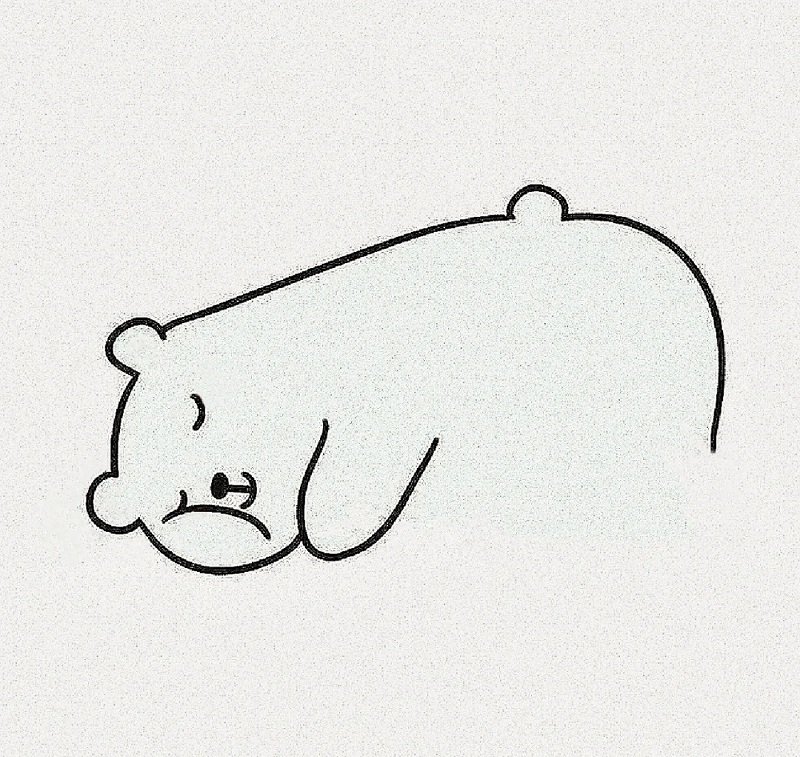
Step 4: Outline the large back and body with a long curved line connecting from the top of the head to the tail, forming a cozy resting pose.
Step 5: Add the back ear and complete the hind leg folded under the bear, keeping lines soft and smooth to emphasize its calm nature.
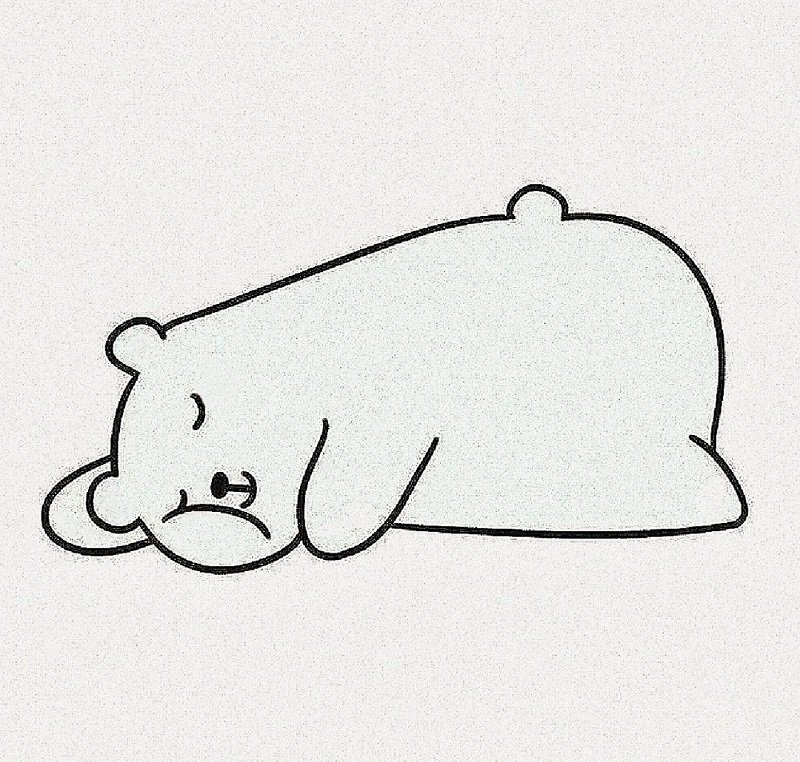
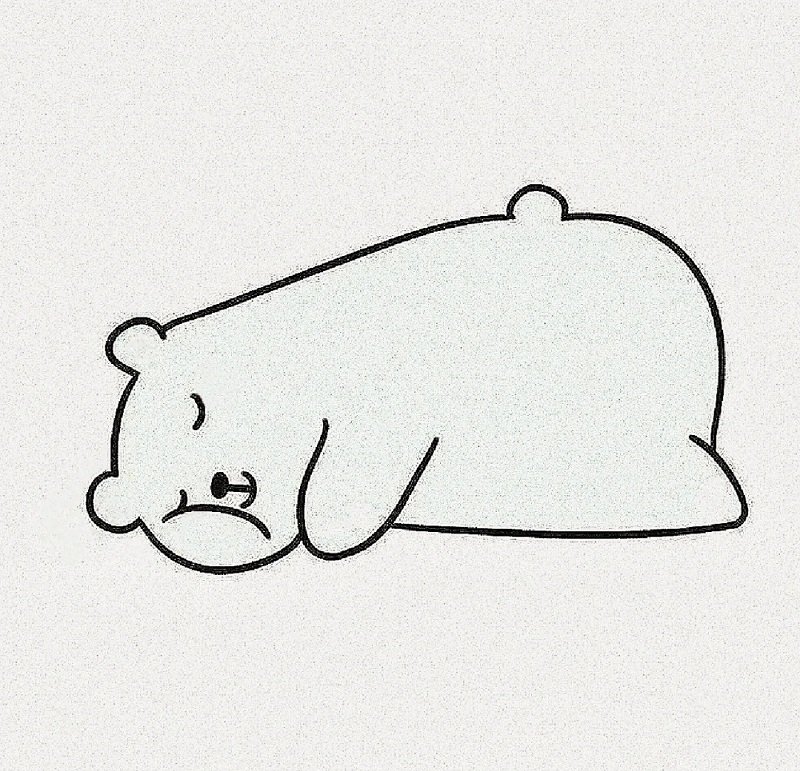
Step 6: Draw a second back leg and belly curve to give the full sleeping body shape more depth and balance, making the bear look peaceful.
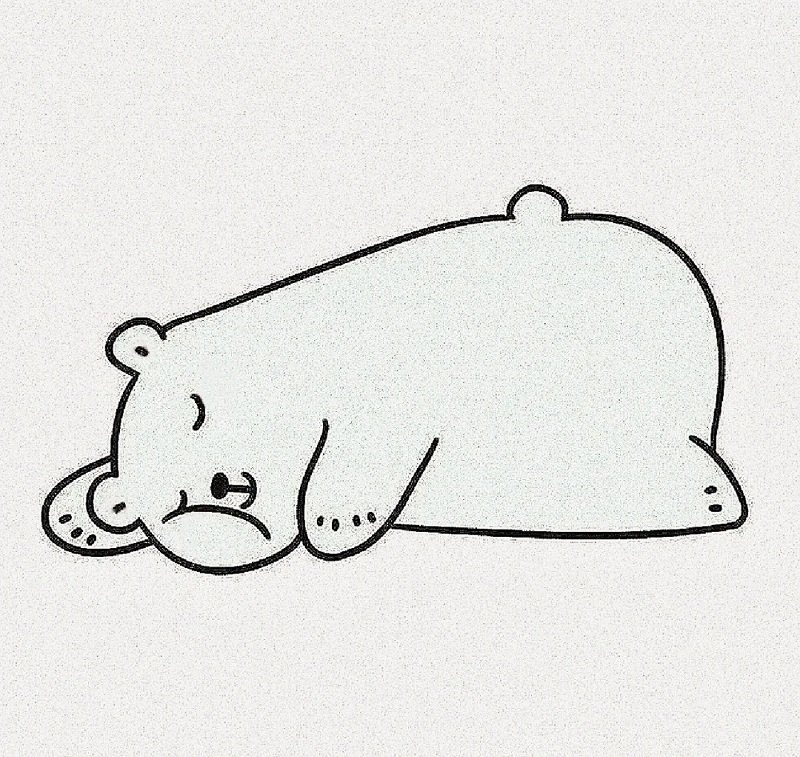
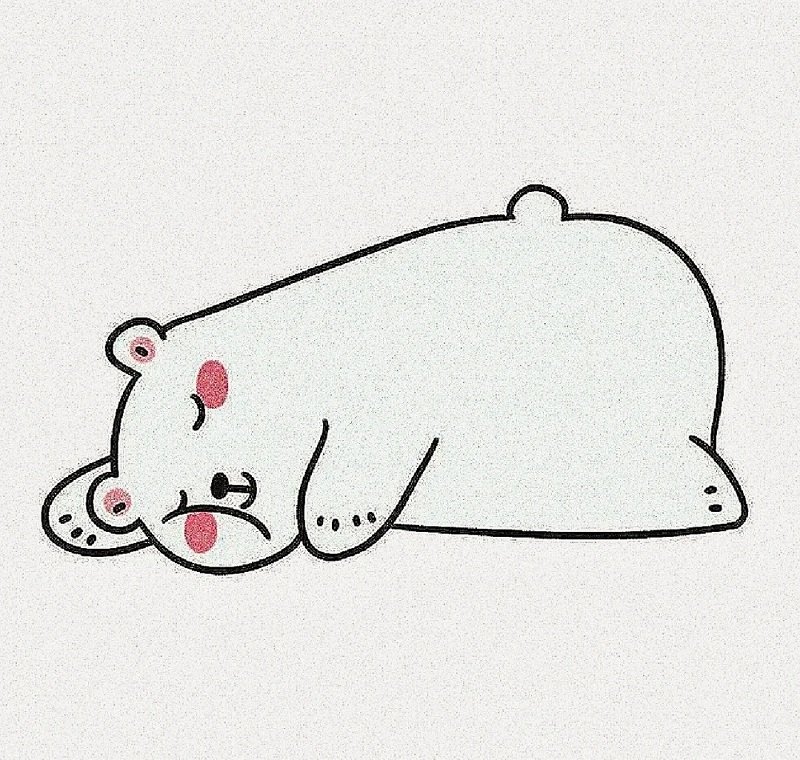
Step 7: Finish by refining the paw details with toe lines and soft strokes around the body to complete your cute, sleeping polar bear drawing.
How to draw a polar bear for kids

Step 1: Start by drawing a large curved shape like a rainbow to form the top and side of the polar bear’s big round head and body.
Step 2: Complete the lower part of the body with a soft oval curve, then draw a cute curled tail at the bottom for a playful touch.
Step 3: Add two round ears on top and begin sketching the front paws reaching forward, giving the bear a cuddly, huggable pose.
Step 4: Finish by drawing the face with sleepy eyes, a little nose, and a gentle smile, then refine the paws and body for an adorable bear look.
See more:
Top 10 ideas for how to draw a plane that actually looks real
How to draw a pig in 6+ cute cartoon styles
10+ easy steps on how to draw a Panda for beginners
And that’s a wrap on learning how to draw a polar bear! Whether you followed one of the step-by-step guides or tried mixing styles, we hope you had fun bringing this majestic animal to life on paper. Keep practicing, add your unique flair, and don’t forget to check back for more animal drawing guides. Your sketchbook is your kingdom – now fill it with polar bear vibes!