Wanna learn how to draw a bike that actually looks cool? Whether you’re sketching for fun, for school, or to impress your friends, this guide’s got your back! With step-by-step instructions, creative tips, and beginner-friendly tricks, you’ll level up fast. No boring lectures – just fun, artistic vibes! We’ve curated the easiest and most effective methods so you can draw bikes in your own style. Dive into the world of wheels and frames with confidence. It’s time to turn simple lines into awesome designs. Explore more bike-drawing tutorials now on dooduko.com!
How to draw a bike easy
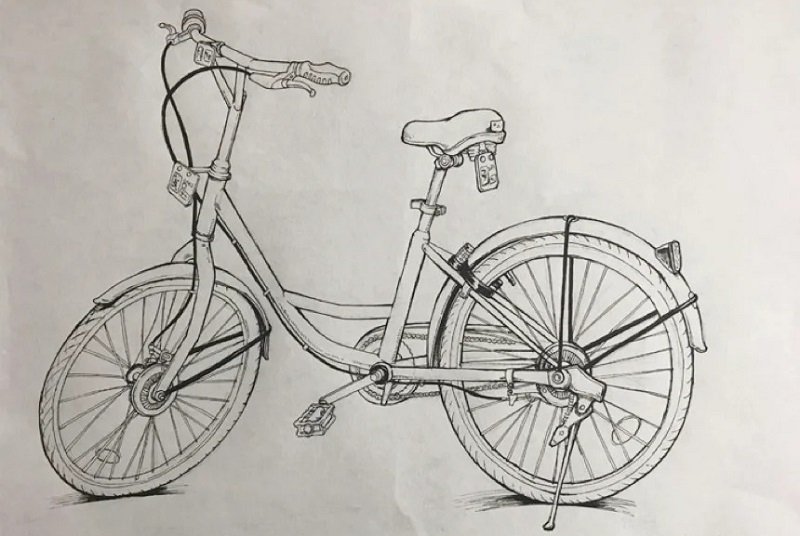

How to draw a bike step by step


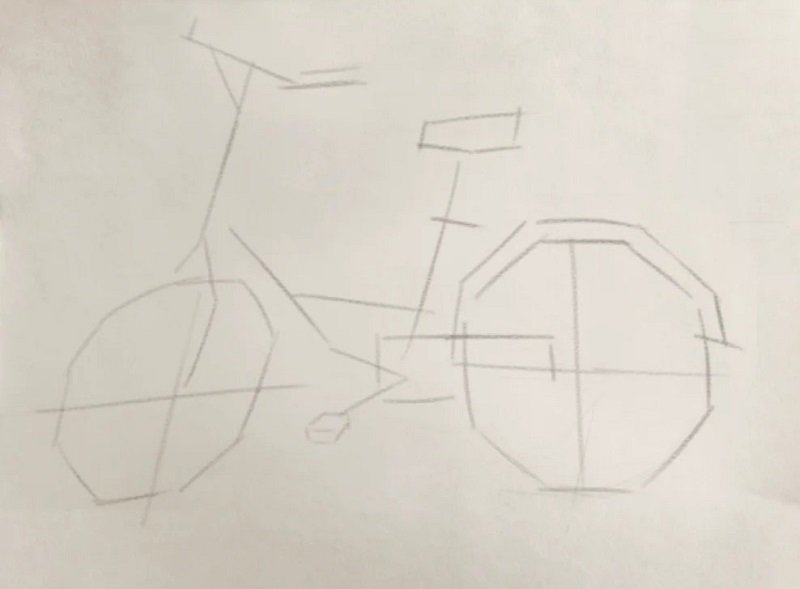
Step 1 Draw the number “5” in the center of the page to form the back of the bike, including the rear frame and part of the seat.

Step 2 Add a perfect circle on the left side of the “5” to represent the front wheel, keeping it level with the back wheel.

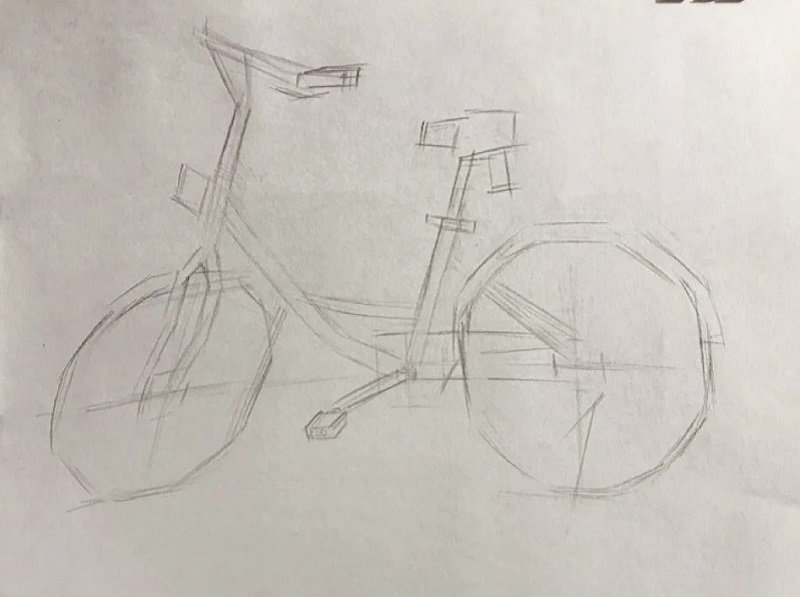
Step 3 Connect the two wheels using two straight lines and sketch a small handlebar above the front wheel to define the bike’s shape.
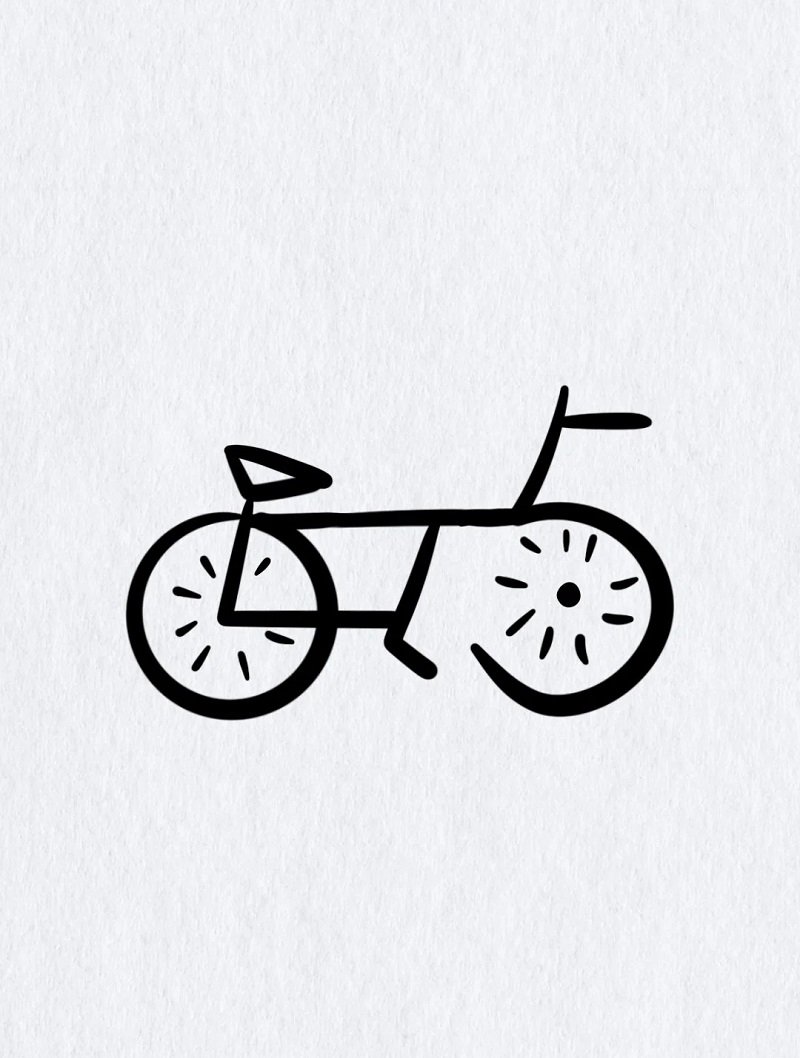
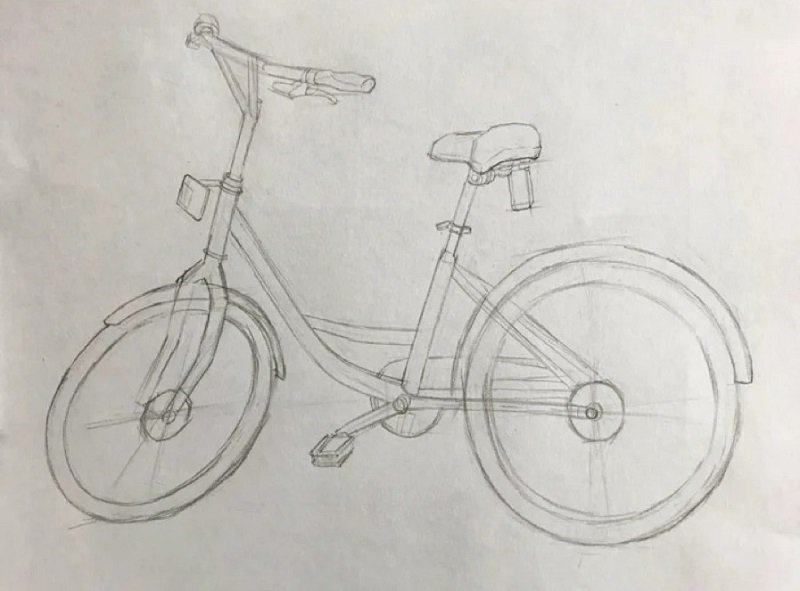
Step 4 Draw the pedals near the center, add spokes inside each wheel, and refine the lines to complete your bike drawing with style.
How to draw a bike for kids

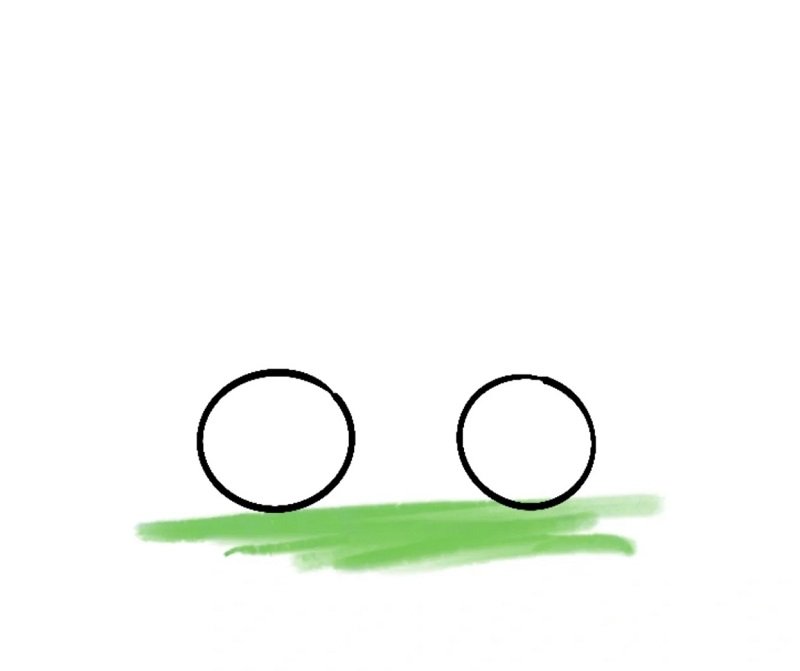
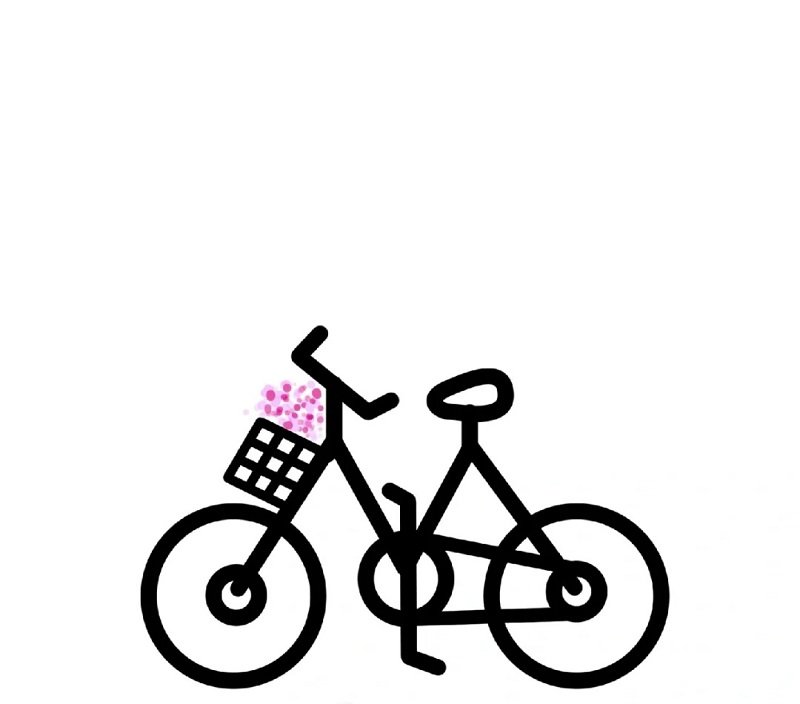
Step 1 Draw two equal circles on the ground, spaced apart evenly — these will be the front and rear wheels of the bike.
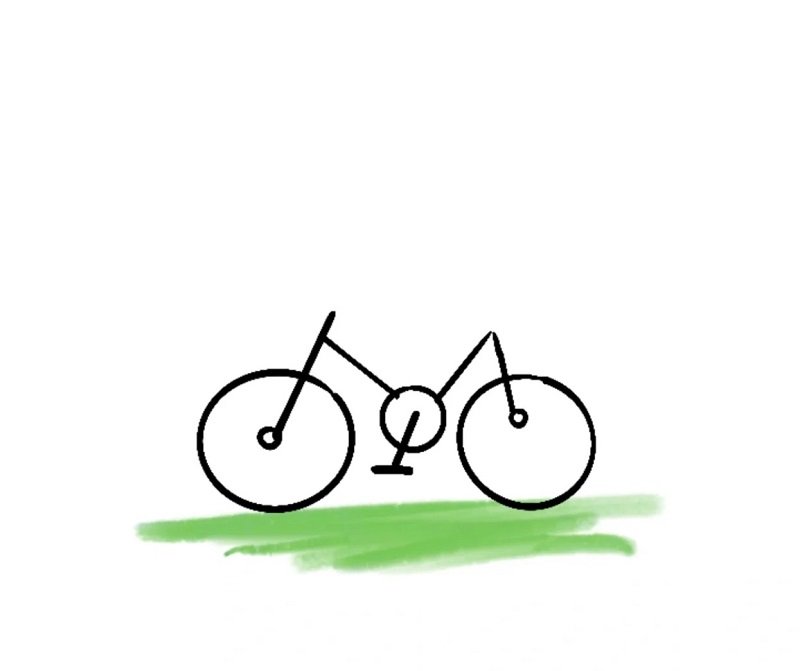
Step 2 Connect the wheels with lines to form the frame, then sketch the handlebars and seat in simple shapes.
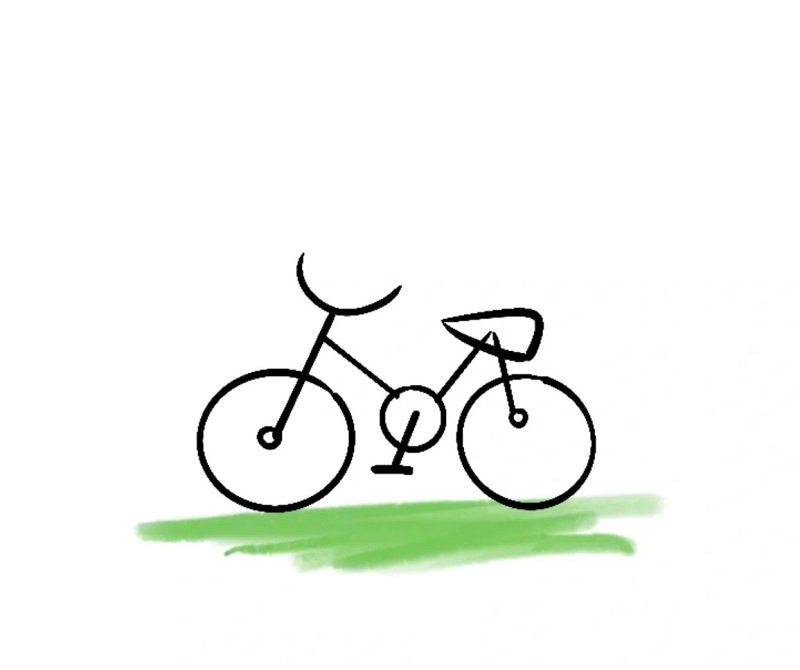
Step 3 Add pedals below the center and a chain between the wheels to give the bike a more complete structure
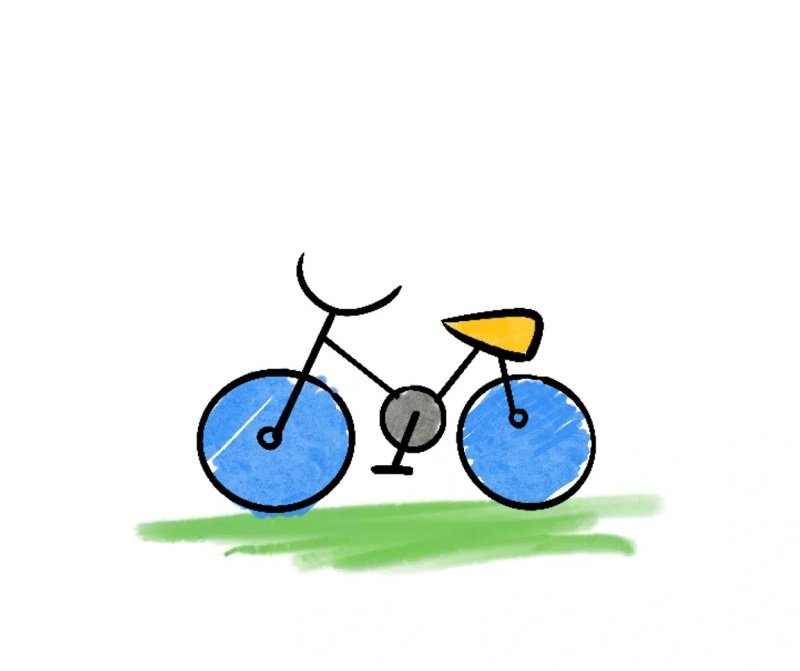
Step 4 Color the wheels blue and the seat yellow to make the bike fun and eye-catching for kids.
How to draw a bike for kids easy


Step 1 Draw a straight horizontal line near the bottom of the page to represent the ground where the bike and scene will be placed.
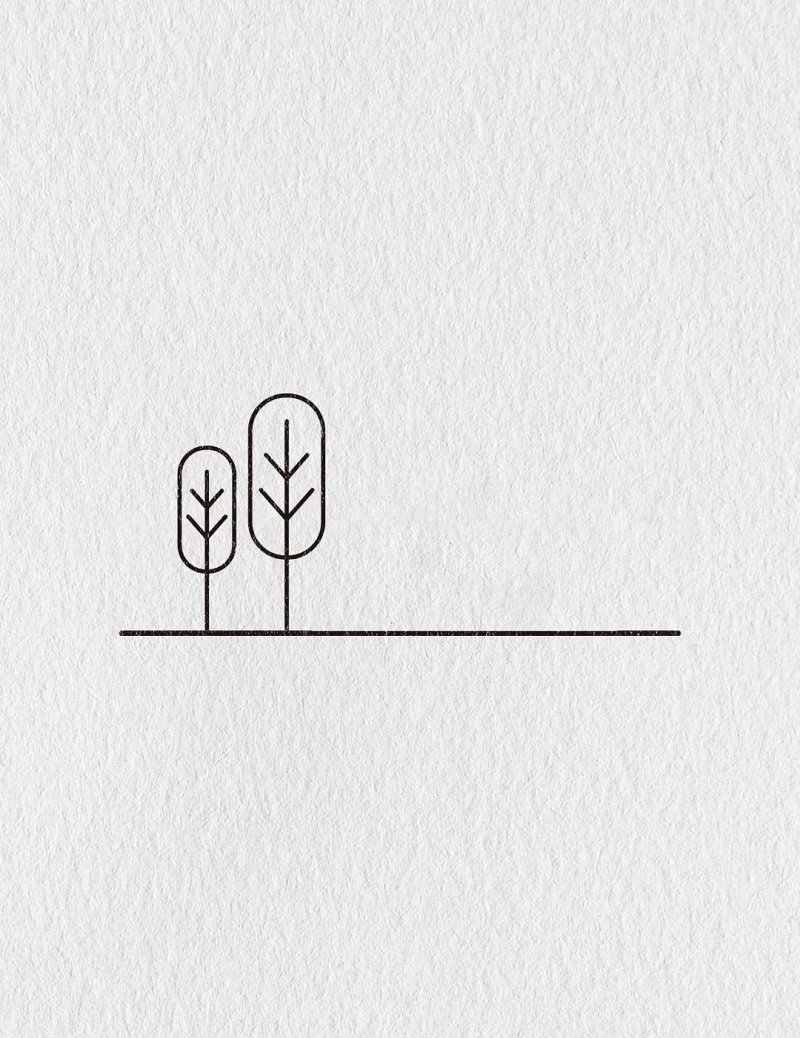
Step 2 Add simple tree shapes above the line using ovals and lines to create a peaceful background for the bike scene
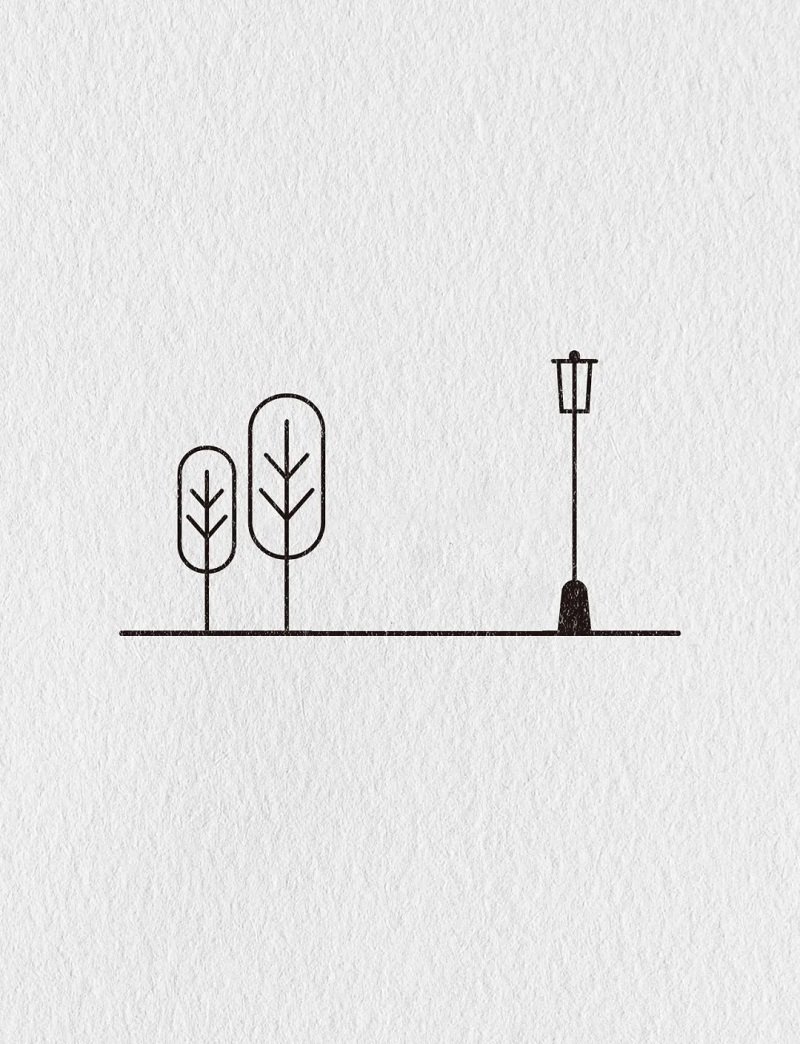
Step 3 Draw a vertical pole with a small circle on top next to the trees — this will become a streetlamp or signpost.
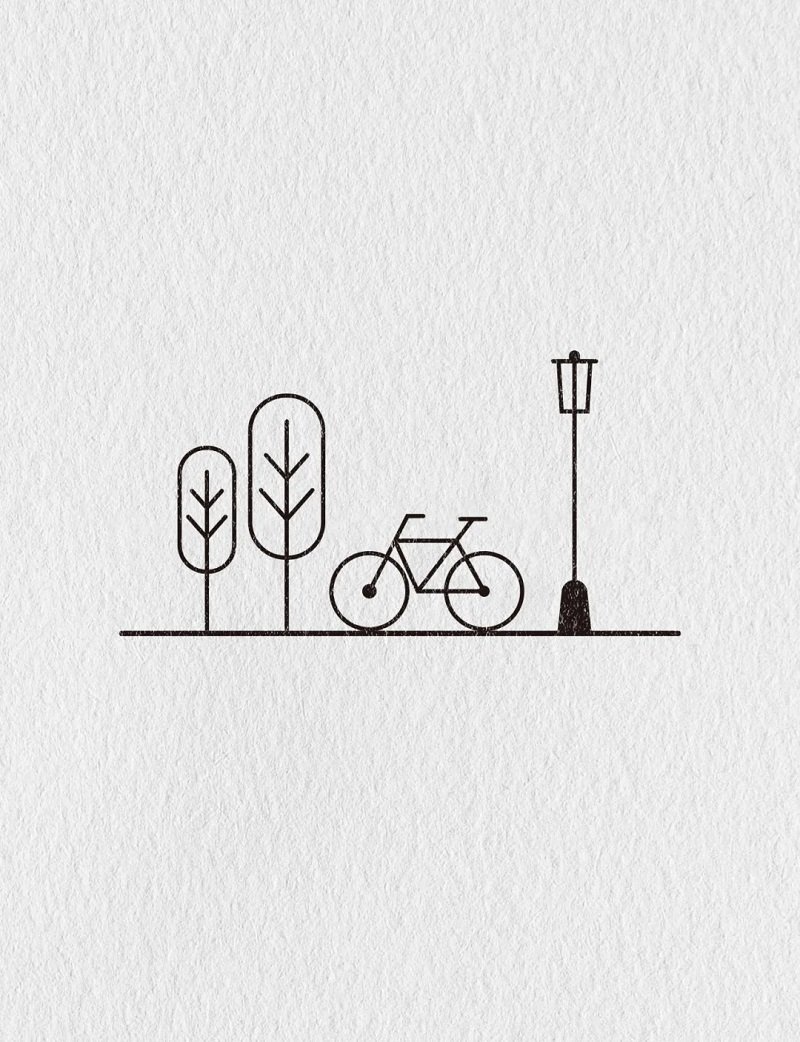
Step 4 Sketch the bike between the trees and the post using two wheels, a frame, a seat, and handlebars in a minimal style.
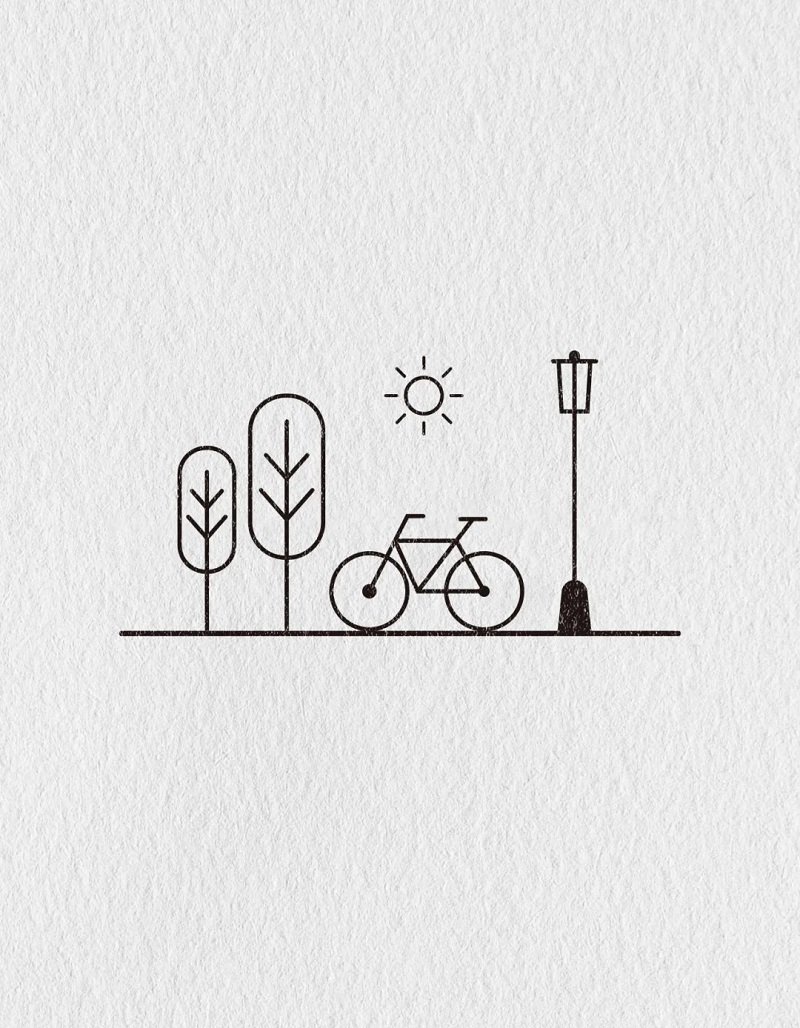
Step 5 Add a small heart or character near the bike to bring the scene to life and give it a playful, child-friendly touch.
How to draw a simple bike

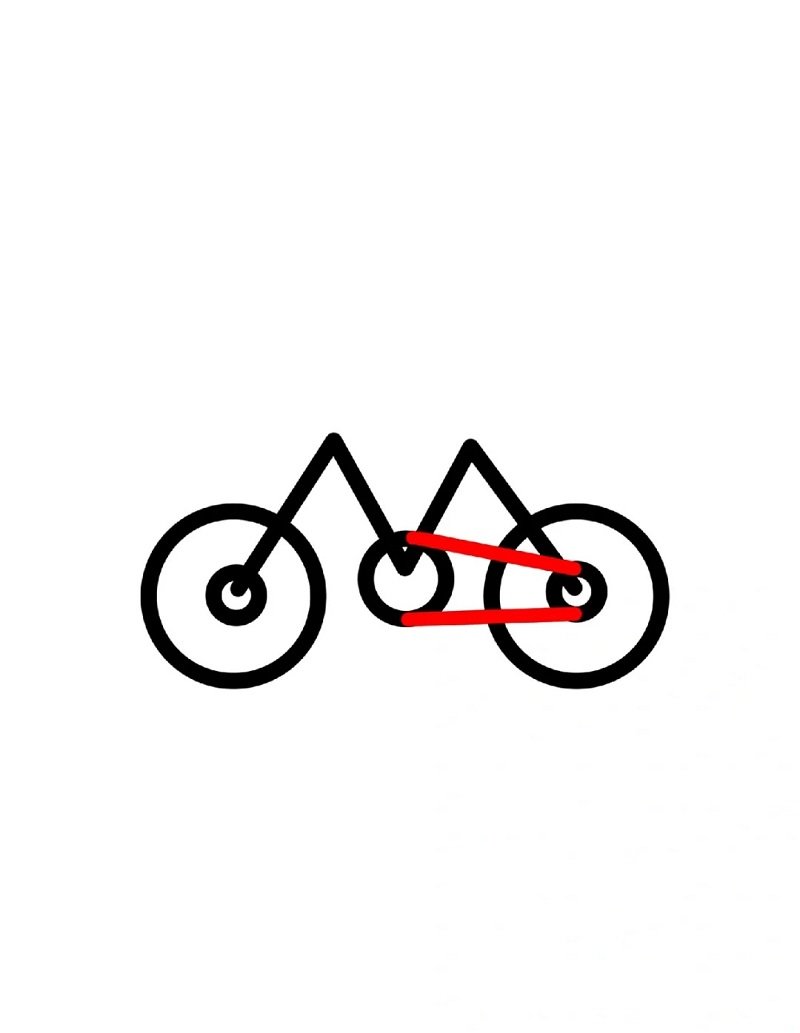
Step 1 Draw two connected mountain-like peaks shaped like the letter “M” to form the bike’s basic frame.
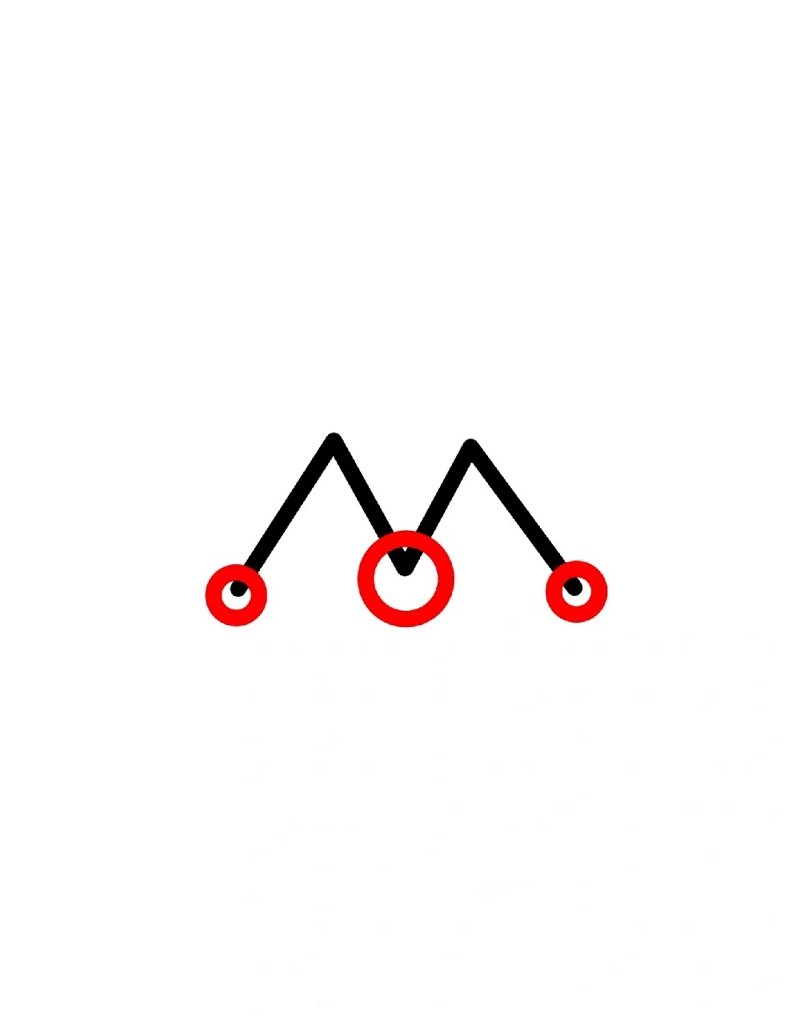
Step 2 Add three small red circles to the ends of the “M” lines — these will become the points for the wheels and pedals.
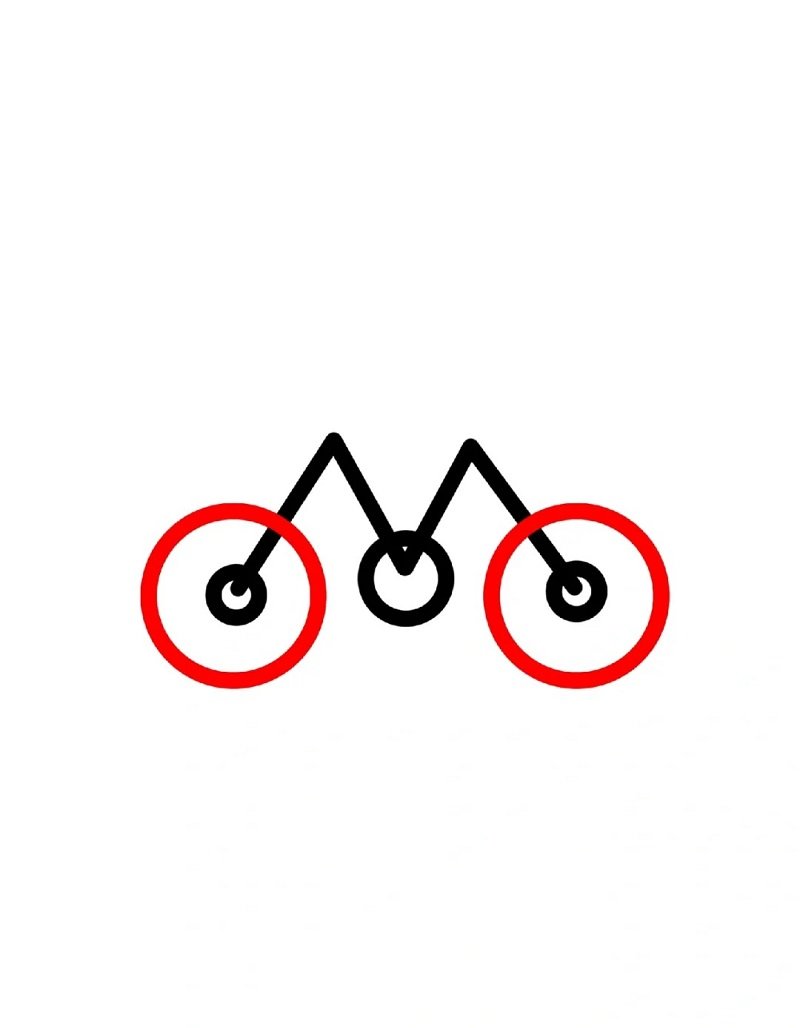
Step 3 Draw two large circles around the lower red points to create the bike’s front and rear wheels.
Step 4 Add triangle shapes inside the frame to give the bike a structured, balanced look.

Step 5 Sketch the seat on top of the rear triangle and a front tube leading to the front wheel.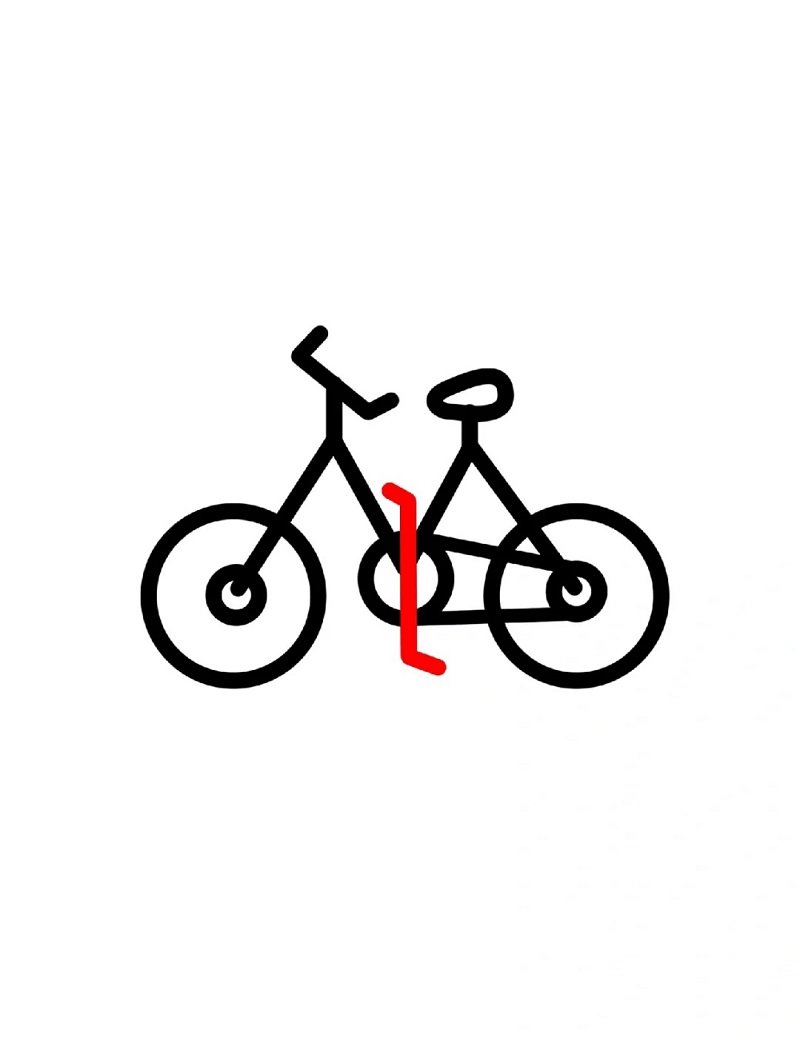
Step 6 Draw the handlebars above the front wheel with curved lines extending outward.
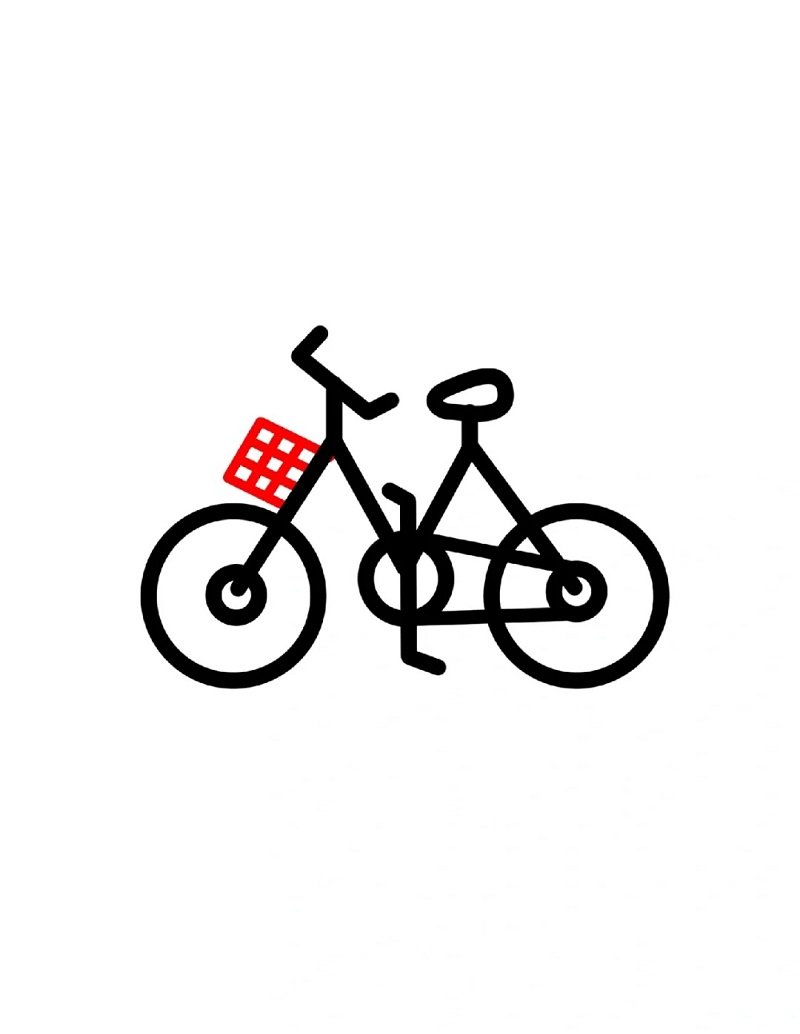
Step 7 Finalize the bike by adding pedal details at the center and adjusting line thickness for a clean finish.
See more:
How to draw Snoopy with emotion in 6 stylish ways
Top 7+ tips on how to draw Naruto like a real artist
How to draw an turtle in 7 fun and simple sketching steps
Drawing a bike may look tricky at first, but with the right steps and a little practice, anyone can do it. You don’t need to be a professional artist to bring two wheels to life on paper. Keep experimenting with different angles, add your own flair, and don’t be afraid to get creative. The more you sketch, the better you’ll become. So grab your pencil and let your ideas ride!