Looking for a fun and easy way to express your creativity? Learning how to draw a blueberry is the perfect start for anyone who loves art and wants to level up their sketching skills. Whether you’re a total beginner or a doodle enthusiast, drawing a cute and juicy blueberry is surprisingly simple with the right steps. In this guide, we’ll break it down into clear, bite-sized instructions that make the process super chill. You don’t need fancy tools—just your passion and a pencil! From basic shapes to final touches, it’s all covered. Let’s make your sketchbook pop with fruity fun. For more tutorials like this, check out dooduko.com – where drawing becomes your new favorite hobby!
How to draw a blueberry


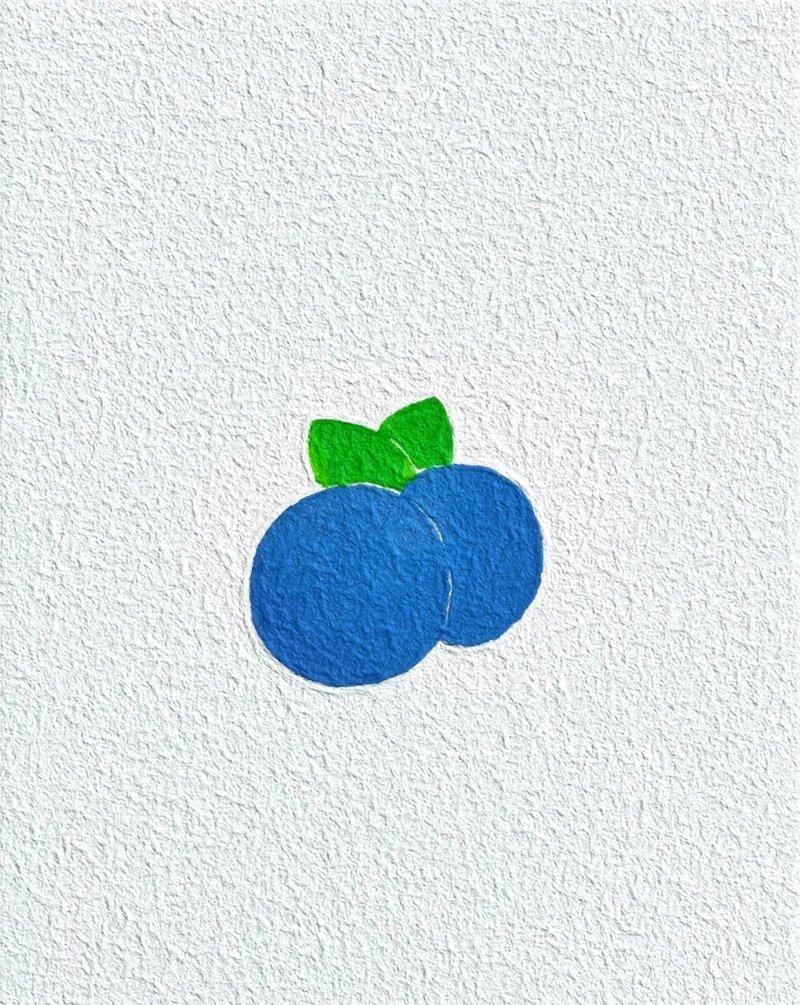
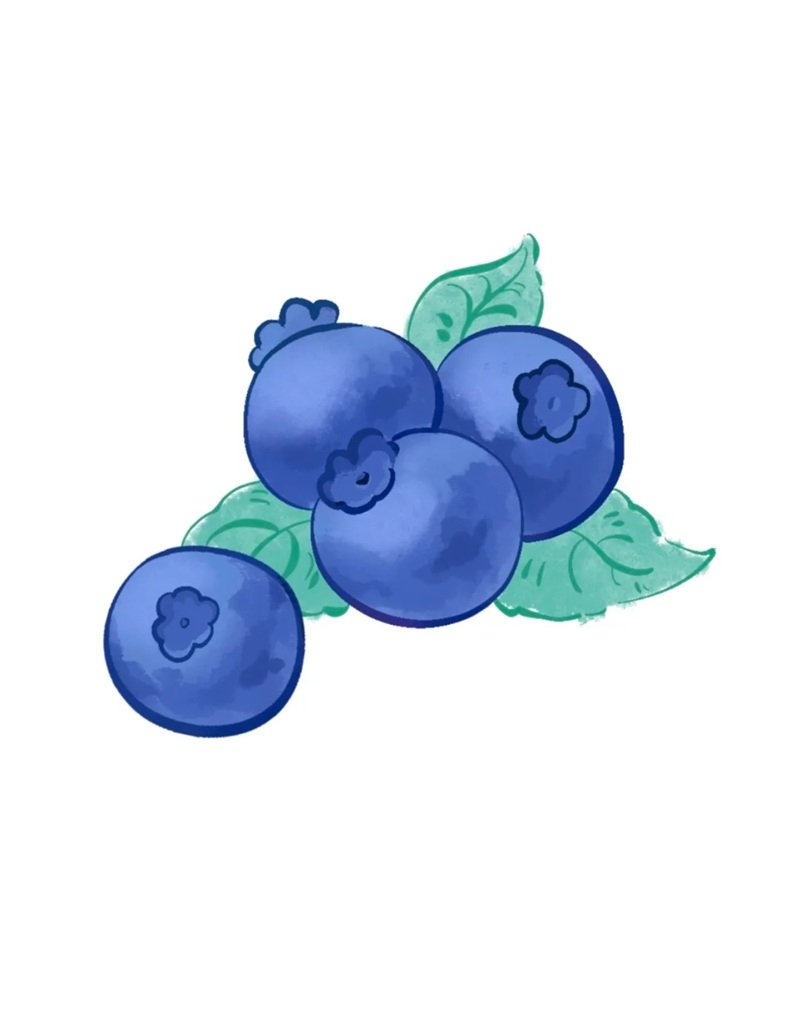
Step 1: Draw a perfect circle to create the base shape of the first blueberry: this will be the foundation for the entire fruit cluster.

Step 2: Add a second circle slightly overlapping the first: this begins forming the natural bunch of blueberries in the drawing.

Step 3: Sketch a third circle overlapping the previous two: the trio of berries gives the drawing depth and realism.

Step 4: Inside each circle, draw a small ring for the blossom end: this detail gives the blueberries their distinctive look.
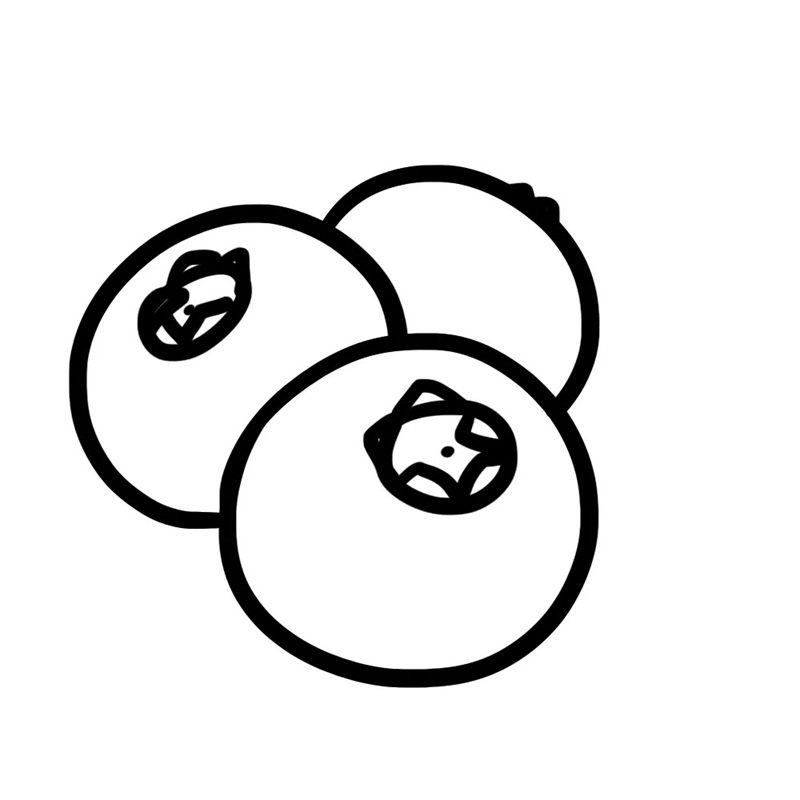
Step 5: Add a small star-like shape in each ring: this represents the flower end, bringing character to each fruit.
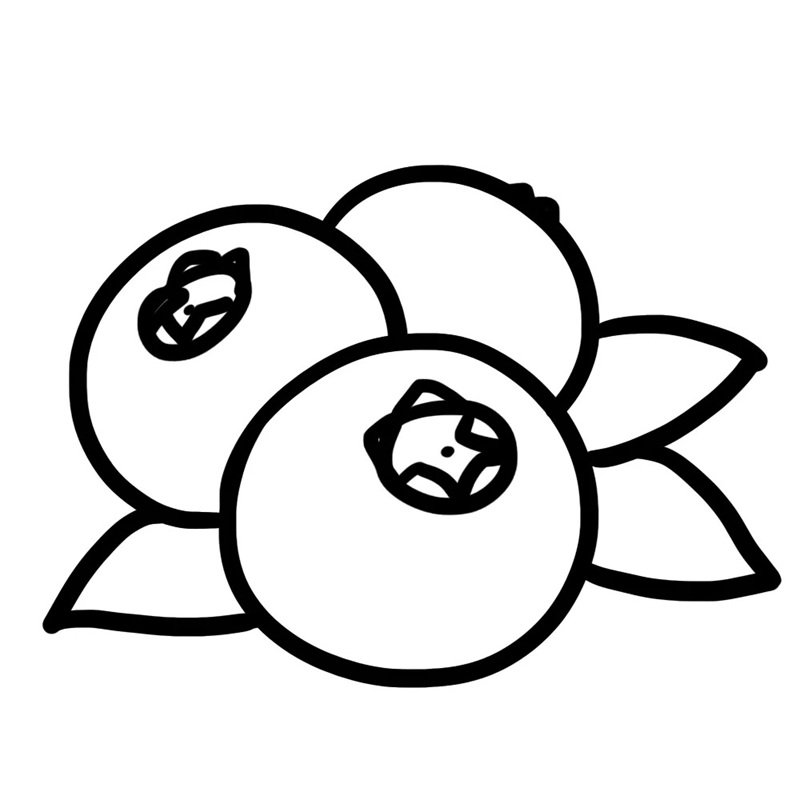
Step 6: Sketch simple pointed leaves behind the berries: these leaves help frame the blueberries and add a natural touch.
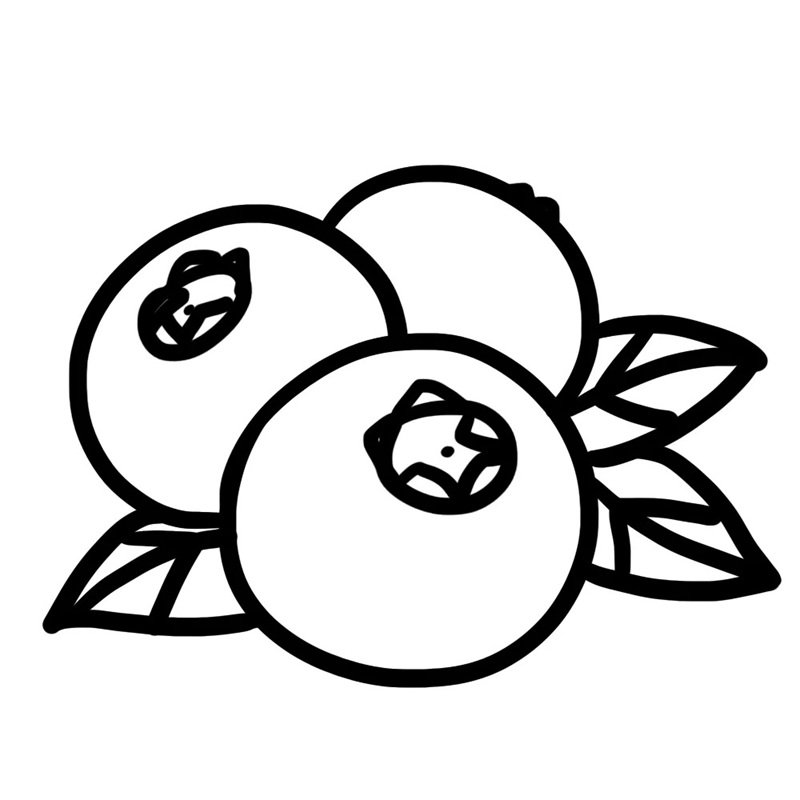
Step 7: Finalize your drawing by adding details to the leaves and adjusting outlines: now you have a complete blueberry bunch ready to color.
How to draw a blueberry beautiful
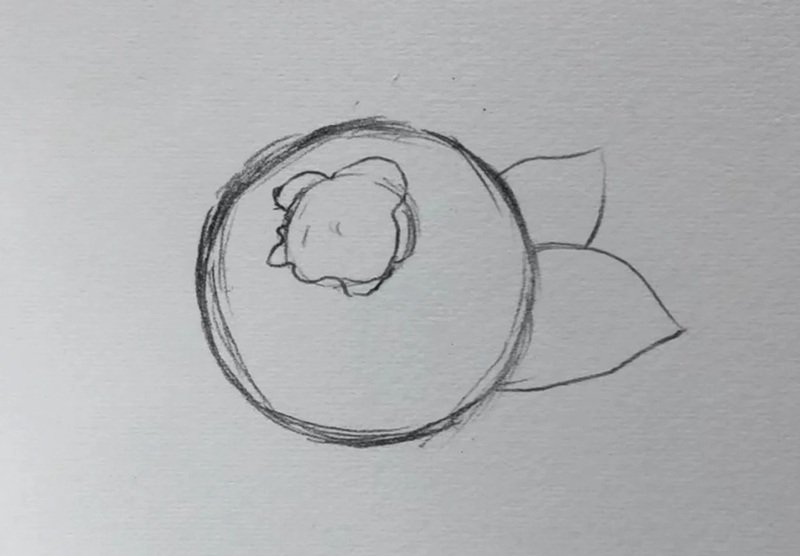
Step 1: Sketch a light circle for the blueberry and outline the blossom end and leaf placement: keep your pencil strokes soft for easy adjustments.
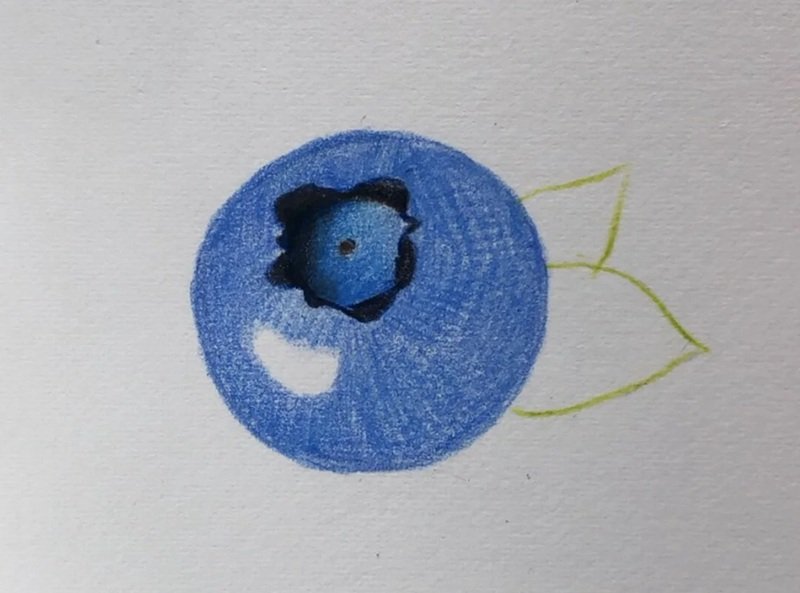
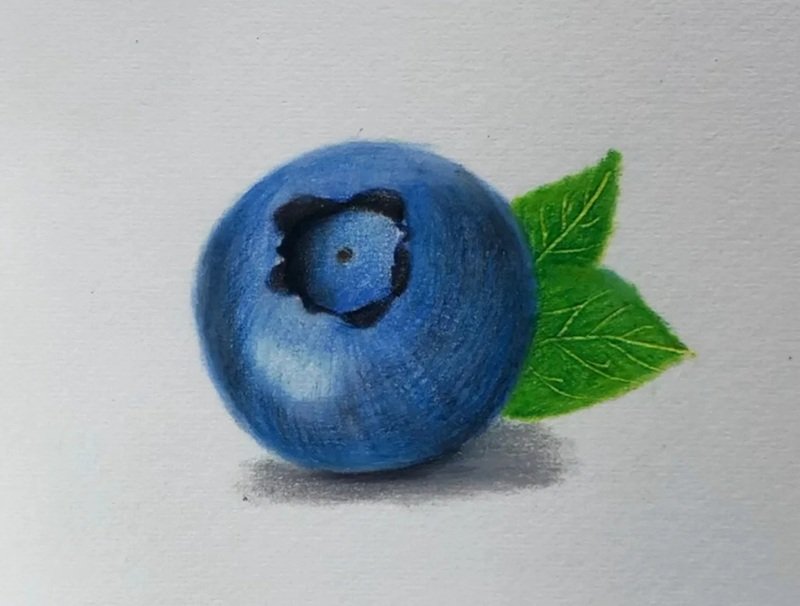
Step 2: Fill the fruit with a base layer of blue color: blend it smoothly while leaving the center slightly lighter for a natural glow.
Step 3: Deepen the center with dark blue or black to define the blossom: create a sense of depth and dimension with soft shading.

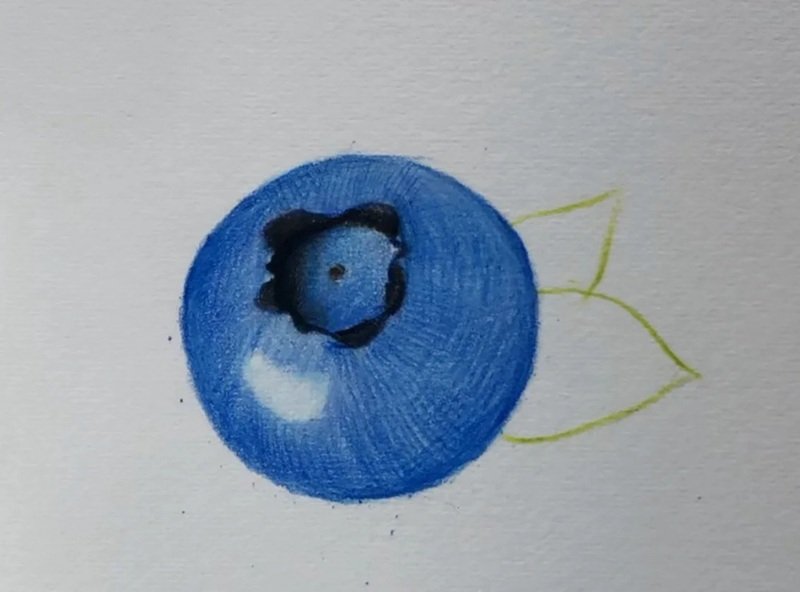
Step 4: Add subtle highlights and shadows around the surface: this gives the blueberry its round, juicy, and realistic appearance.
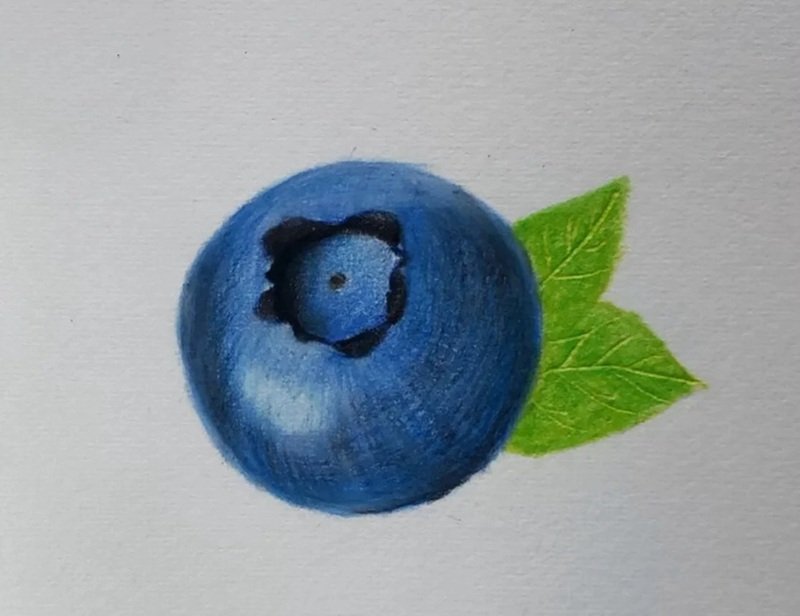
Step 5: Start coloring the leaves with a light green base: follow the sketch lines and shade softly to build up realistic leaf texture.

Step 6: Deepen the green and add texture to the leaves: blend with darker tones to complete your vibrant and lifelike blueberry drawing.
How to draw a blueberry easy


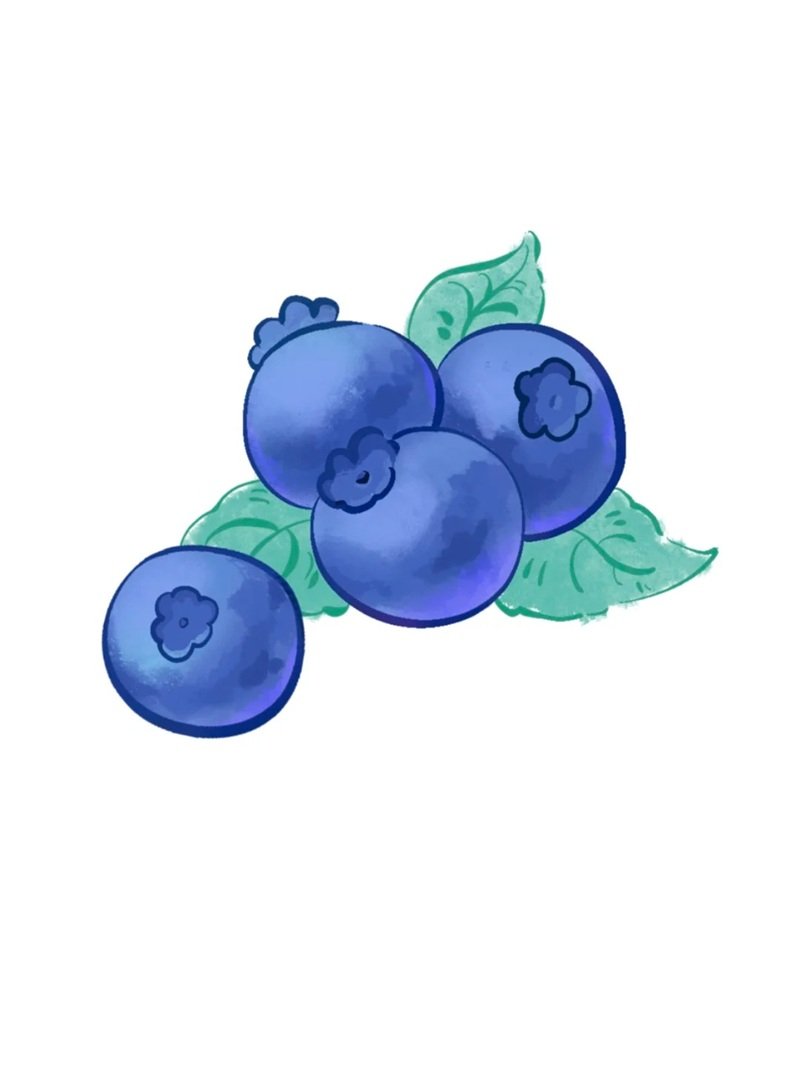
Step 1: Draw two overlapping blue circles: these will be the base shapes of your cute and simple blueberries.
Step 2: Add two small green shapes on top of the berries: these are the leaves and they help complete the fruity look.
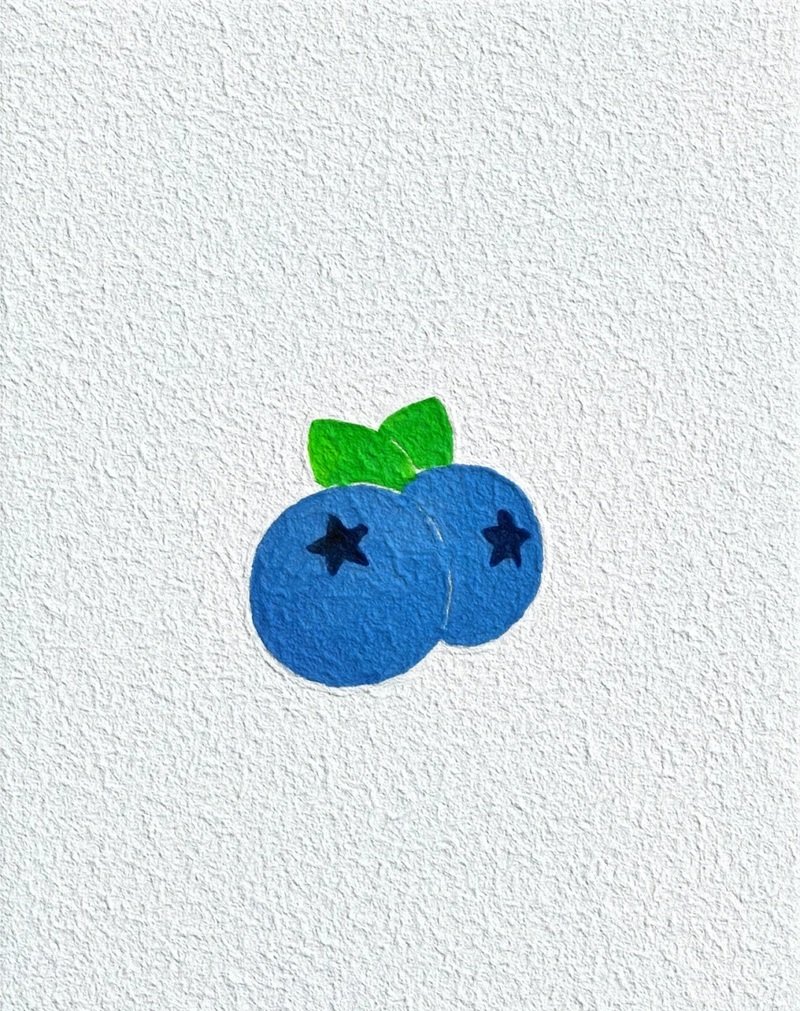
Step 3: Draw little stars inside each blueberry using dark blue: these stars represent the blossom ends of the fruits.
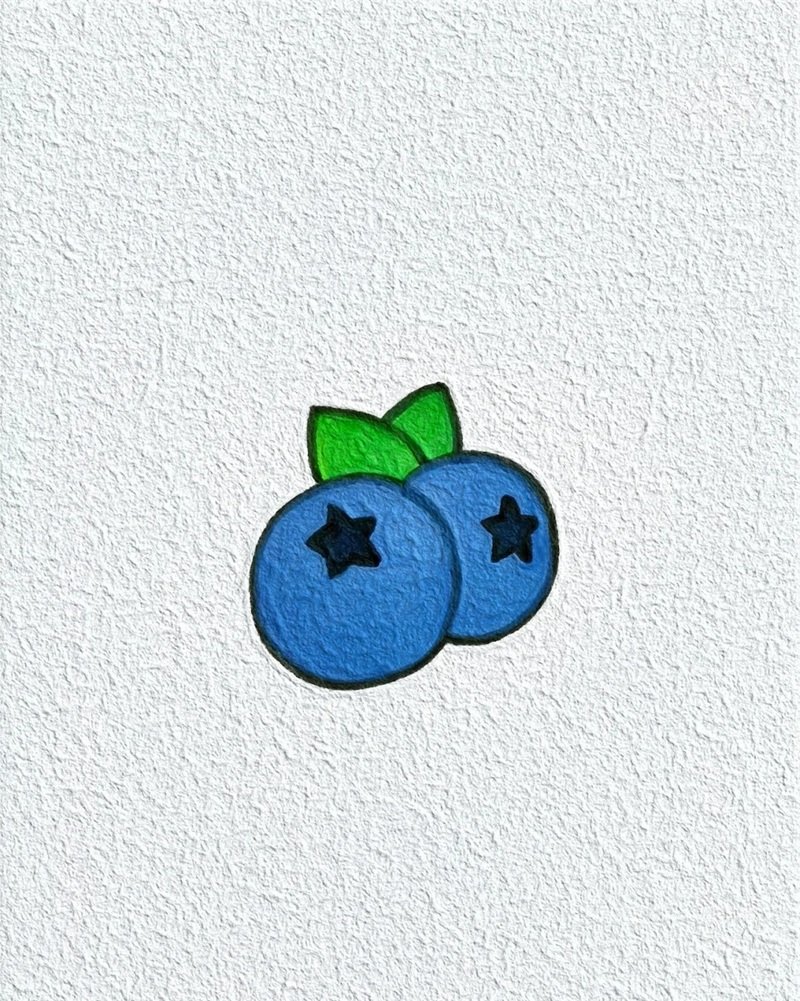
Step 4: Add shading or outline details to both fruits and leaves: now your easy blueberry drawing looks fun, finished, and ready to show off!
How to draw a blueberry for kids

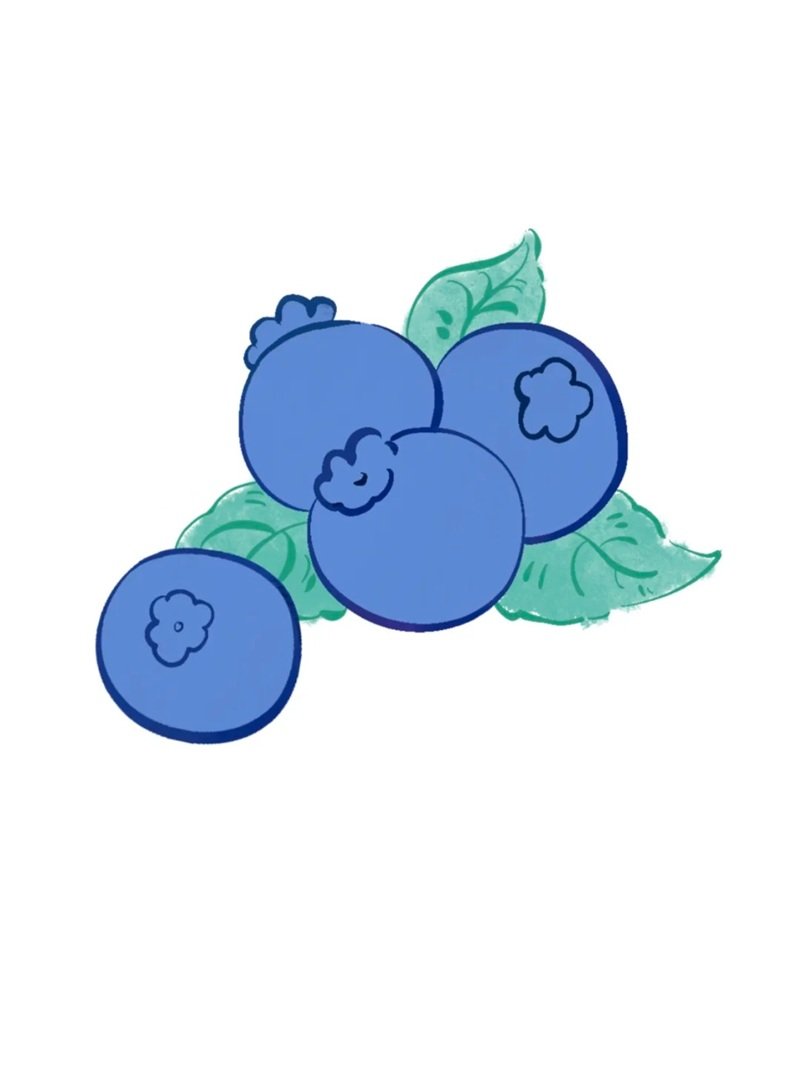
Step 1: Draw five overlapping circles in different sizes: this forms a fun and playful bunch of blueberries to start the drawing.

Step 2: Add small crown-shaped stars inside each circle: these represent the flower ends and give each berry its unique look.
Step 3: Sketch big cartoon-style green leaves around the berries: these leaves make the drawing feel full and colorful.
Step 4: Color the blueberries with different shades of blue: this makes them pop and gives the whole bunch a juicy effect.
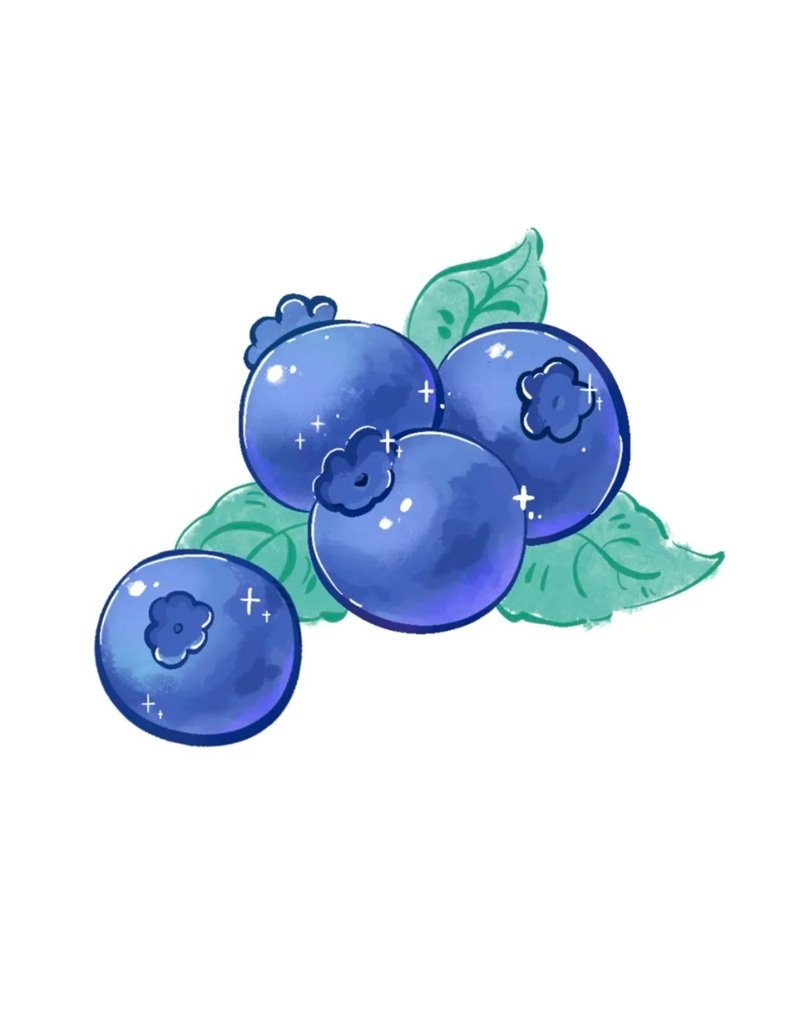
Step 5: Color the leaves with light and dark green to add contrast: now your adorable blueberry bunch is complete and kid-friendly!
How to draw a blueberry step by step
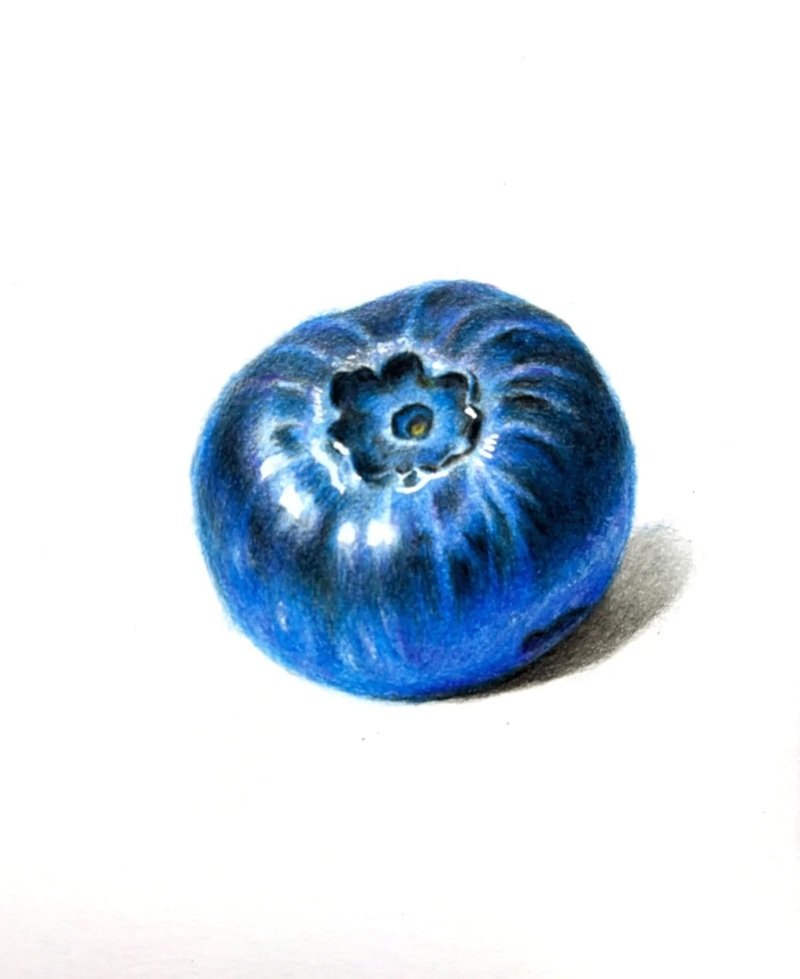
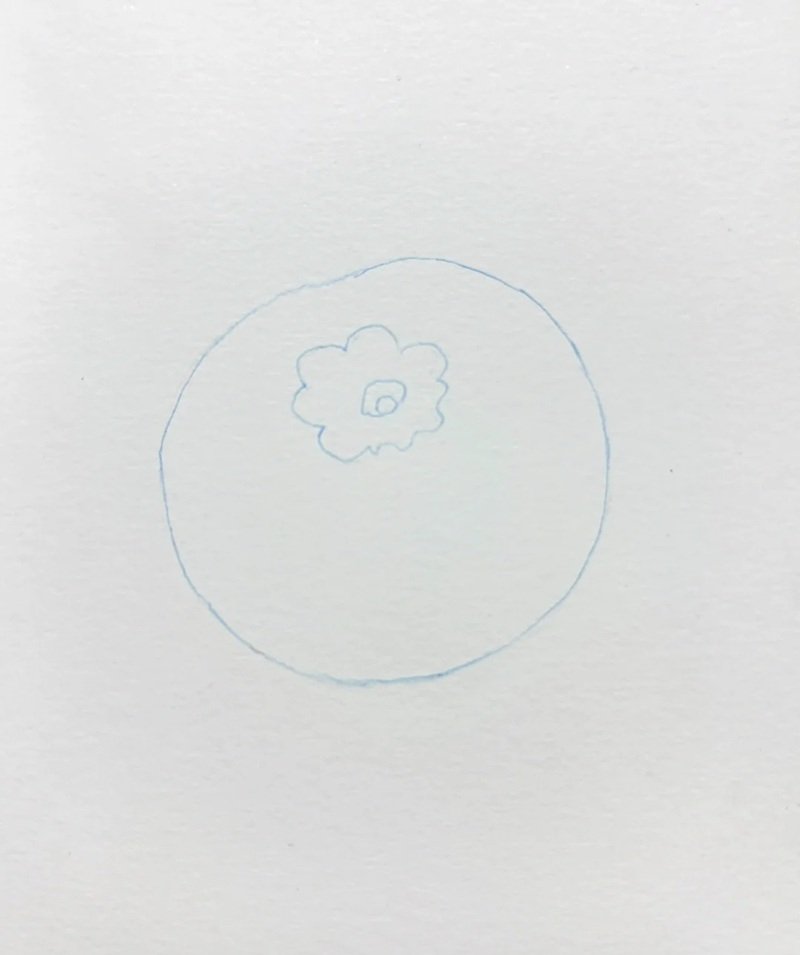
Step 1: (Image not shown but assumed) Begin with a light outline of a circle and sketch the star-shaped blossom end in the center top for reference.
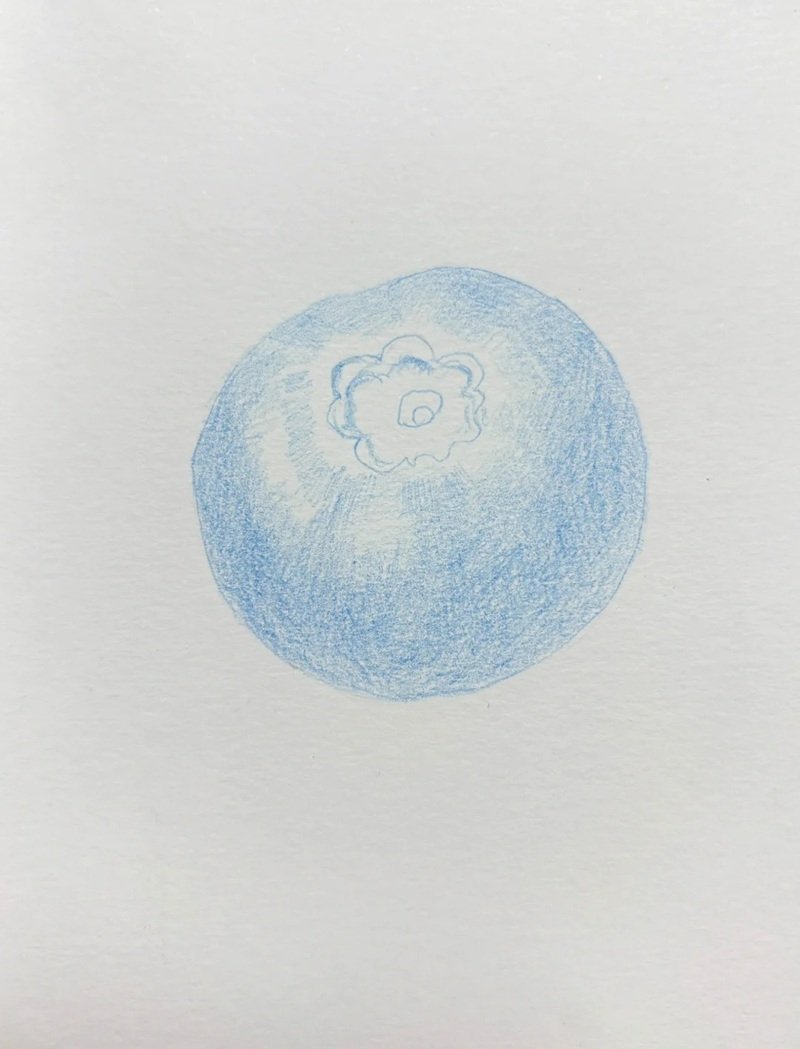
Step 2: Shade the body of the blueberry lightly with blue: keep your strokes soft and even to build a smooth base tone for the fruit.
Step 3: Deepen the shadows around the outer edge: this adds roundness and gives your blueberry a more three-dimensional form.
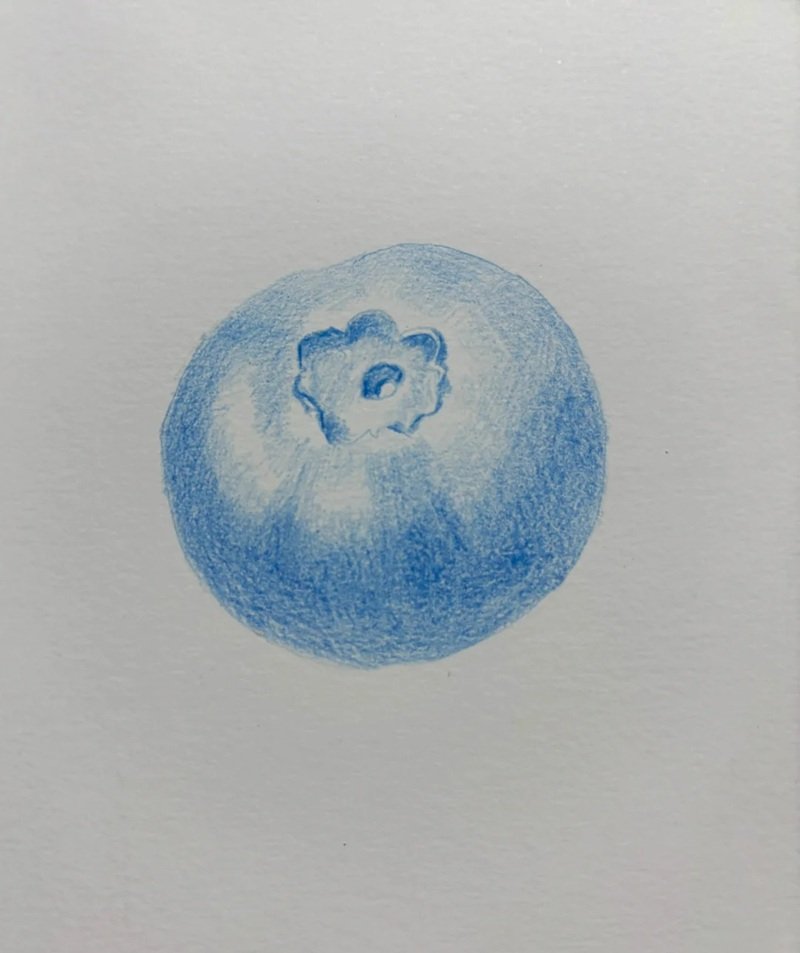
Step 4: Blend the midtones and refine the blossom end detail: this step creates realistic texture and enhances the overall fruit shape.
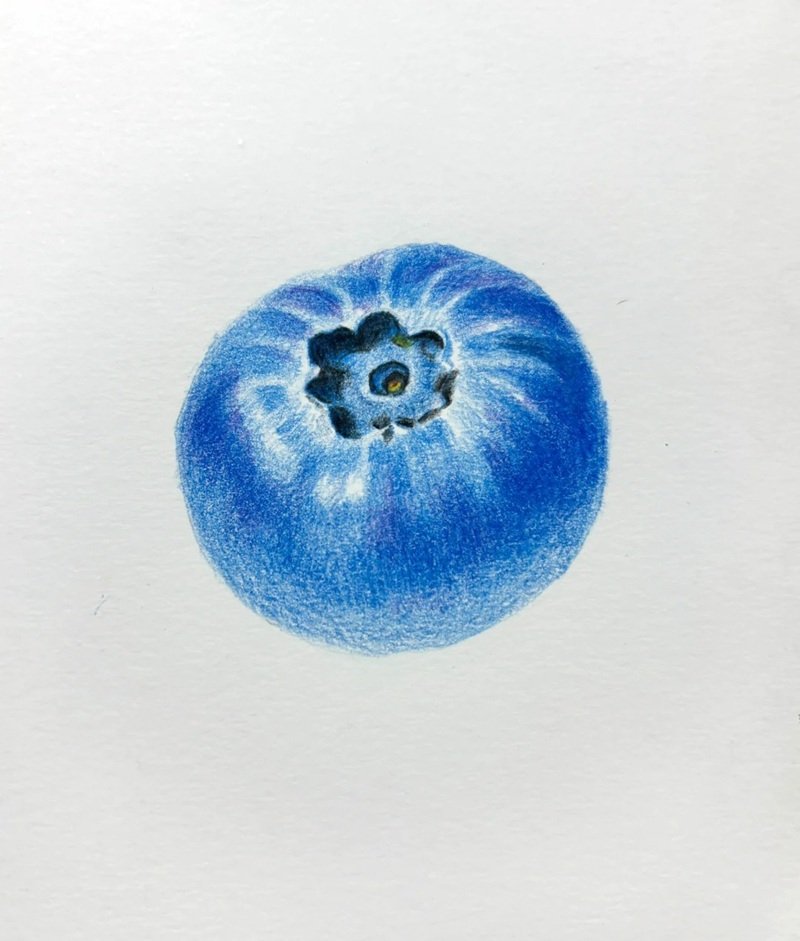
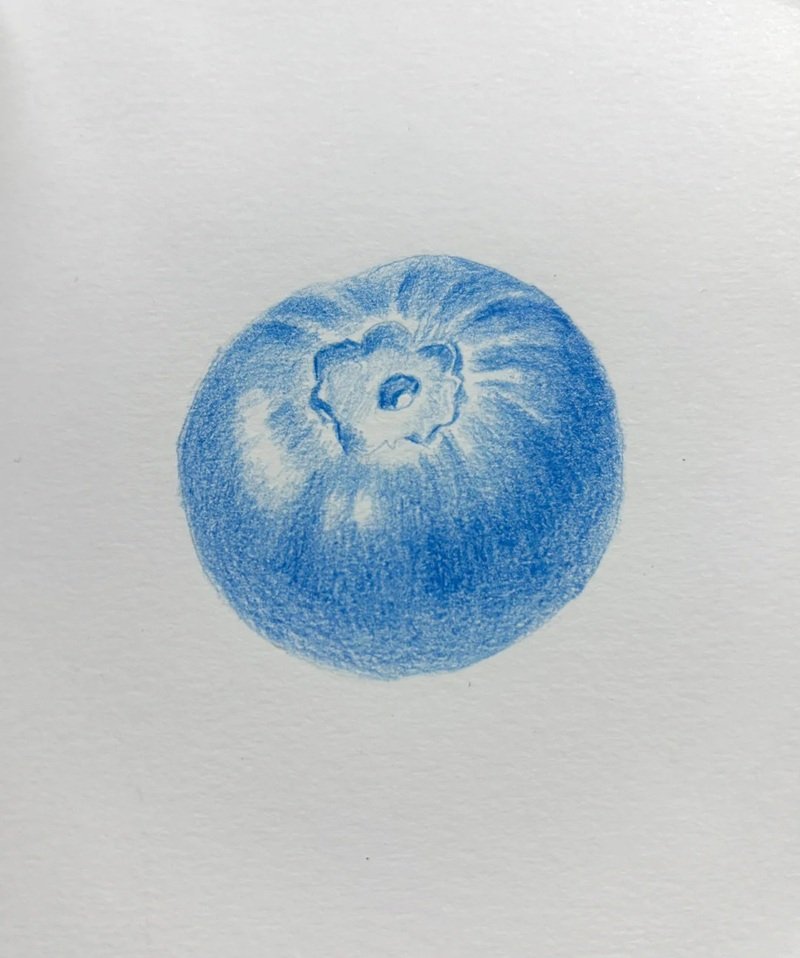
Step 5: Add the darkest values to the blossom and base: complete the drawing with sharp details and high contrast to make it pop off the page.
See more:
Discover 8 secrets on how to draw Kakashi perfectly
Top 8 tutorials on how to draw house step by step
7 simple steps on how to draw a mushroom house for beginners
Drawing a blueberry might seem tiny, but it opens the door to big creativity. With just a few lines and some shading magic, you’ve learned how to bring this little fruit to life on paper. Keep practicing, add your own twists, and soon you’ll be creating your own fruit basket masterpiece! Stay curious, stay sketching, and don’t forget to explore other “how to draw” guides to level up your skills.