Drawing a cactus might seem simple, but turning it into an eye-catching piece of art takes creativity and the right guide. Whether you’re just starting out or you’re a sketching pro, learning how to draw a cactus can be a fun and relaxing process. From minimalist shapes to cute and quirky styles, cacti offer a great way to play with textures, forms, and expressions. With just a few tools and the right steps, anyone can create a beautiful cactus illustration. This collection brings you a variety of techniques, suited for all skill levels. Each tutorial is crafted to spark inspiration while keeping things easy and enjoyable. Explore the fun of cactus art with us on dooduko.com!
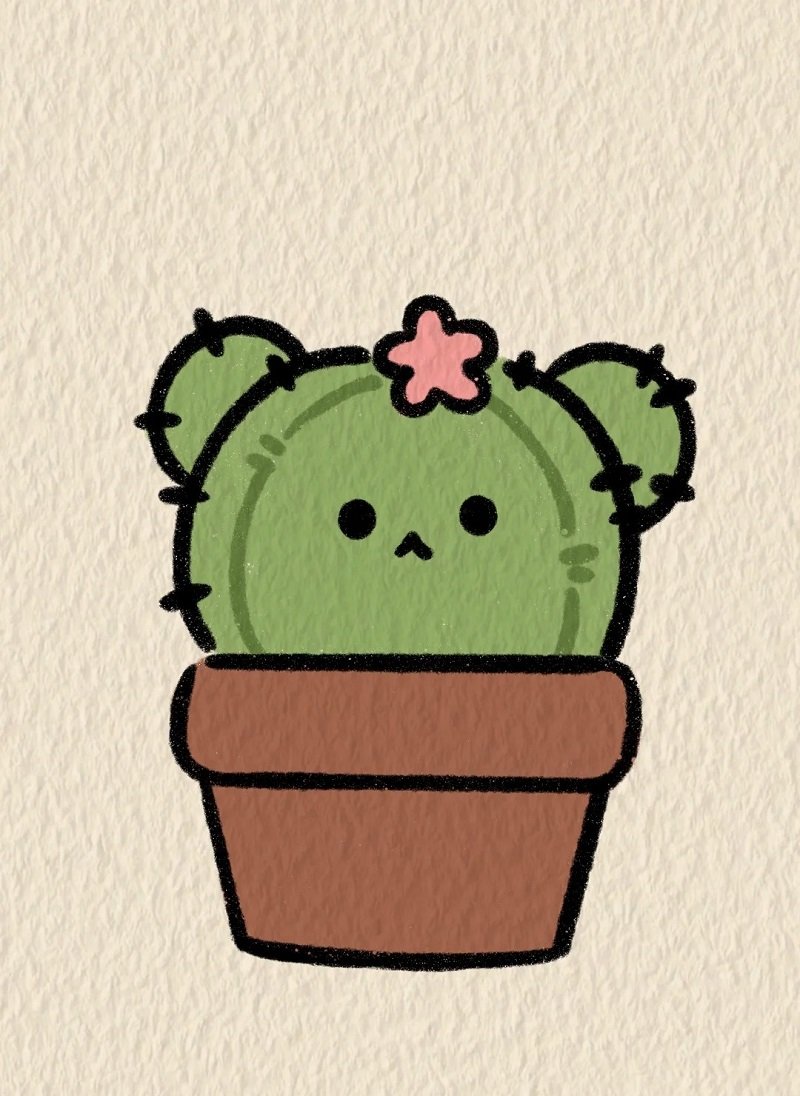
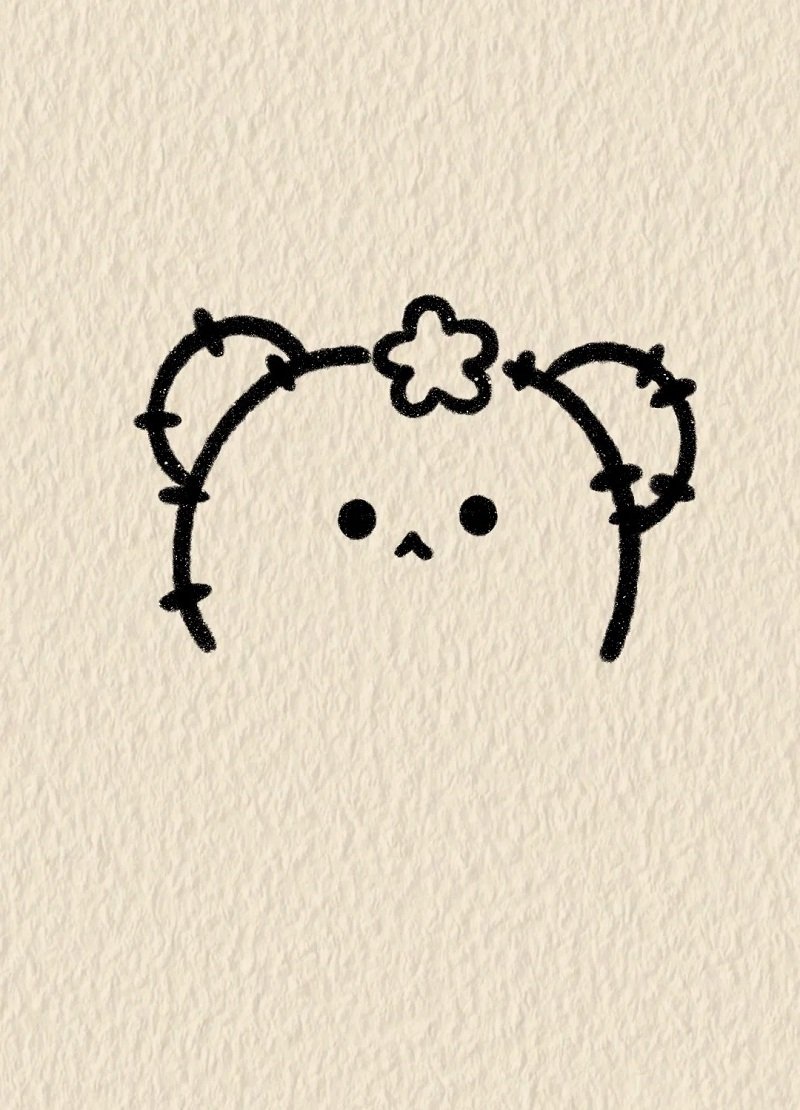
How to draw a cactus cute

Step 1: Draw a large U shape in the center of the paper to form the main body of your cute cactus.

Step 2: Add two small curved arms on both sides of the cactus to make it look lively and balanced.

Step 3: Connect and round off the tops of the arms to complete the outline of the cactus body.

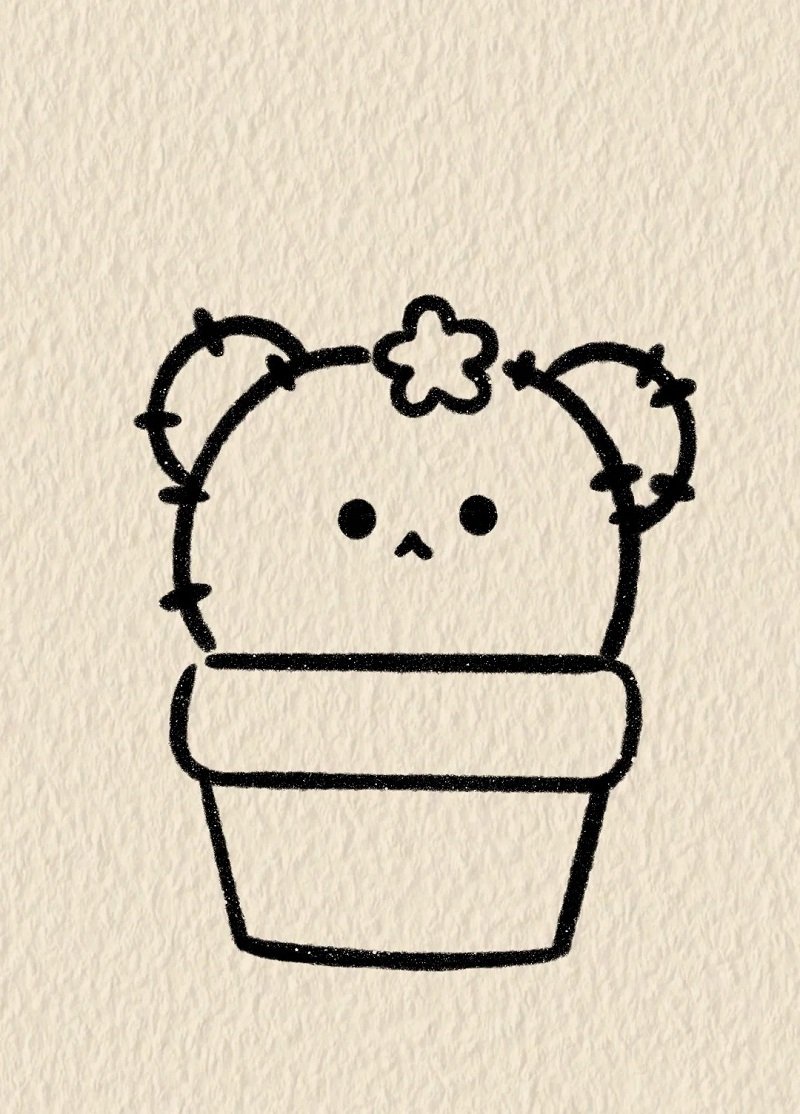
Step 4: Draw an oval at the base of the cactus to create the rim of the flower pot.

Step 5: Extend two short vertical lines down from the oval and connect them with a curved bottom to finish the pot.

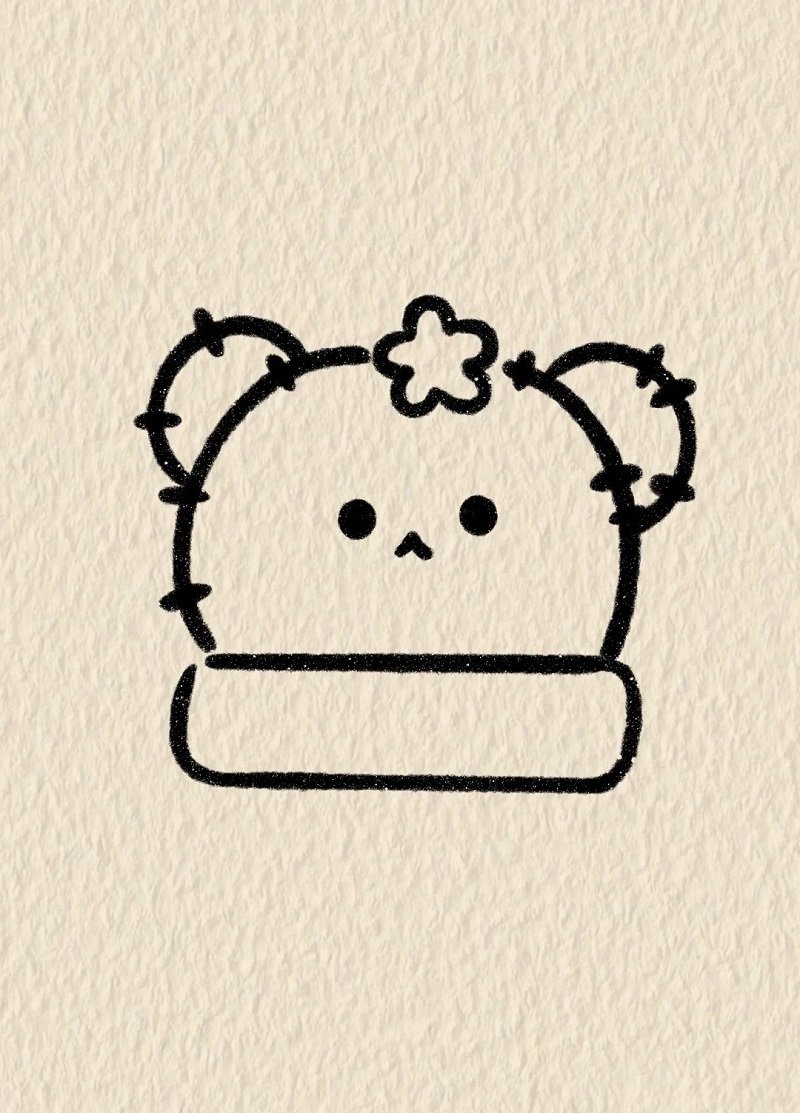
Step 6: Add tiny spikes across the cactus and sketch a cute face with eyes and a smile.

Step 7: Decorate the cactus with extra lines or a small flower to make it more adorable.
How to draw a cactus easy
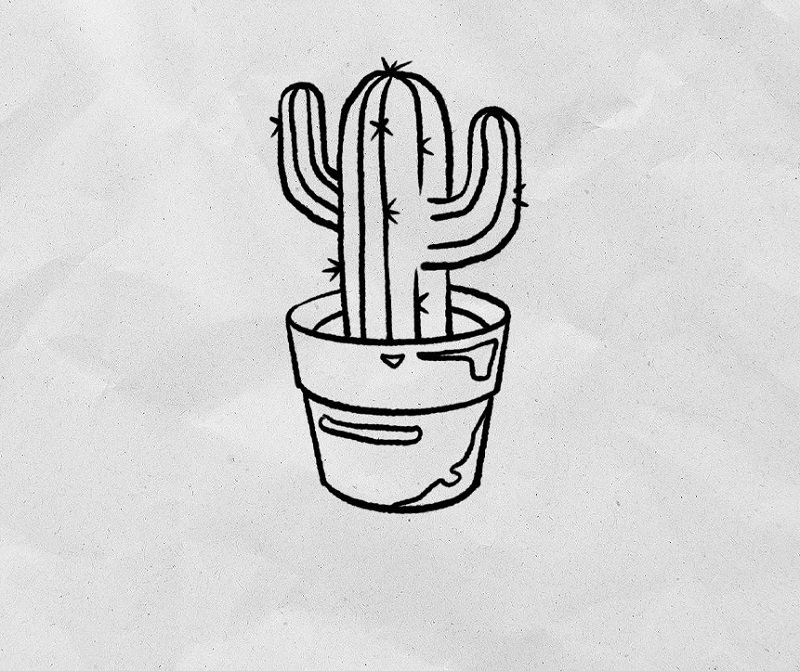

Step 1: Draw a short curved line near the bottom of the page to start the top of the flower pot.

Step 2: Sketch the full pot by adding straight sides and a curved bottom under the first line.

Step 3: Draw a tall curved stem coming up from the center of the pot to form the main cactus body.

Step 4: Add two small arms on each side of the main stem to make it look more like a real cactus.

Step 5: Finish your drawing by adding small spikes and texture lines to give the cactus detail and character.
How to draw a cactus for kids

Step 1: Draw two small circles in the center of the page to make the eyes.

Step 2: Add a tiny dot between the eyes for the nose and two curved lines above for the sides of the cactus.

Step 3: Draw two rounded arms extending out from each side of the cactus.

Step 4: Connect the arms at the top to form the complete head shape.
Step 5: Add a small bow on top of the cactus to make it cute and fun.

Step 6: Draw a line under the cactus to create the bottom of the head.
Step 7: Sketch the top rim of the flower pot beneath the cactus body.
Step 8: Complete the flower pot by adding the sides and bottom of the pot.
How to draw a cactus plant

Step 1: Start by drawing three rounded hills at the bottom to create the ground.

Step 2: Draw the main cactus trunk with two big oval arms growing upward from it.

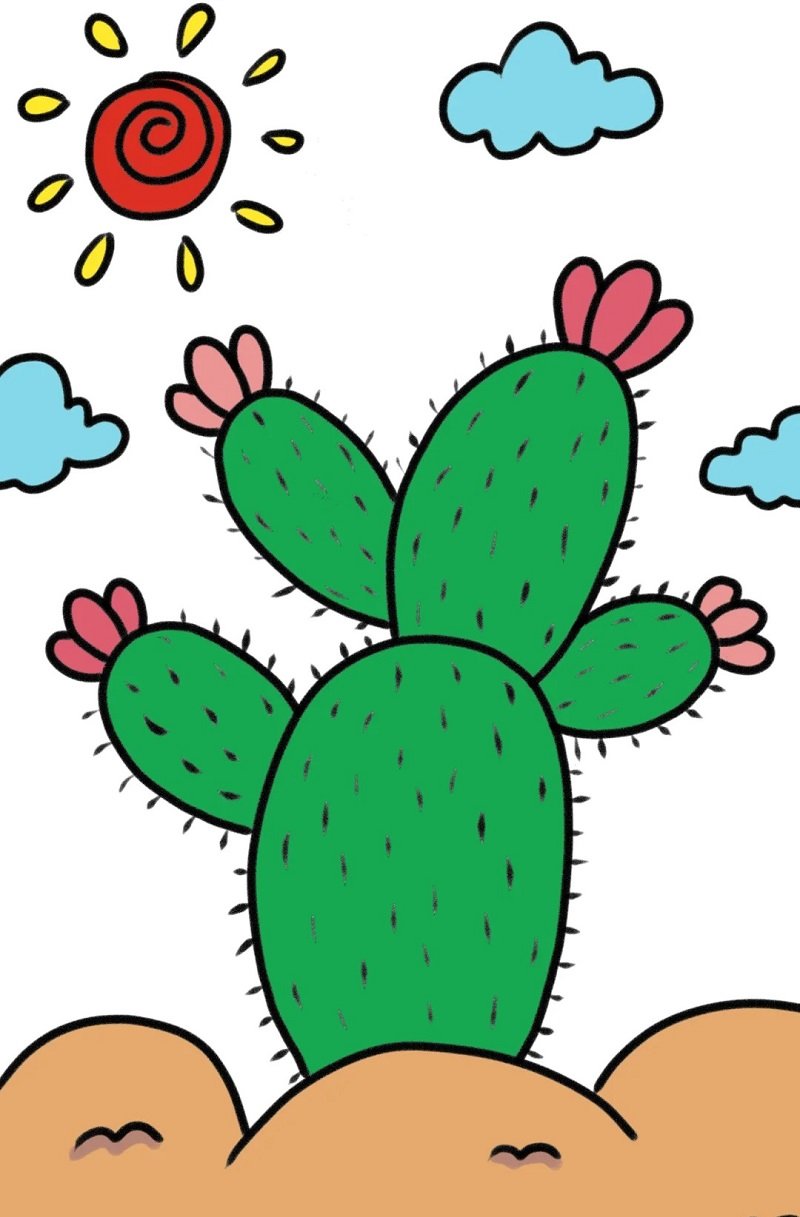
Step 3: Add more small arms and flowers on top of the cactus to give it personality.
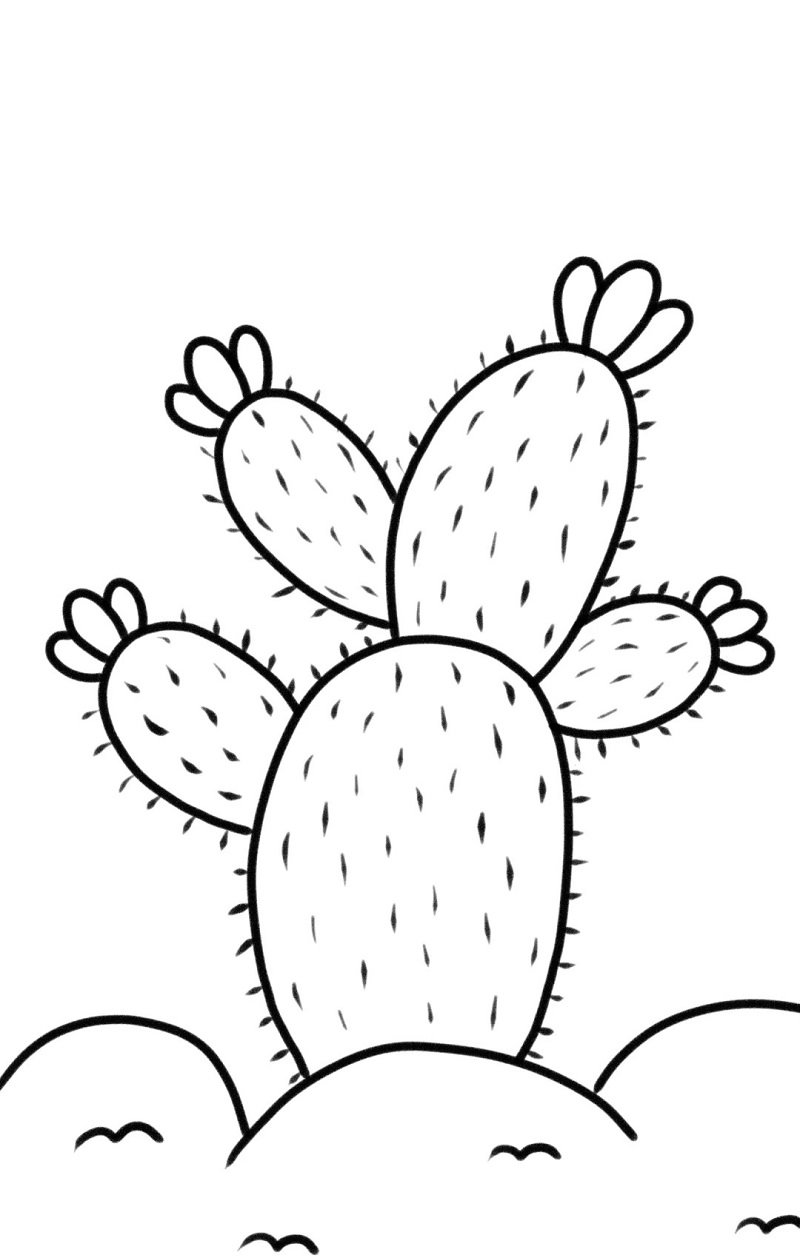
Step 4: Draw dotted textures all over the cactus to make it look spiky.

Step 5: Add clouds and a shining sun in the sky to finish your cactus scene.
How to draw a cactus step by step

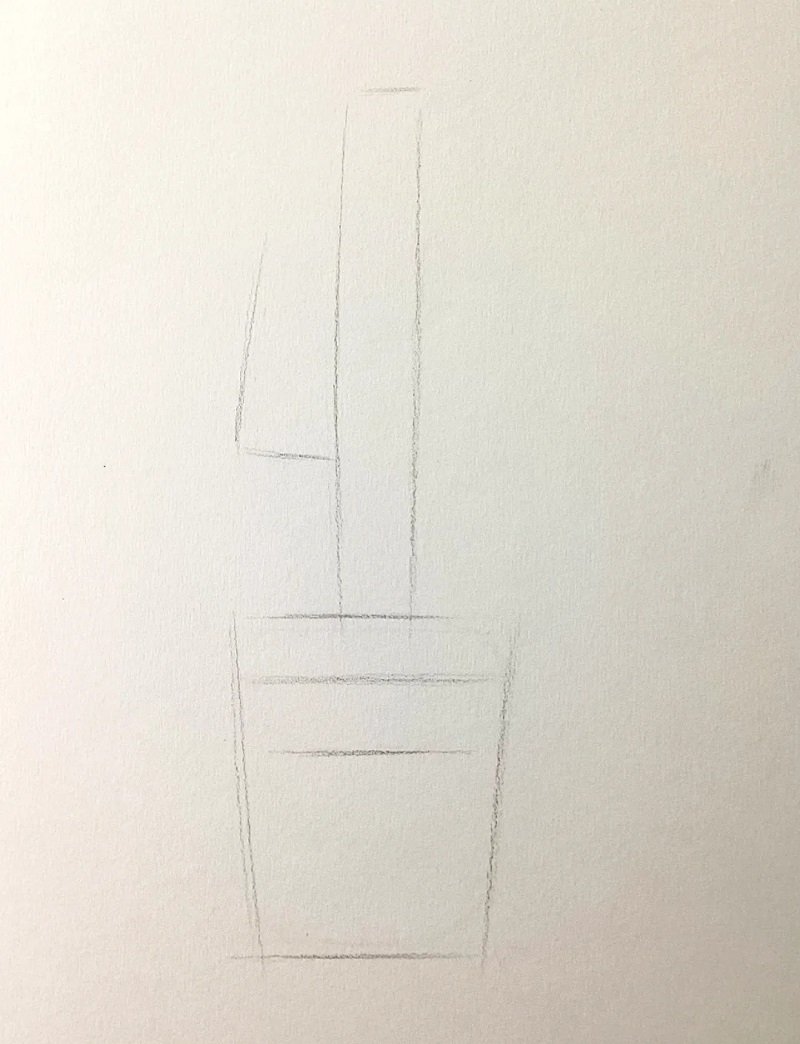
Step 1: Sketch a basic vertical outline for the cactus and pot using straight and curved guide lines.
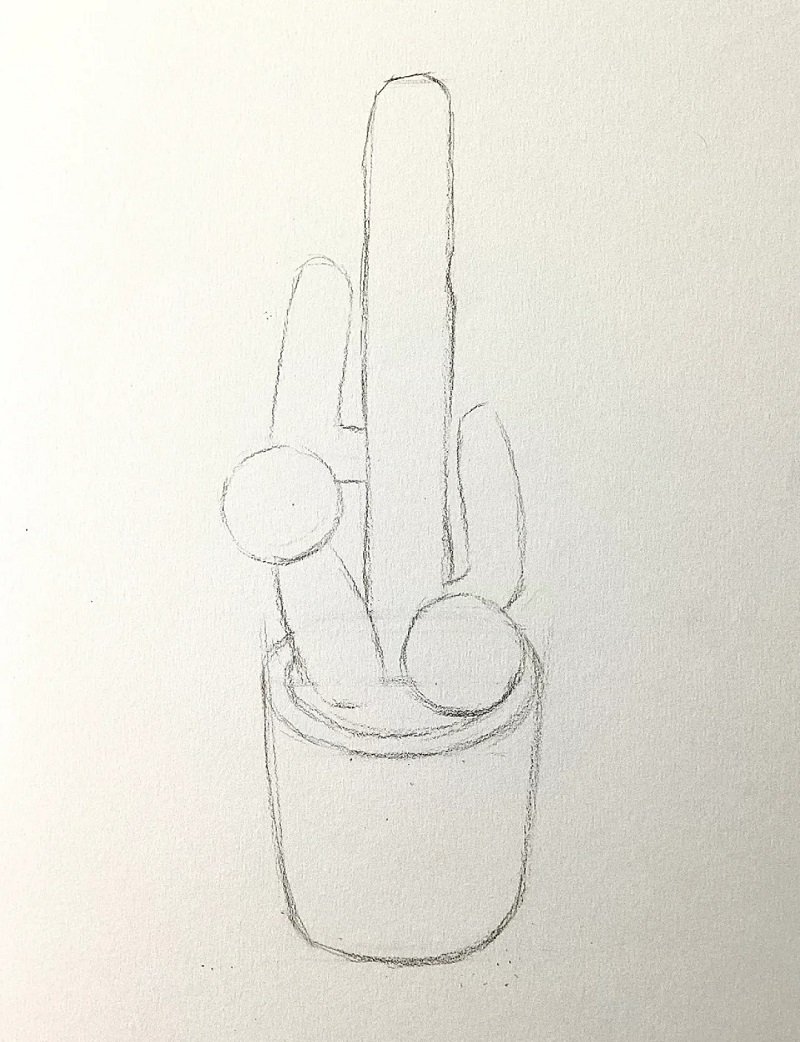
Step 2: Draw the rounded shape of the cactus arms and refine the pot outline.
Step 3: Add the inner curves and define the cactus sections more clearly.
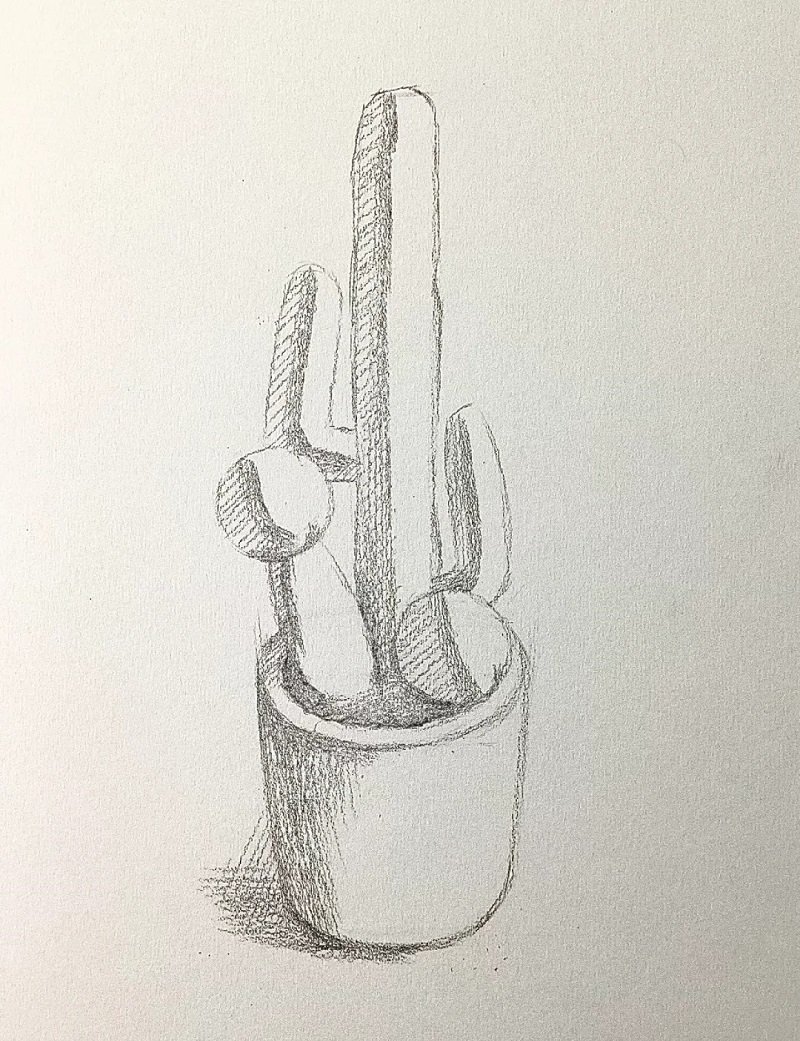
Step 4: Begin shading the cactus and pot to create a realistic 3D look.
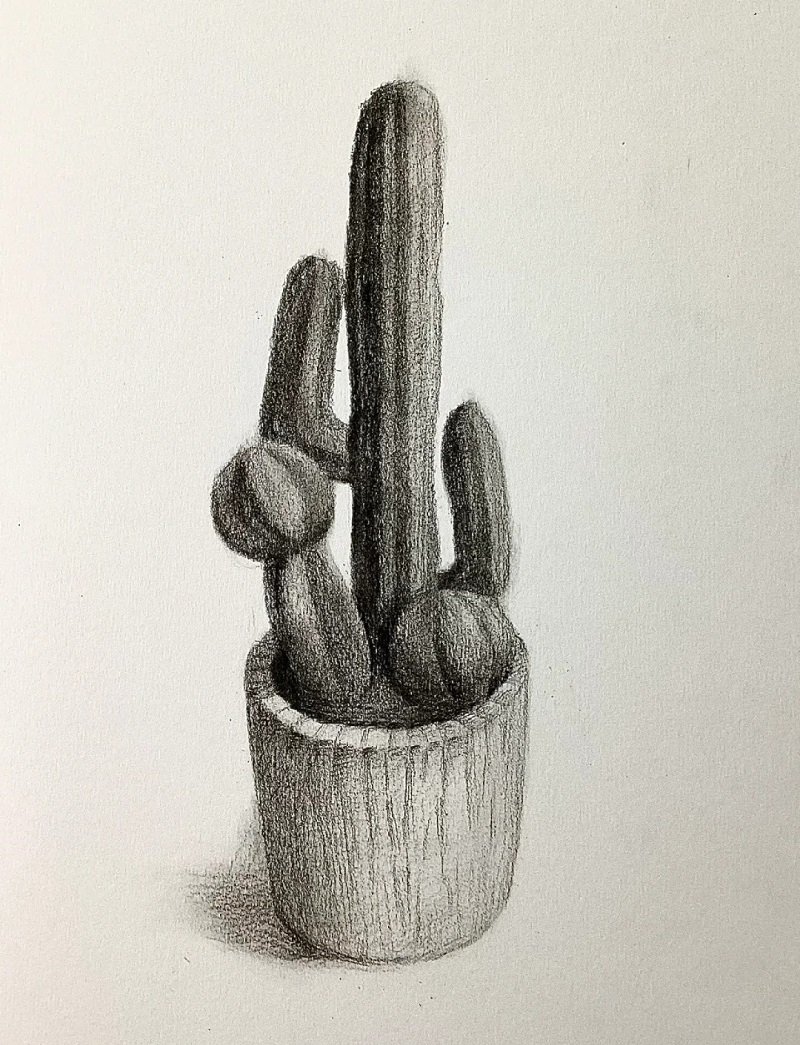
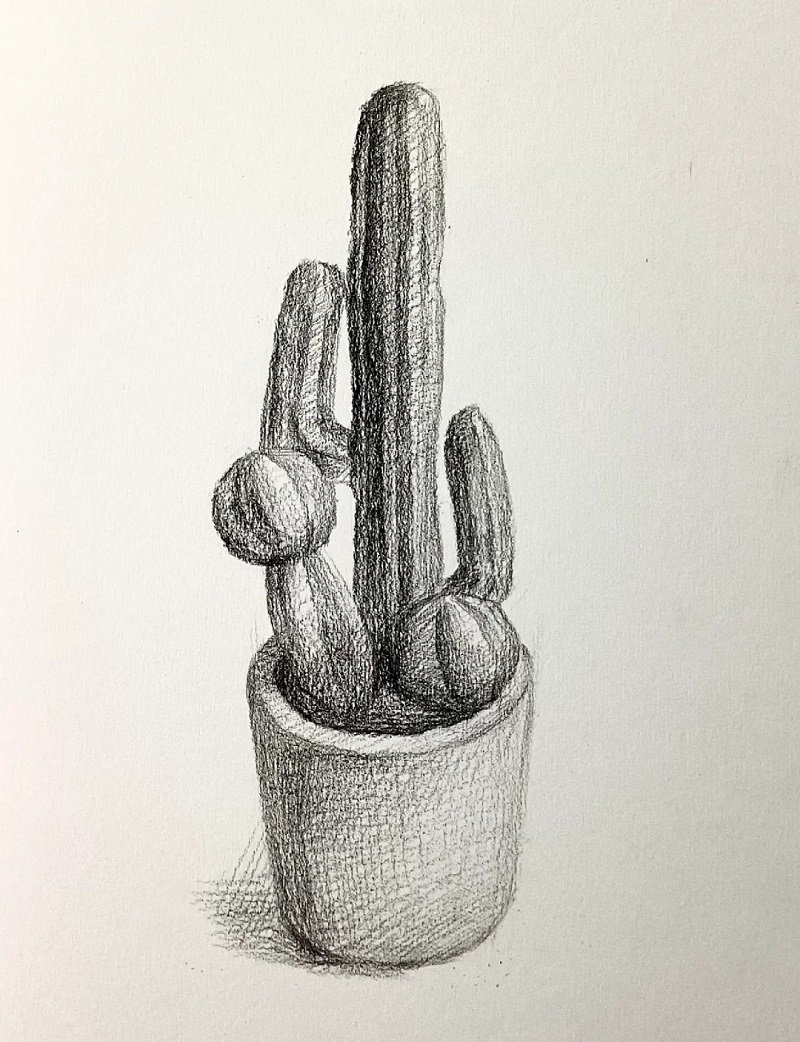
Step 5: Darken the shadows and add texture details to complete the drawing.
See more:
Step-by-step – How to draw a boat in just 5 minutes
Top 10+ Tutorials on how to draw a bike that looks real
How to draw Snoopy with emotion in 6 stylish ways
Mastering how to draw a cactus is more than just learning shapes—it’s about expressing personality through thorns, pots, and poses. From cute doodles to detailed sketches, you now have plenty of ways to explore your creativity. So grab your pencil and let your imagination bloom with every cactus you bring to life!