The cardinal bird is a favorite among nature and art lovers alike thanks to its bright red feathers and elegant form. Whether you’re a beginner or already handy with a pencil, learning how to draw a cardinal bird can be both fun and rewarding. With the right steps, anyone can capture its iconic shape and charming look. In this guide, we’ve put together some of the easiest and coolest methods to help you draw your own cardinal masterpiece. You’ll explore different angles, poses, and expressions – all simplified for youth-friendly creativity. No stress, just sketch and vibe.
Let’s dive into the drawing journey together with dooduko by your side.
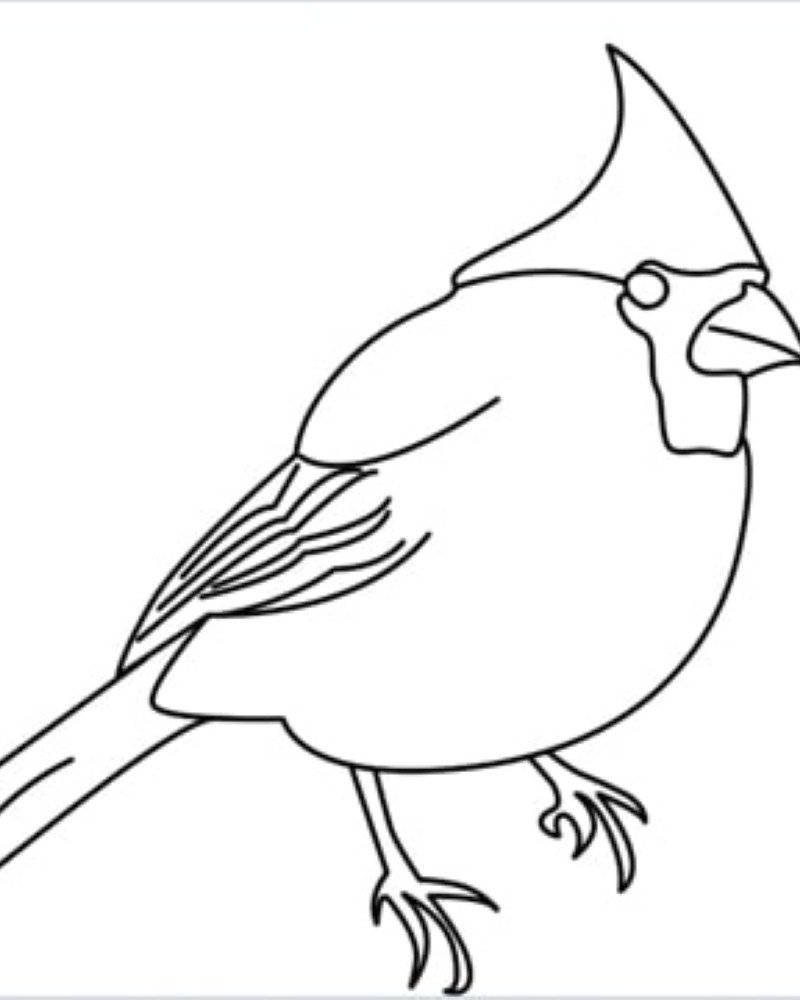
How to draw a bird cardinal

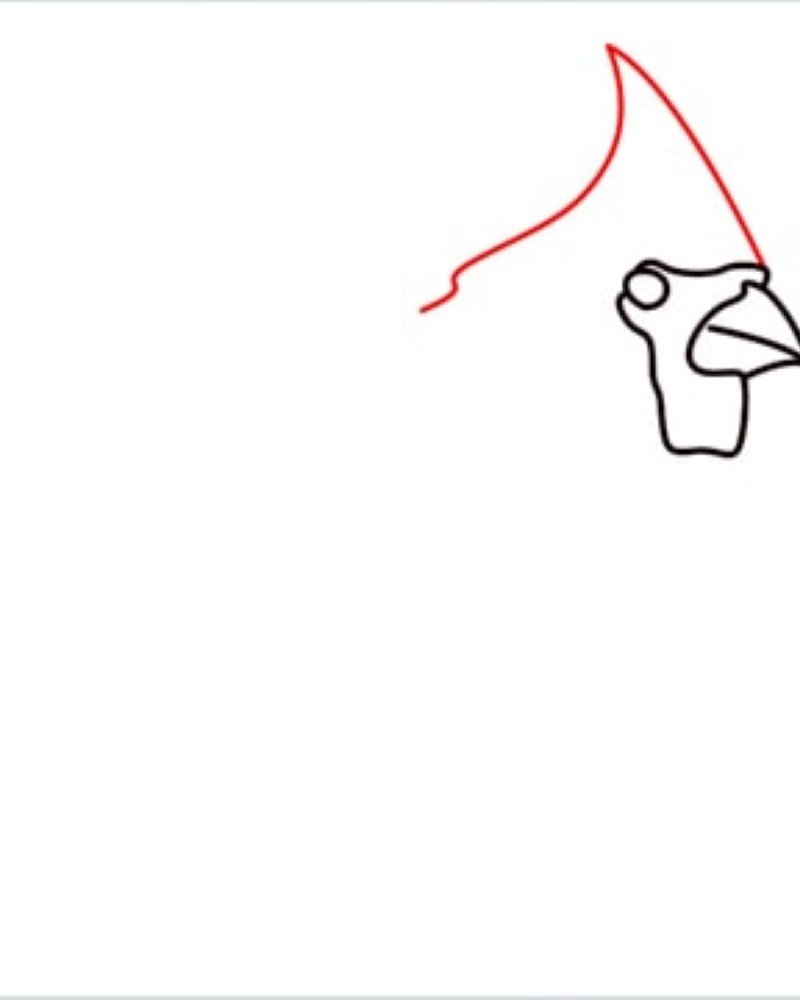
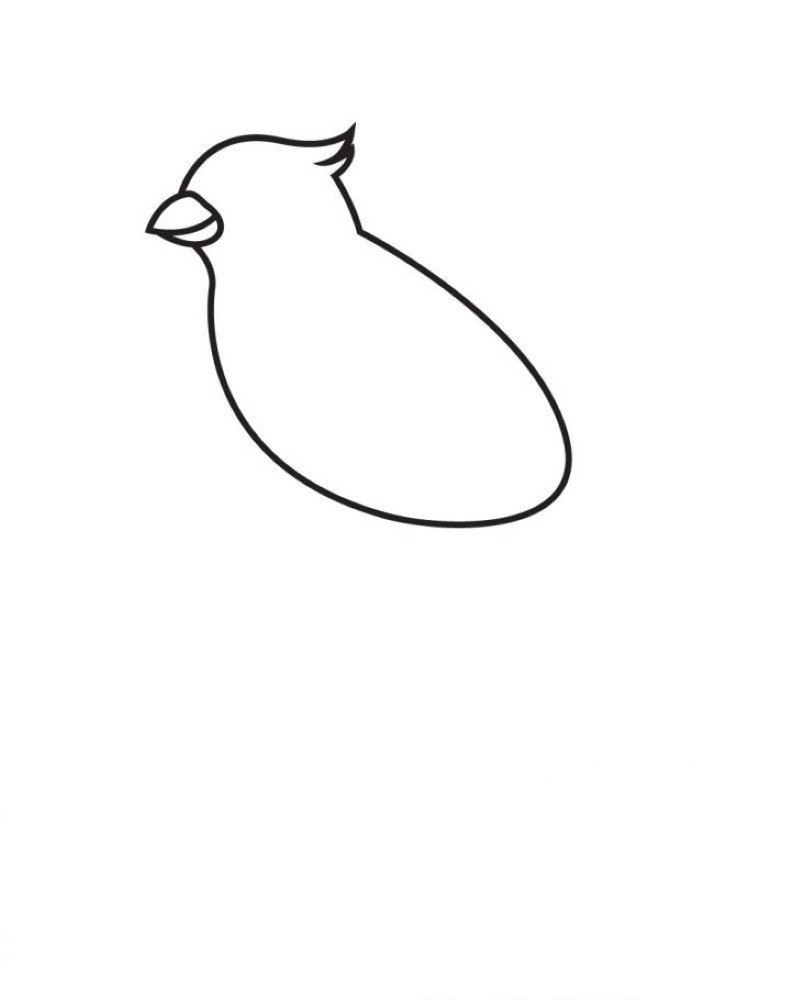
Step 1: Start with a small curved triangle shape for the beak to outline the face of the cardinal.

Step 2: Draw the head with the pointed crest and the upper part of the beak connected to the face.
Step 3: Add the front curve of the neck and chest to define the beginning of the bird’s body.

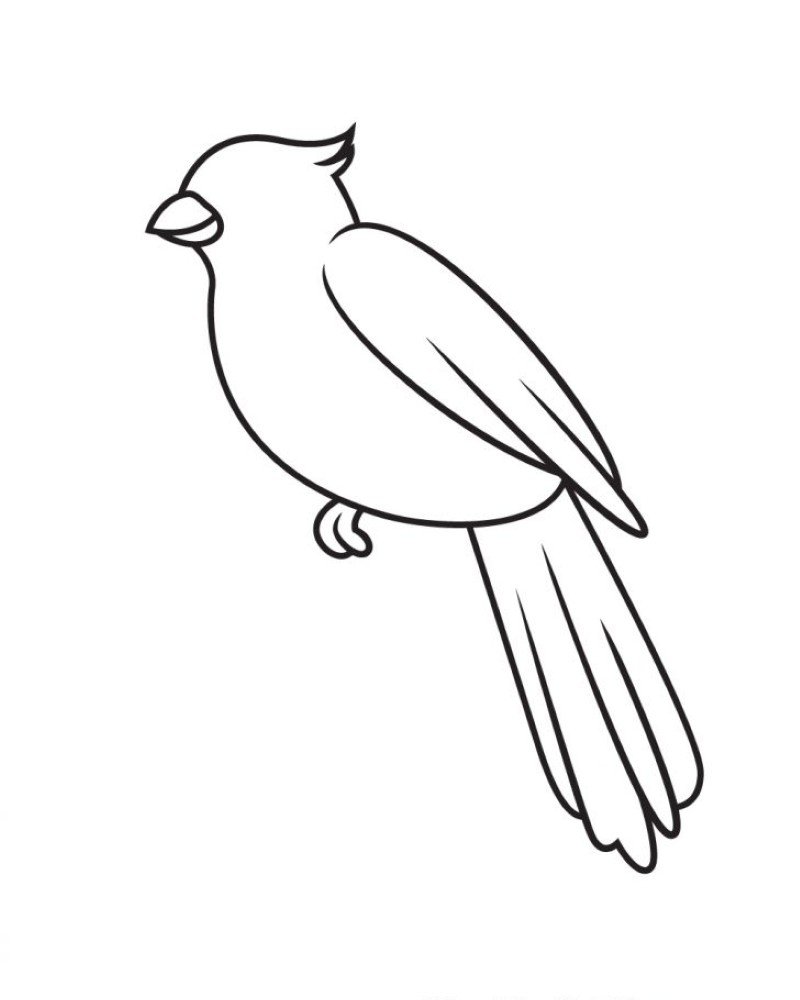
Step 4: Sketch a large round curve to form the main body and back of the bird.
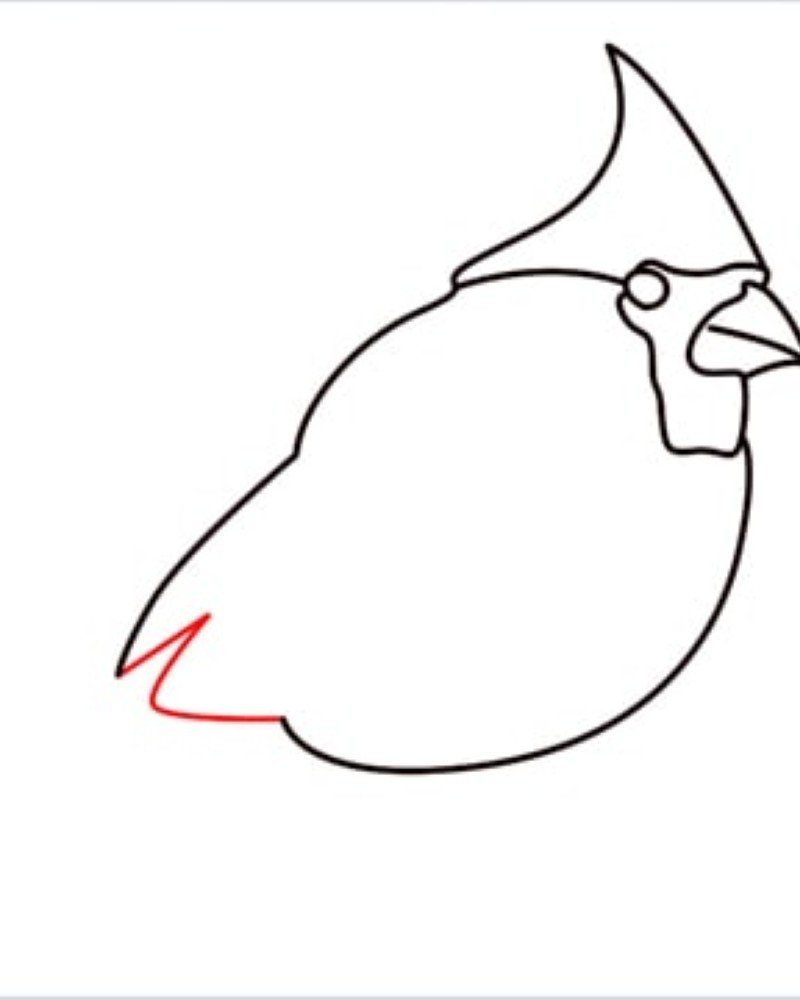
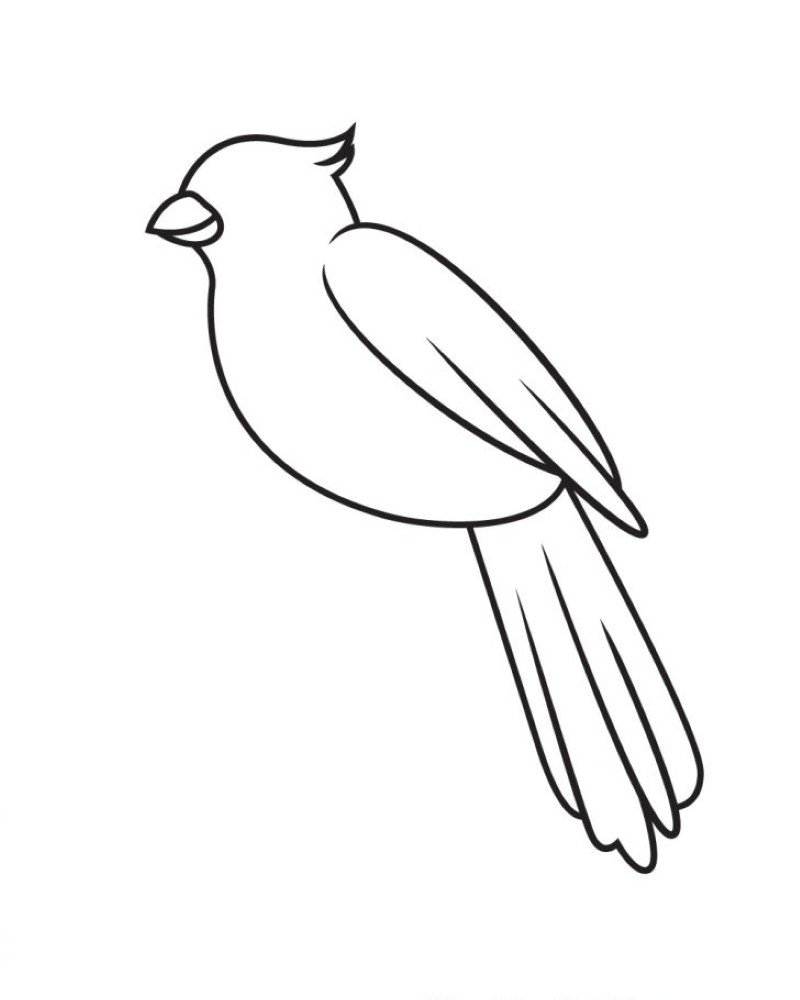
Step 5: Outline the wing tip overlapping the body to define its resting posture.

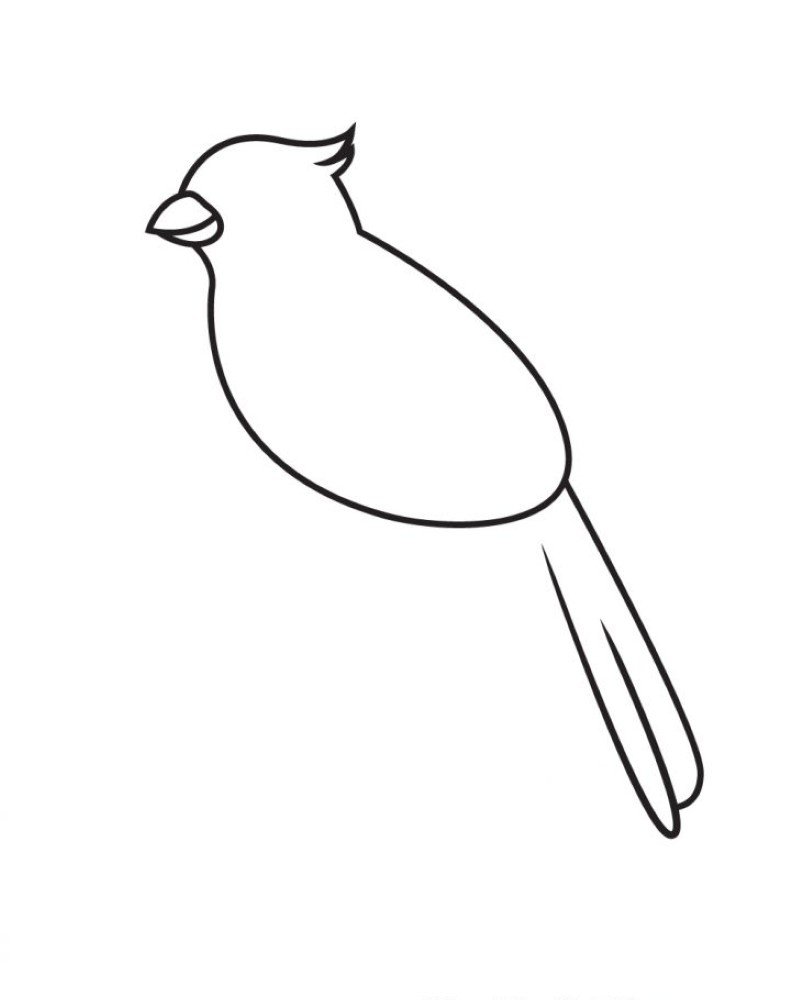
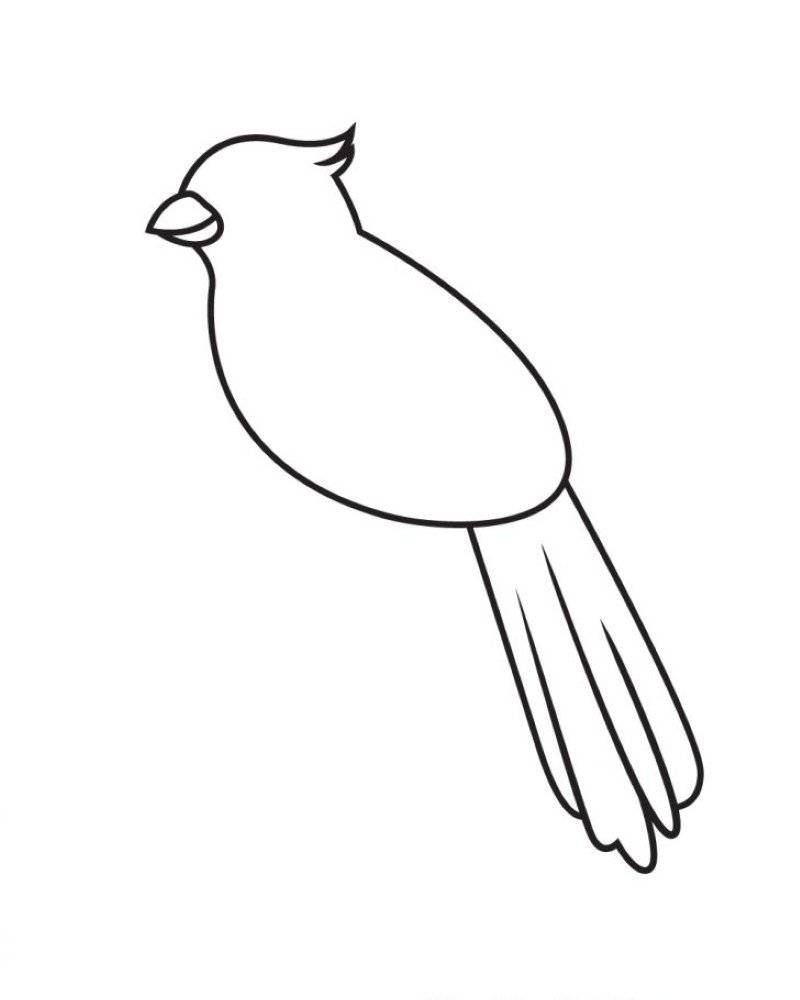
Step 6: Add the tail feathers stretching back with sharp, simple lines.
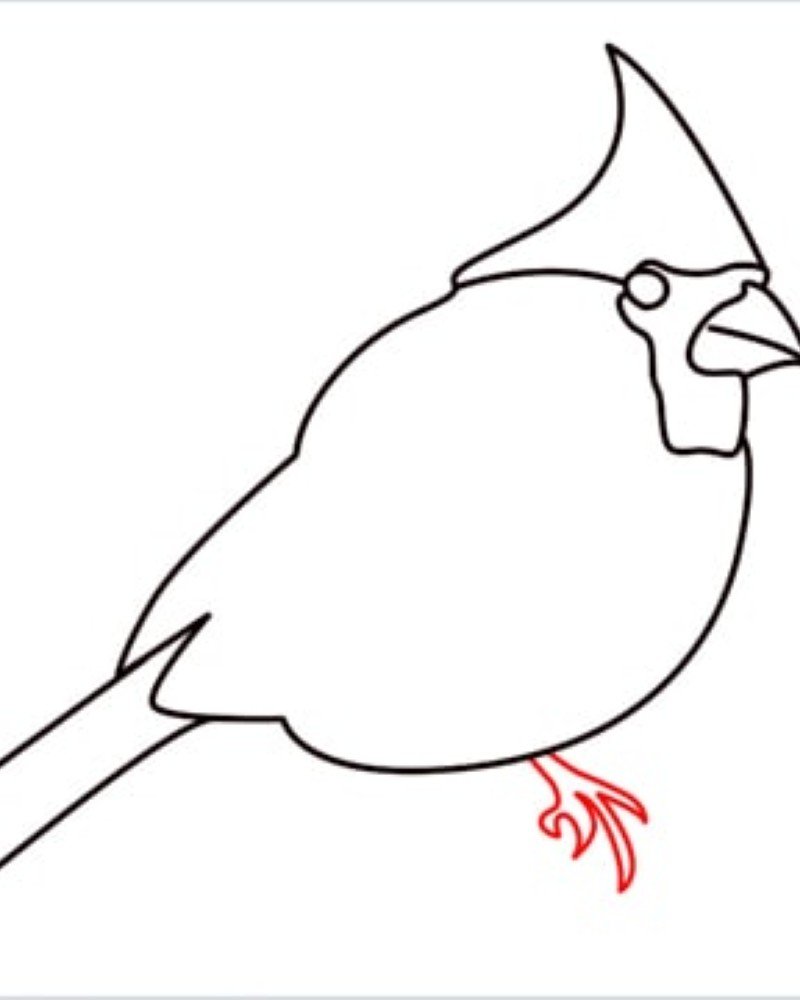
Step 7: Draw the first foot with sharp claws gripping an invisible branch.
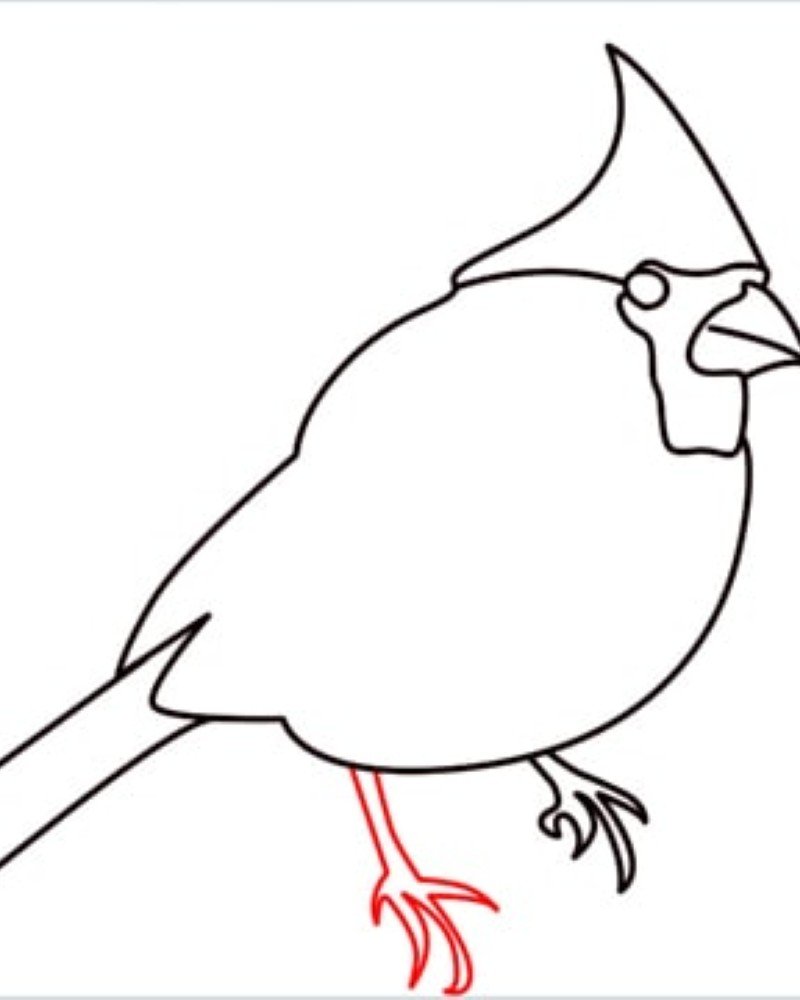
Step 8: Add the second leg slightly behind the first to balance the pose.
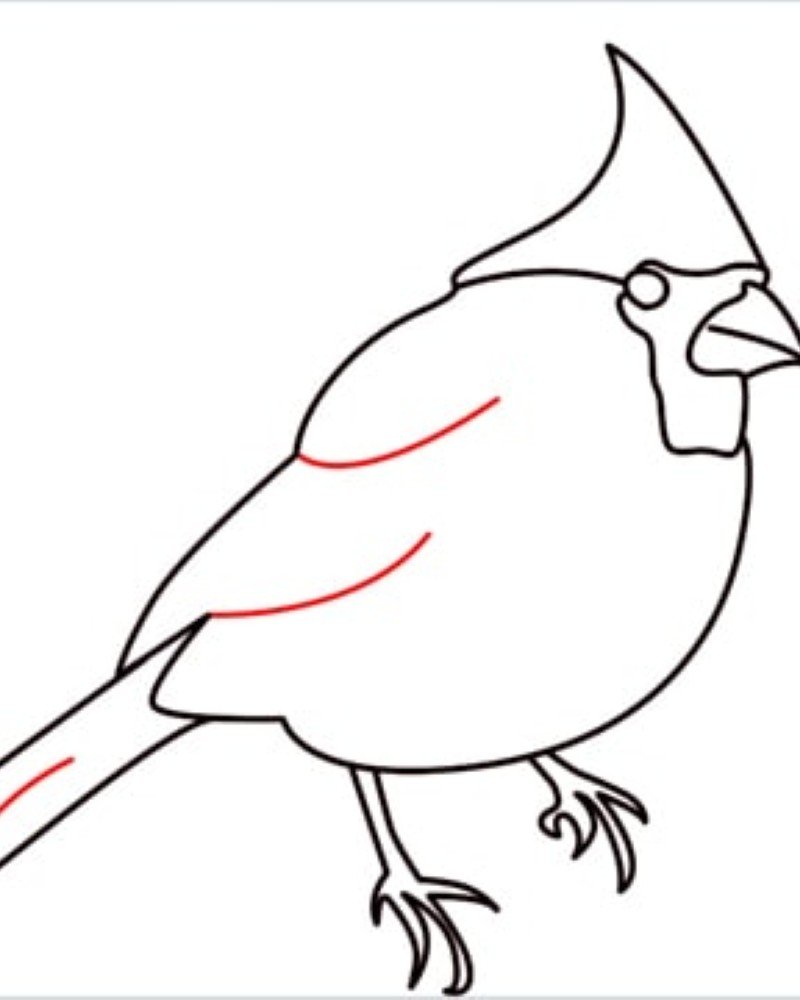
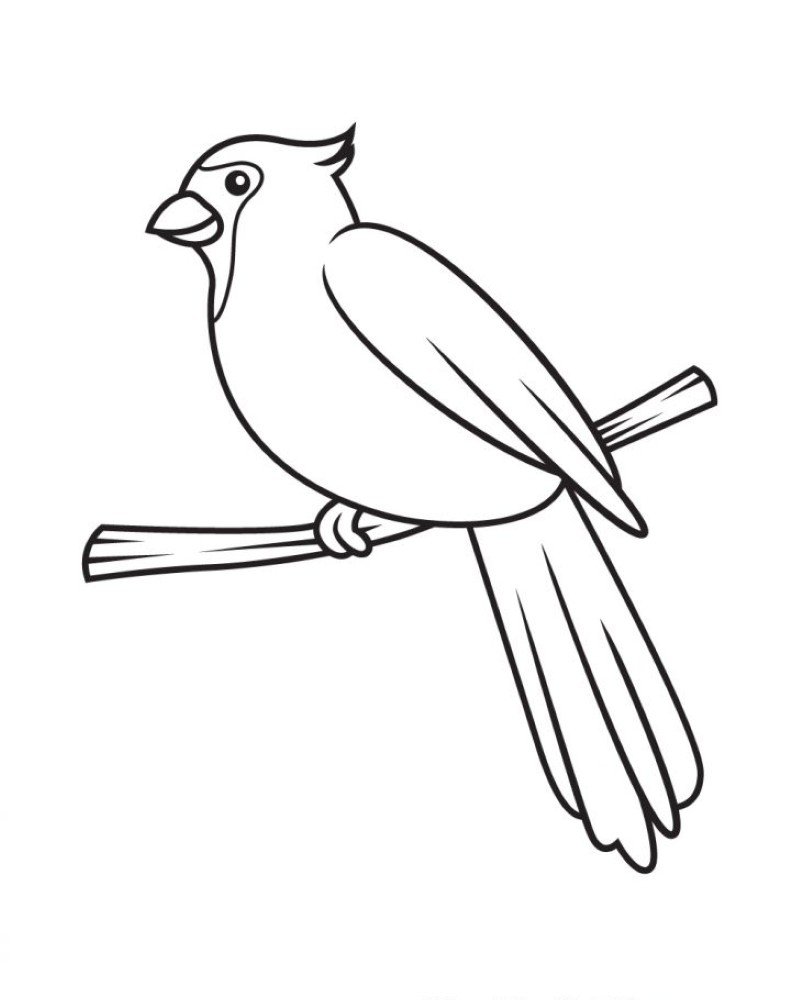
Step 9: Add feather lines on the wing and crest for a more natural look.
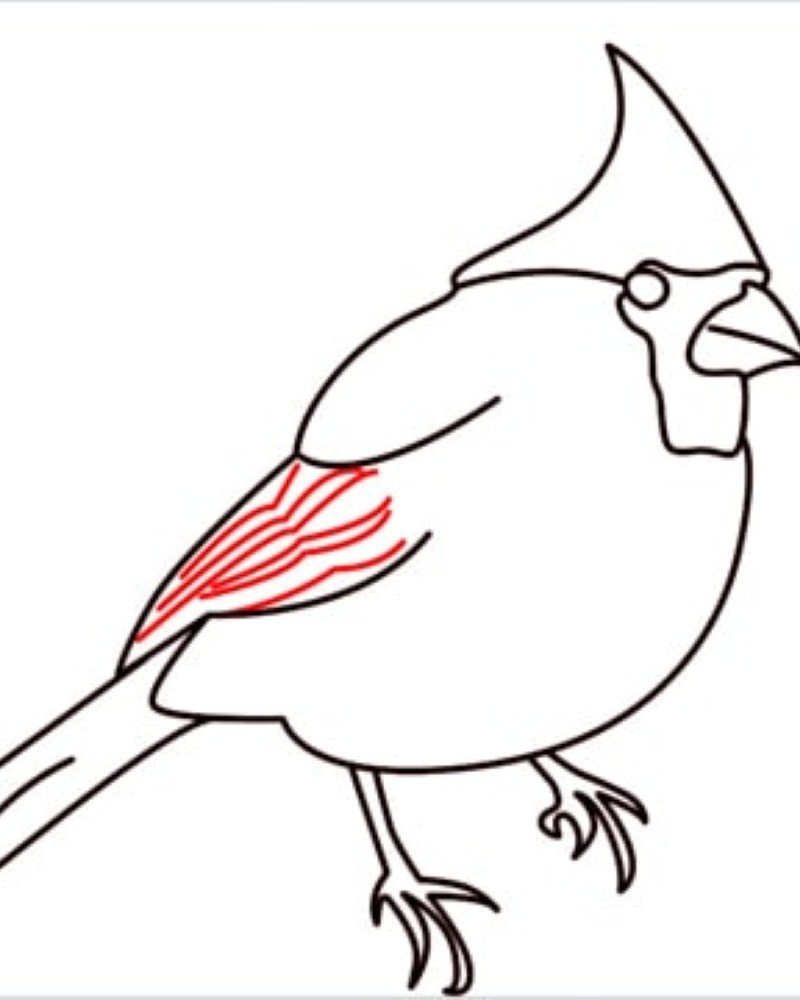
Step 10: Finish by shading or detailing the wing to complete your cardinal drawing.
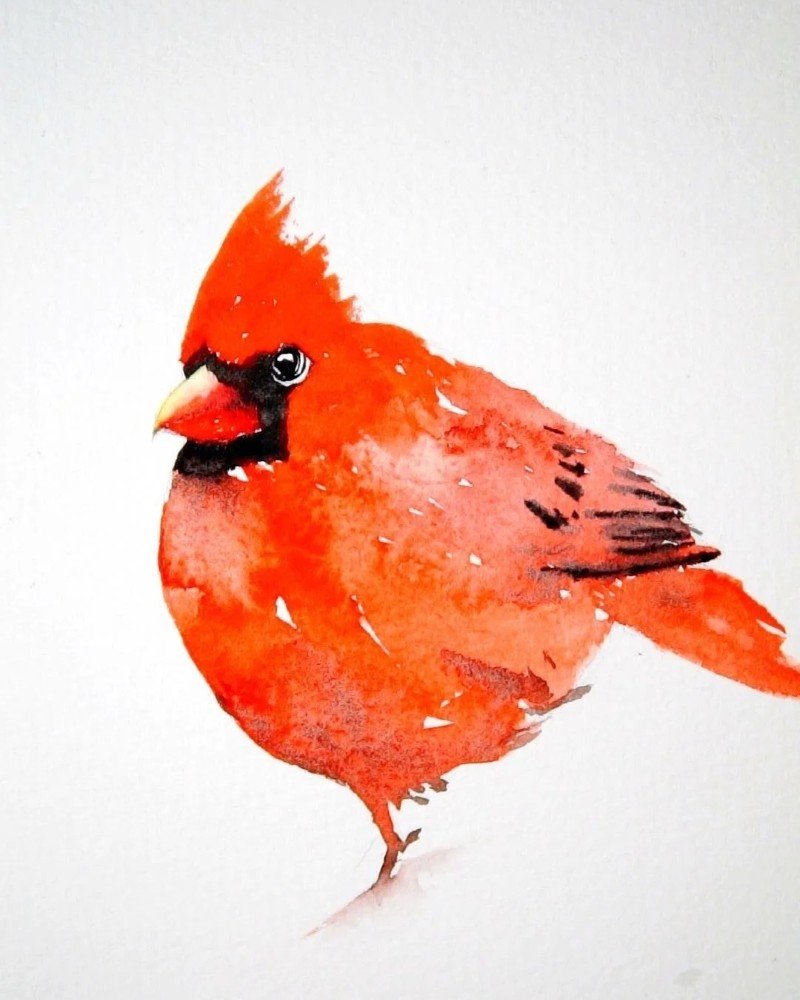
How to draw a cardinal bird

How to draw a cardinal bird cute

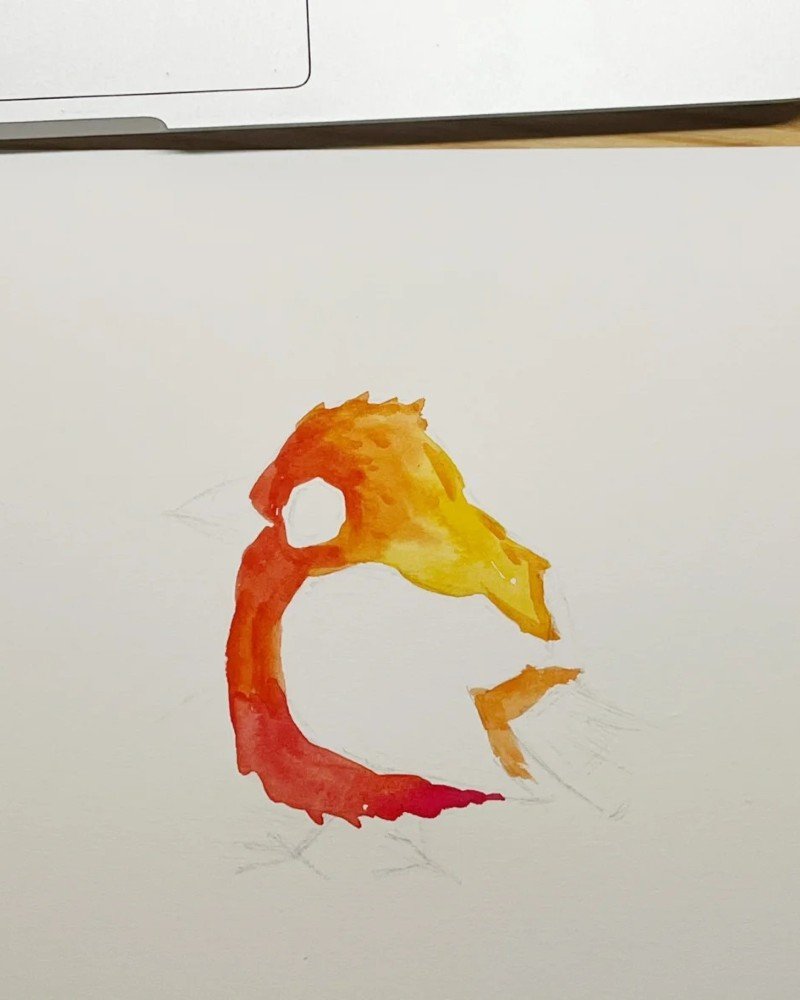
Step 1: Paint the head and chest with red and yellow tones, leaving space for the eye and beak.
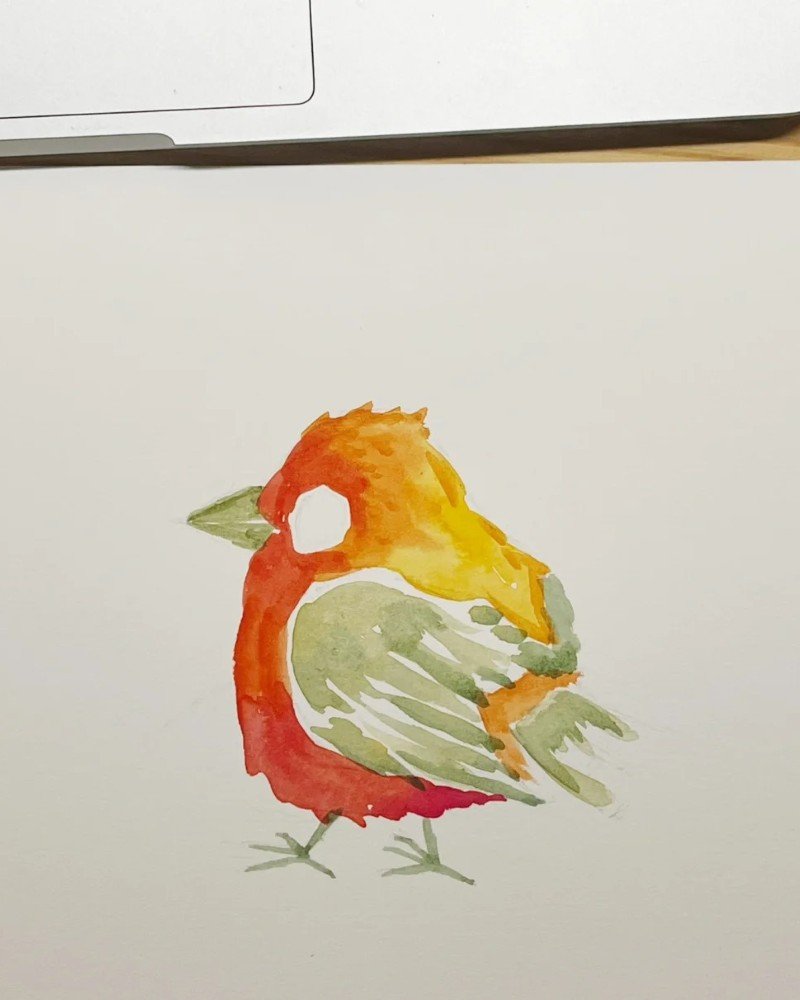
Step 2: Add yellow on top of the head and green strokes for the wings and tail to build the body shape.
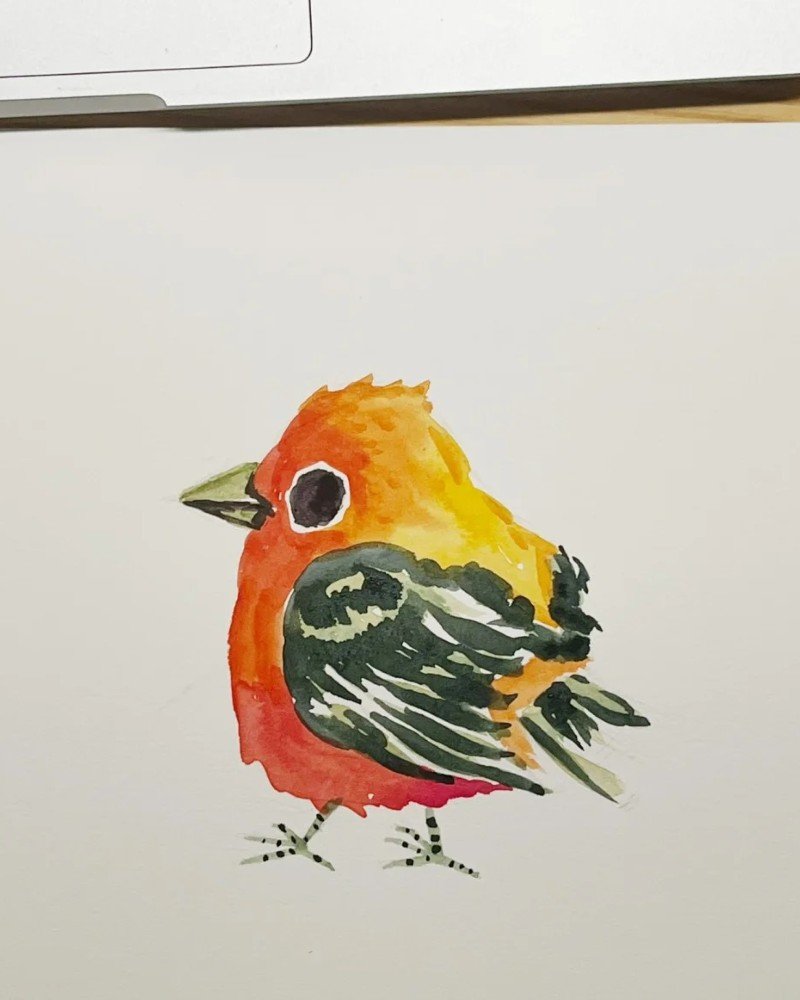
Step 3: Outline the black wing feathers and add feet and an eye to complete your cute cardinal bird.
How to draw a cardinal bird easy


Step 1: Draw a small circle for the eye to mark the position of the head.

Step 2: Sketch the head with the beak and crest to form the bird’s facial shape.
Step 3: Add a large oval for the body, attaching it to the head.
Step 4: Draw two straight tail feathers extending down from the body.
Step 5: Add a third feather to complete the tail’s structure.
Step 6: Sketch the wing with simple curved lines along the body.
Step 7: Refine the wing shape and adjust the tail for proportion.
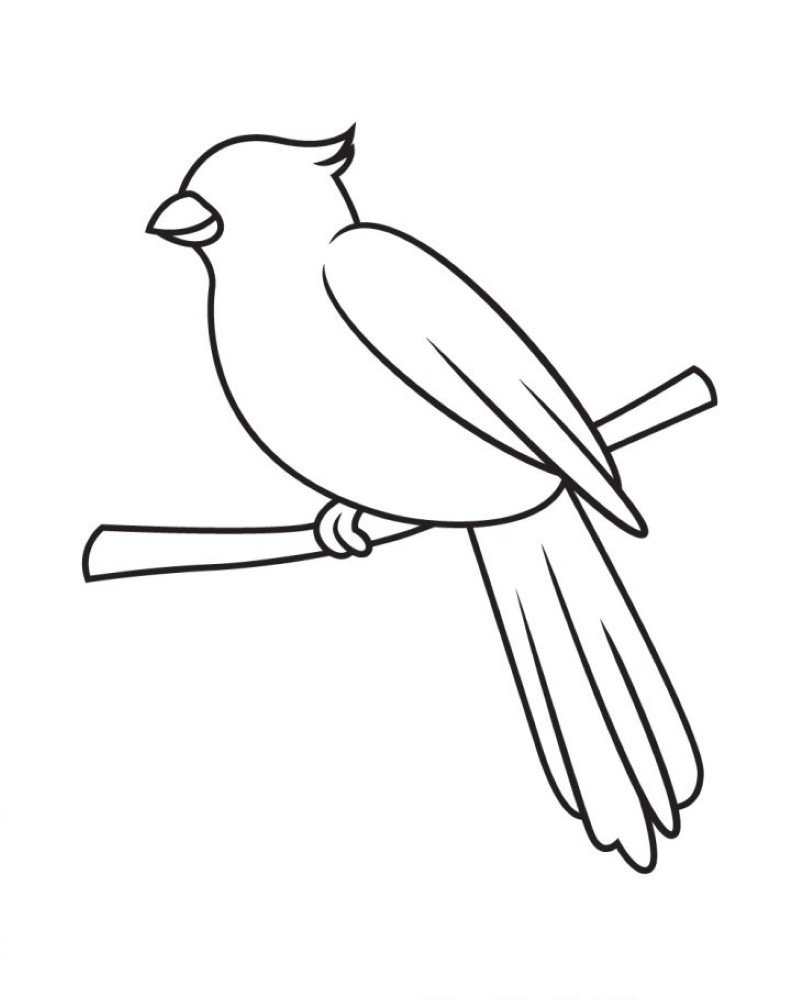
Step 8: Draw a branch beneath the bird to show it perching.
Step 9: Add the bird’s feet gripping the branch and finalize the outline.
How to draw a cardinal bird step by step
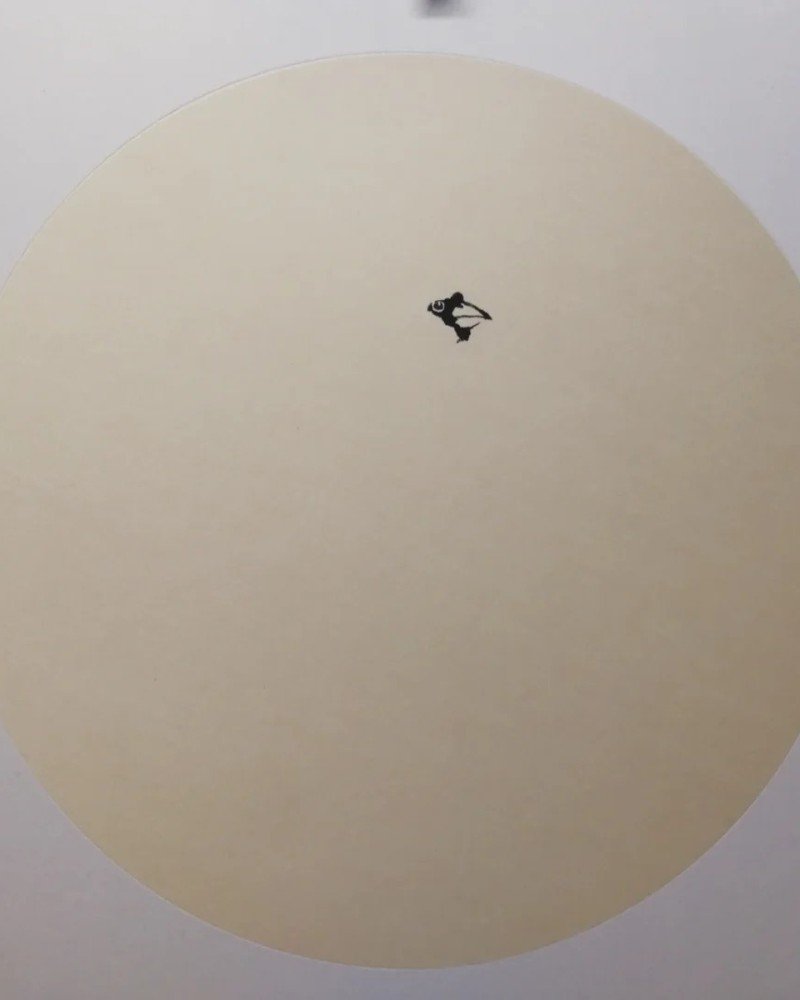
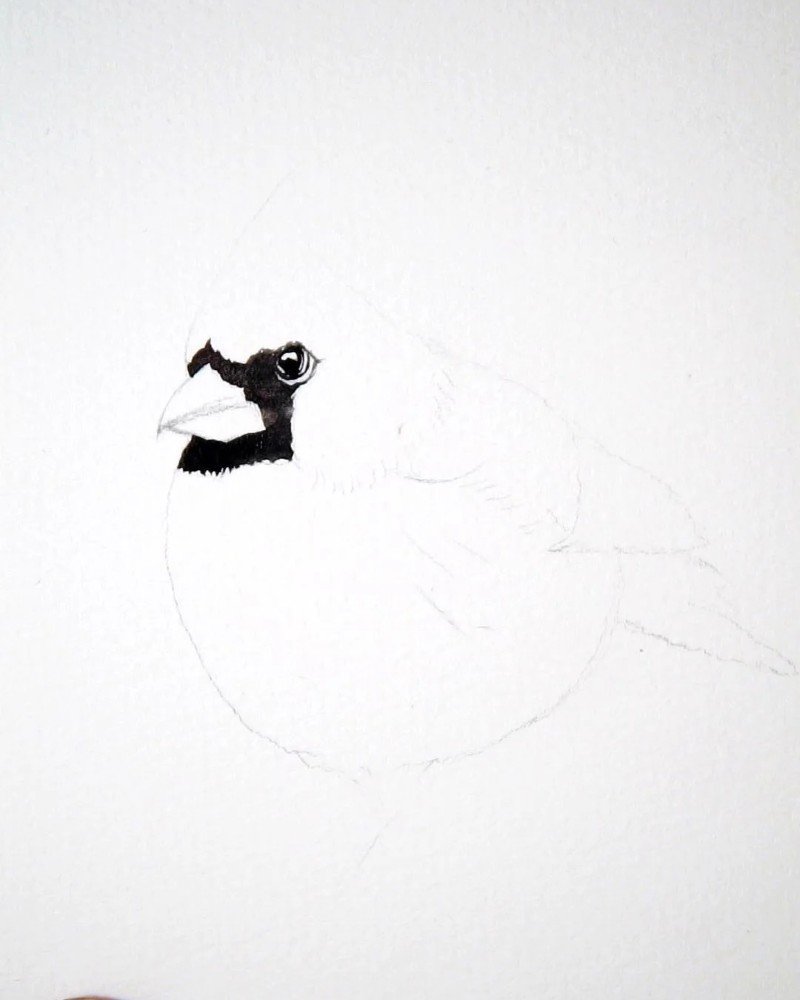
Step 1: Begin with a tiny black dot for the eye to define the bird’s position.
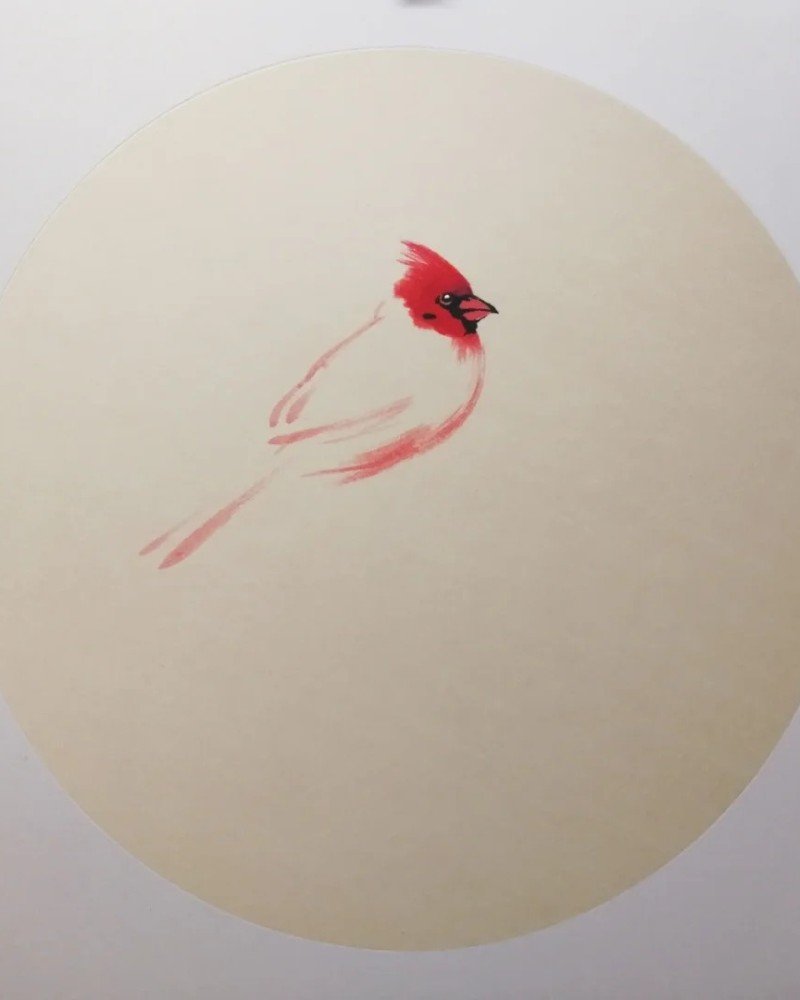
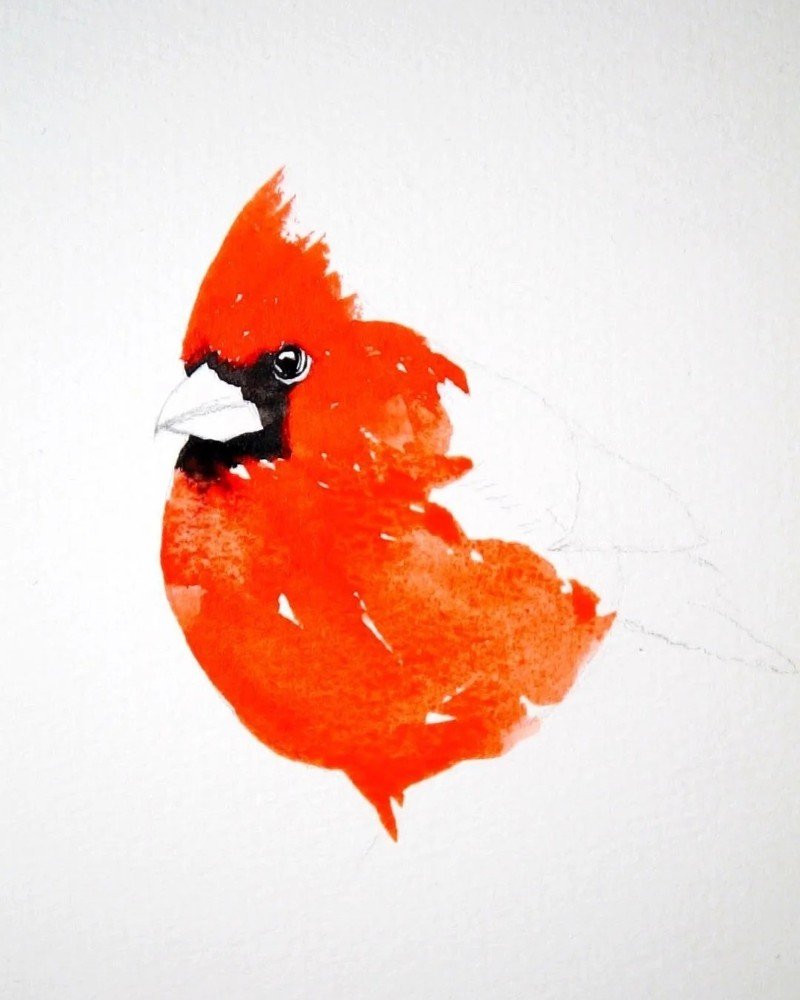
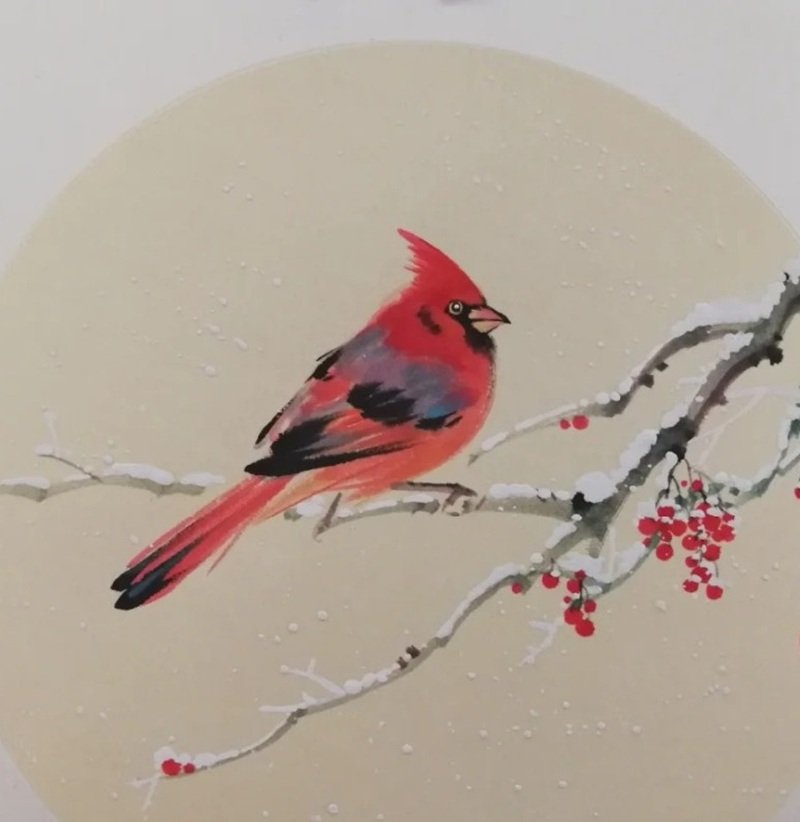
Step 2: Add the body using soft red and pink tones to shape the bird.
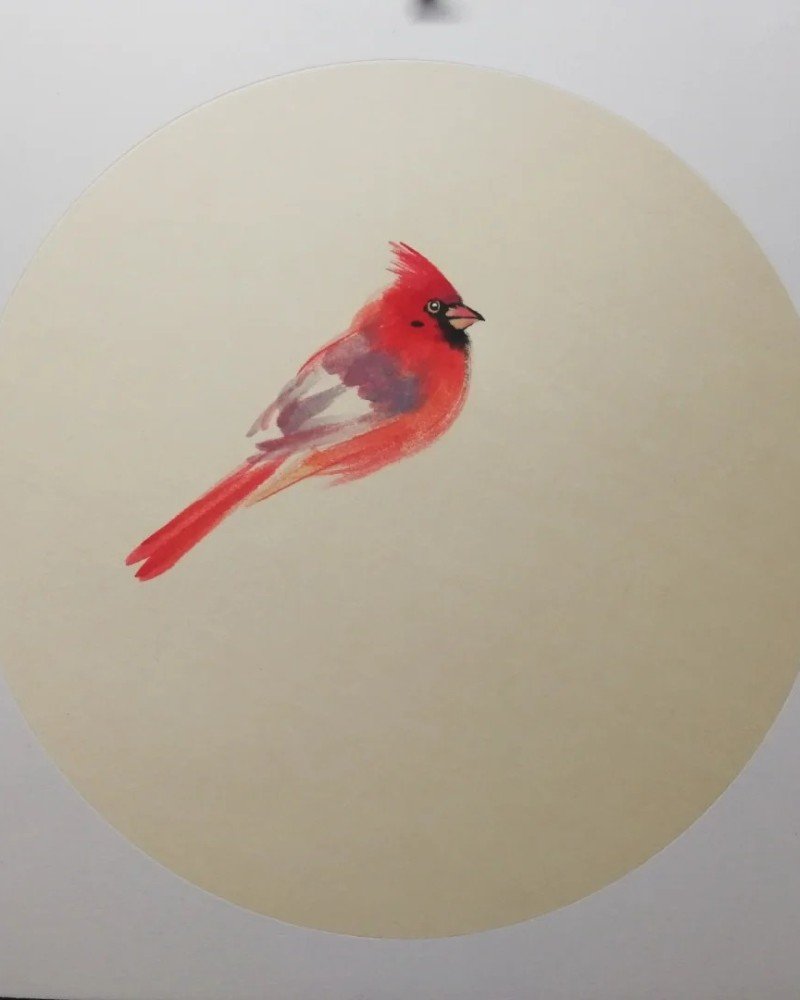
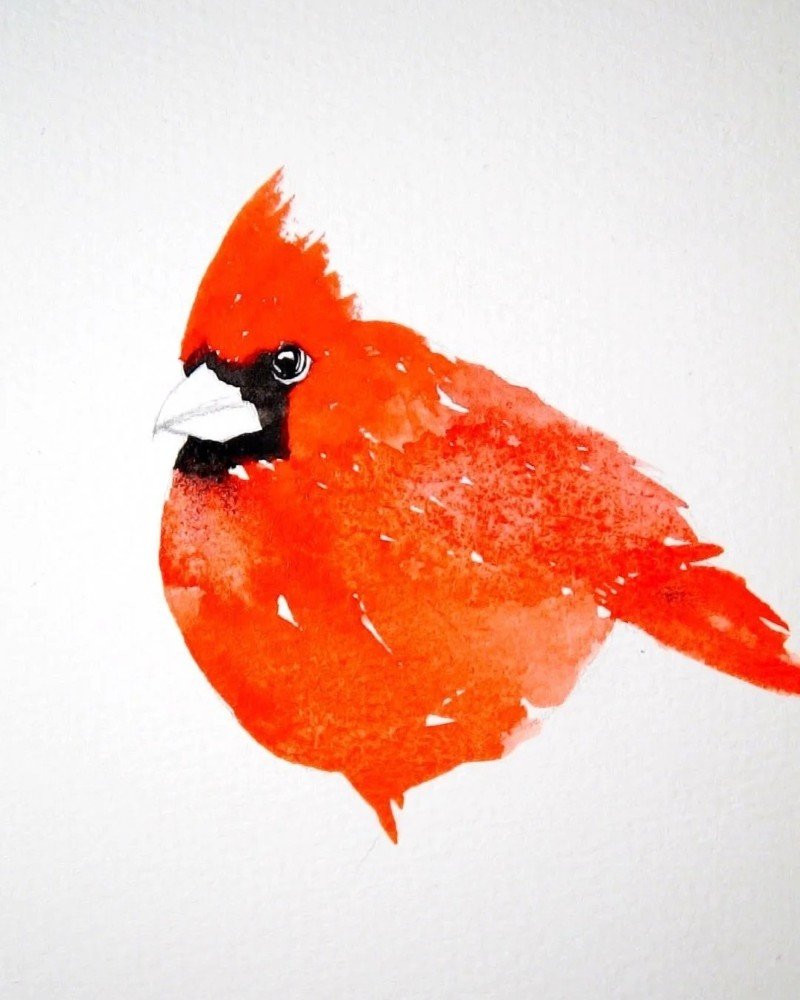
Step 3: Detail the face, crest, and wings using darker red and black lines.
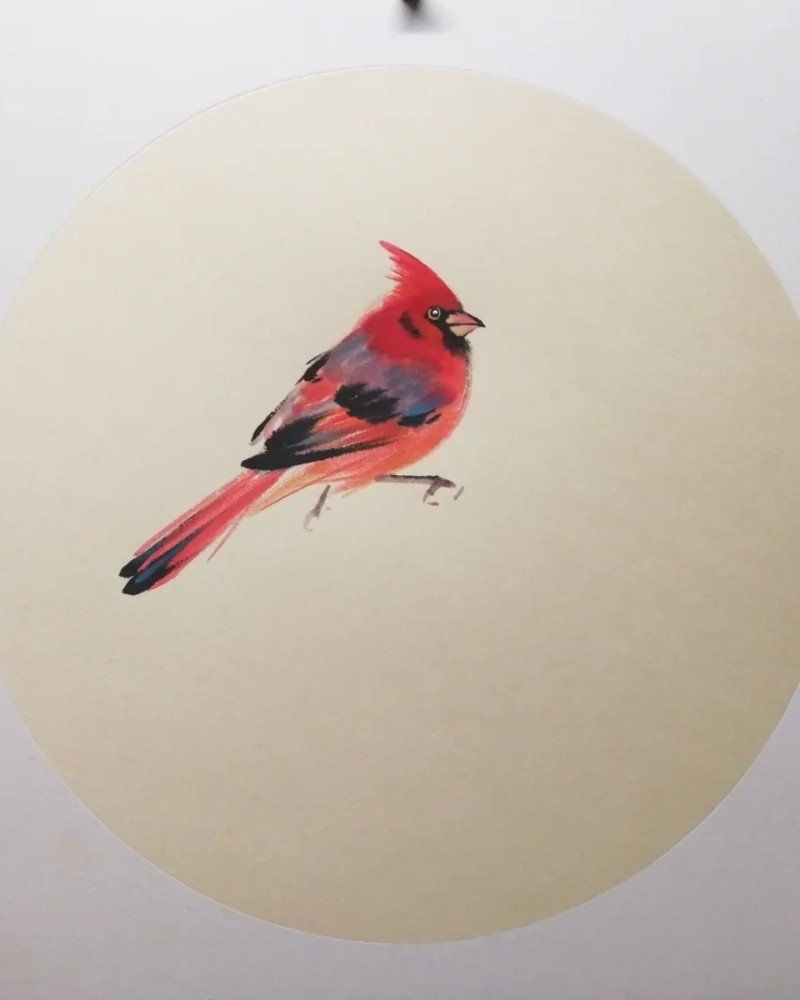
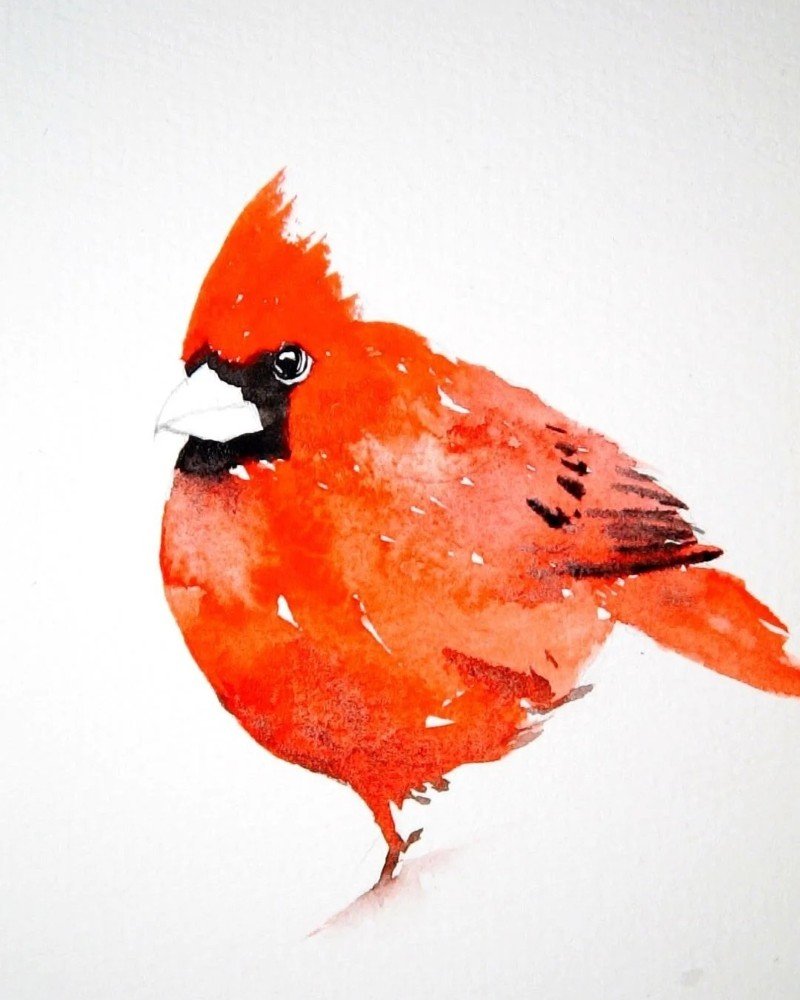
Step 4: Add shadows and depth to the wings and body for a 3D look.

Step 5: Paint tree branches beside the bird to set a natural scene.
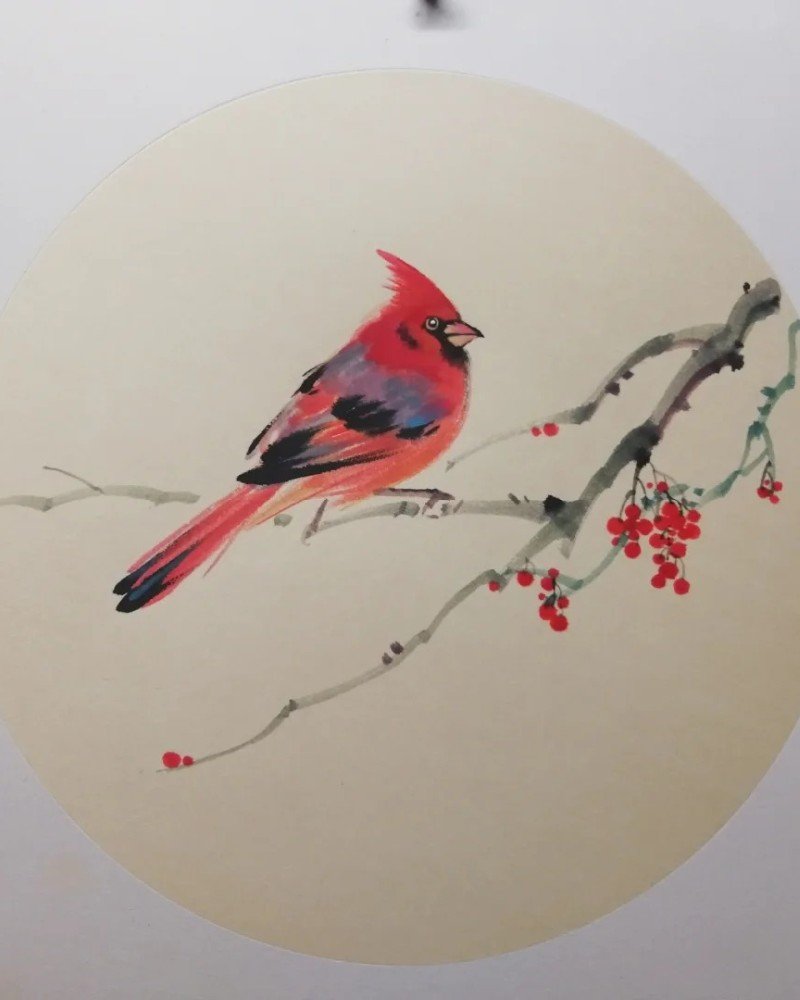
Step 6: Add fine red leaves around the bird for a lively, finished look.
See more:
9+ awesome tutorials on how to draw a Cactus easily
Step-by-step – How to draw a boat in just 5 minutes
Top 10+ Tutorials on how to draw a bike that looks real
Drawing a cardinal bird doesn’t have to be complicated. With these fun techniques, you’re well on your way to bringing this bright red beauty to life on paper. Keep practicing, try new styles, and don’t be afraid to make it your own. Whether you follow the steps or remix them with flair, what matters most is having fun and expressing yourself. Keep sketching — the next masterpiece is just a pencil stroke away!