Looking for a fun and simple way to sketch flowers? The topic “how to draw a daisy” is the perfect starting point for unleashing your creativity. From cute and minimal to detailed and realistic, there’s a daisy style for everyone. Whether you’re a complete beginner or already confident with your lines, these guides are designed to be easy to follow and super enjoyable. Step by step, you’ll turn a blank page into a cheerful flower full of personality. Grab your pencil and dive into the world of floral art.
All tutorials are carefully curated from dooduko.com, your go-to source for daily creative drawing ideas.
How to draw a daisy
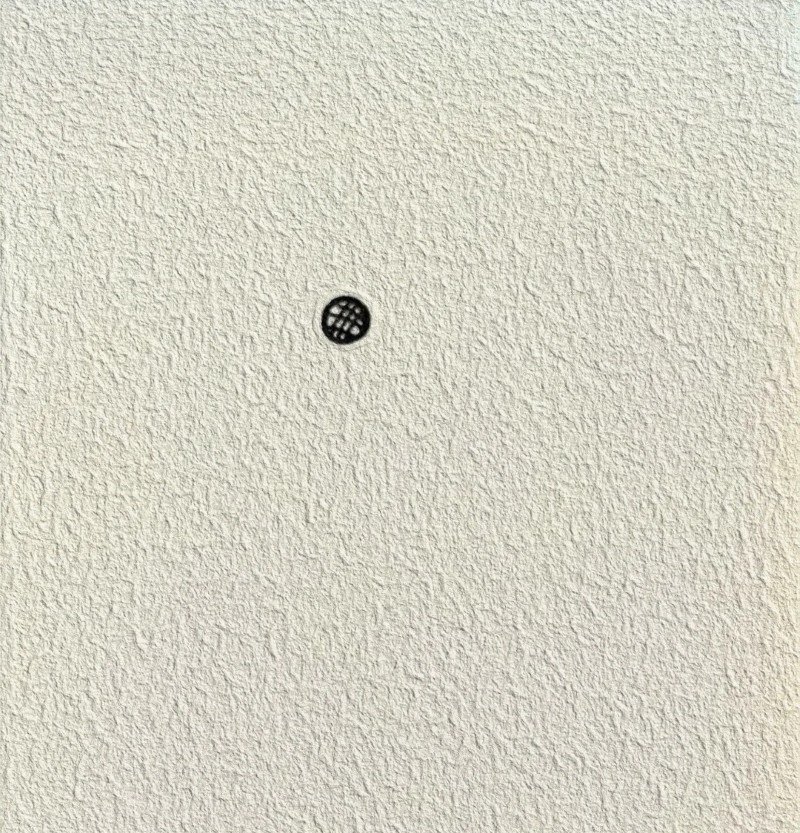
Step 1: Start with a small solid circle in the center of your paper—this will be the center of your daisy.
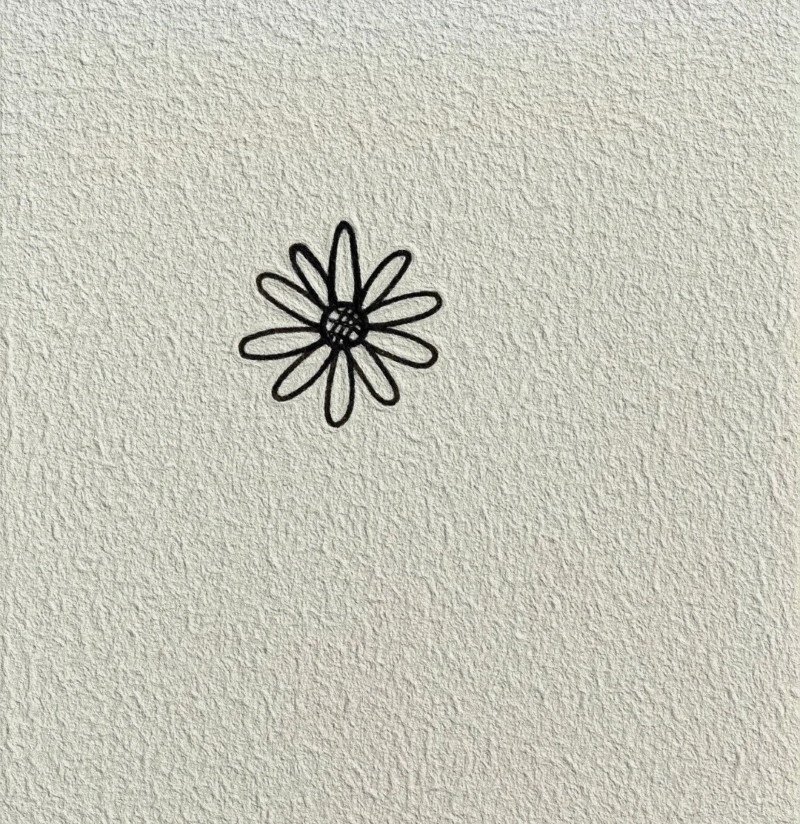
Step 2: Draw the first layer of petals around the center, keeping them evenly spaced and shaped like thin ovals.
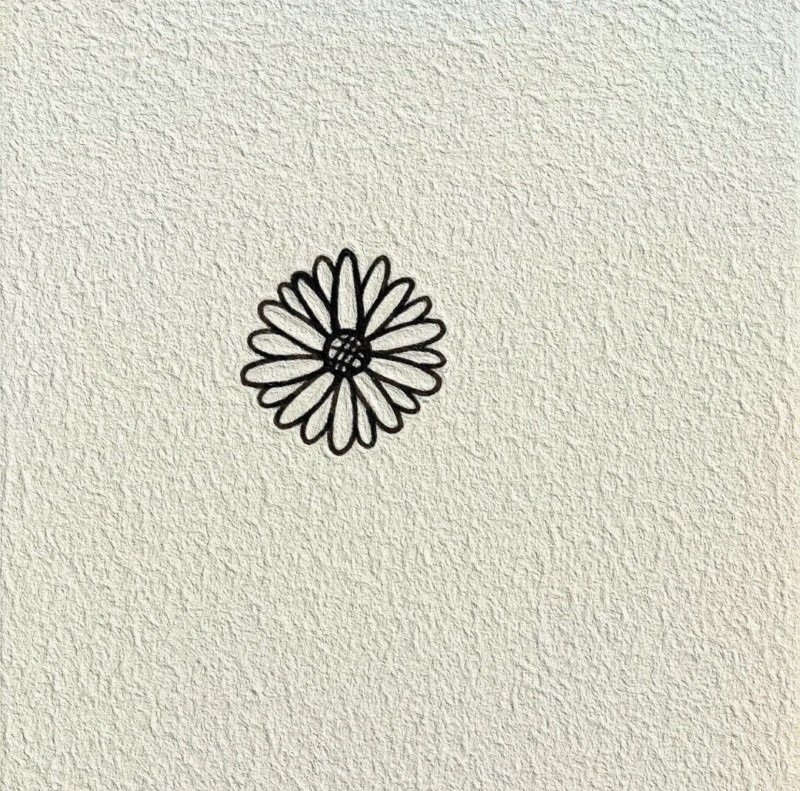
Step 3: Add a second layer of petals between the first ones to give your daisy a fuller, more realistic look.
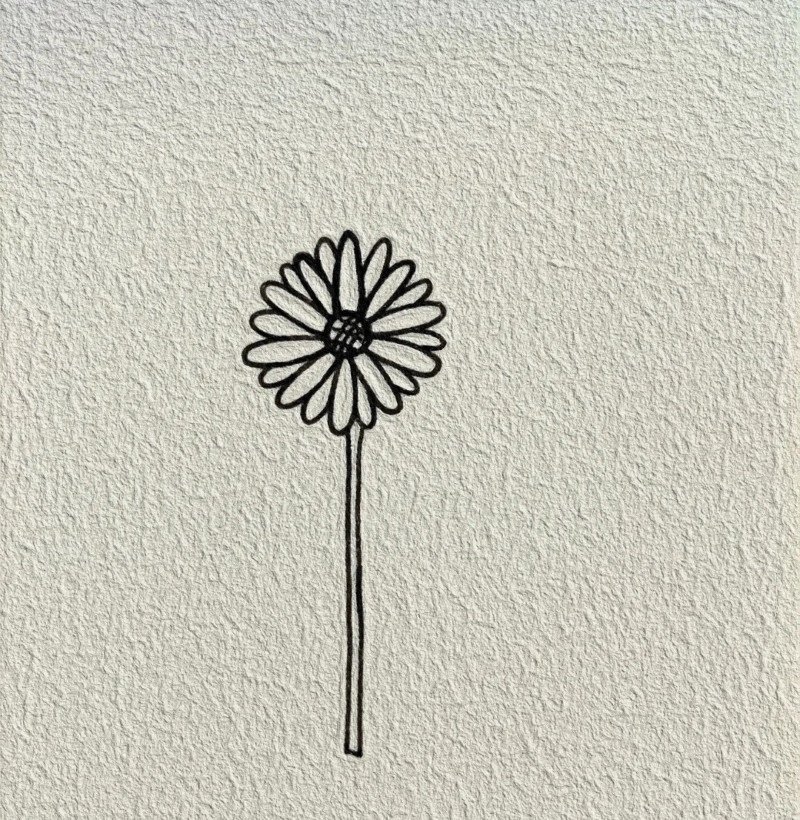
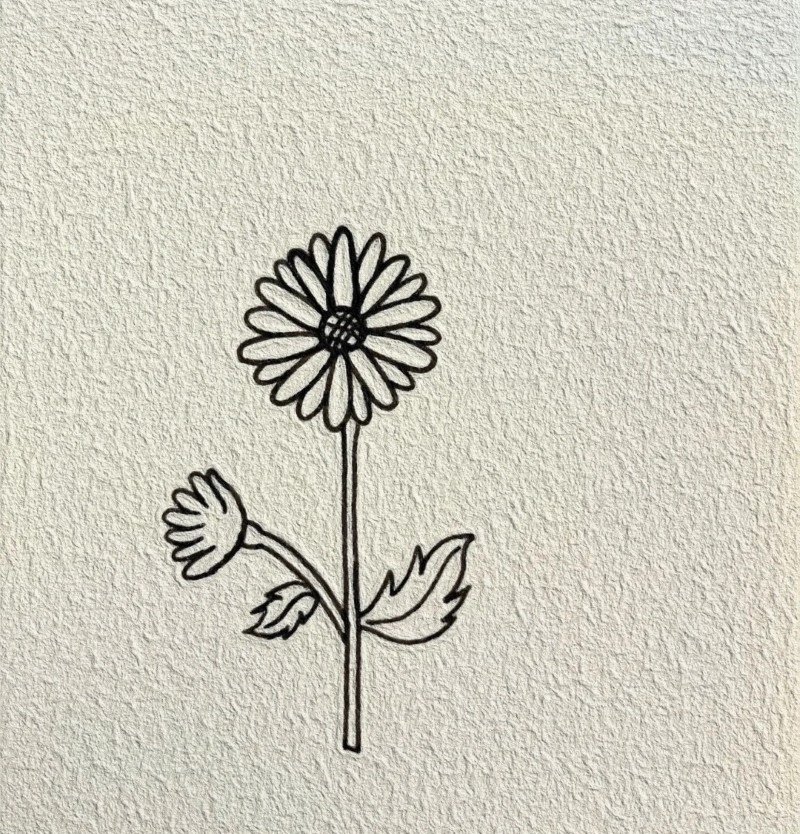
Step 4: Draw a straight vertical line down from the center to create the stem—make it long enough to balance the flower. 
Step 5: Add a small leaf on one side of the stem by sketching a curved shape with a pointed tip.
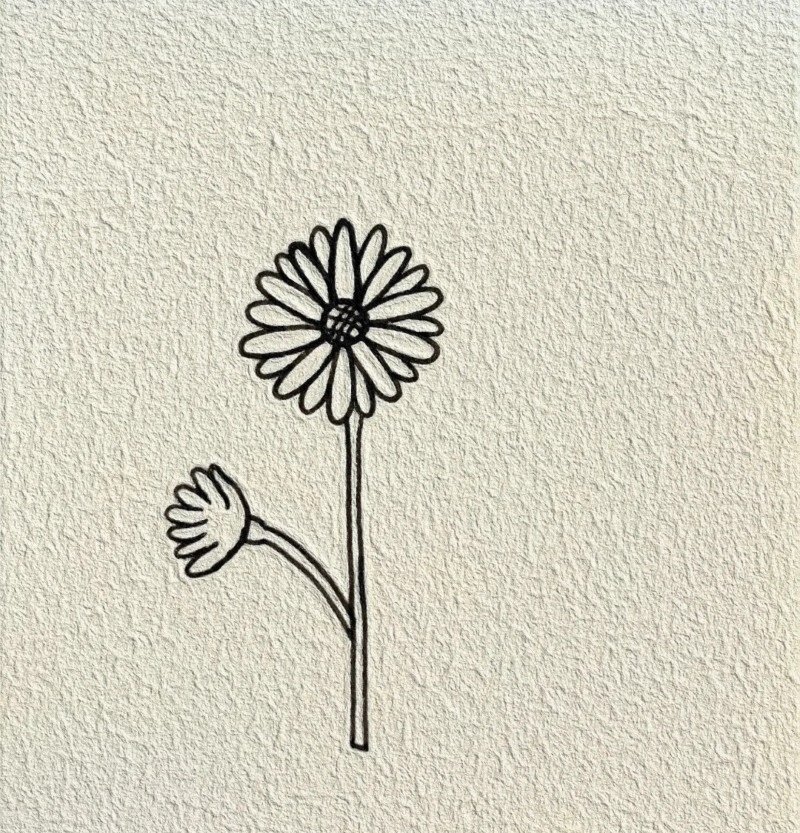
Step 6: Draw a second leaf on the opposite side to create a balanced look—this leaf should be slightly lower than the first.
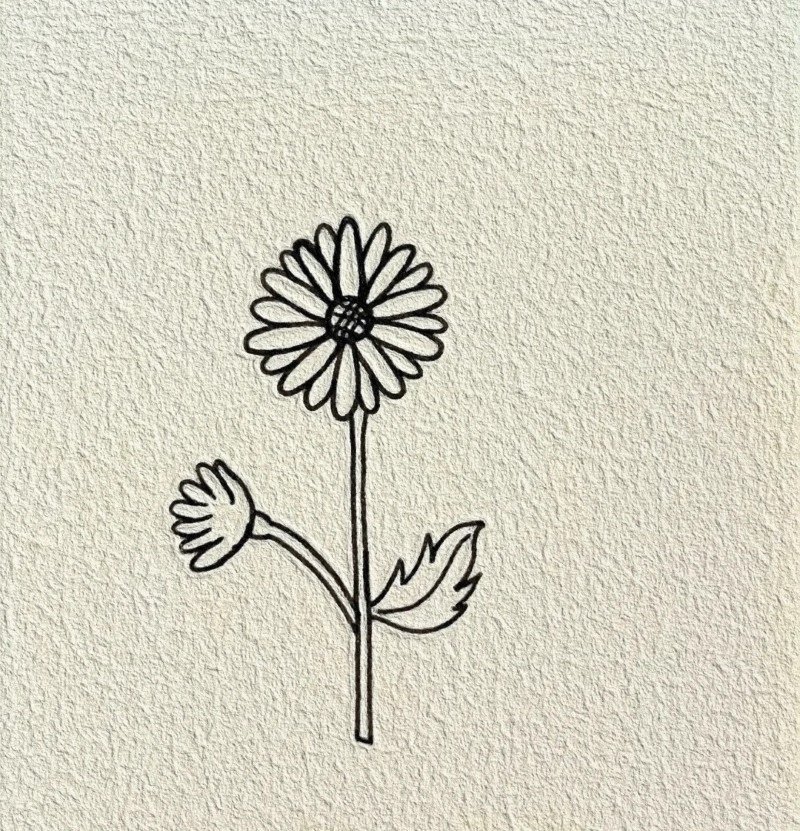
Step 7: Add one more leaf for extra detail and natural look—place it lower or overlapping slightly for depth.
How to draw a daisy easy


Step 1: Begin by drawing a tilted circle with several rounded petals around it—this will form the head of the daisy.

Step 2: Add a second daisy next to the first one, slightly lower and at an angle, with petals pointing in different directions.

Step 3: Sketch two simple curved lines down from each flower head to make the stems, crossing them for a natural look. 
Step 4: Finish by drawing thin, pointed leaves and blades of grass at the bottom to ground your daisies with a realistic touch.
How to draw a daisy flower


Step 1: Draw a small circle in the center of your paper—this will be the core of the daisy flower.

Step 2: Add five rounded petals around the circle, equally spaced, to form a simple daisy blossom.
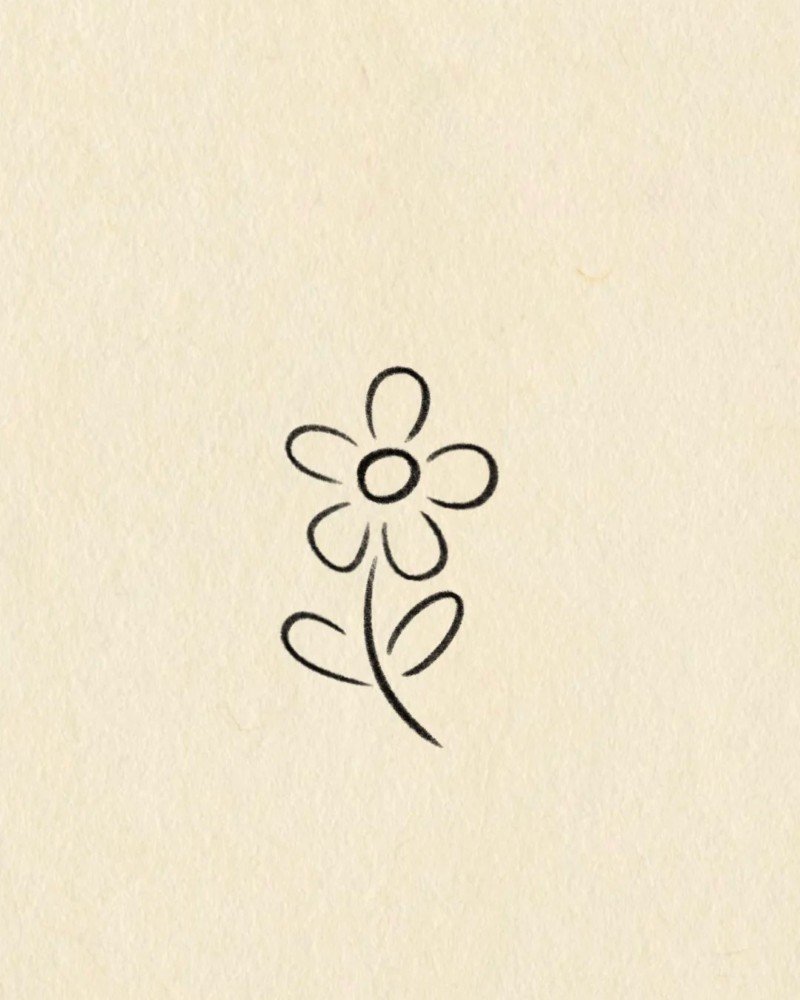
Step 3: Draw a short curved stem under the flower, then add two small curved leaves on each side. 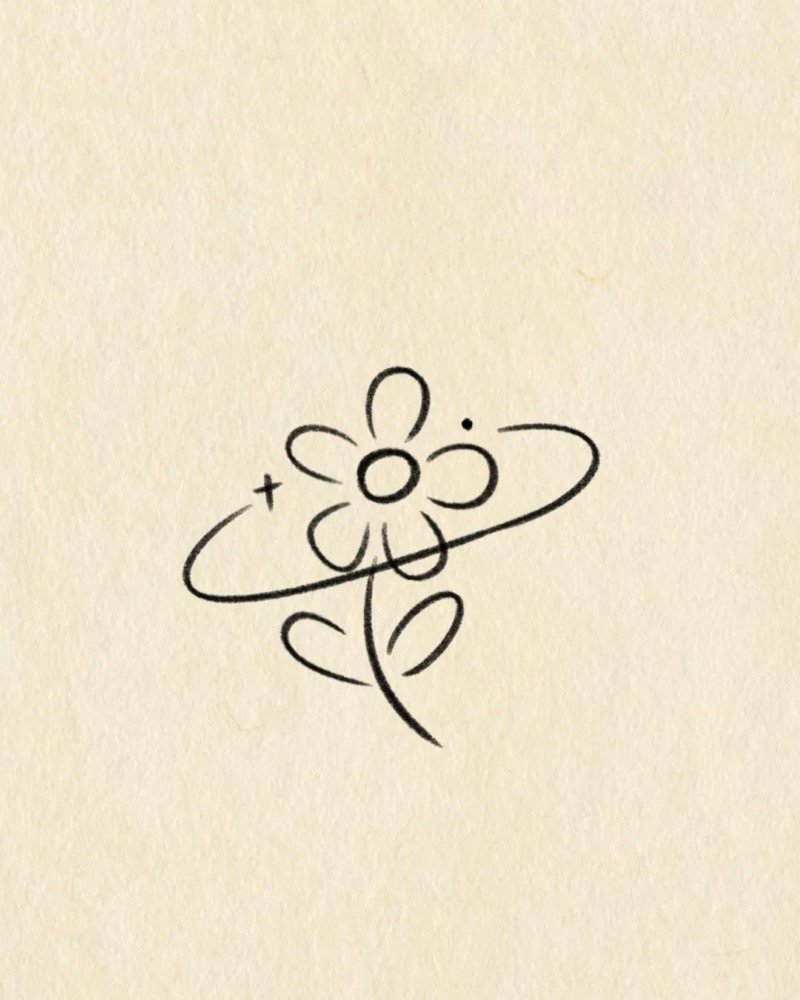
Step 4: Finish by sketching another petal layer behind and slightly to the side for a fuller and cuter look.
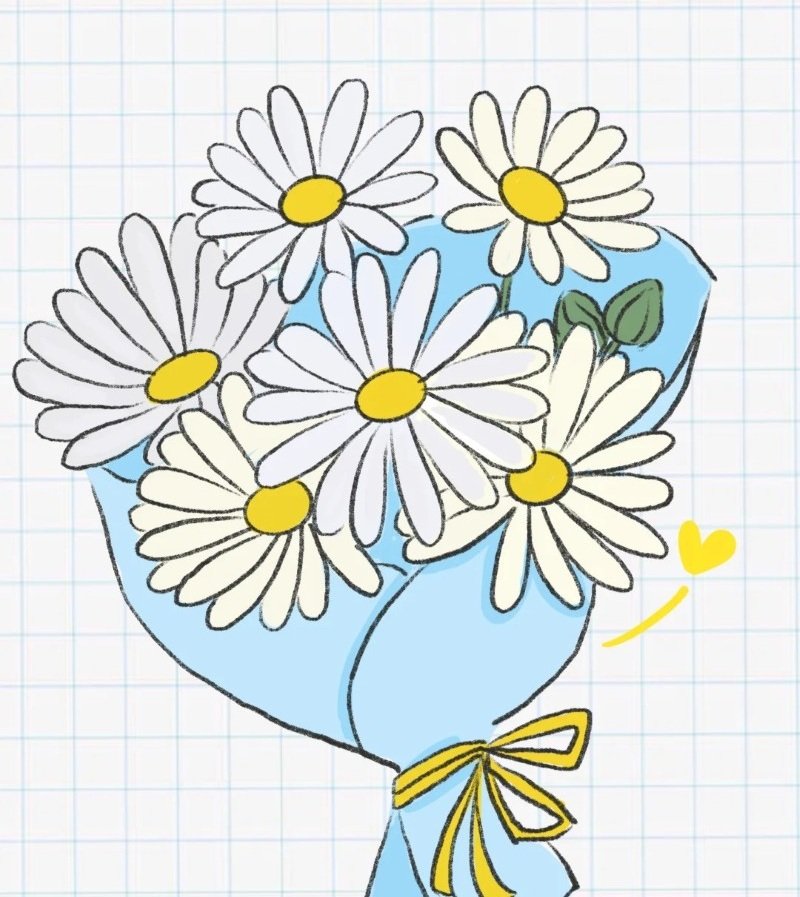
How to draw a daisy flower step by step
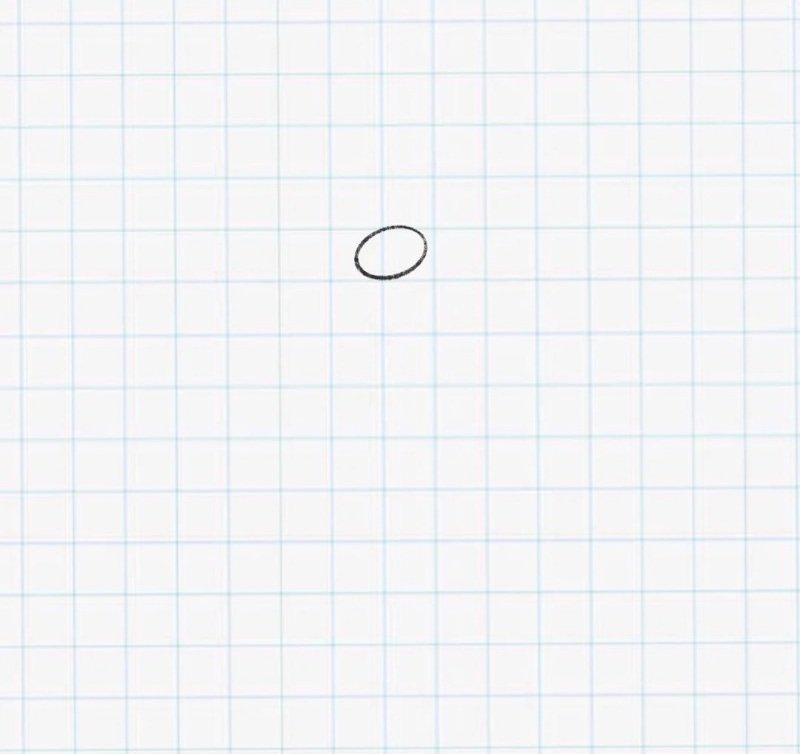
Step 1: Start by drawing an oval shape to define the center of your first daisy flower.
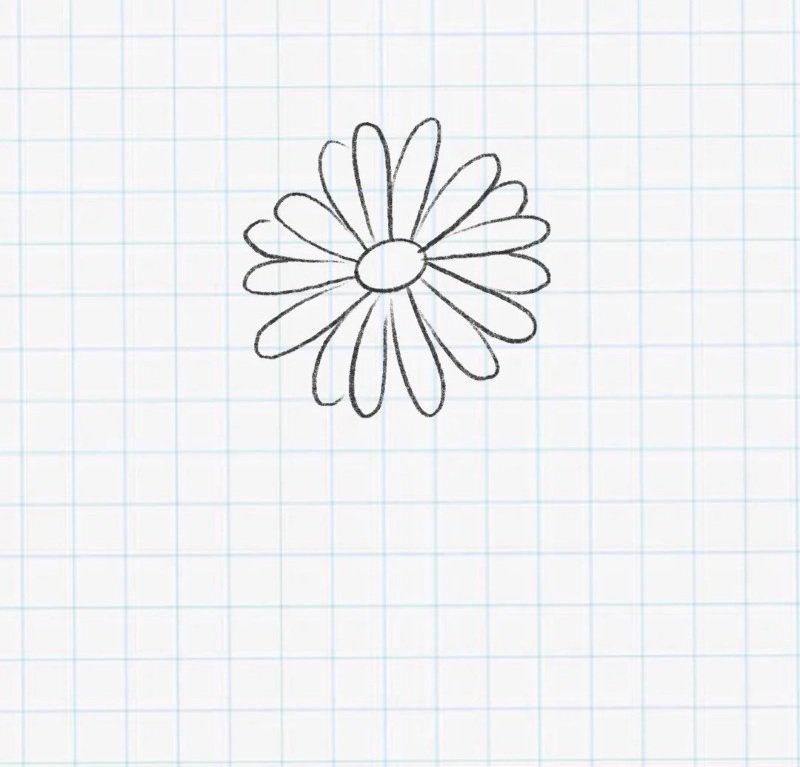
Step 2: Add overlapping petals all around the center, using curved lines for a natural daisy look.

Step 3: Sketch a second daisy beside the first by repeating the same steps with slight variation in angle.
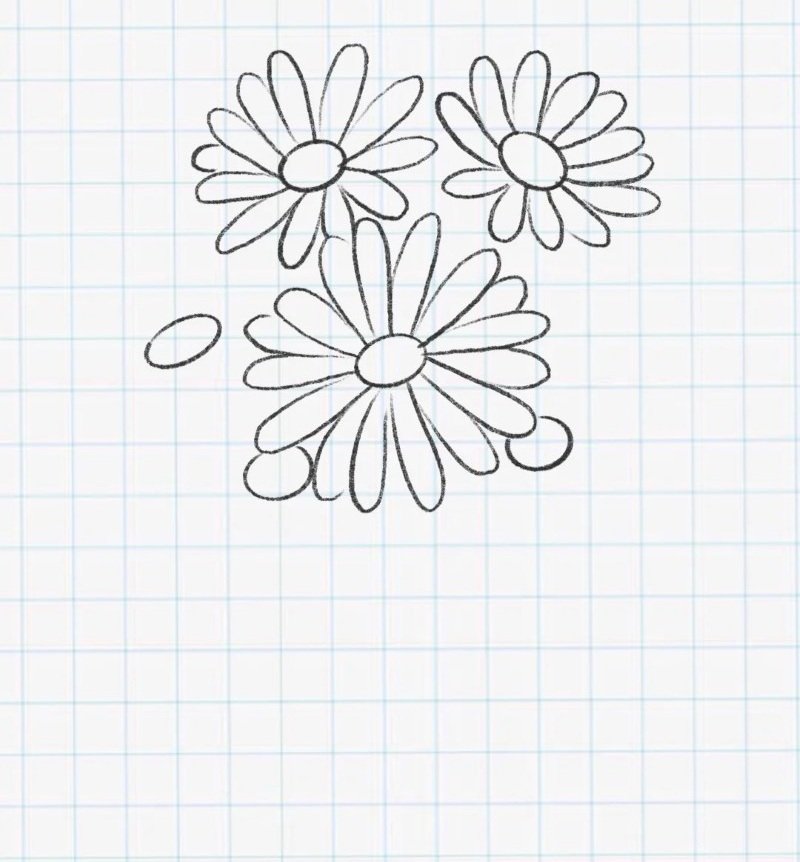
Step 4: Draw a third daisy overlapping the first two—vary the petal length for a more natural bouquet feel.
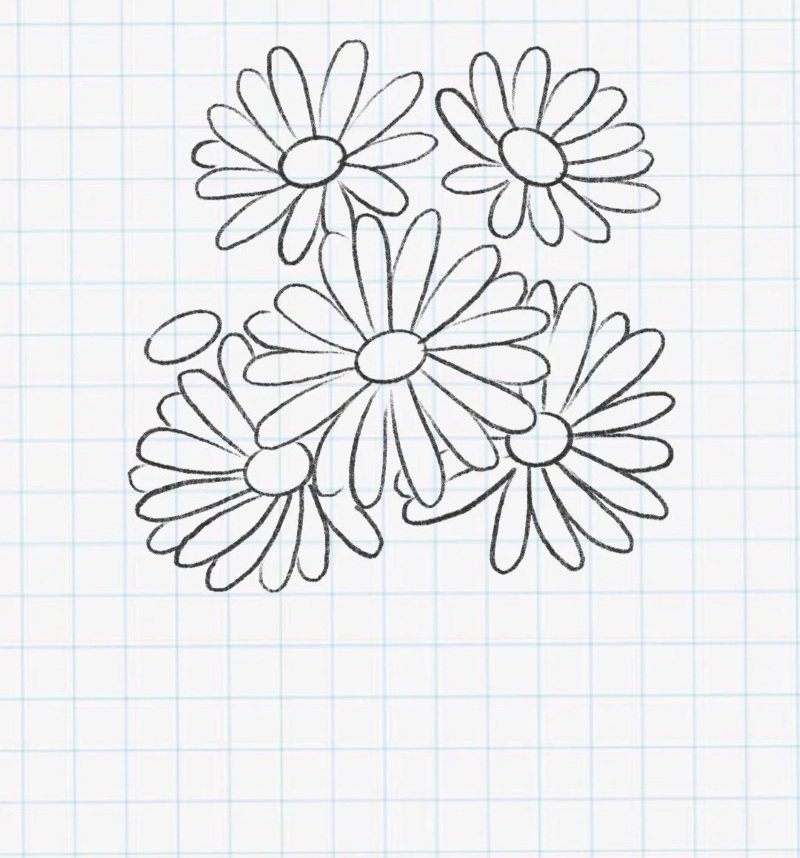
Step 5: Add even more daisy heads around the cluster to fill out the bouquet and balance the composition. 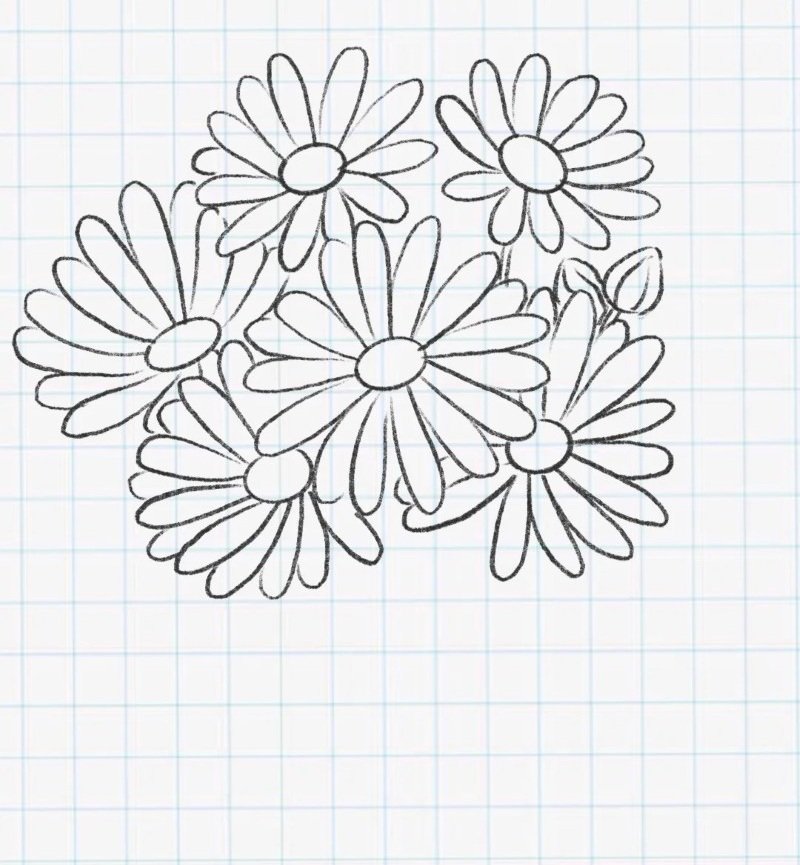
Step 6: Complete the bouquet by refining all petals and adding smaller background flowers for detail.
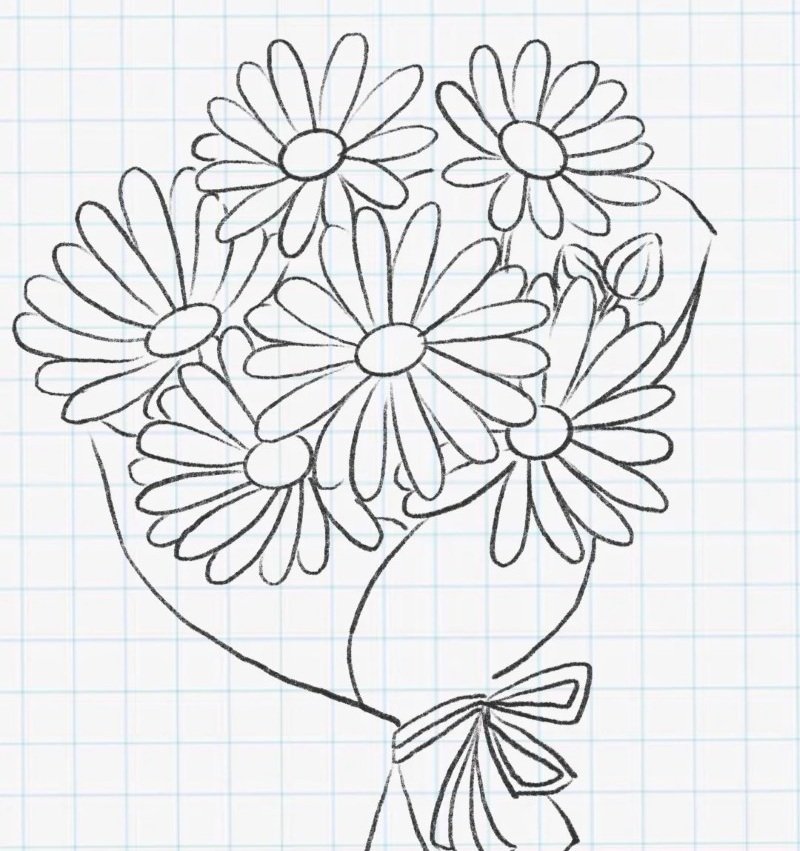
Step 7: Draw the stems and tie them together with a ribbon or bow for a charming, finished bouquet effect.
How to draw a easy daisy


See more:
How to draw a crocodile in 6+ fun and simple drawing steps
How to draw a couch: 9+ styles to try right now
How to draw a cap in 7+ cool styles you should try
Daisies are beautiful and surprisingly easy to draw when you follow the right steps. With the helpful tips in this article, learning how to draw a daisy becomes a fun and rewarding experience. Start sketching today and create daisy art that reflects your own personal vibe. And don’t forget to share your artwork with friends—it might just inspire someone else to pick up a pencil too!