Want to shine bright in your drawing game? Learning how to draw a diamond is a fun way to boost your sketching skills and add sparkle to your art. Whether you’re just starting out or looking to level up, our step-by-step guides at dooduko.com will help you turn simple lines into dazzling gems. Grab your pencils and get ready to shine!
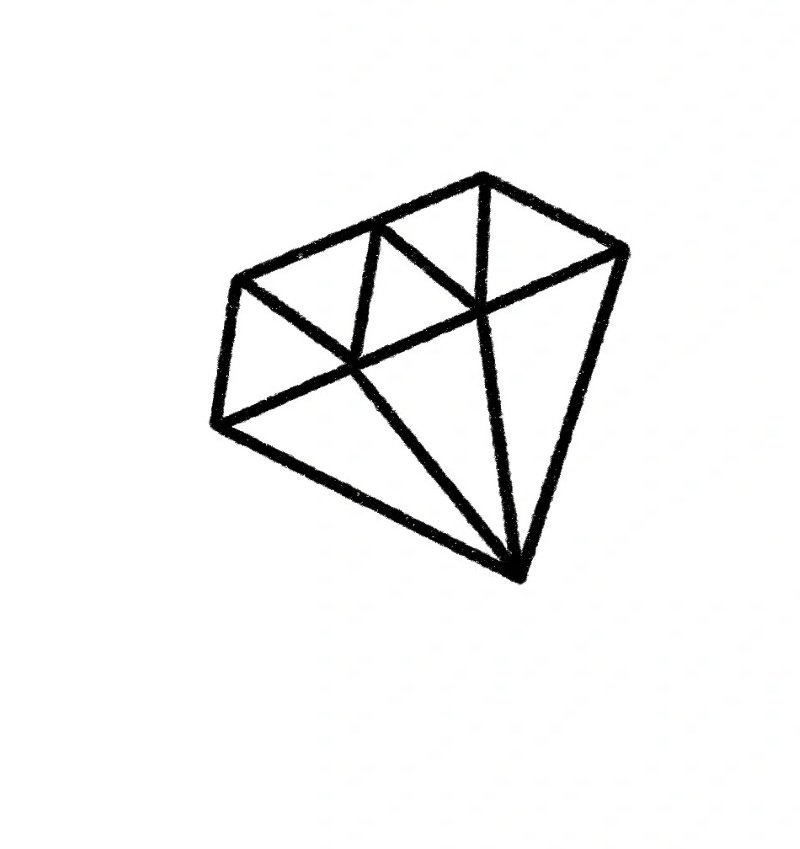
How to draw a diamond
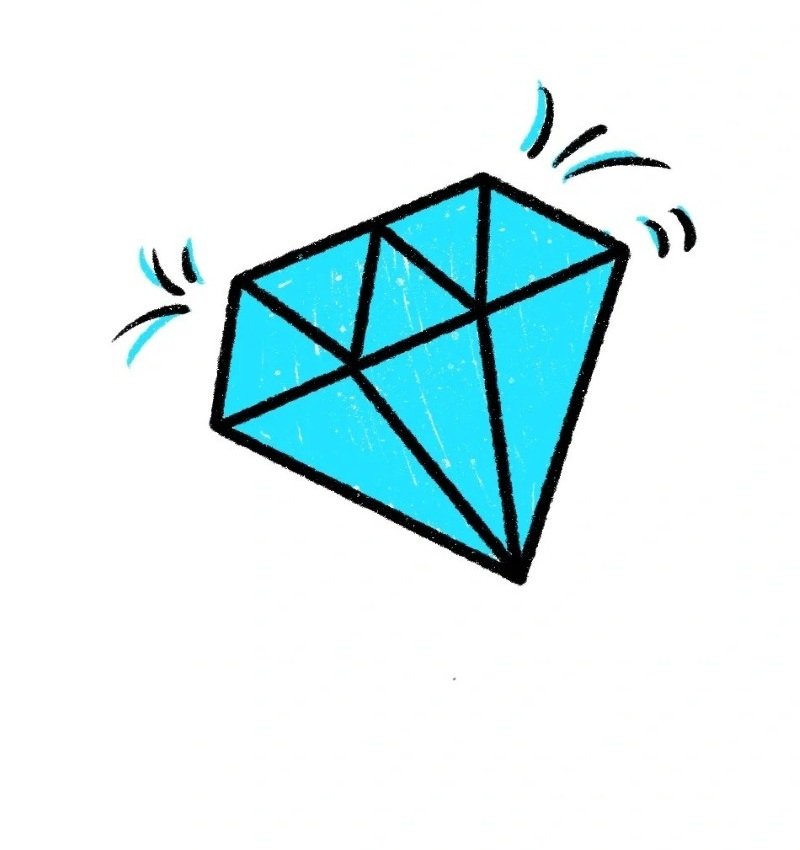
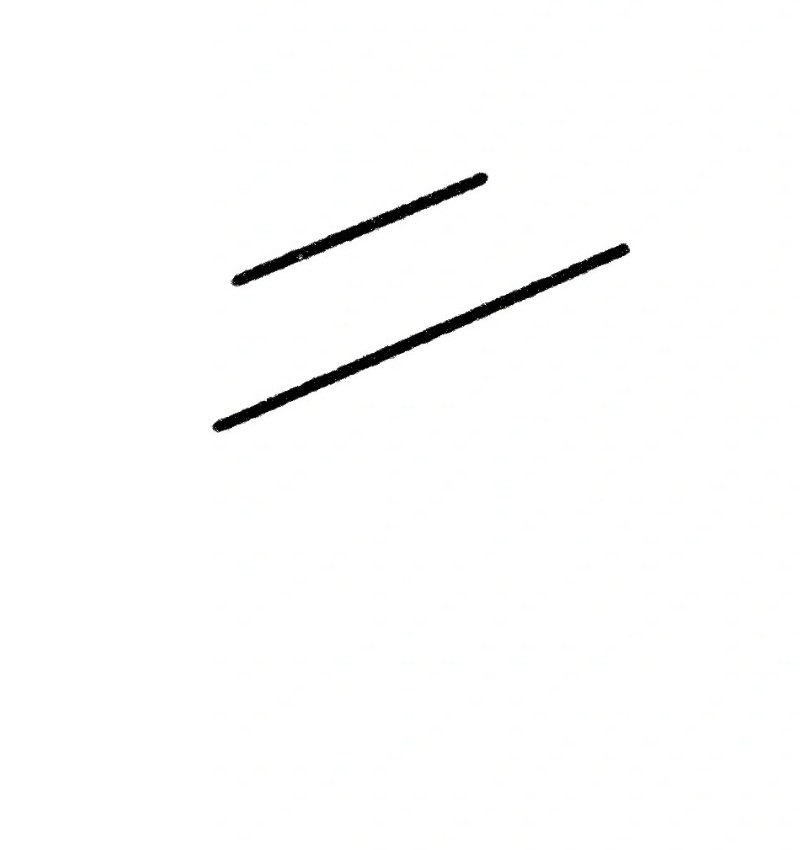
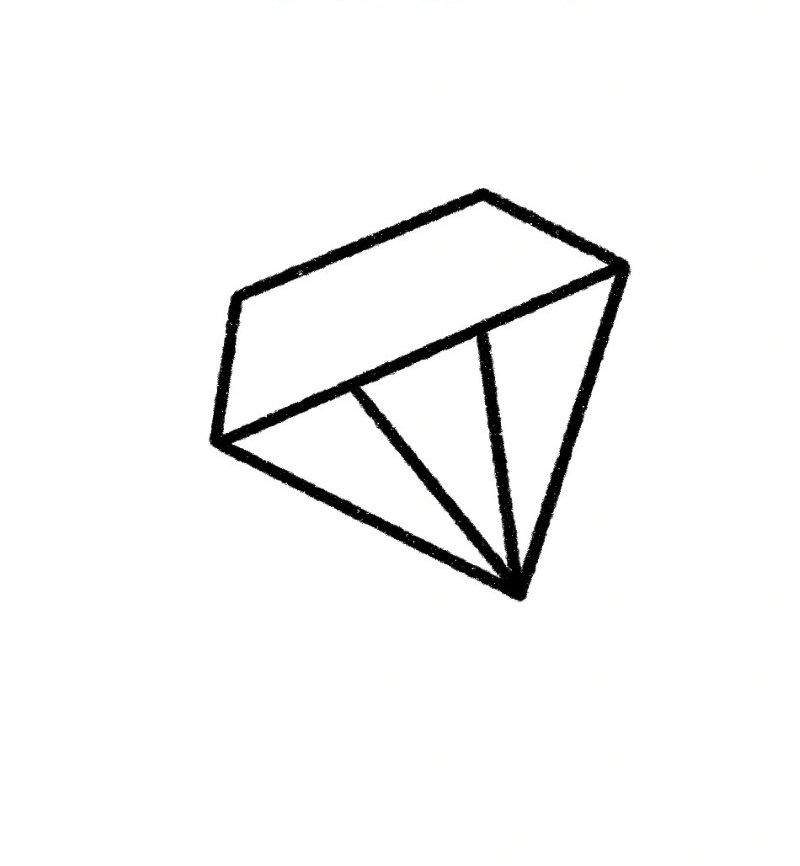
Step 1: Draw two slightly tilted parallel lines to form the top edge of the diamond’s crown.
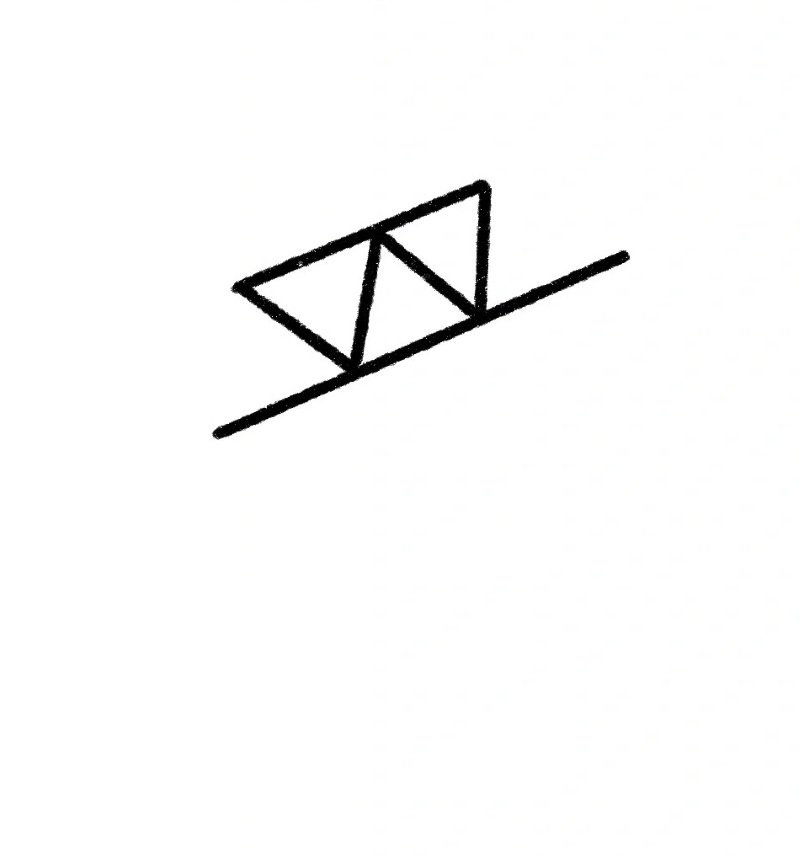
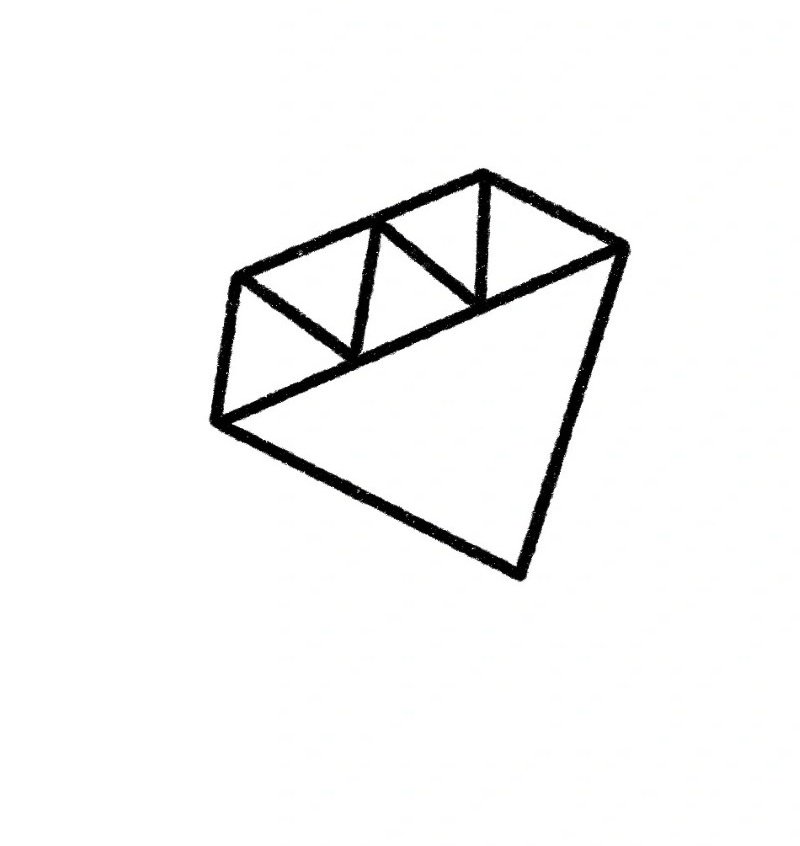
Step 2: Connect the ends of the lines with slanted edges to create a trapezoid, forming the diamond’s top surface.
Step 3: Divide the trapezoid into four triangle-like sections using diagonal and vertical lines to show facets.
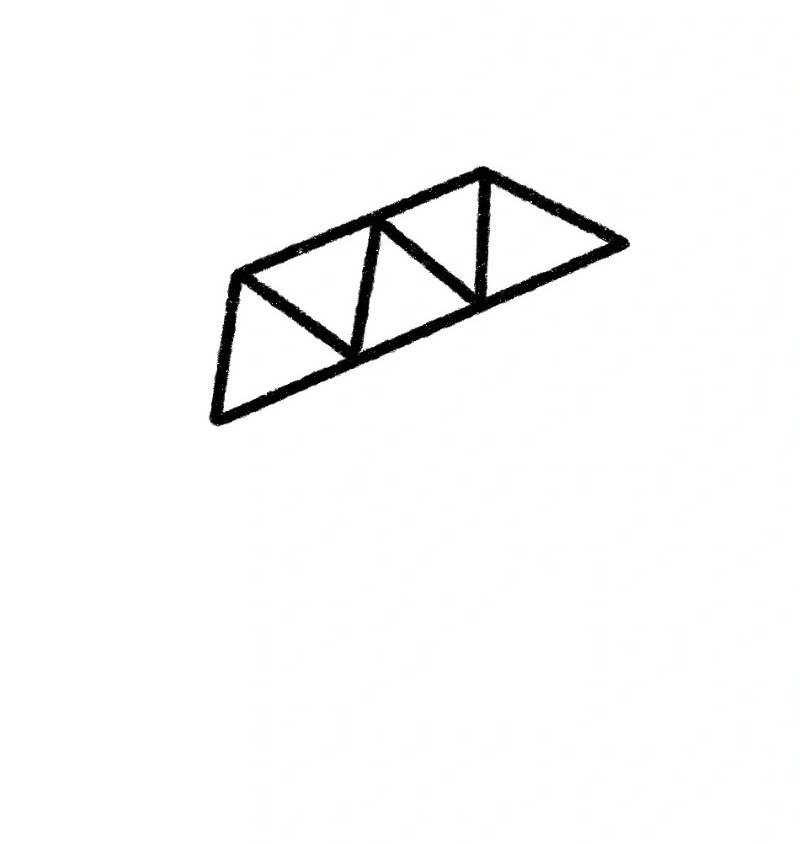
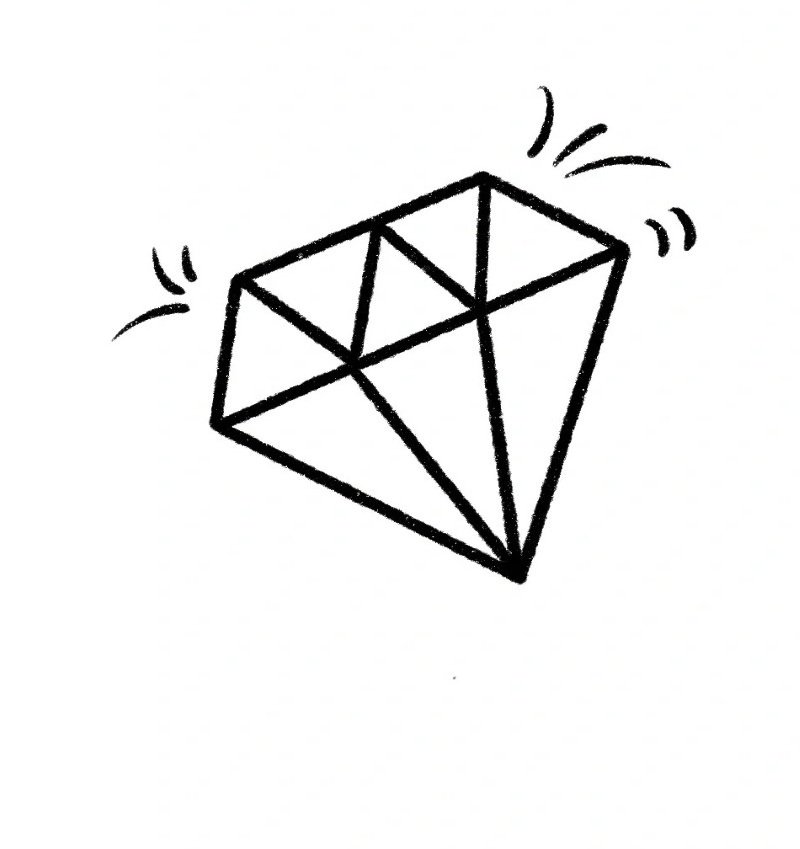
Step 4: Draw two long slanted lines extending downward from the sides to form the body of the diamond.
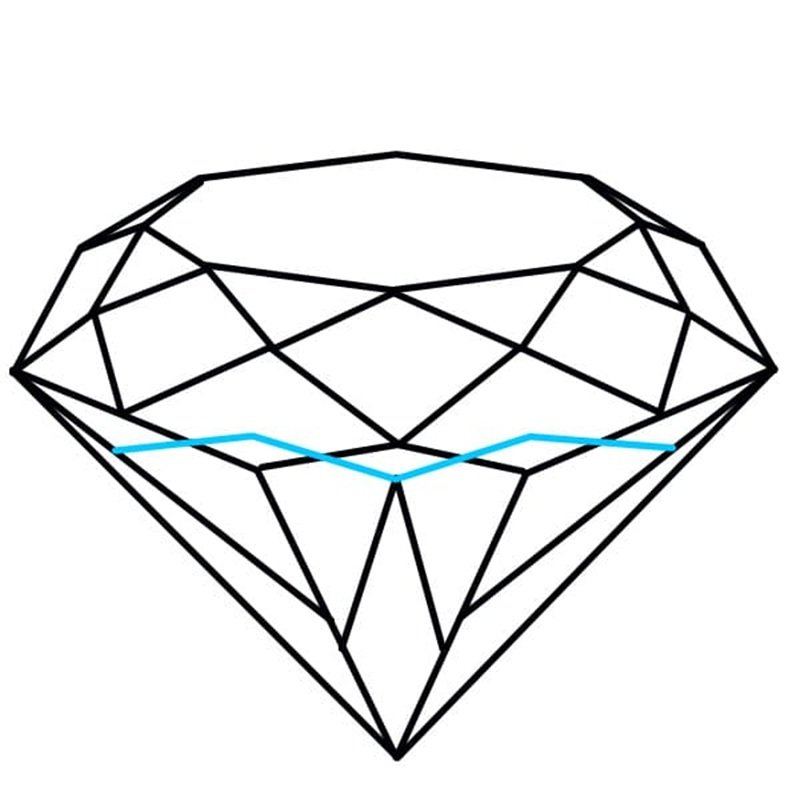
Step 5: Connect the lower points with inner lines to create the bottom facets and complete the brilliant diamond look.
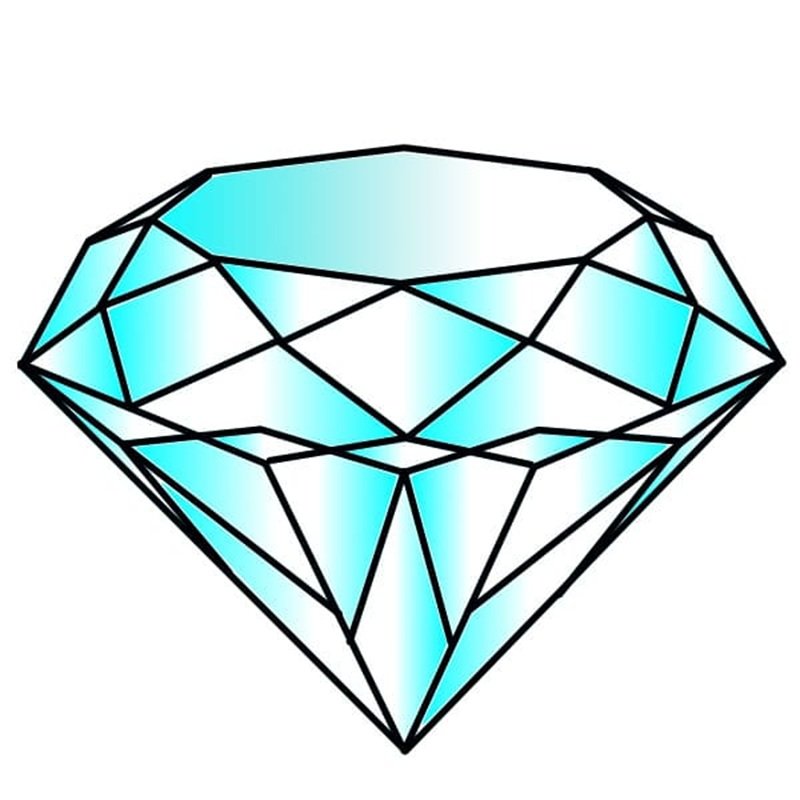
How to draw a diamond easy

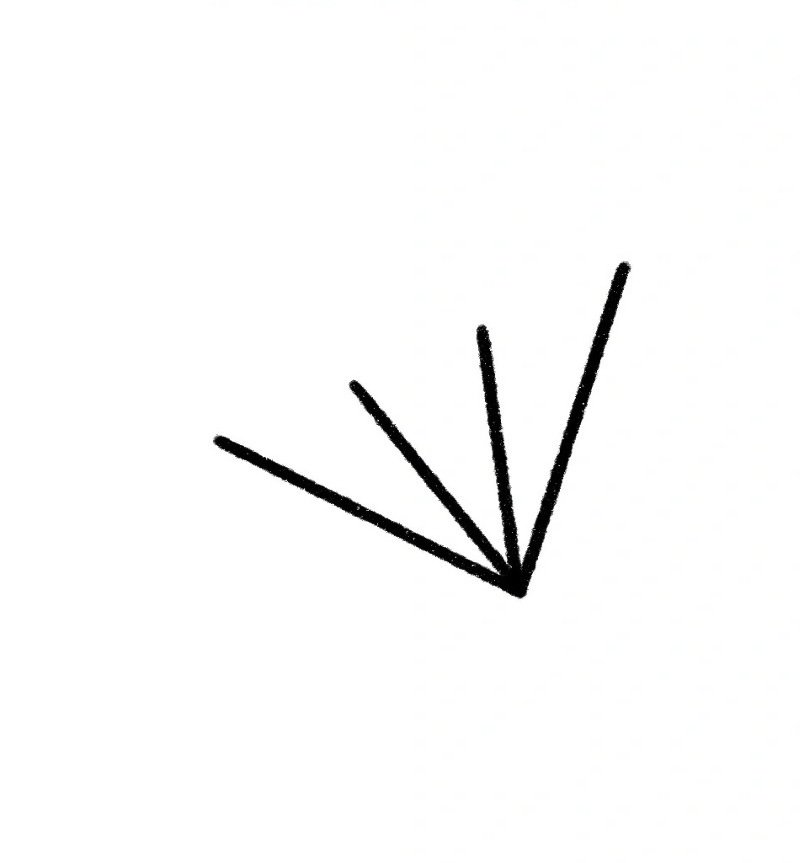
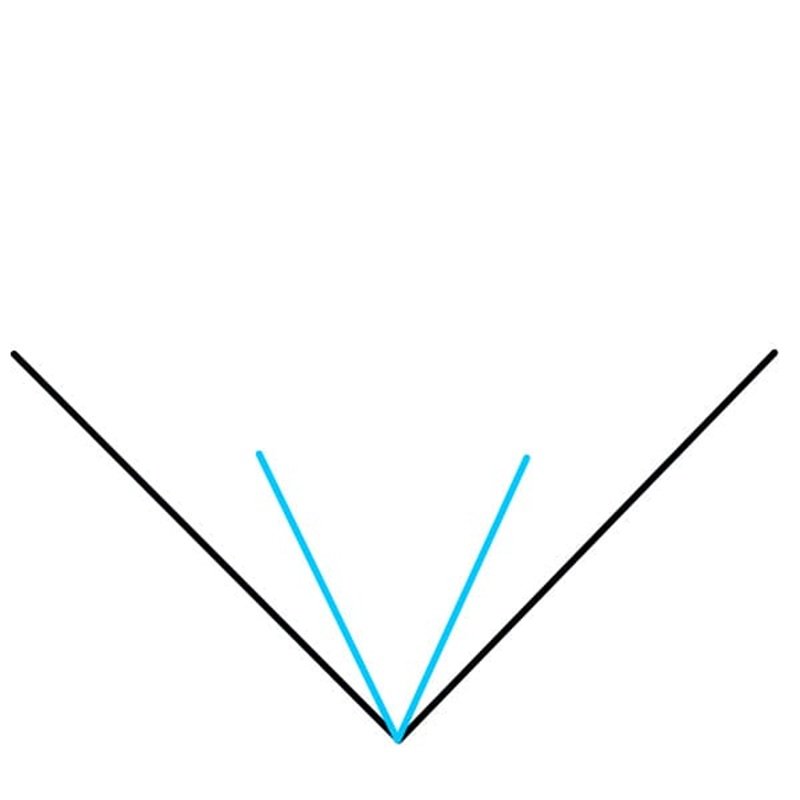
Step 1: Start by drawing a simple V shape that forms the bottom point of the diamond.
Step 2: Add two more diagonal lines extending outward from the top points to create the diamond’s sides.

Step 3: Connect the open ends with a line at the top, forming a triangle, then add a top edge for the crown.
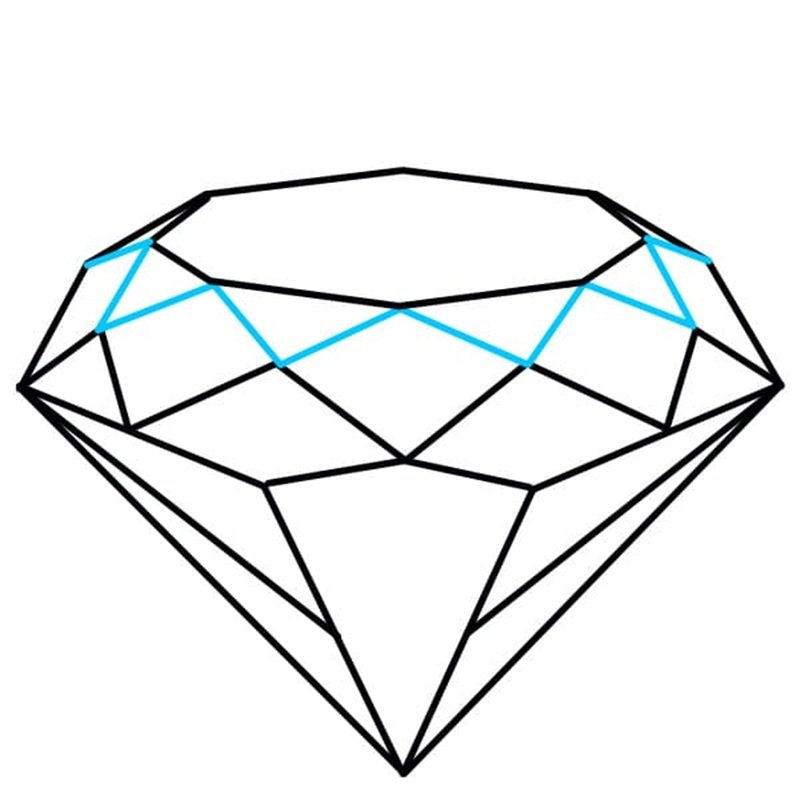
Step 4: Sketch the diamond’s top by drawing short horizontal lines and connecting them to the sides.
Step 5: Add inner lines to create multiple triangular facets, giving your diamond a shiny and realistic look.
How to draw a diamond shape


Step 1: Draw an upside-down triangle to form the base of your diamond. This is the foundation of the gem’s body.

Step 2: Add a small triangle on top to represent the crown, aligning it symmetrically with the base triangle.

Step 3: Draw slanted lines from the top triangle to the base to form symmetrical outer facets.

Step 4: Add two more angled lines on each side of the top to complete the diamond’s upper edges.

Step 5: Draw inner lines to divide the shapes into facets, enhancing the crystal-like structure

Step 6: Finish with an oval on top and refine the inner lines to complete a detailed, polished diamond.
How to draw a diamond step by step

Step 1: Begin with a wide “V” shape to form the bottom point of the diamond.
Step 2: Draw two diagonal lines inward from each side to form a sharp triangle.

Step 3: Add two more lines extending upward to start shaping the outer facets.

Step 4: Connect the top ends to create a curved crown base for the diamond.

Step 5: Draw a series of small peaks on top for a sparkling upper edge.

Step 6: Outline the top curve more clearly and connect to the peaks below.

Step 7: Add inner curved lines to separate the diamond’s crown segments.
Step 8: Draw another layer on the crown to represent depth and shine.

Step 9: Add inner lines from the bottom point to the middle edges.
Step 10: Connect additional lines to form detailed triangular facets.

Step 11: Finalize with crisp lines to give the diamond a polished, 3D sparkle.
How to draw a diamond step by step easy


Step 1: Start by sketching two angled lines to form the tilted side of the diamond’s body.
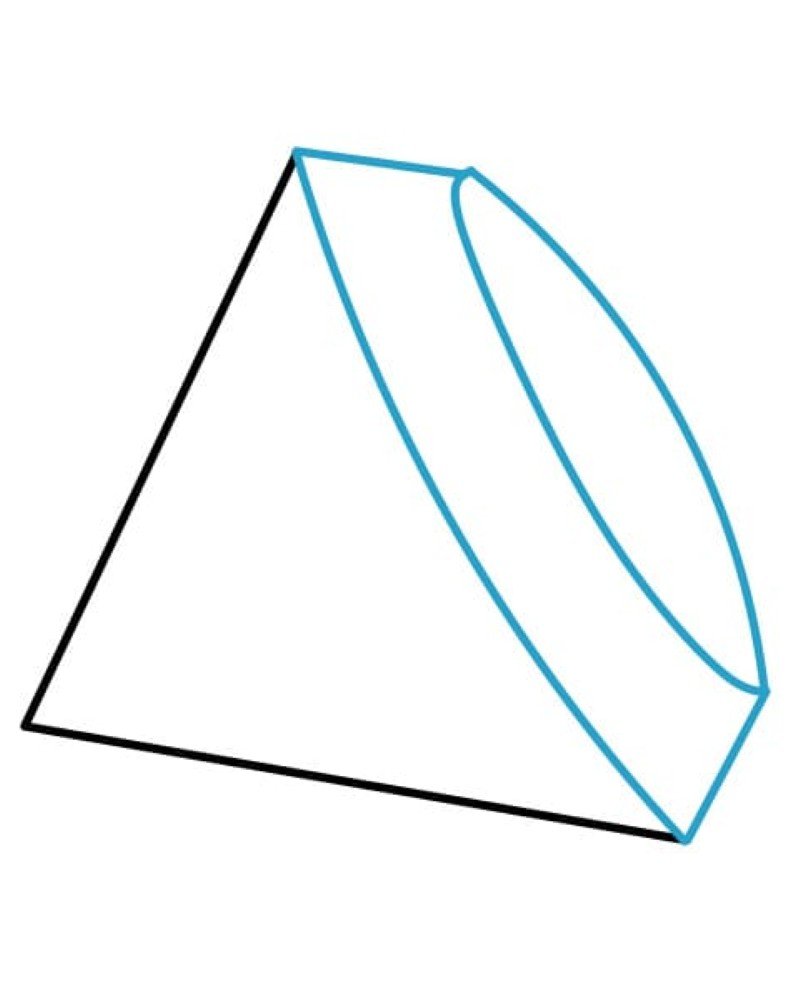
Step 2: Connect the top and bottom with curved and straight lines to build the diamond’s shape.
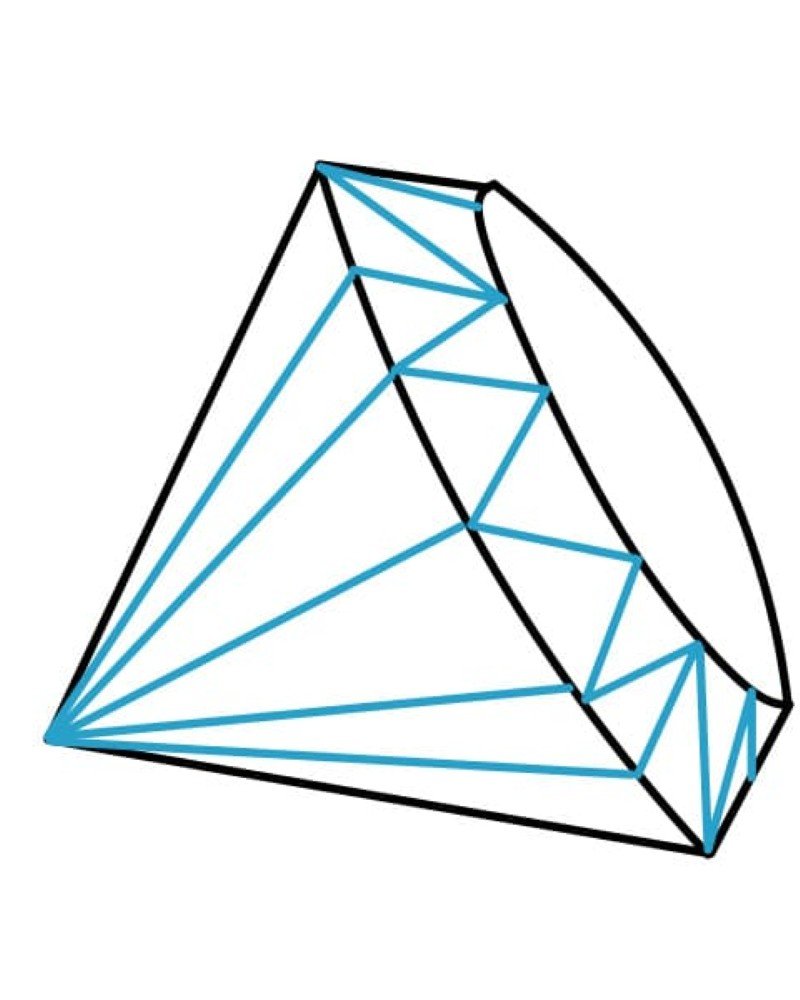
Step 3: Add intersecting inner lines to divide the surface into sparkling facets for a 3D effect.
See more:
8+ fun tips to practice how to draw a Cupcake today
5+ easy steps on how to draw a cube for beginners to master
8+ simple ideas for kids learning how to draw a Crown
Now that you’ve explored creative techniques on how to draw a diamond, it’s your turn to sparkle! Keep practicing these tips, mix them with your style, and watch your diamonds shine brighter with every sketch. If you’re ever stuck or need more inspiration on how to draw a diamond, is always here to guide you!