Feathers are delicate, elegant, and full of artistic charm — and learning how to draw a feather can instantly level up your sketchbook. Whether you’re a total beginner or a doodle addict, this guide has something for you. From realistic quills to dreamy, stylized designs, we’ve curated the best tips, tricks, and tutorials. Each step is broken down to keep things easy, fun, and beginner-friendly. Ready to unleash your inner artist? Start with a pencil, follow the lines, and enjoy the creative journey. Discover the full feather drawing collection now at dooduko.com.
How to draw a bird feather
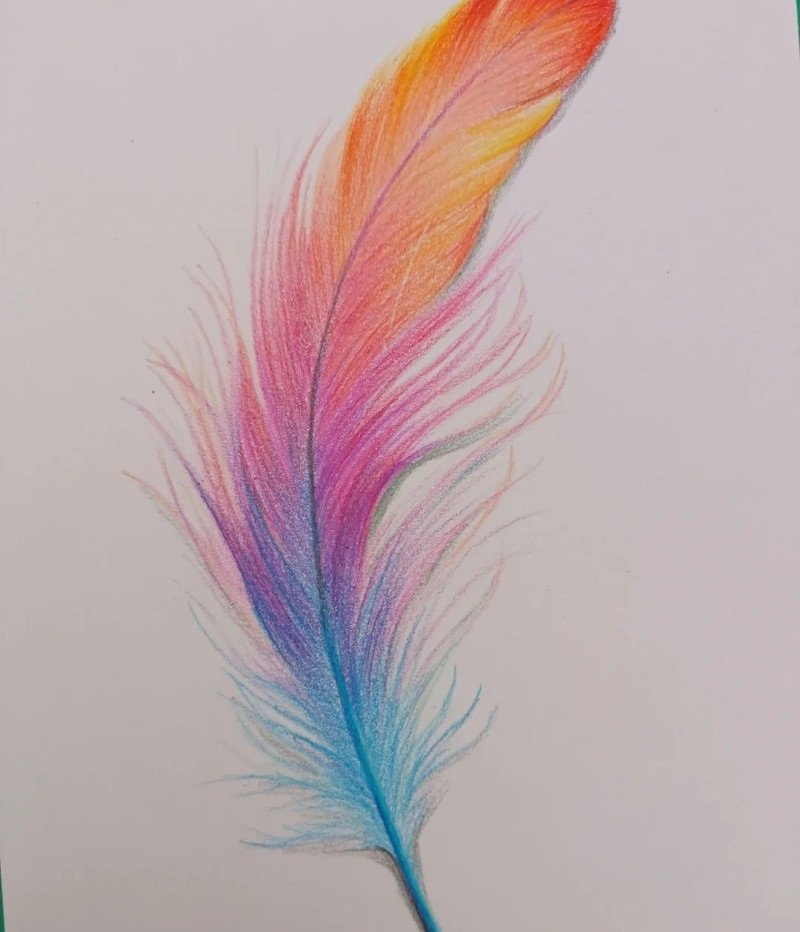
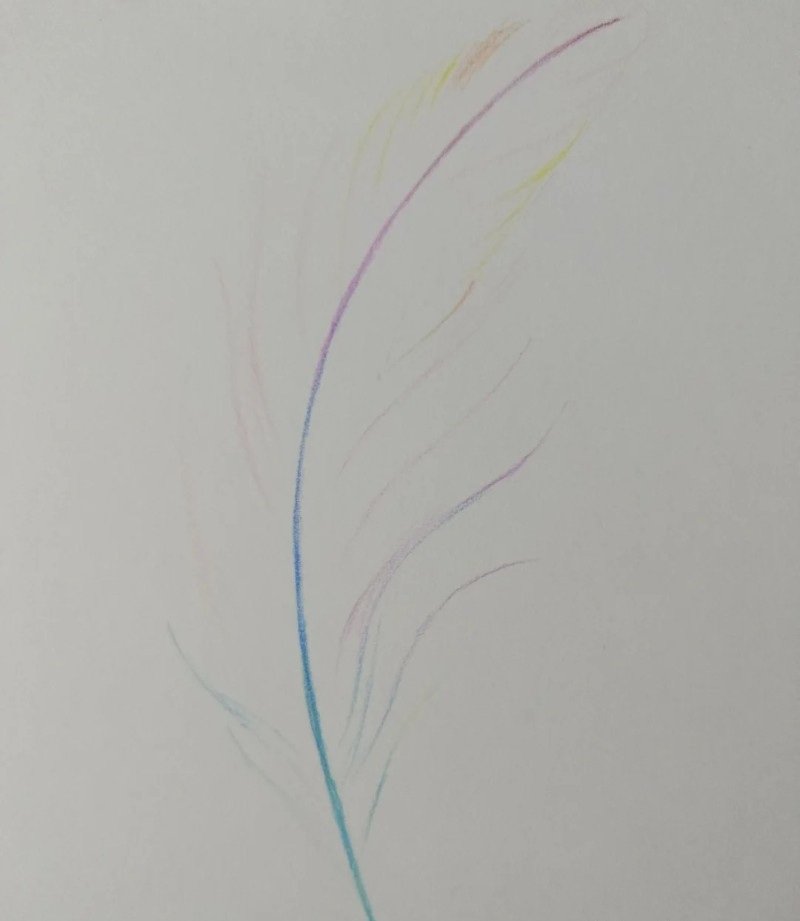
Step 1: Start with a light curved spine using blue; then sketch soft, short lines along each side to form the feather’s initial shape and guide

Step 2: Add a small orange base on the tip and extend subtle curves downward; begin blending yellow into the upper part for warmth and depth.
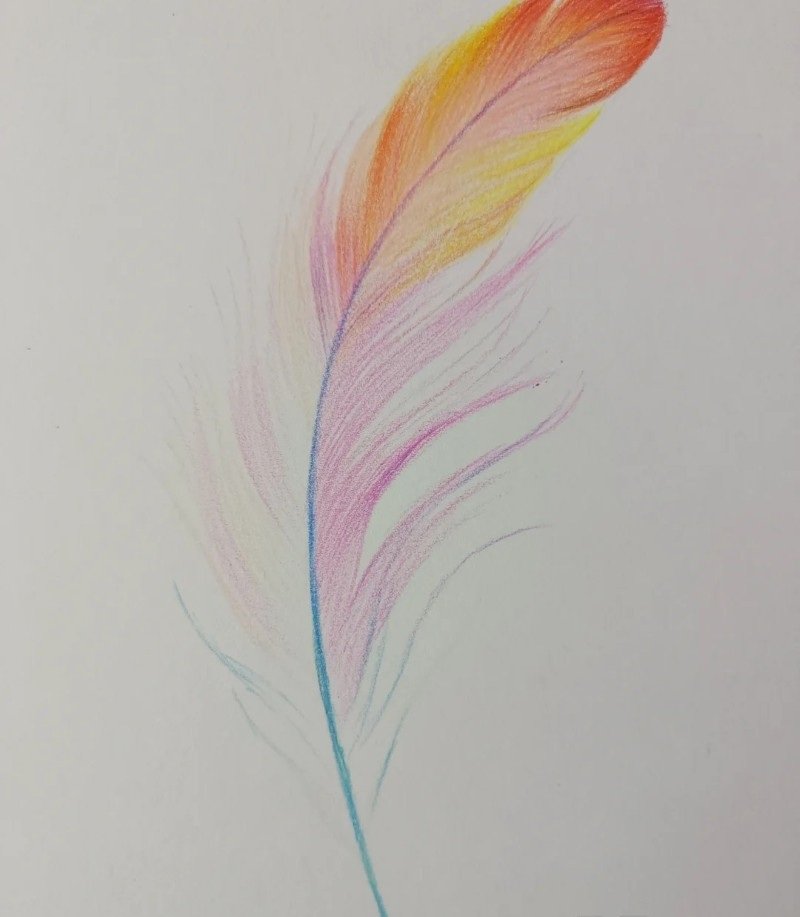
Step 3: Enhance the top with red and blend into orange and yellow tones; extend more strands along the feather for a fuller and vivid effect.
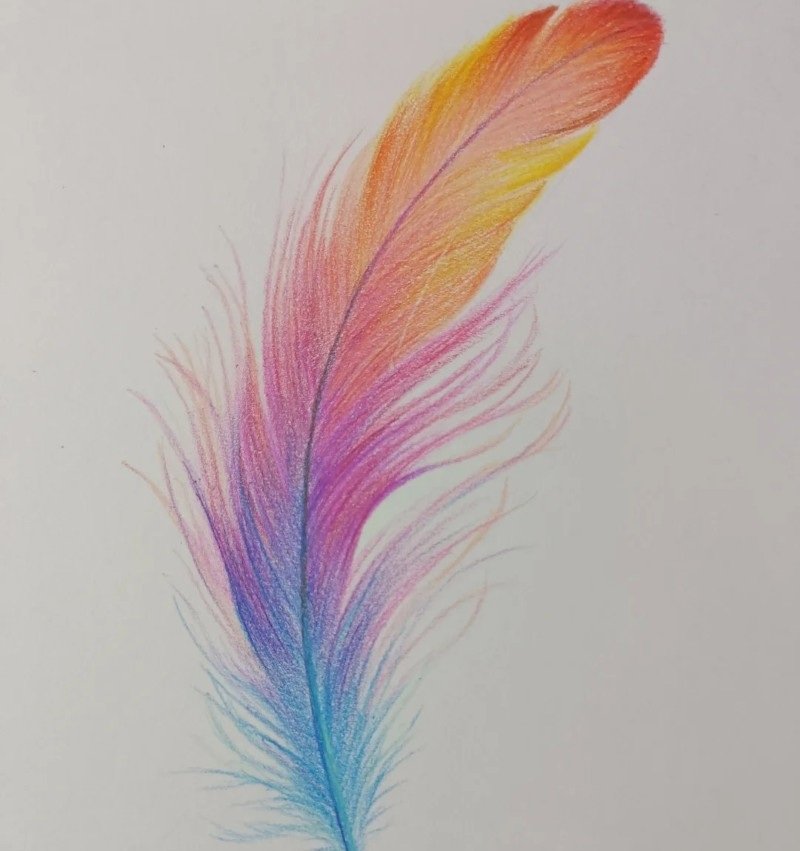
Step 4: Blend in purples, pinks, and blues on the lower part; refine the shape and texture to make the feather look soft, colorful, and dynamic.
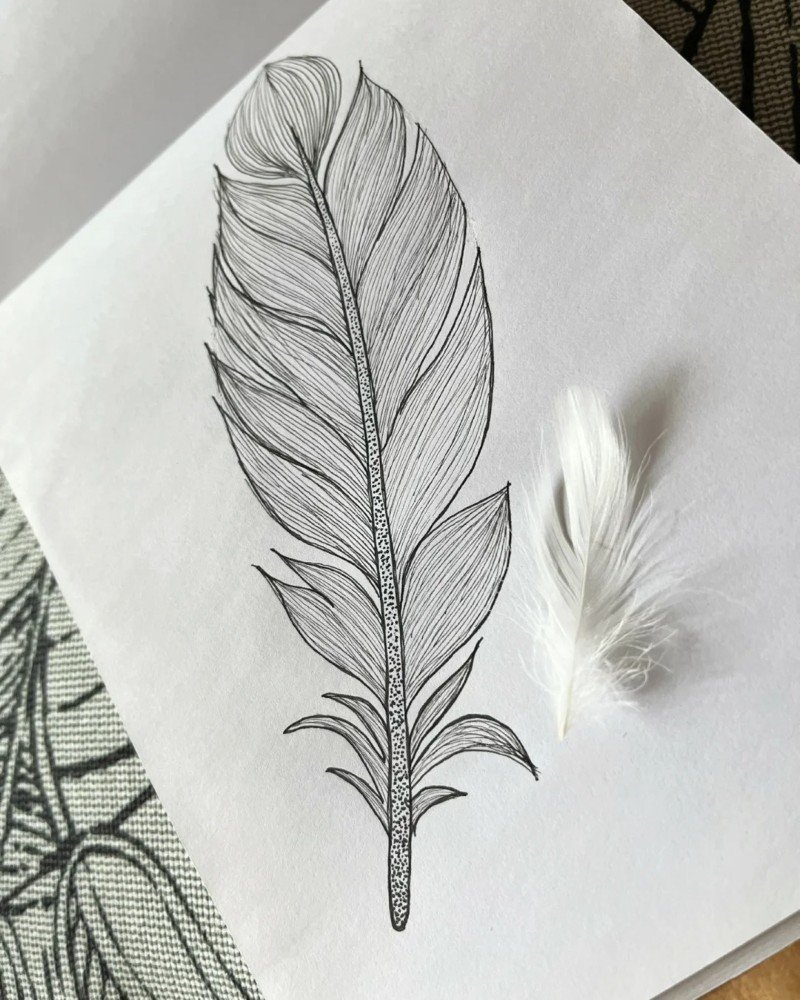
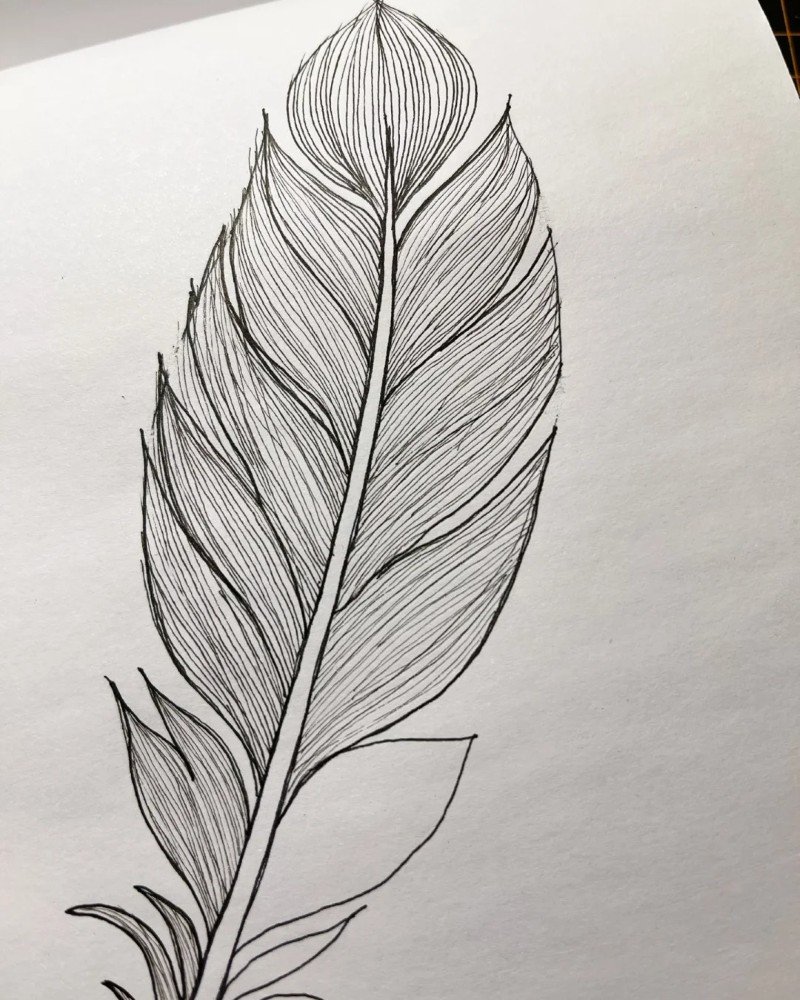
How to draw a feather
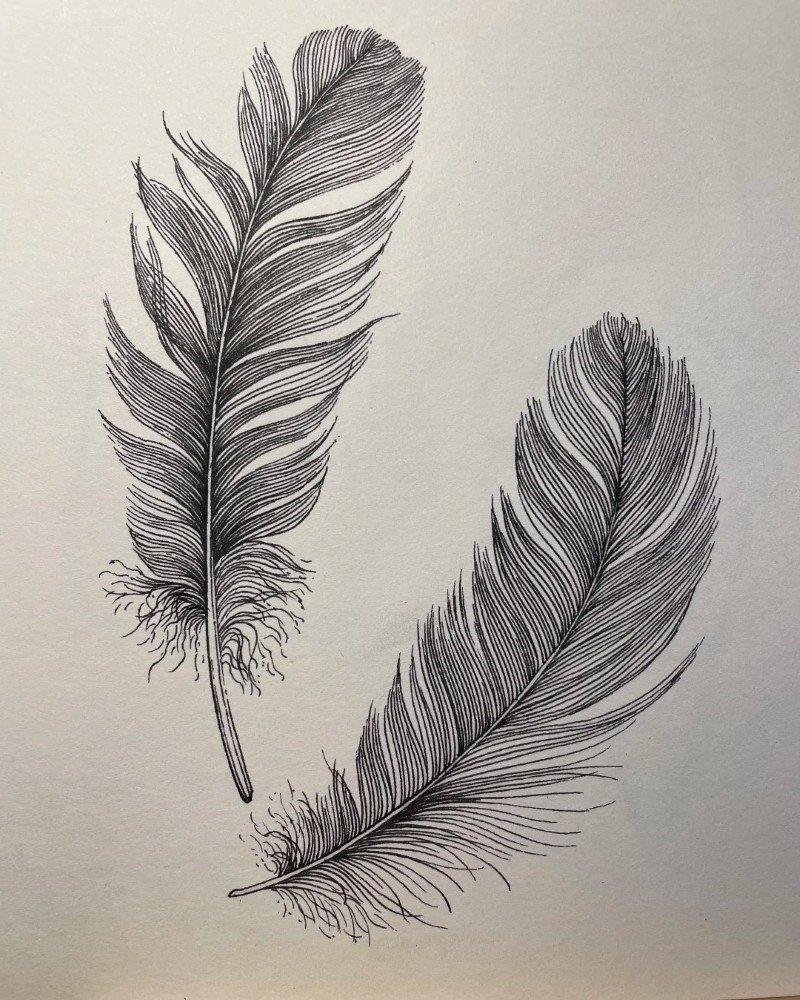
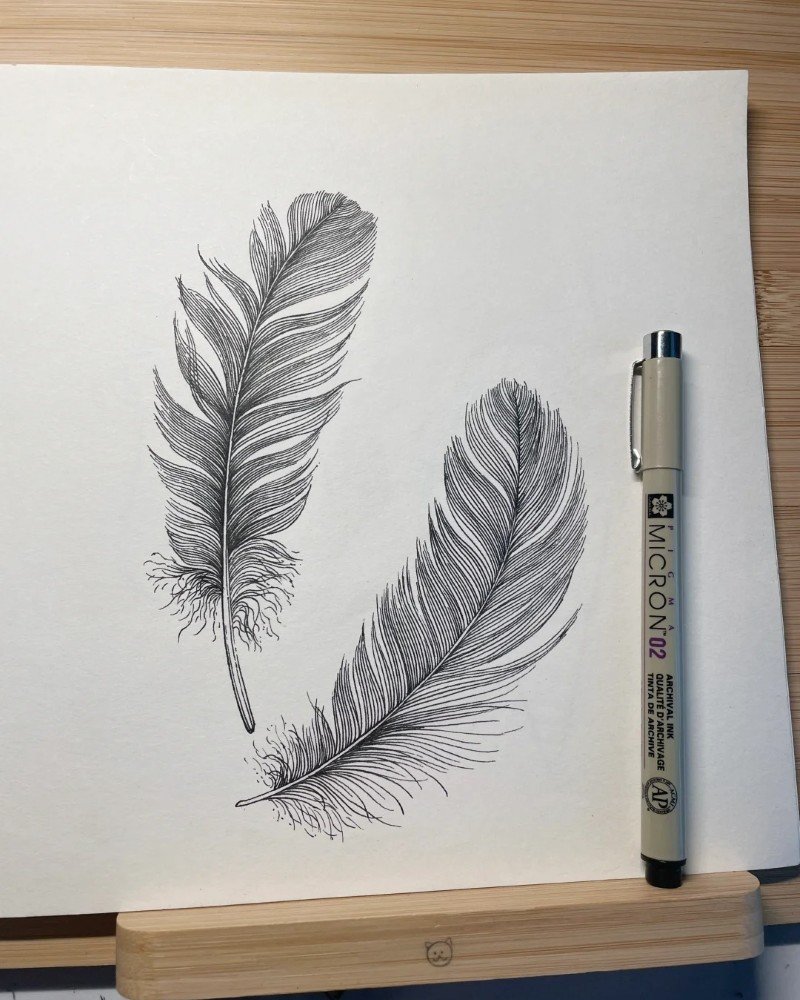
Step 1: Sketch a curved central shaft with light lines; then add two loose outlines for the feather’s sides to form a soft and flowing structure.
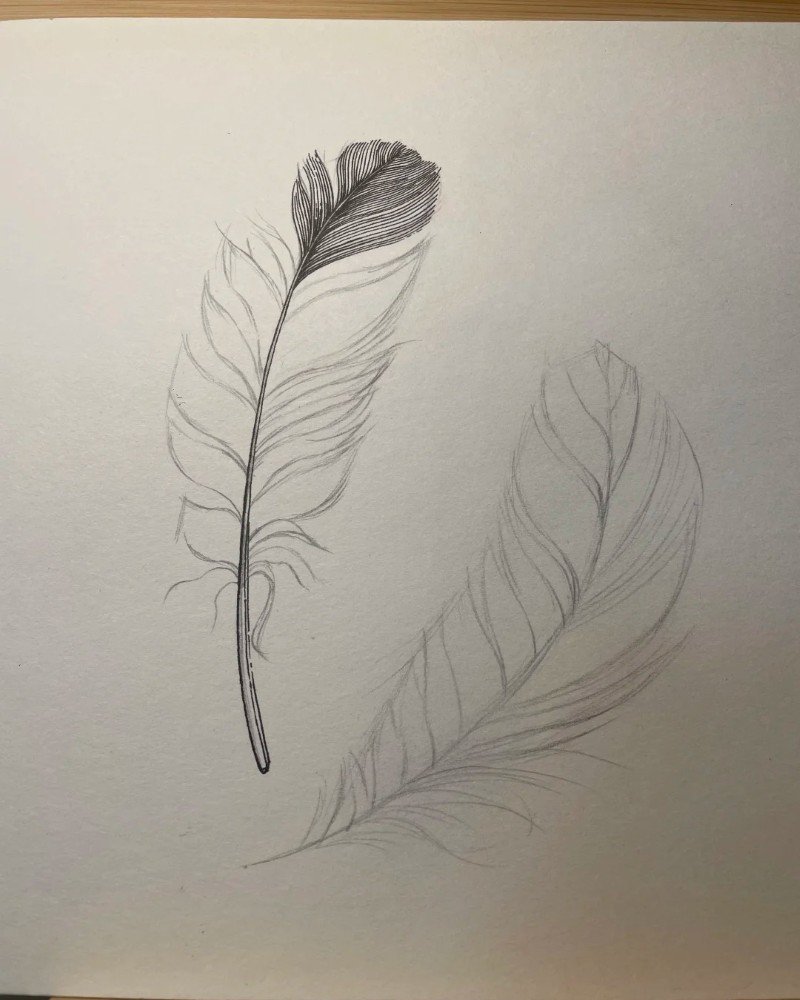
Step 2: Begin shading one side with small strokes; add detail lines for texture and shape, focusing on realistic feather barbs and flow direction.
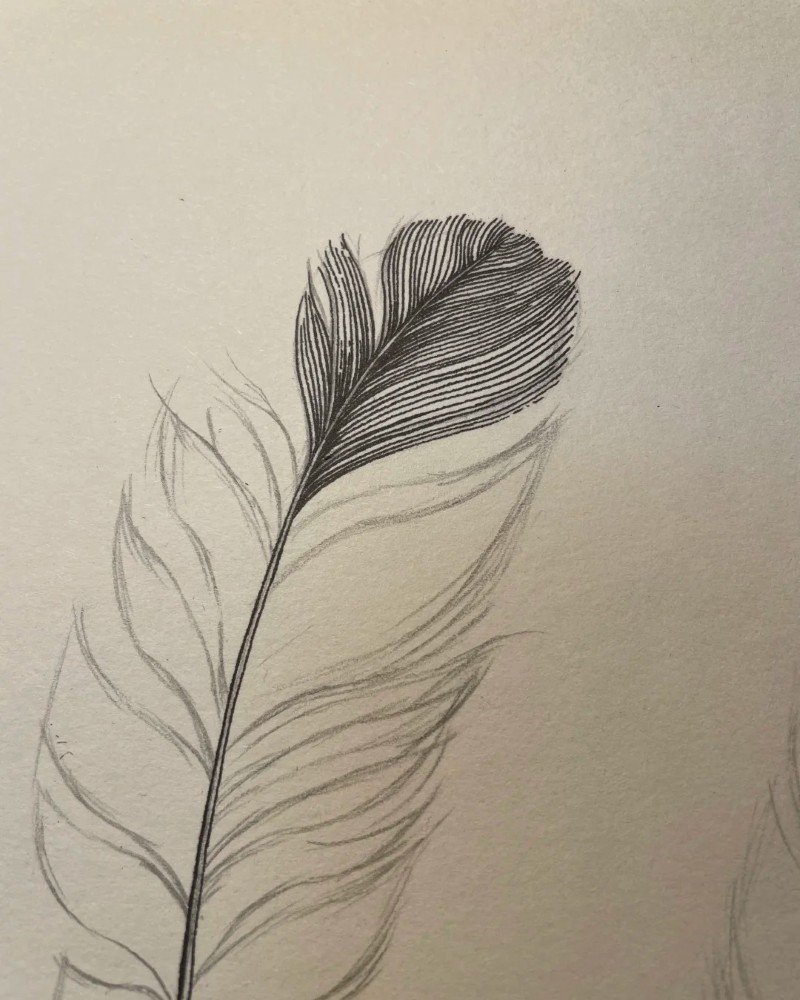
Step 3: Deepen shadows and vary the shading for depth; refine the edges with more detailed lines to give a realistic layered feather look.
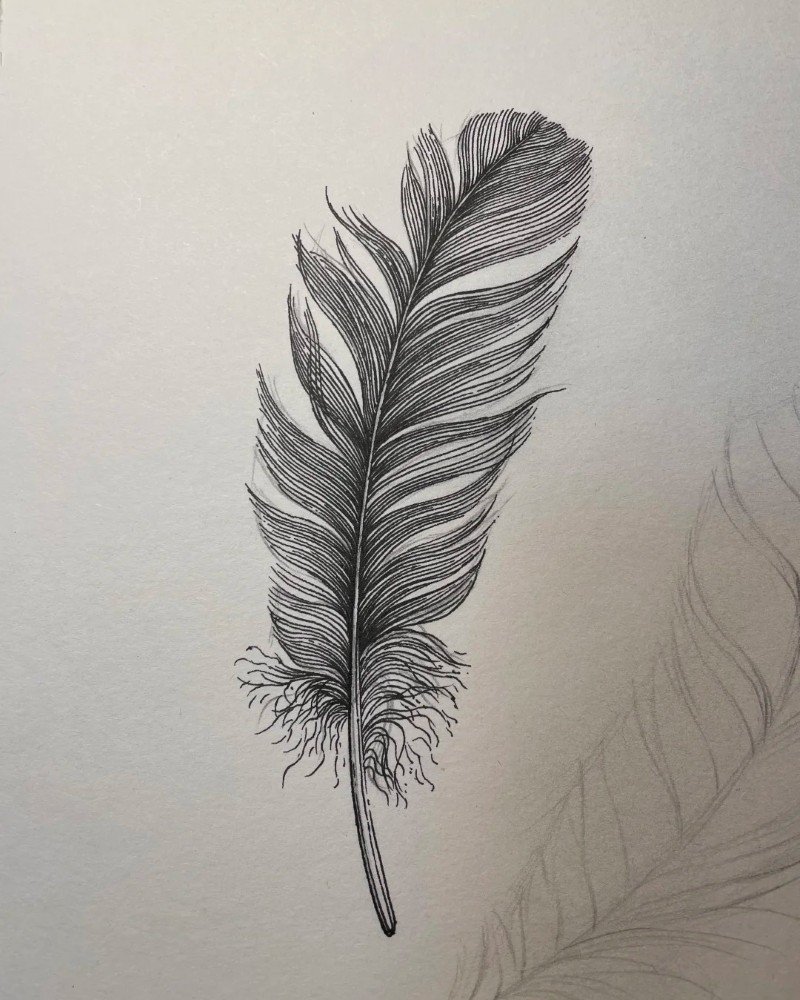
Step 4: Add a second feather for variation; adjust strokes and contrast, emphasizing texture and soft gradients for a lifelike graphite finish.
How to draw a feather beautiful
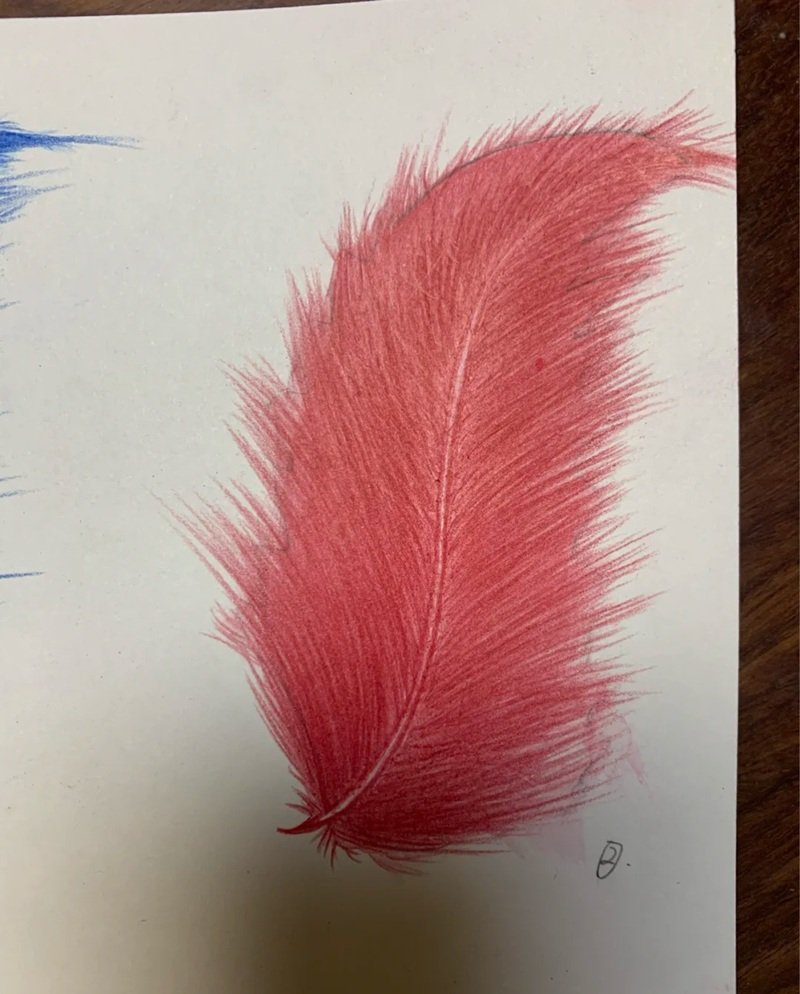
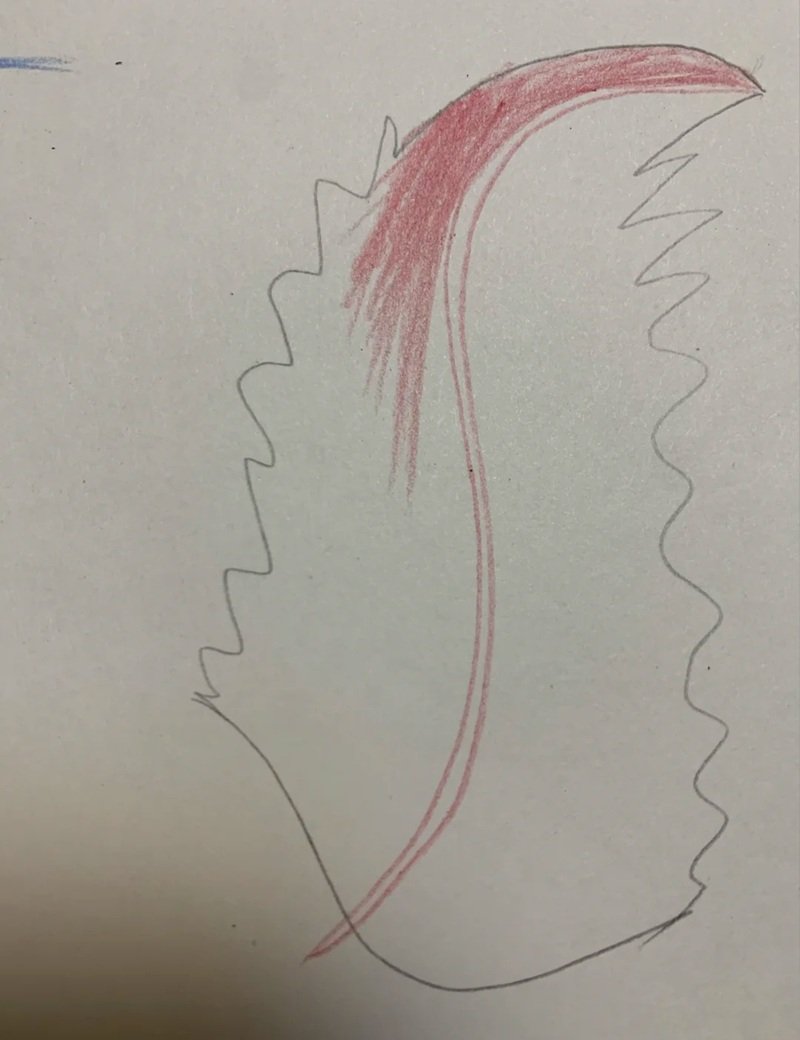
Step 1: Lightly draw the feather’s main shaft and curved outline using pencil; add small zig-zag curves on each side to guide feather texture.
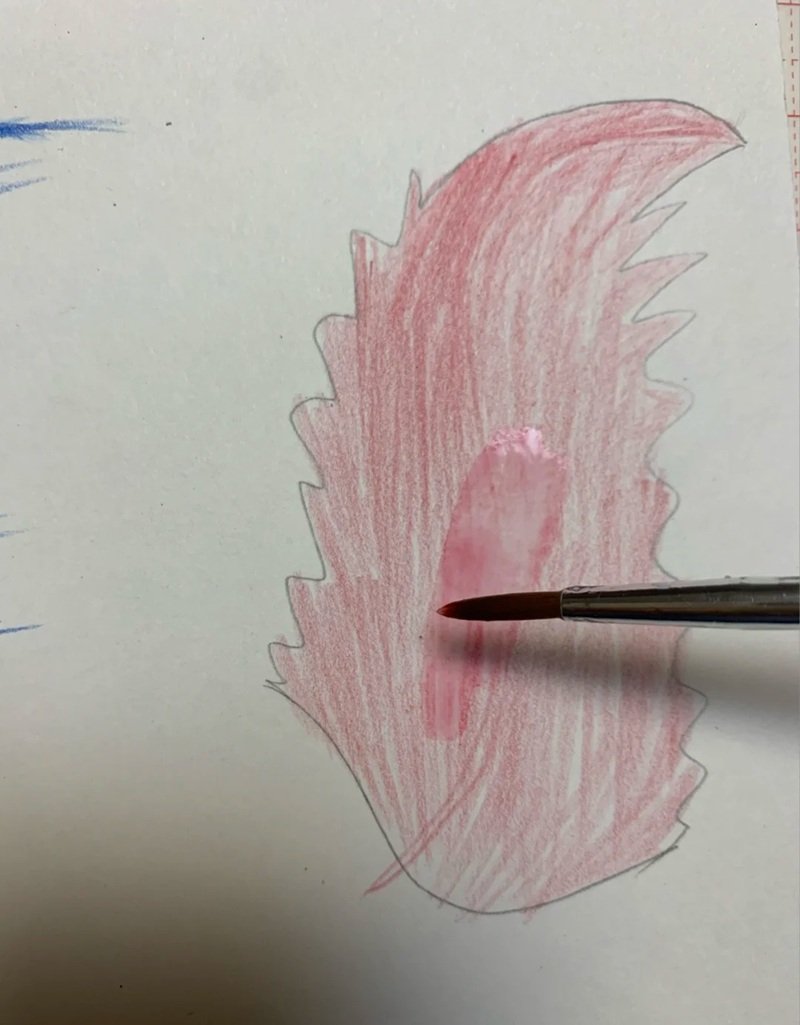
Step 2: Fill in the body with light red strokes using a brush; follow the curves to mimic the natural direction of feather strands.
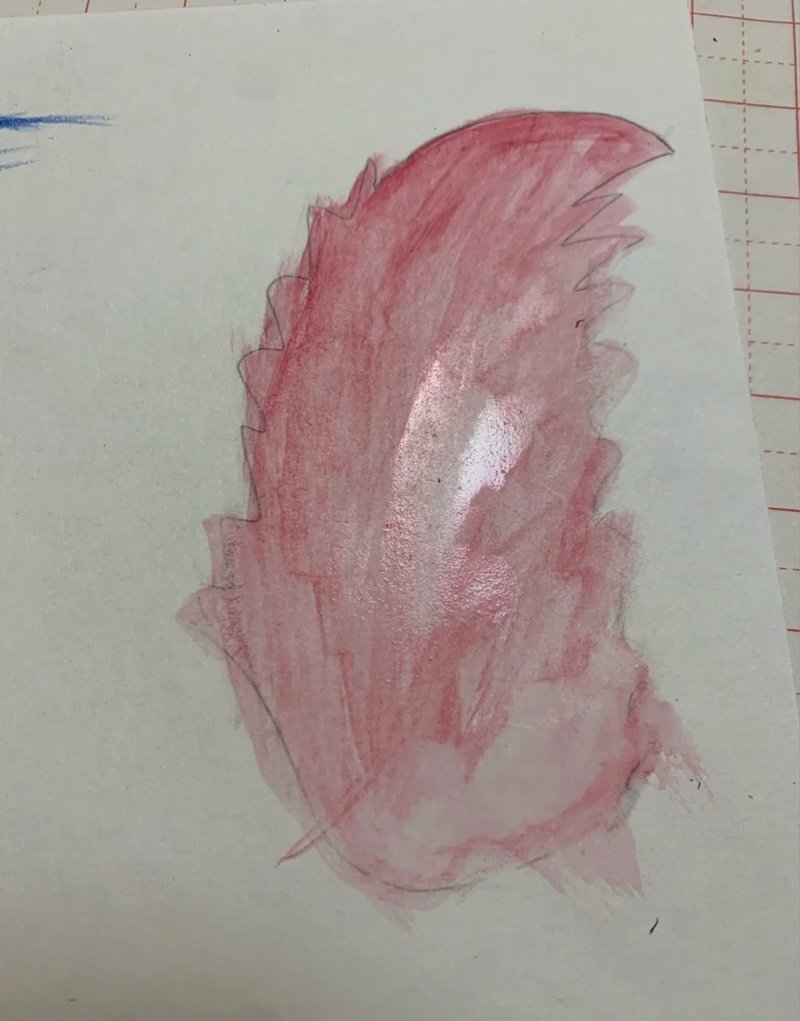
Step 3: Deepen the red hue along the edges and spine; blend lightly with water or brush to add soft transitions and natural shading.
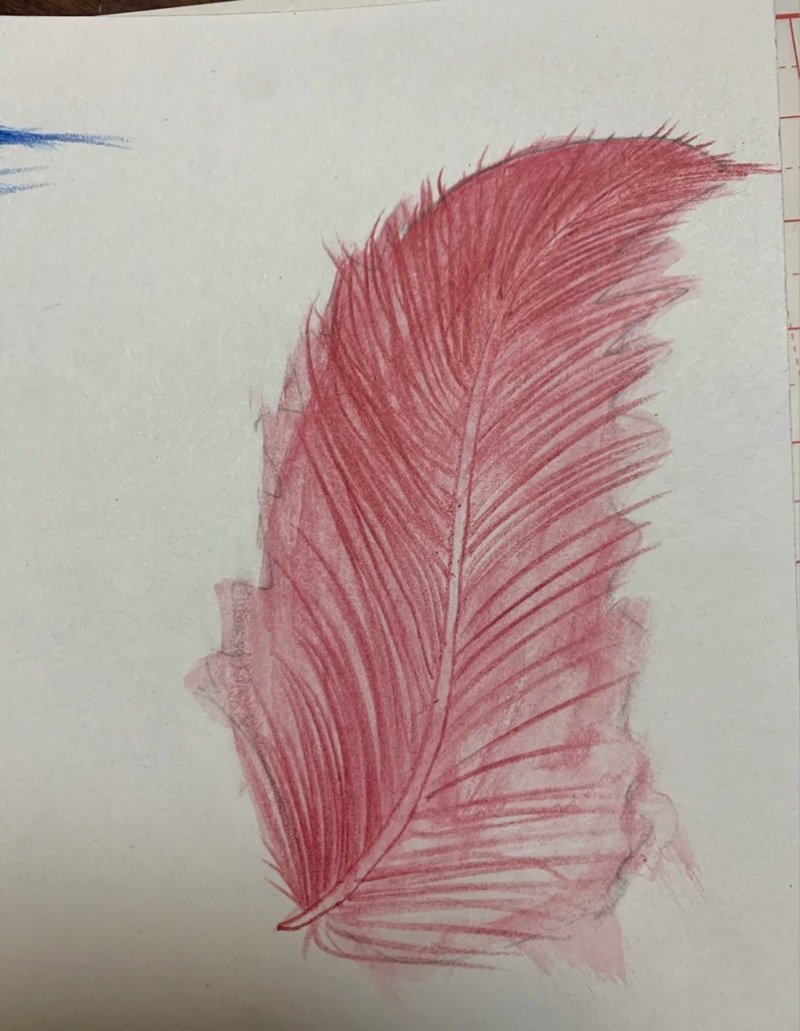
Step 4: Add final feather strands with darker red to create depth; refine edges and shape for a complete, realistic red feather appearance.
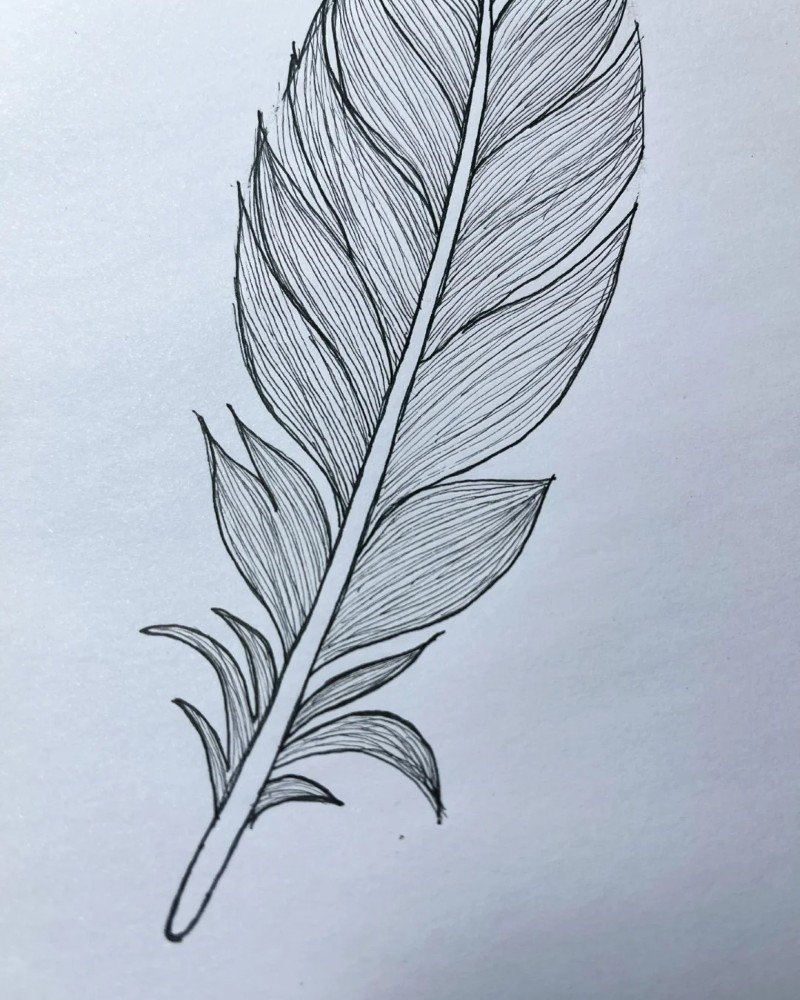
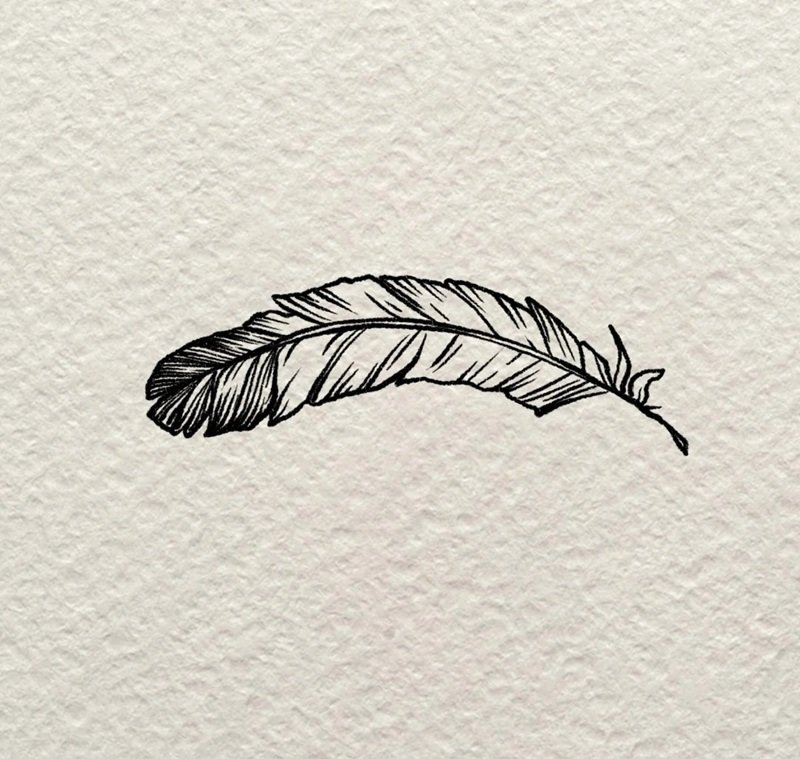
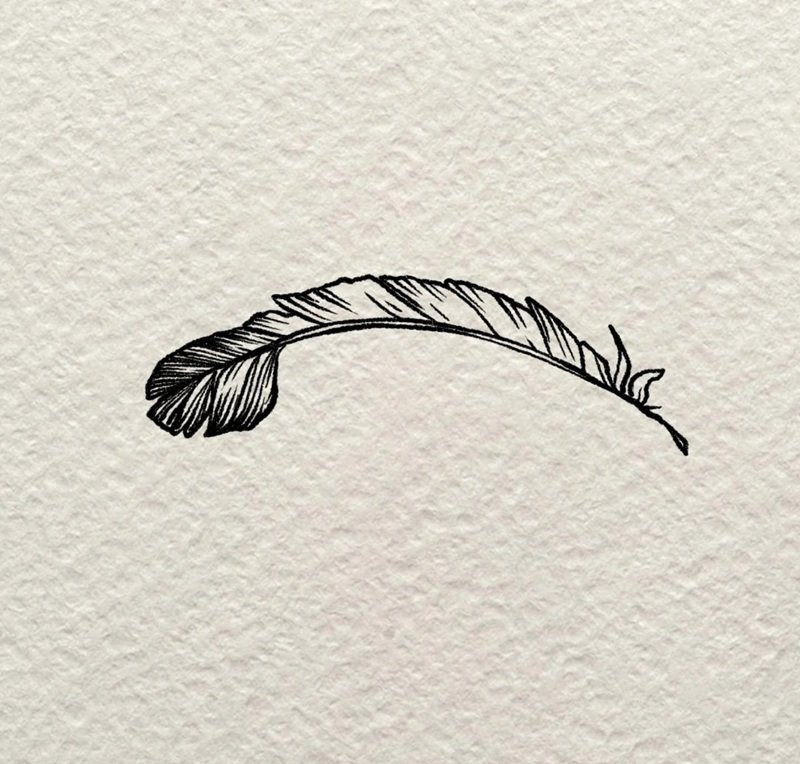
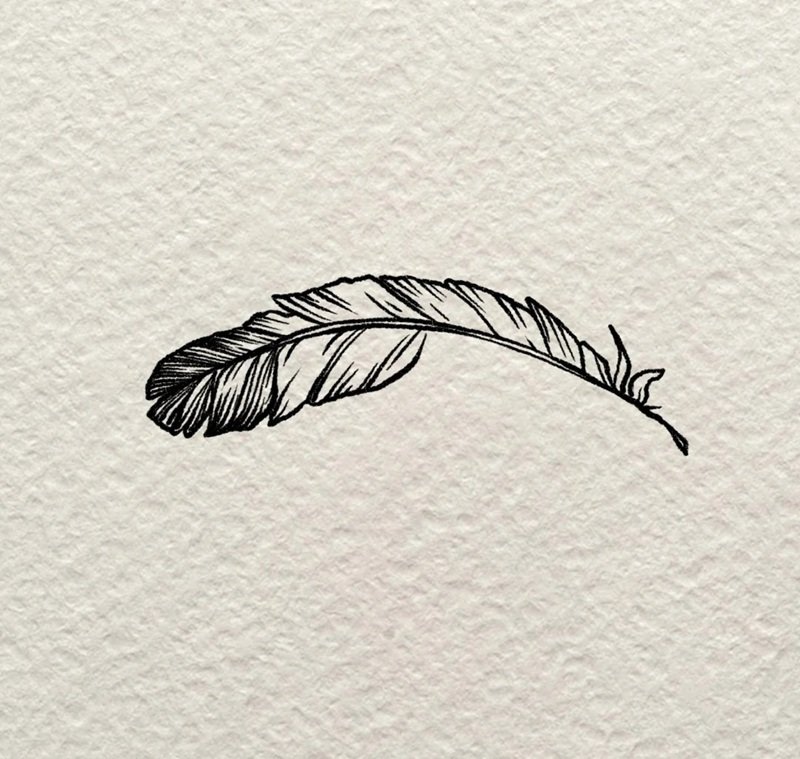
How to draw a feather easy

How to draw a peacock feather
Step 1: Draw a long central shaft with an eye-shaped oval at the top; lightly outline the feather’s outer curves on both sides for symmetry.
Step 2: Add base lines from the shaft outward to define individual feather strands; sketch softly and curve the edges for natural flow.
Step 3: Begin shading the upper part with layered lines; follow the curved structure to show direction and feather growth.

Step 4: Shade deeper along the strand lines and add fine details; enhance texture by varying pressure in strokes.
Step 5: Define the central eye with darker tones; refine outlines of the feather barbs for clarity and contrast.
Step 6: Add more inner lines and texture along the entire feather; deepen the shading for a more voluminous and lifelike result.
Step 7: Finalize with detailed shading at the bottom; balance highlights and shadows to complete a full, elegant peacock feather sketch.
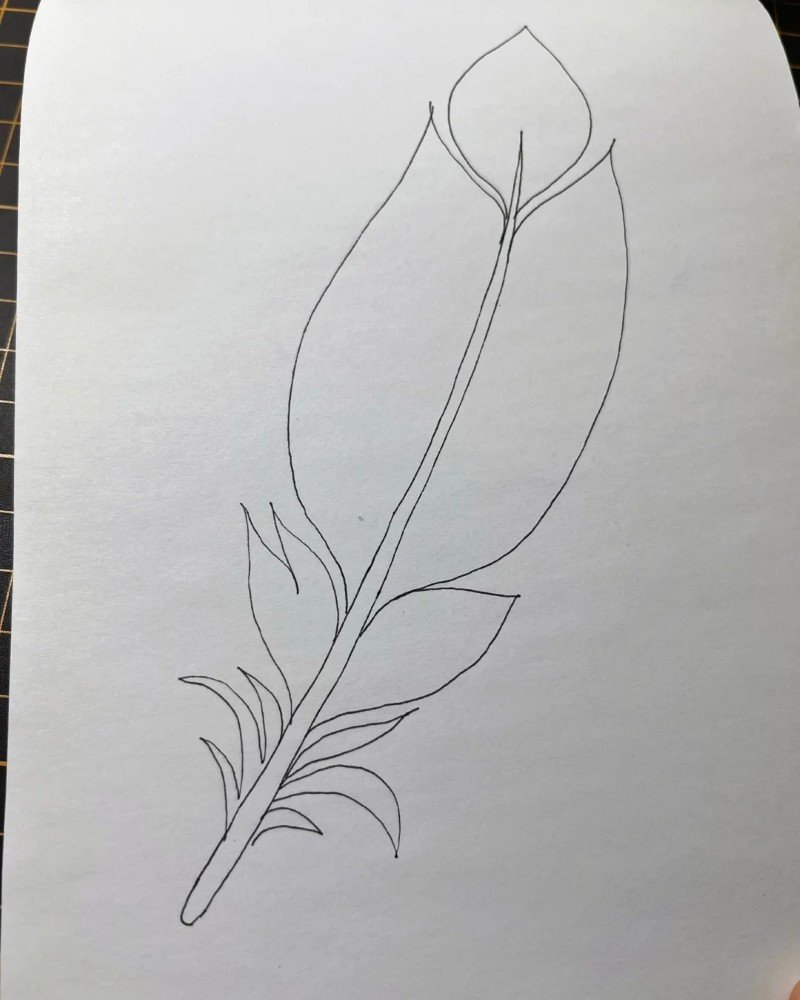
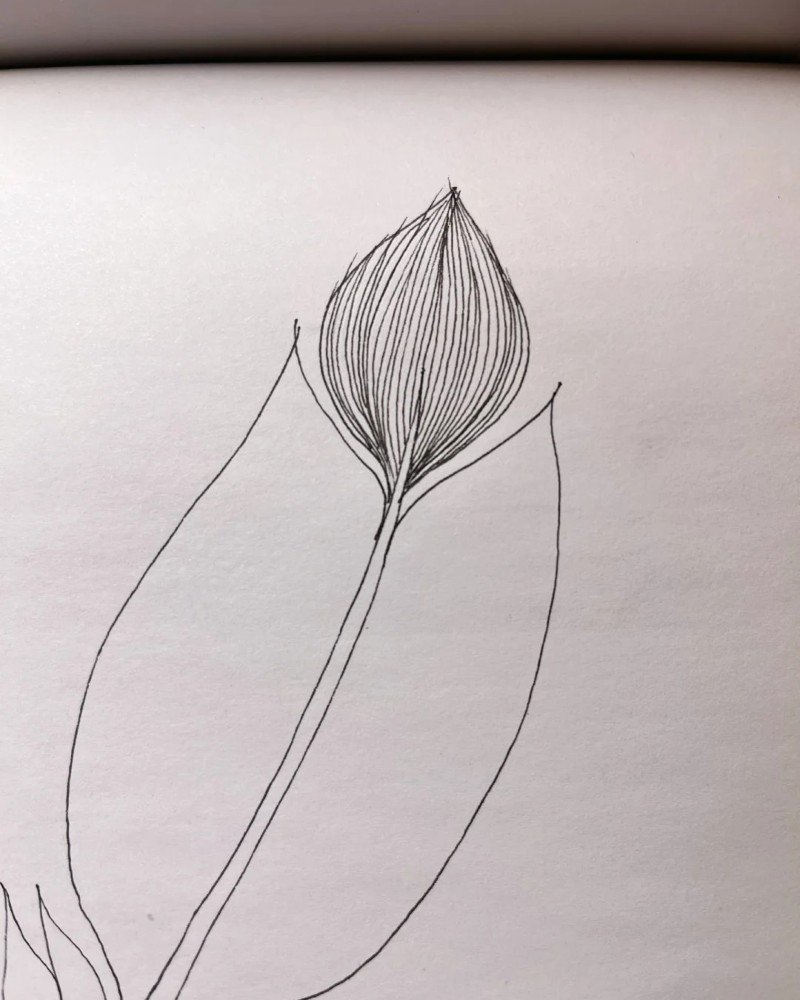
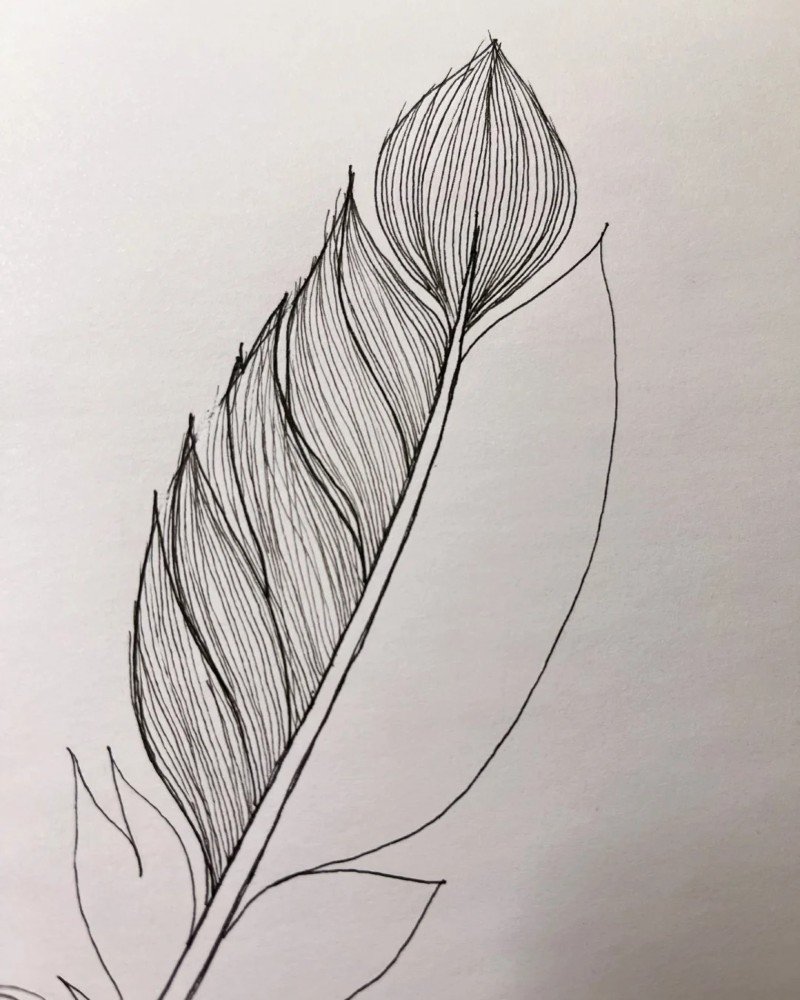
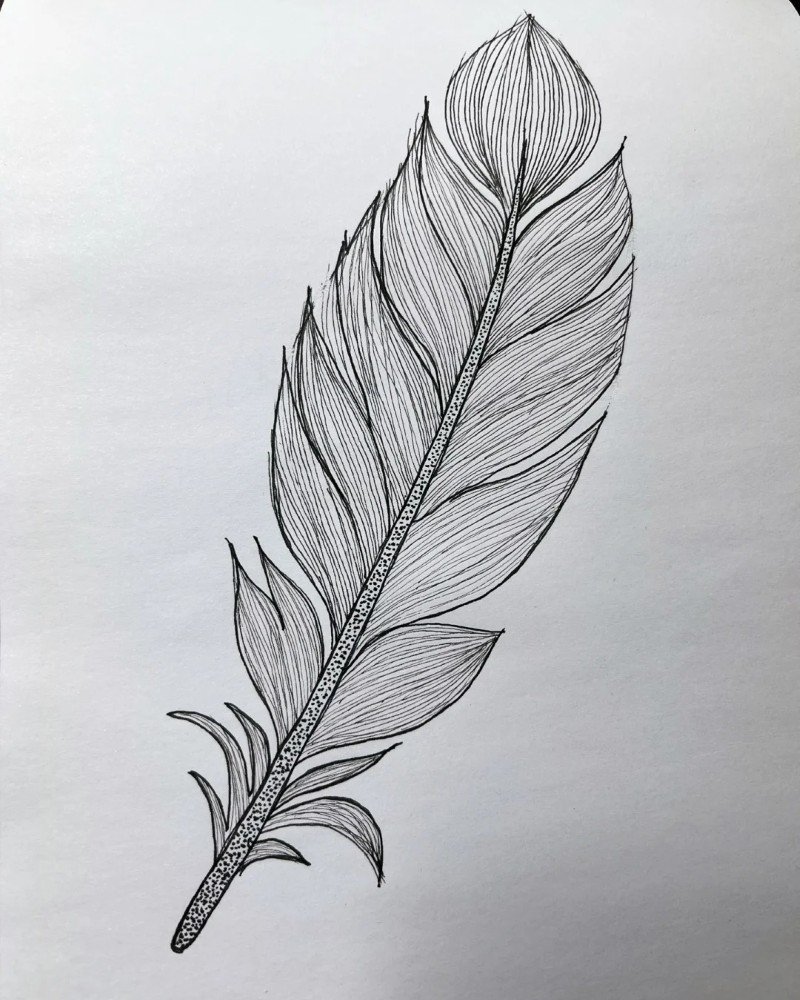
How to draw a simple feather
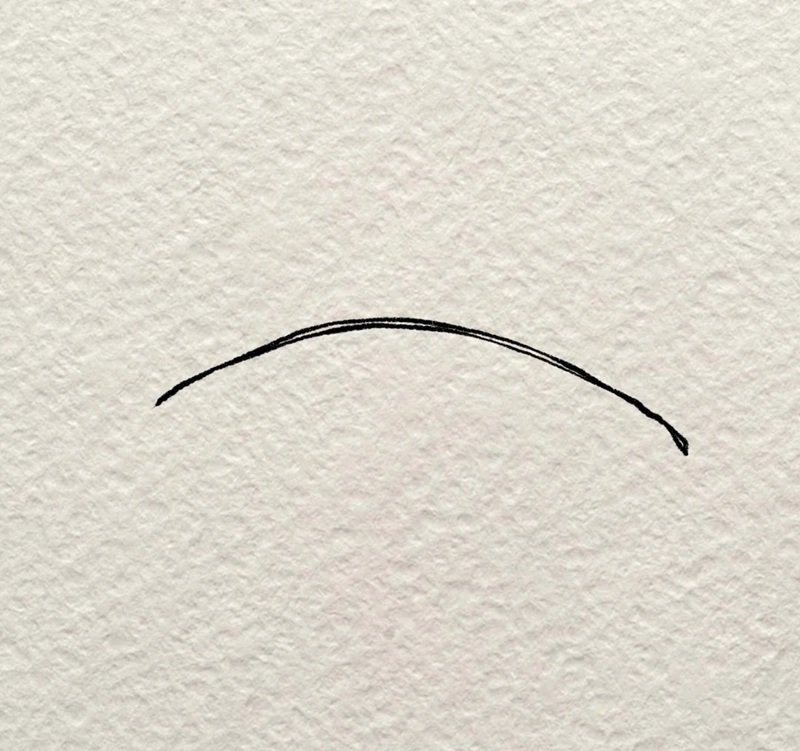
Step 1: Draw a curved line like an arch to create the feather’s spine; this will act as the base structure for the feather’s flow and direction.
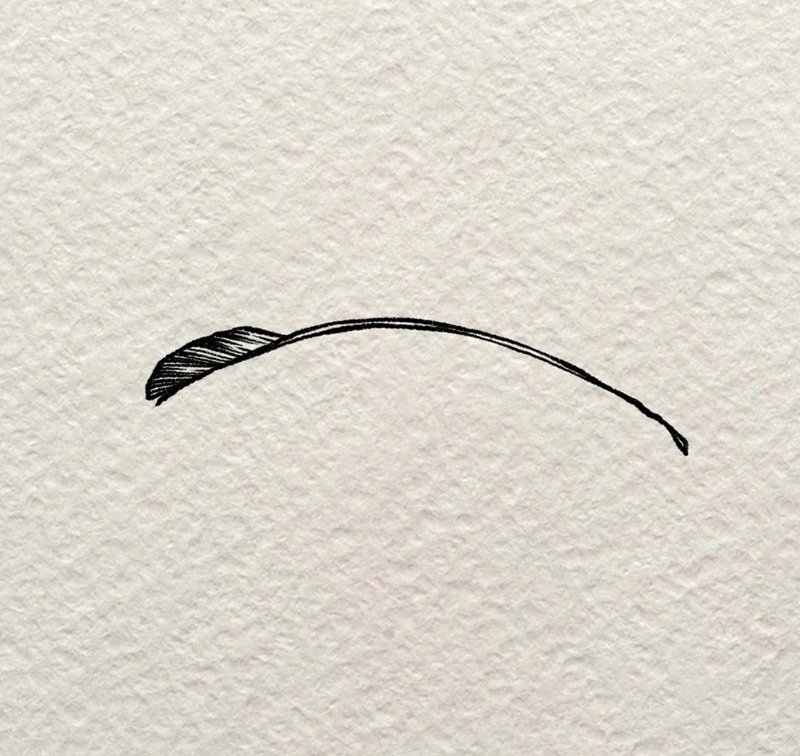
Step 2: Add a small solid dark shape on the upper left of the spine; this will form the base of the feather’s barbs.
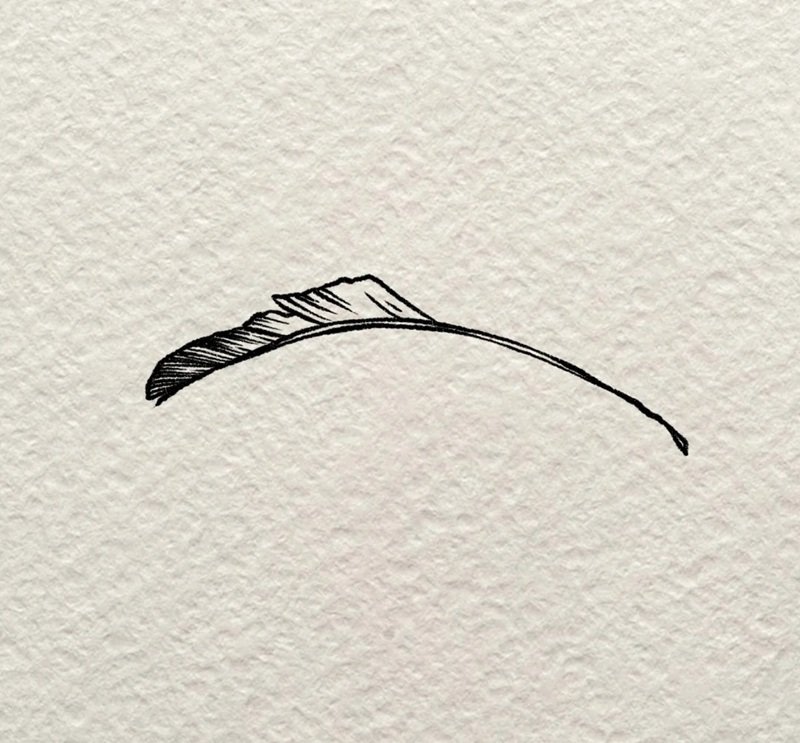
Step 3: Continue drawing dark, jagged segments along the spine; begin shaping the outer edge of the feather using simple short strokes.

Step 4: Add vein-like lines between each barb segment; these inner details give your feather more structure and natural texture.
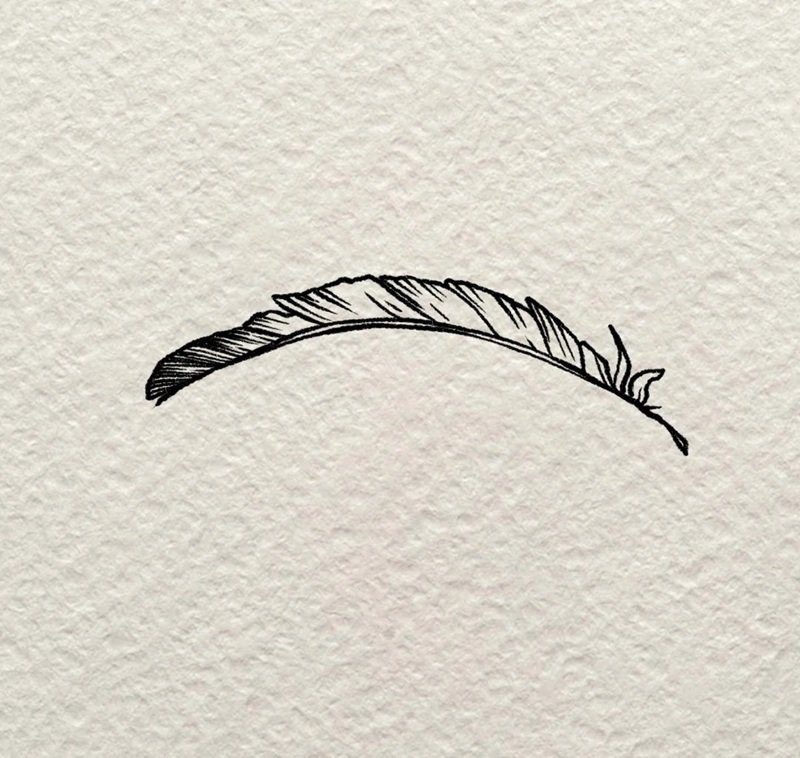
Step 5: Extend the pattern with more segments, keeping each line soft and curved; start curving the feather tip for a gentle flow.
Step 6: Fill in more shading along the upper barbs; add crosshatch to deepen contrast and refine the organic look of the feather.
Step 7: Finish with a few final shadows and curves; the result is a clean, minimal, hand-drawn feather that looks stylish and natural.
See more:
10+ inspiring ideas on how to draw a farm with animals
How to draw a couch: 9+ styles to try right now
How to draw a cap in 7+ cool styles you should try
Mastering how to draw a feather is all about observing the details and letting your creativity flow. With a bit of practice, you’ll be turning simple lines into graceful, flowing feather designs. Whether you’re sketching for fun or building your art portfolio, keep exploring, experimenting, and enjoying the process. Don’t forget — every great artist once started with a single line.