Looking to boost your drawing skills? Whether you’re sketching for fun or just love DIY tools, learning how to draw a hammer is a great start! From simple outlines to detailed shading, this guide will show you step-by-step how to make your hammer look realistic and cool. Even if you’re new to drawing, you’ll find these tutorials super easy to follow. With just a pencil, paper, and a bit of patience, you’ll create impressive hammer illustrations in no time. Explore fun styles, from cartoonish to professional. And don’t forget to check out more tool-drawing guides at dooduko.com!
Hammer drawing for kids
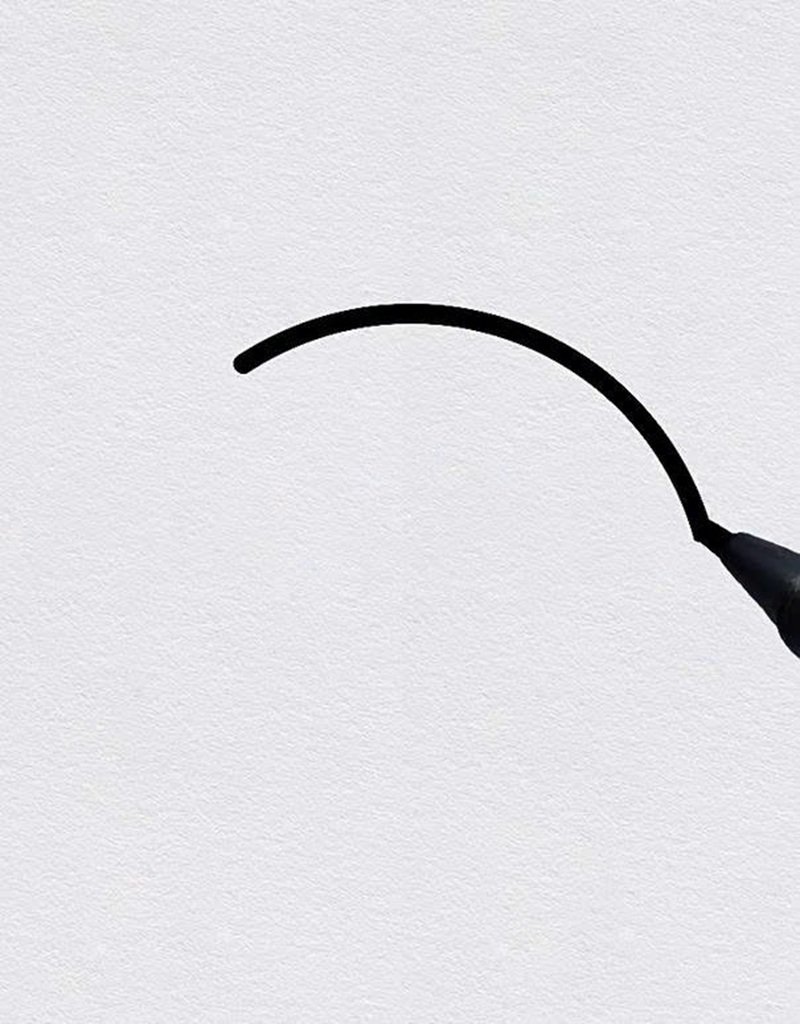
Step 1: Draw a smooth curved line to create the top arc of the hammerhead—this will form the starting outline of the hammer’s metal part.

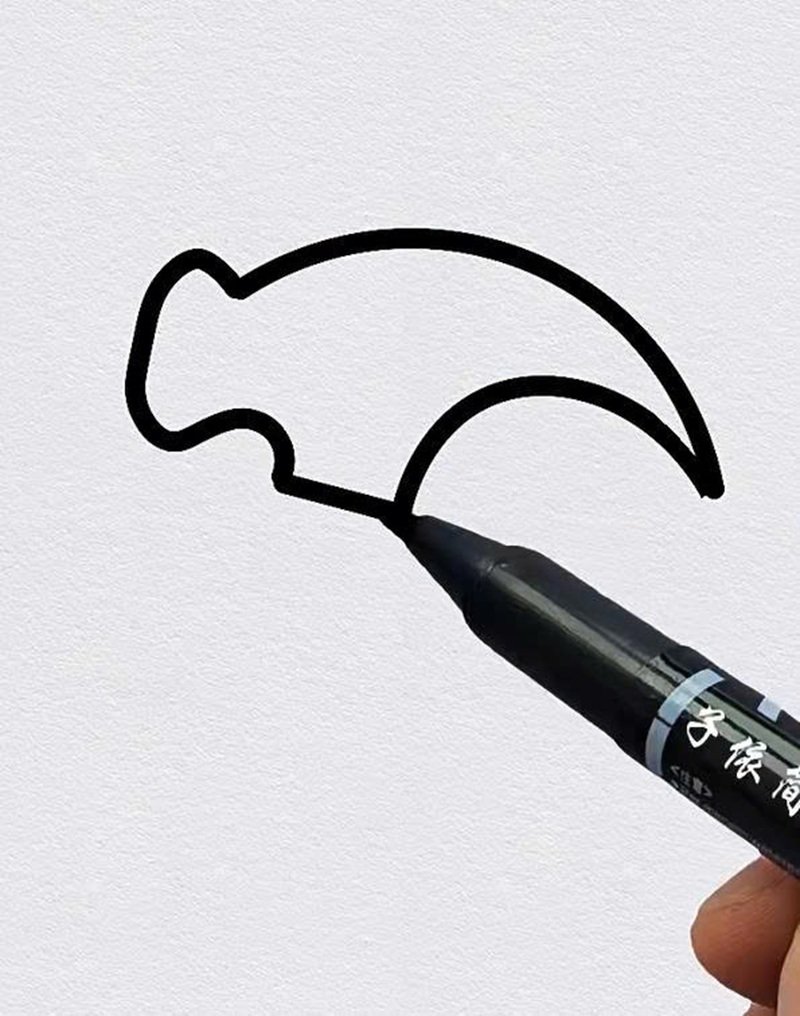
Step 2: Add a smaller inward curve under the first line to shape the claw side of the hammerhead, making it look more dimensional and realistic.
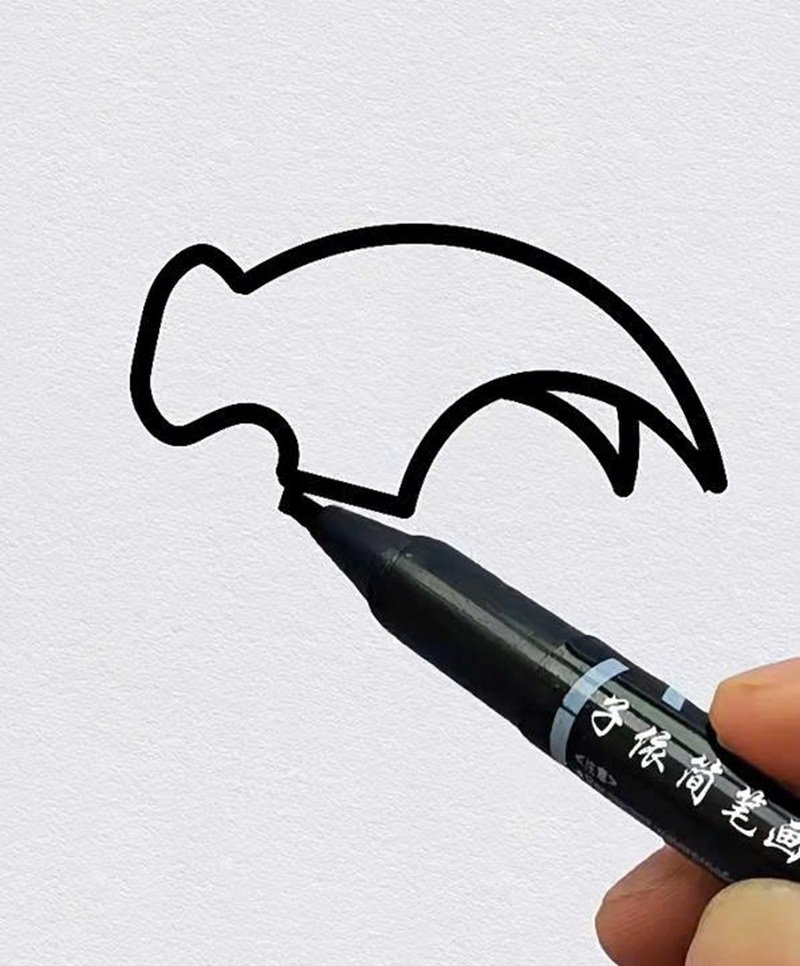
Step 3: Complete the hammerhead by connecting the outer curves and adding a notch between them to form the classic dual-ended hammer shape.
Step 4: Draw a long, narrow oval shape underneath the hammerhead to form the wooden handle—it should taper slightly toward the bottom.
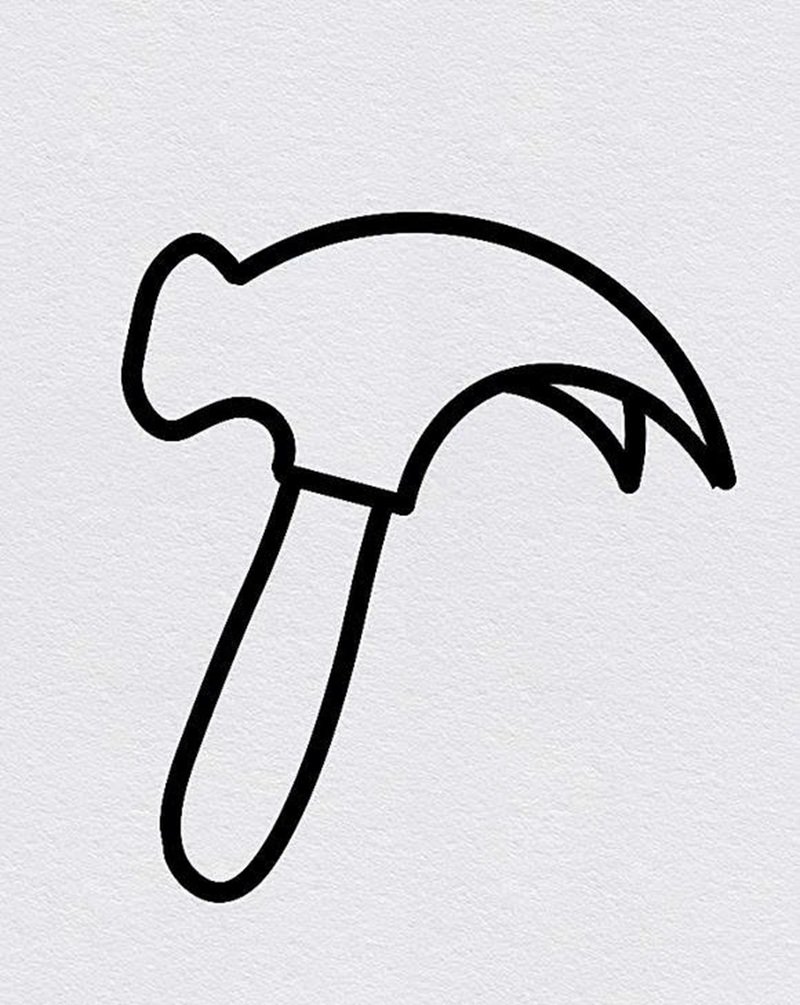
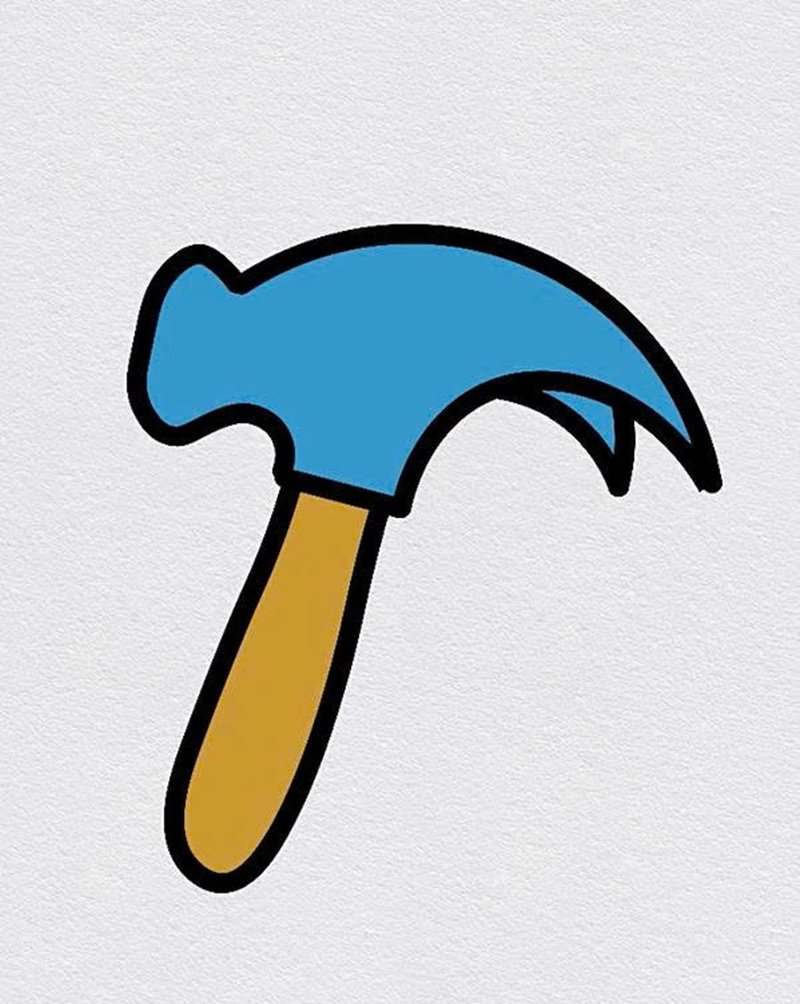
Step 5: Trace over your pencil lines with a black marker or pen to define the complete outline of the hammer, giving it bold and clear structure.
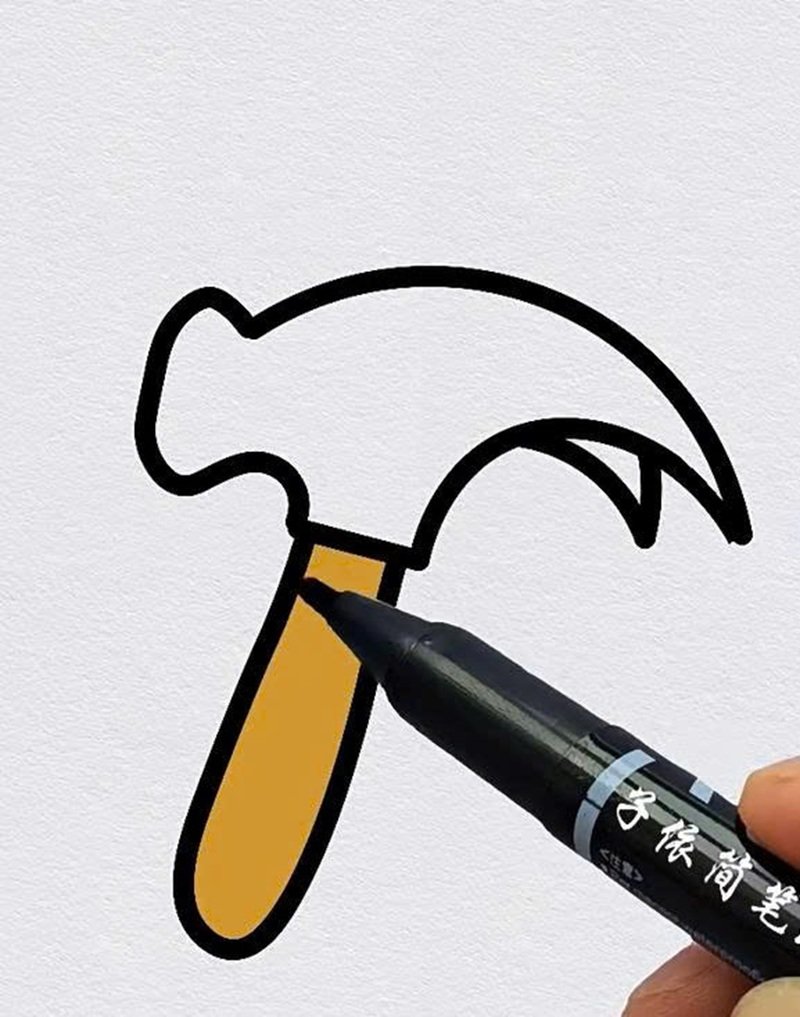
Step 6: Add color to your drawing—use gray for the metal head and brown or yellow for the wooden handle to bring your hammer illustration to life.
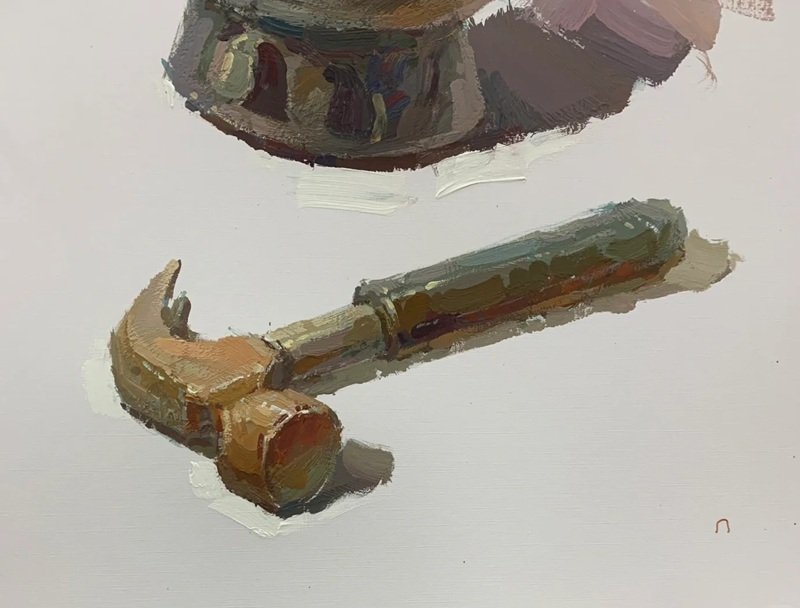
How to draw a hammer


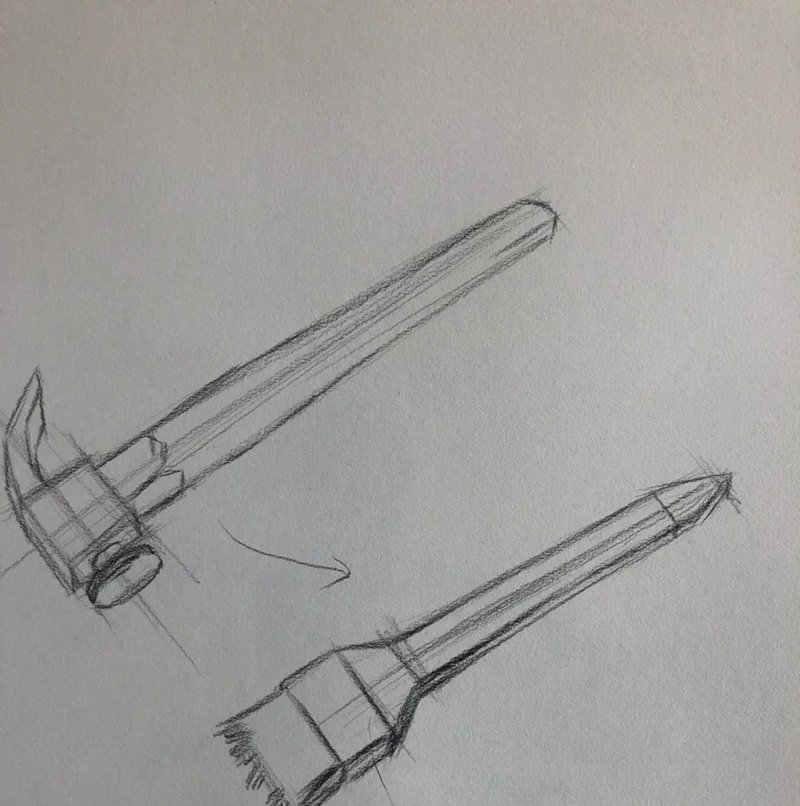
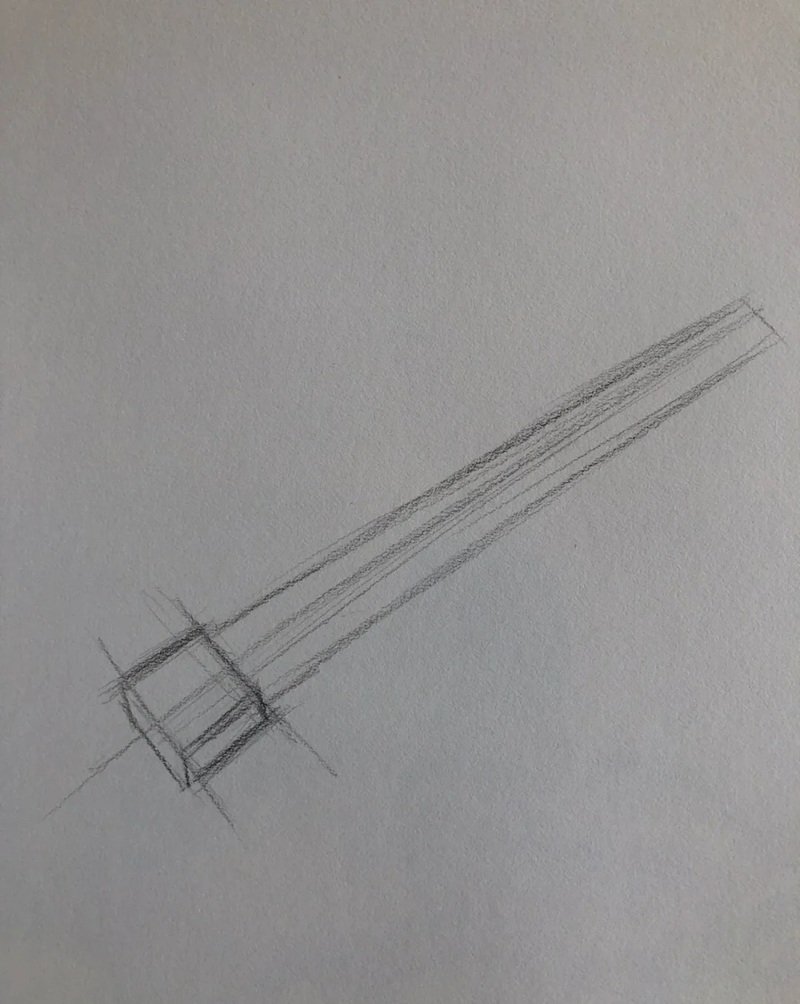
Step 1: Start by drawing a tilted rectangular block to form the top part of the hammerhead—it should be short and slightly angled to the left.
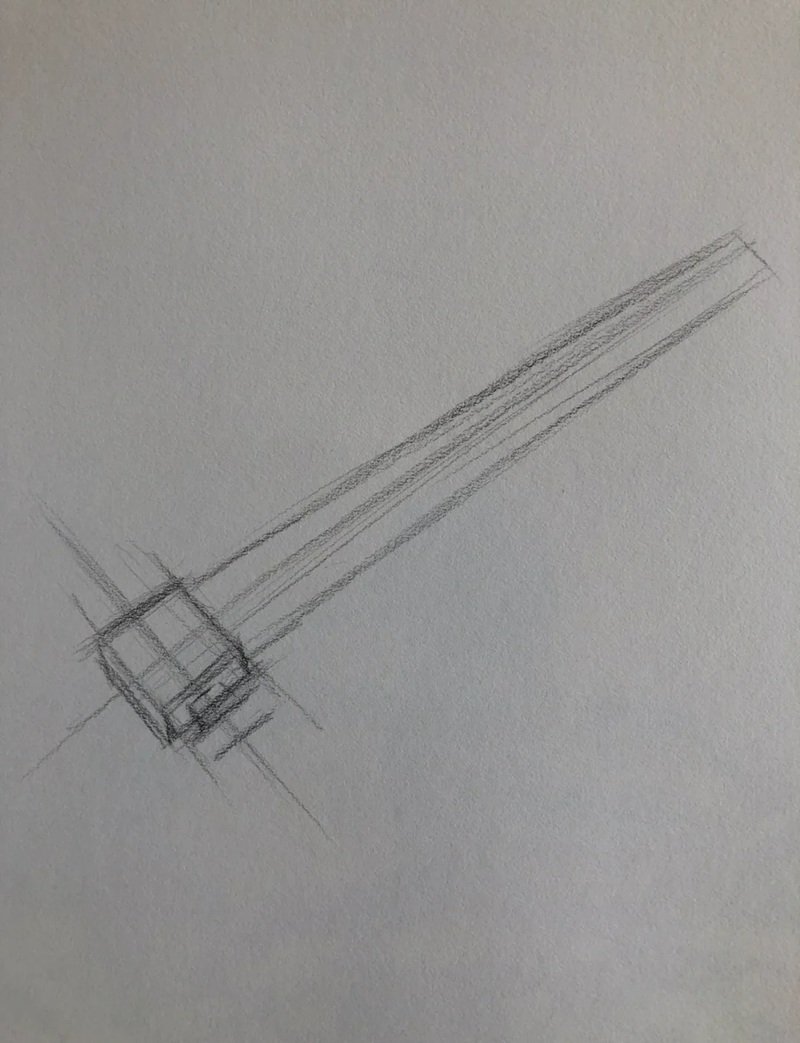
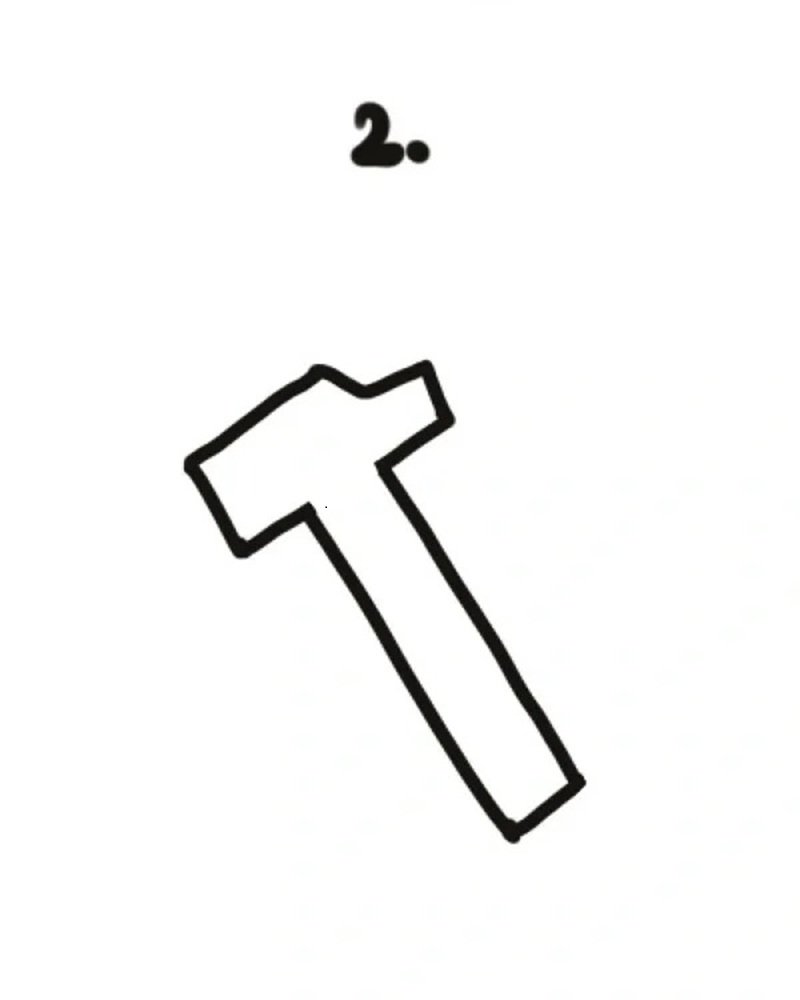 Step 2: Add a long vertical handle beneath the hammerhead, connected tightly—it should look like a traditional carpenter’s hammer.
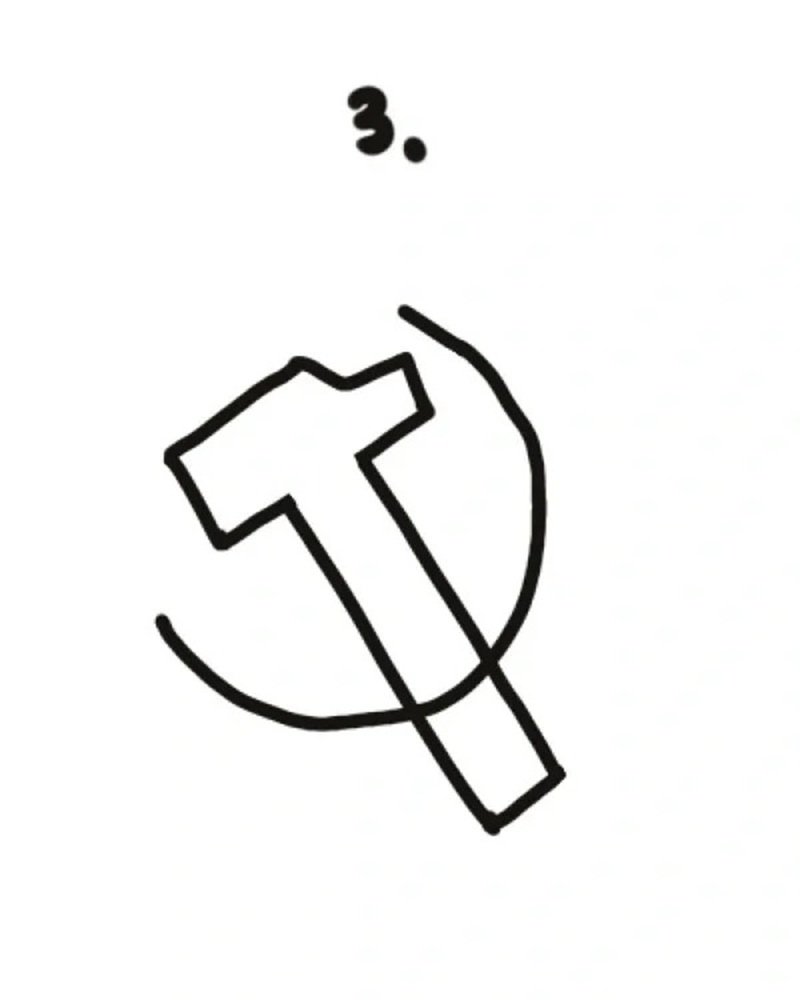
Step 3: Draw a curved sickle blade intersecting the hammer diagonally—it starts thin and widens as it curves around the handle.

Step 4: Thicken the sickle’s blade to give it boldness and add a sense of dimension—it now begins to resemble a farming tool.

Step 5: Finalize the drawing by adjusting curves and adding bold lines—now you have the complete hammer and sickle design.
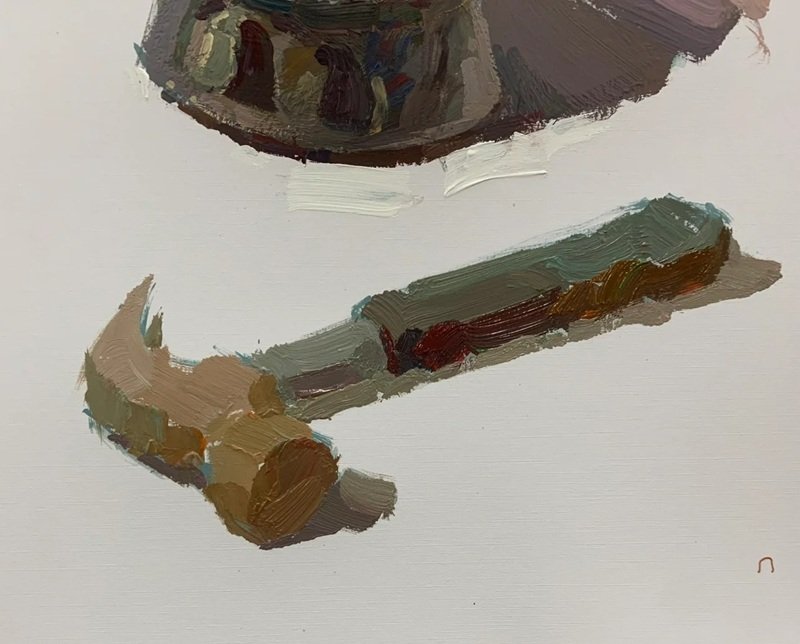
How to draw a hammer easy
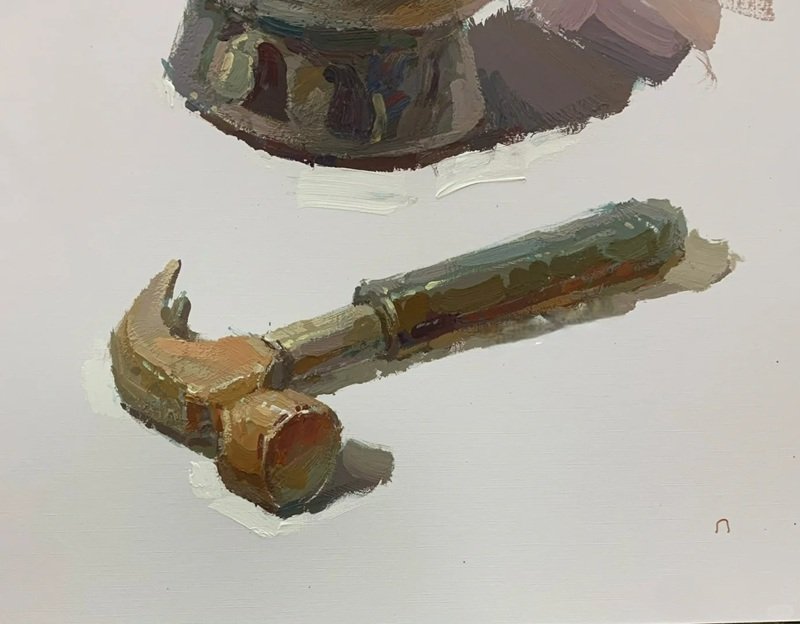


How to draw a hammer step by step


See more:
How to draw a bee in 6 fun and simple drawing stages
How to draw Zoro in 6 different outfits – tutorial for fans
10+ creative ways to master how to draw sunglasses
Drawing a hammer might seem simple, but with the right tips and techniques, it becomes an exciting artistic journey. From basic outlines to dynamic angles, you’ve just unlocked a new creative skill. Whether you’re using it for comics, DIY posters, or school projects, your hammer sketch now has that wow factor!