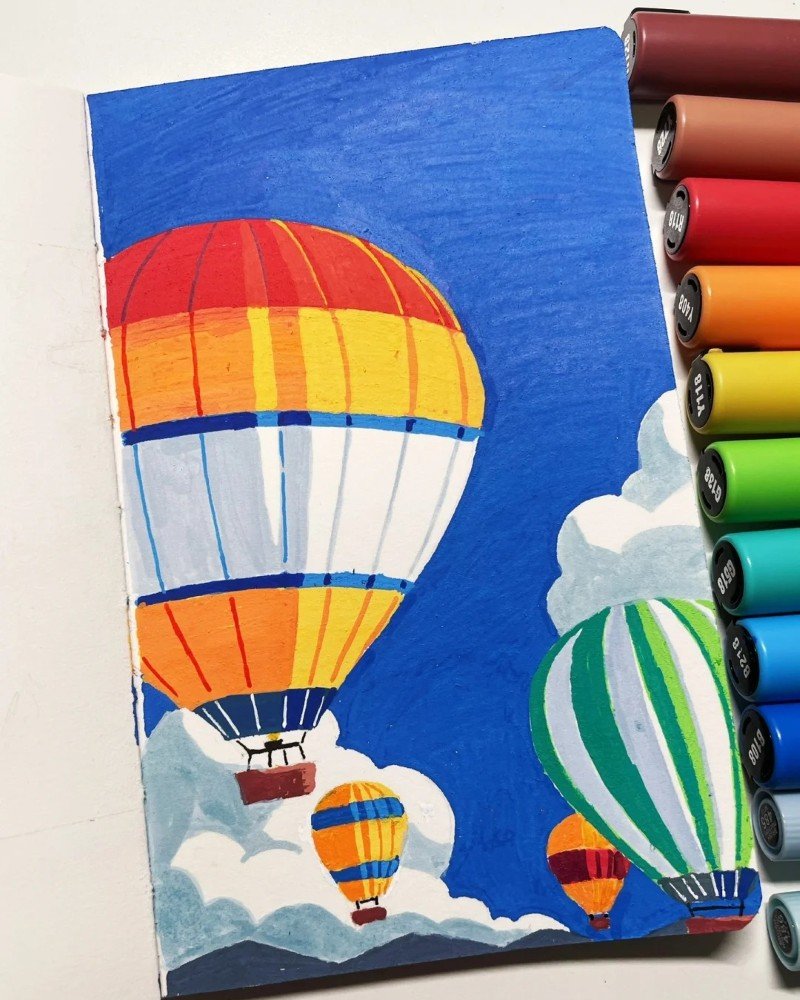
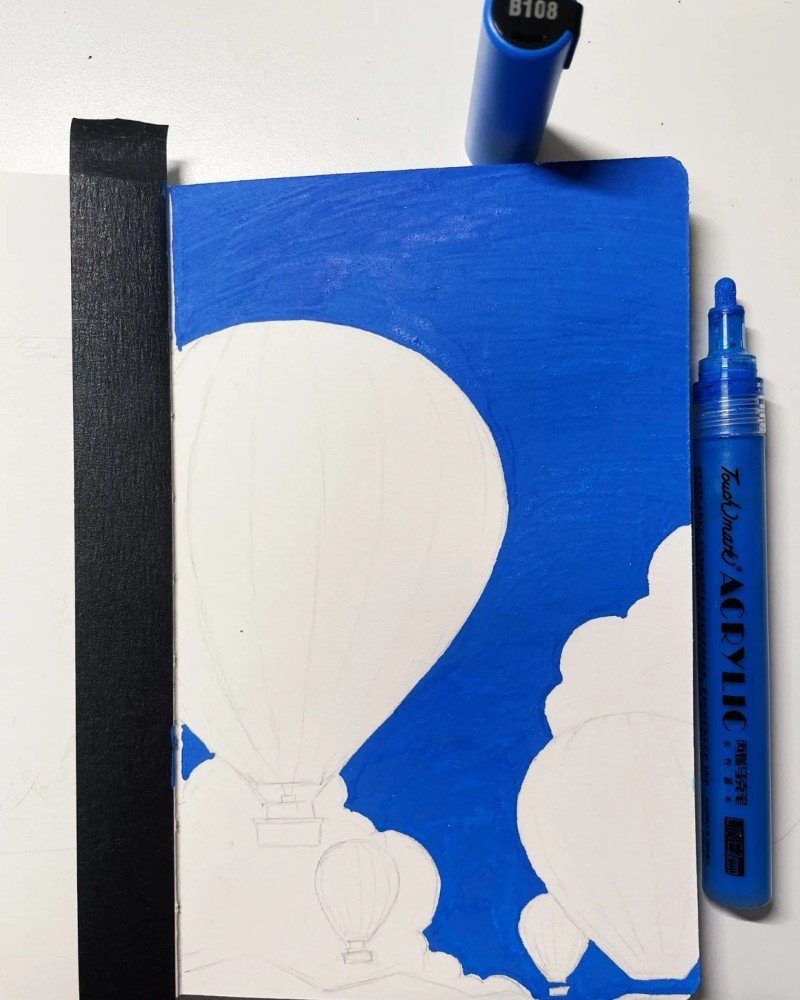
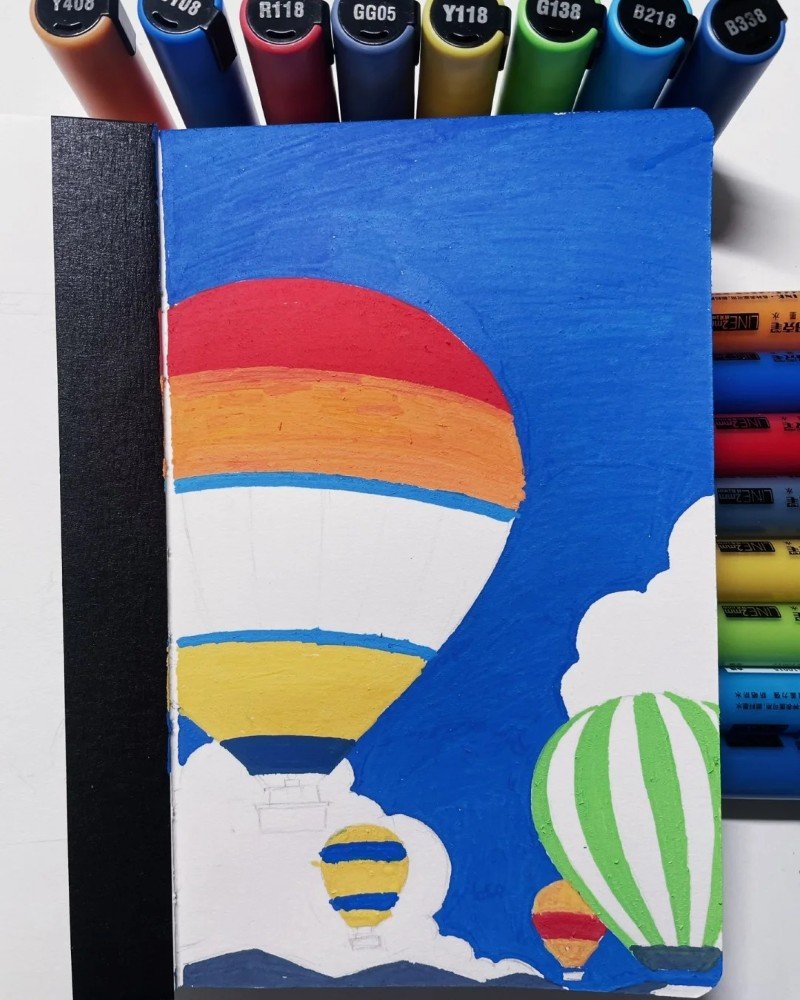
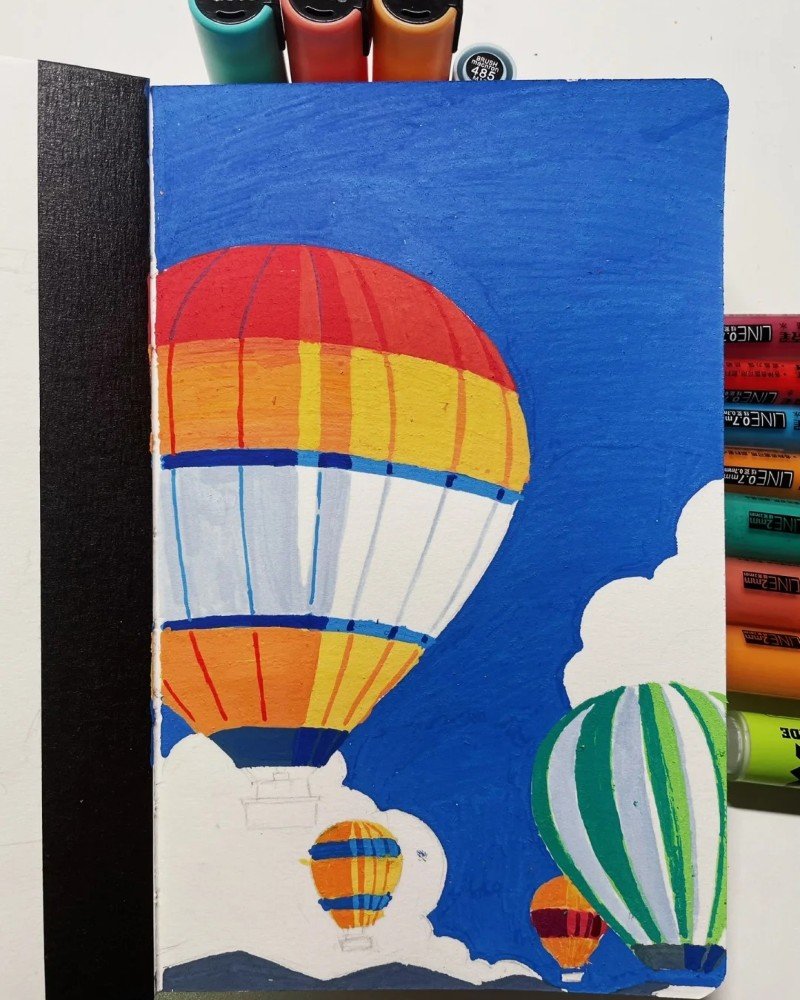
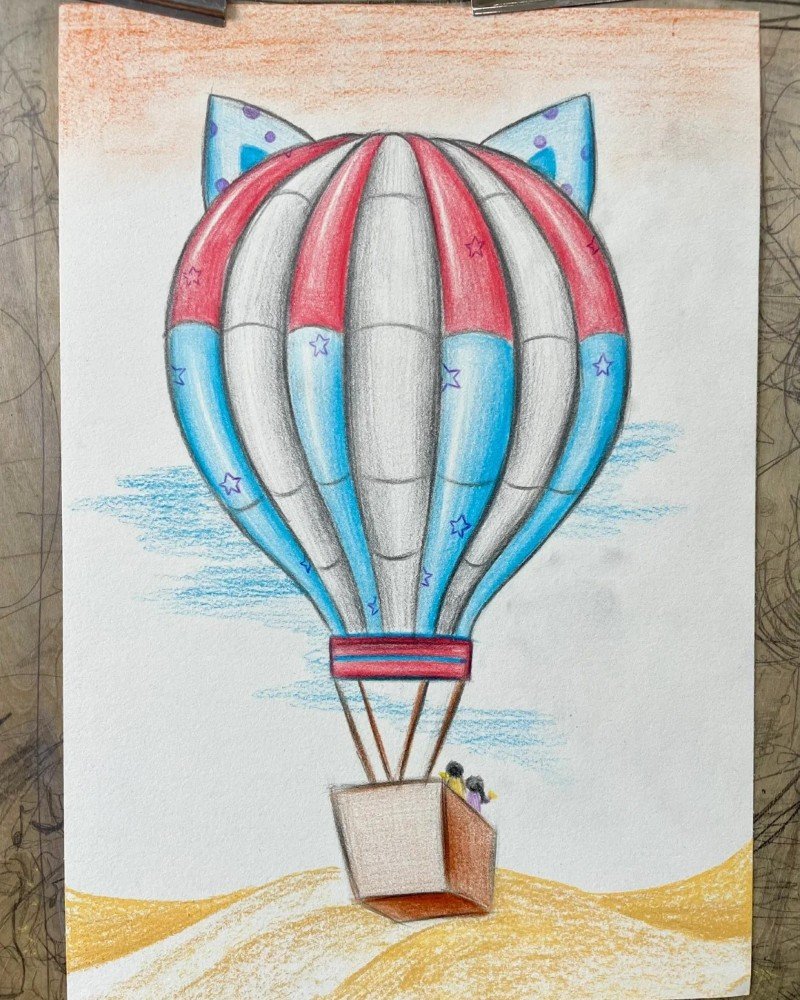
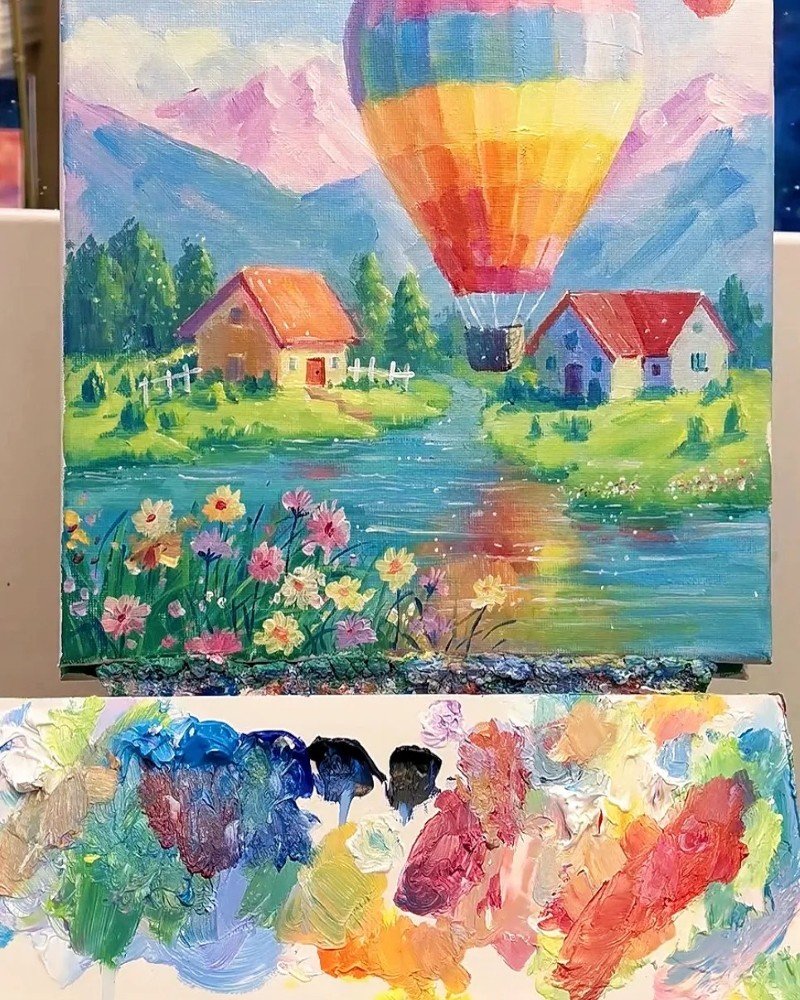
How to draw a hot air balloon is a super fun and creative activity that lets you explore colors, shapes, and your imagination all in one go. Whether you’re into simple sketches or dreamy art pieces, this guide will help you master the basics in just a few steps. Drawing hot air balloons can be relaxing and exciting, especially when you mix your favorite color palettes and add your personal touch. It’s not just about drawing—it’s about expressing joy, freedom, and creativity. We’ve broken it down so that even beginners can follow along easily. Ready to fly high with your art? Let’s lift off with this fun drawing challenge! Explore more tutorials on dooduko.com to keep the creativity flowing.
How to draw a hot air balloon
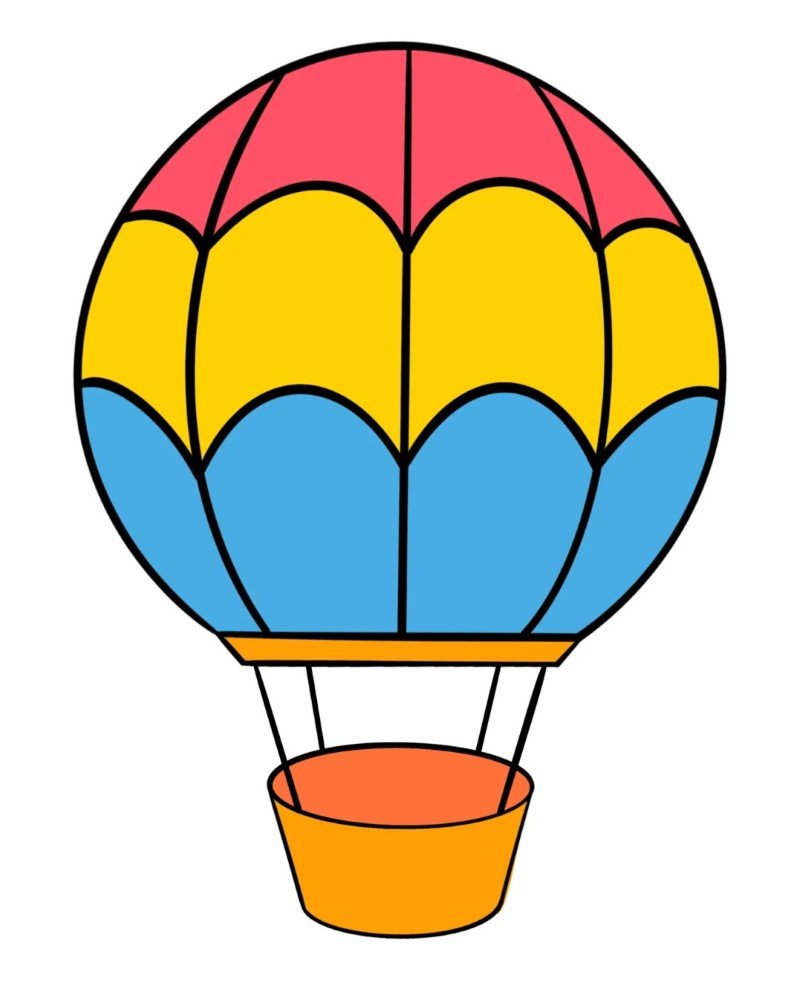
How to draw a hot air balloon easy
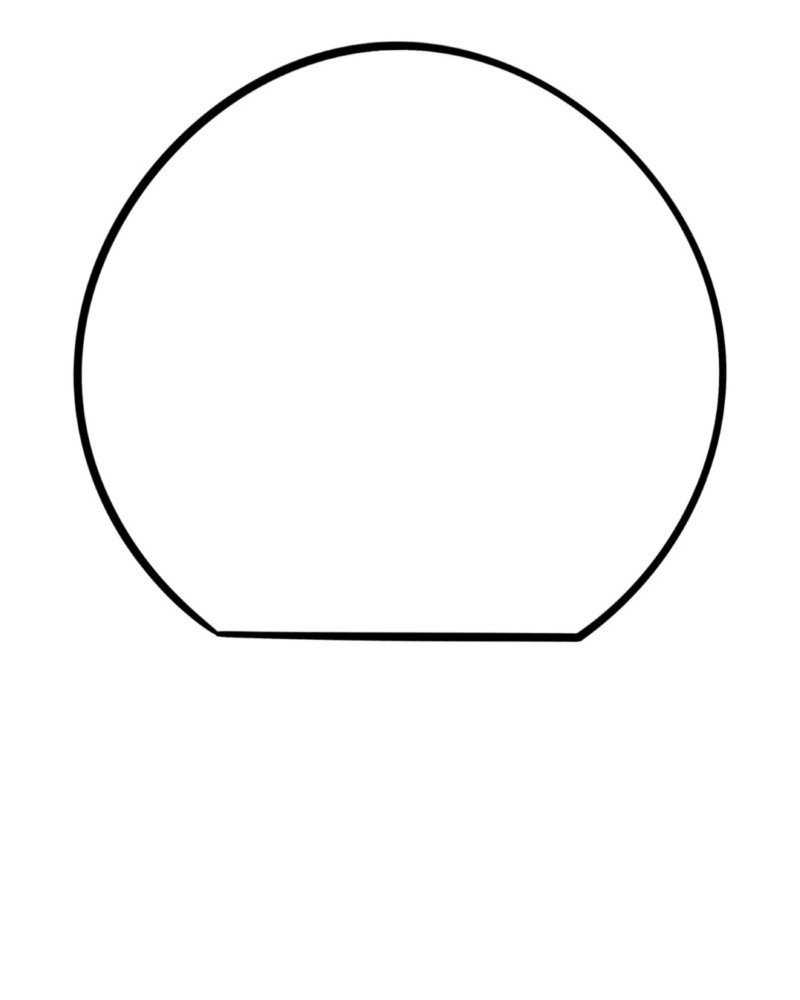
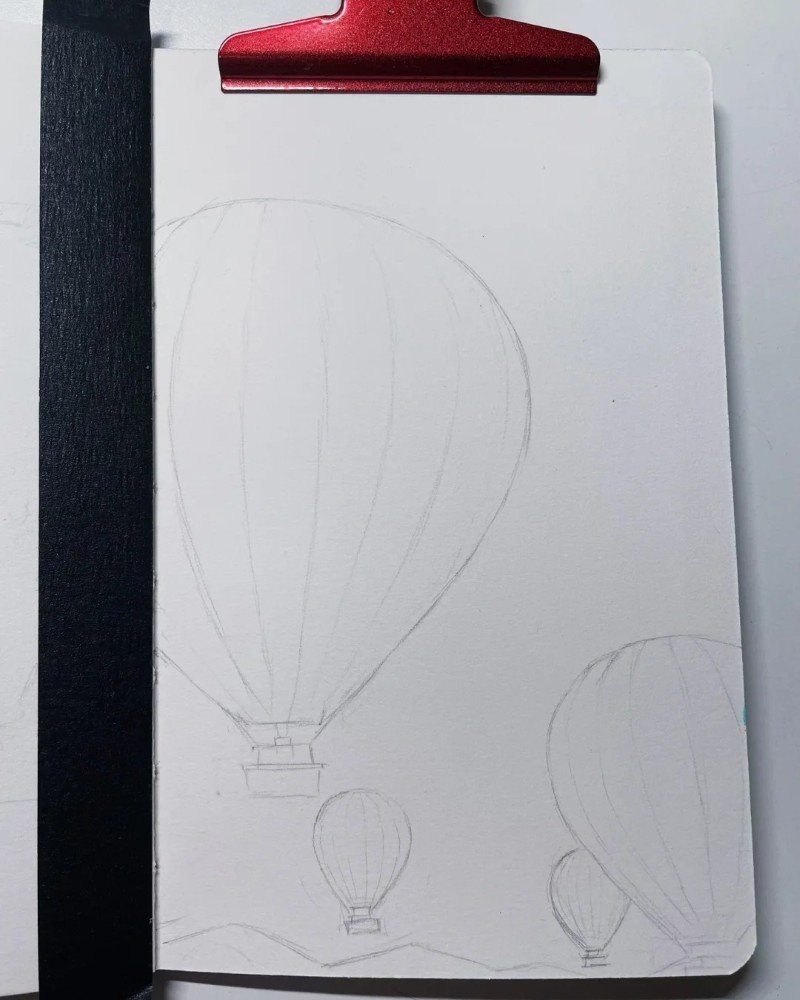
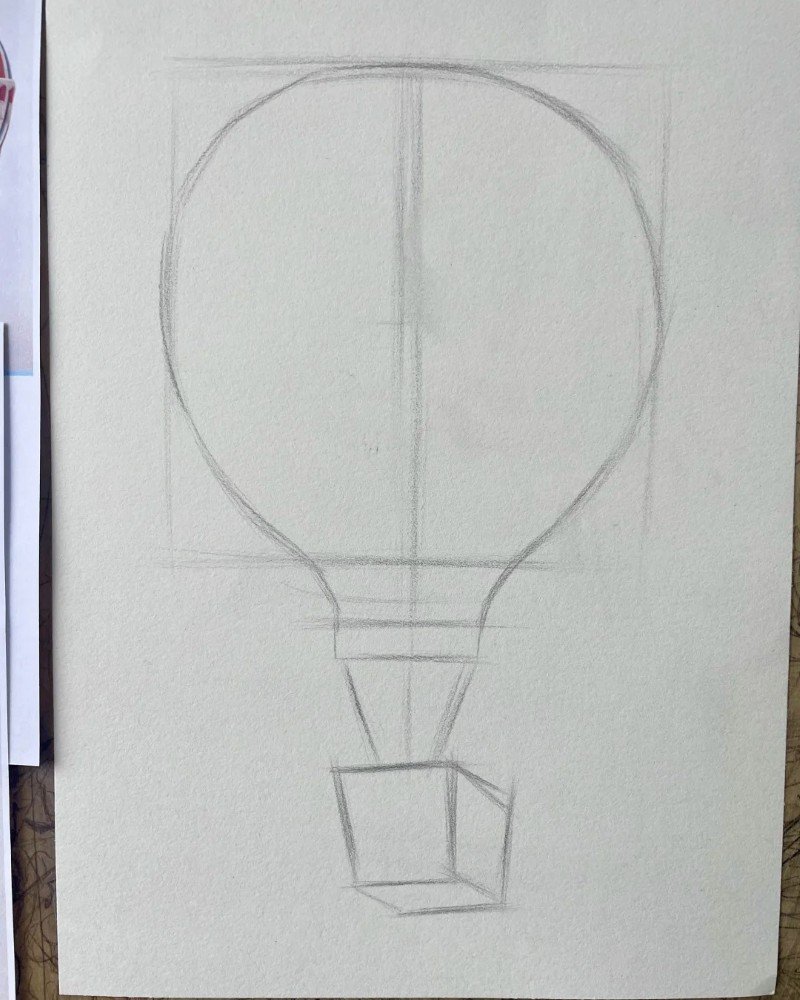
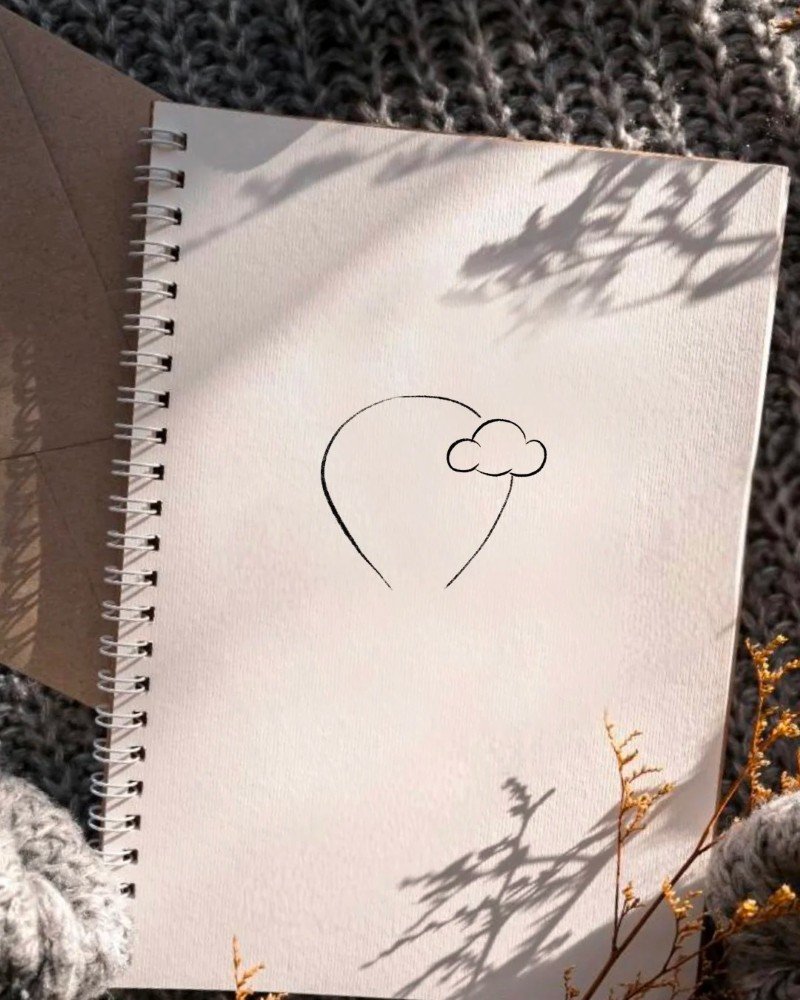
Step 1: Draw a large circle for the balloon top and a small trapezoid at the bottom to form the base of the balloon.
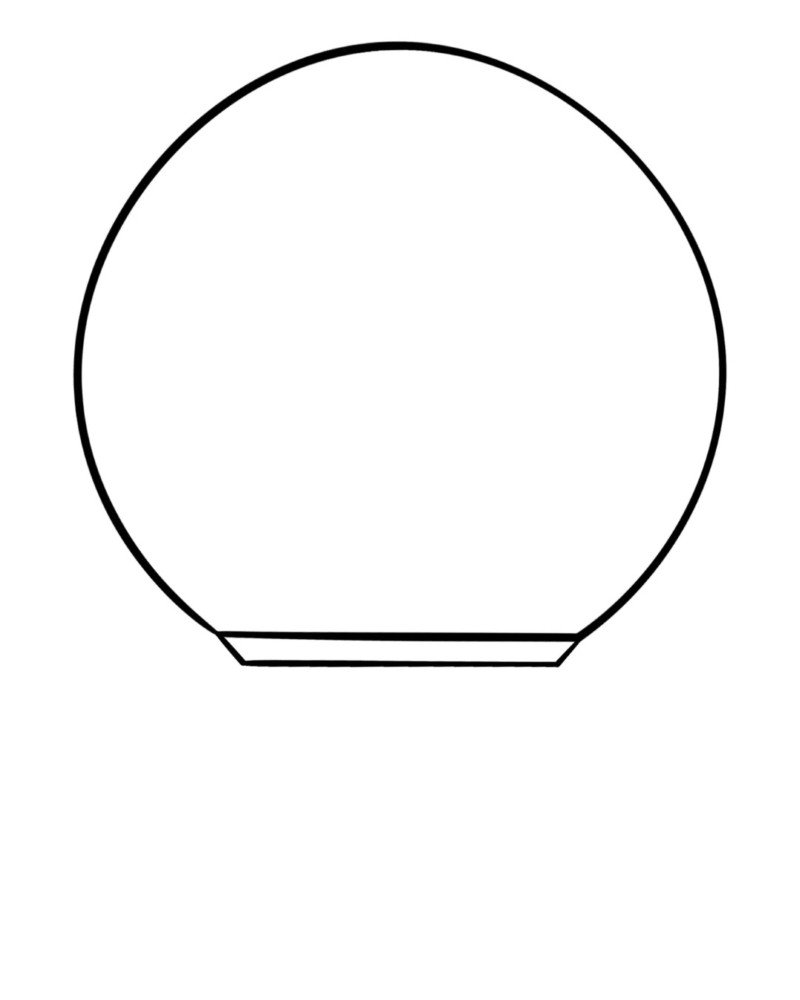
Step 2: Erase the overlapping bottom curve and connect the top and base with two short diagonal lines to refine the balloon shape.
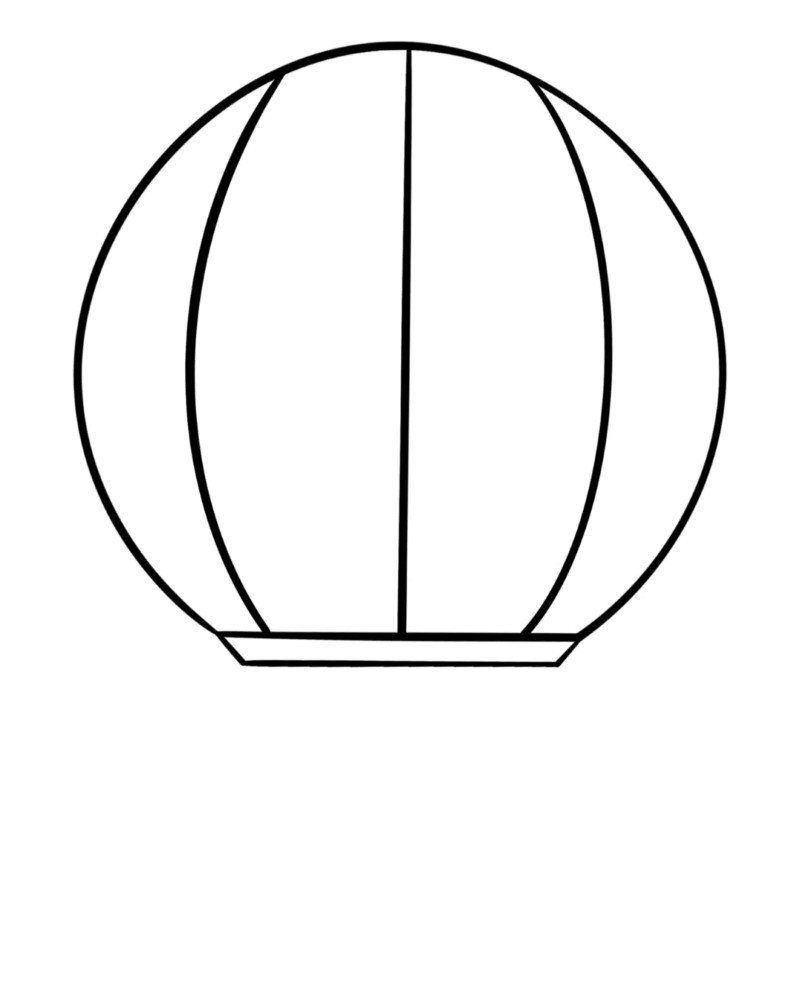
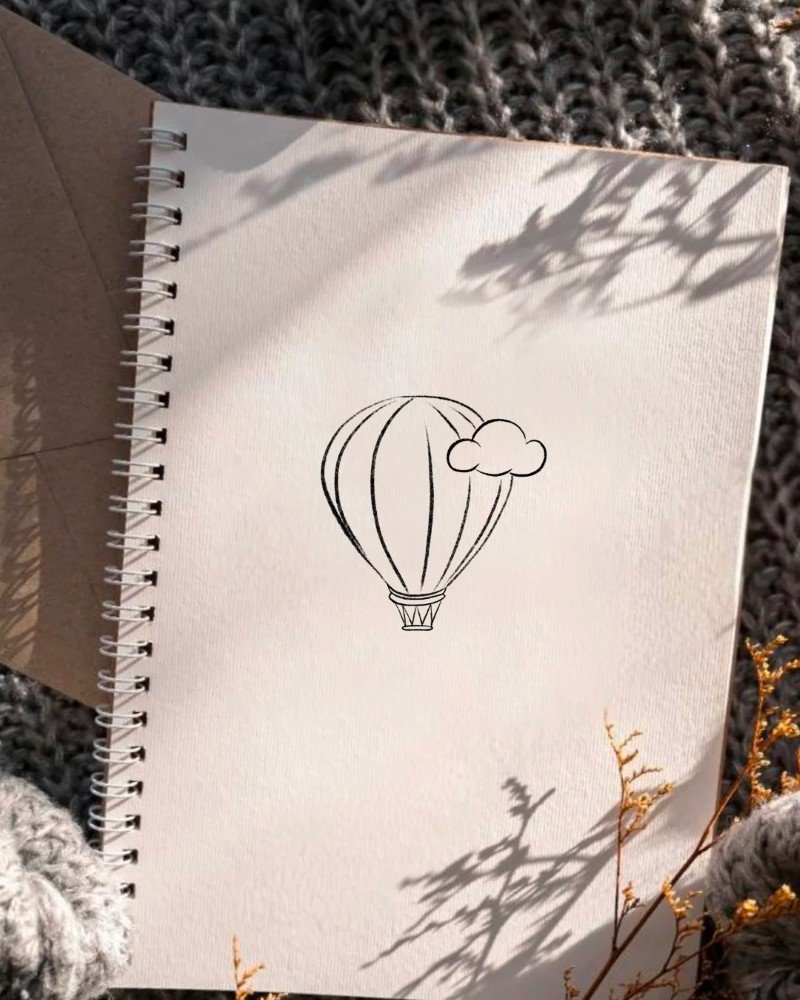
Step 3: Add three long curved vertical lines inside the balloon to create its panel sections and give it a rounded 3D look.
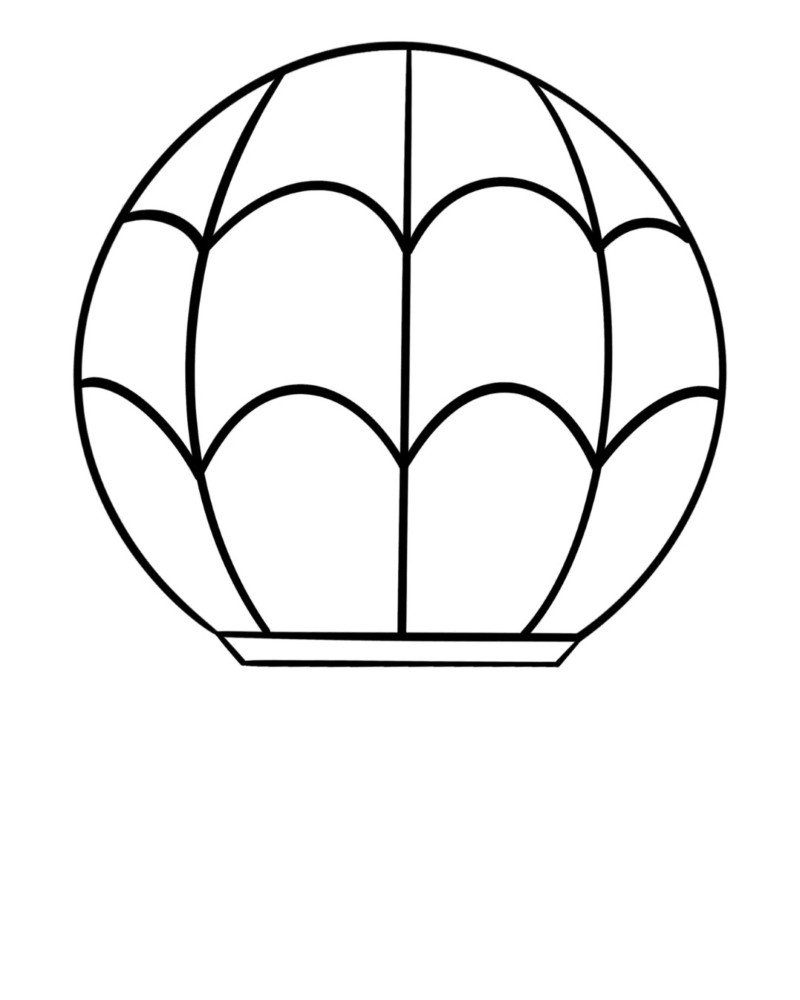
Step 4: Draw scalloped curves from bottom to top of each panel for a decorative design that makes the balloon more fun and playful.

Step 5: Sketch a small basket under the balloon using a rounded rectangle and connect it to the balloon with two parallel vertical lines.
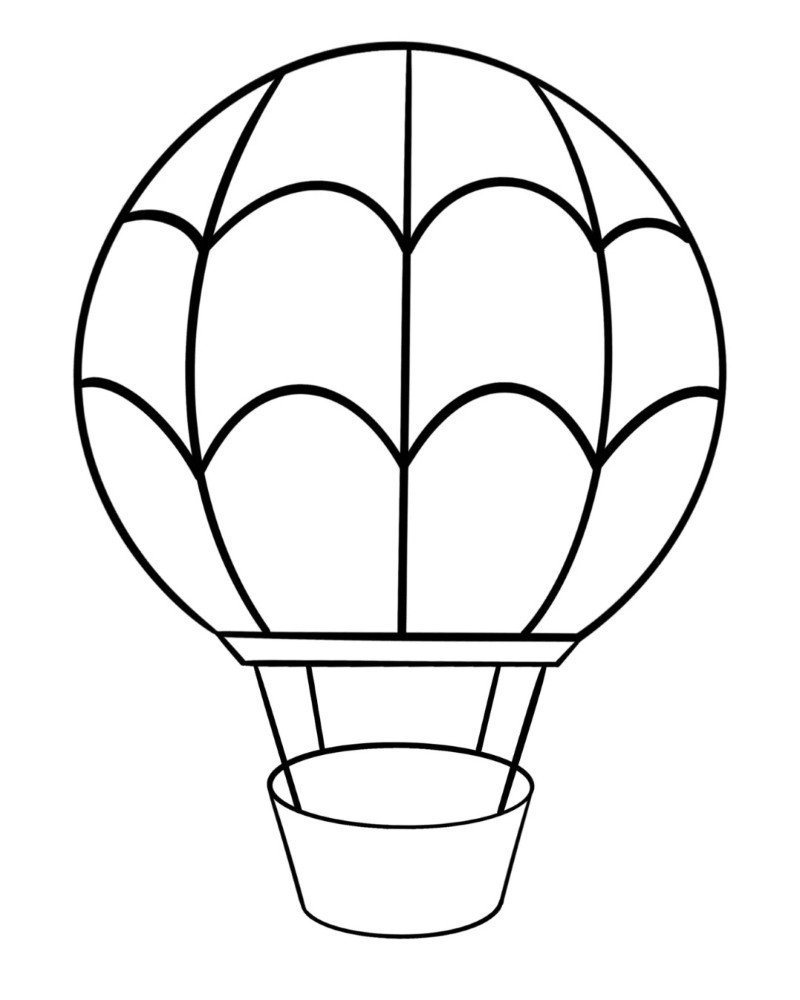
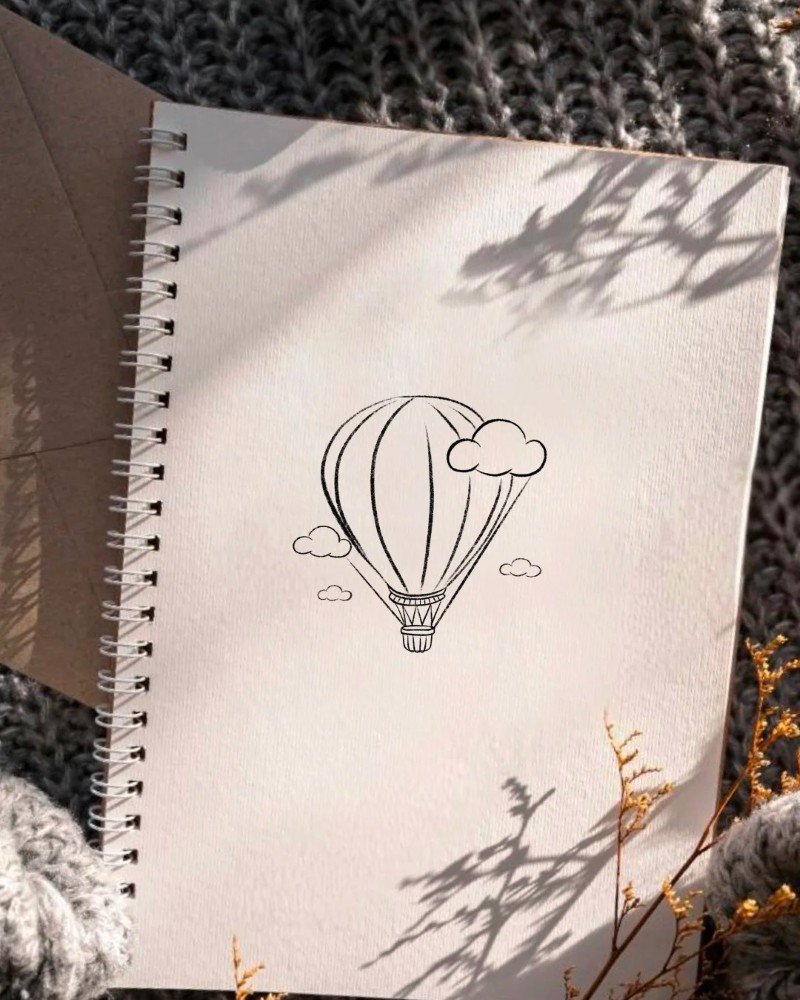
Step 6: Add final details to the basket and panels, clean up your lines, and your hot air balloon drawing is now complete and ready to color!
How to draw a hot air balloon for kids

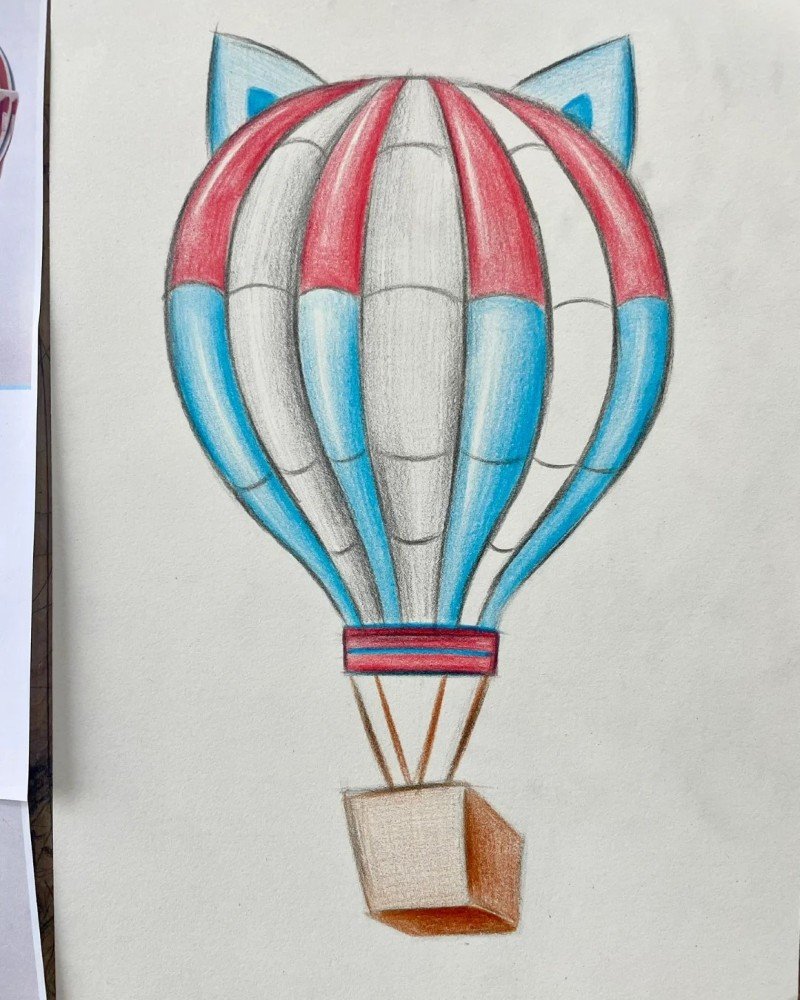
How to draw a hot air balloon flying
How to draw a hot air balloon for kids

Step 1: Start by drawing a small curved line like an upside-down U to form the top part of the hot air balloon.

Step 2: Add another curved line beneath it to complete the round balloon shape, like drawing a lightbulb.

Step 3: Draw a short straight horizontal line across the bottom to define the lower edge of the balloon
Step 4: From the bottom sides, sketch two diagonal lines pointing slightly outward to connect to the basket.

Step 5: Add a small rounded rectangle under the lines to create the basket that hangs below the balloon.

Step 6: Draw a curved vertical line inside the balloon to form one of its decorative panels.

Step 7: Add another vertical panel line, curved like the first, to make the balloon look more 3D and realistic.
Step 8: Draw a third curved line in the center for added detail and symmetry to the balloon’s surface.

Step 9: Add simple horizontal lines on the basket to give it a textured or woven look.

Step 10: Sketch two small ropes or lines connecting the basket to the balloon for realistic structure.

Step 11: Outline and darken your drawing, clean up any sketch lines, and get ready to color your finished hot air balloon!
See more:
Top 6 techniques for beginners on how to draw a daffodil
Discover 9 ways to master pooh bear how to draw now
Top 10 tutorials on how to draw pistols with cool styles
Drawing a hot air balloon isn’t just about lines and circles—it’s about capturing the feeling of soaring through the sky. With just a few steps and a bit of practice, you’ll be creating stunning balloon drawings in no time. Remember, there’s no right or wrong in art—only your style! So grab your pencil, add some color, and let your imagination take flight. Keep exploring, keep creating, and most importantly, have fun with every line you draw.