If you’re searching for how to draw a lighthouse, you’re in the right place! This classic coastal icon isn’t just a tall tower—it’s a symbol of hope, safety, and creativity. In this guide, we’ll break down the drawing process into fun, easy-to-follow steps perfect for artists of all ages. Whether you’re a beginner picking up your pencil for the first time or someone looking to level up your sketching skills, we’ve got you covered. Learn how to outline the shape, add realistic textures, and make your lighthouse shine! Plus, we’ll give you bonus tips to personalize your artwork. Let’s bring your lighthouse to life with dooduko.com!
How to draw a easy lighthouse
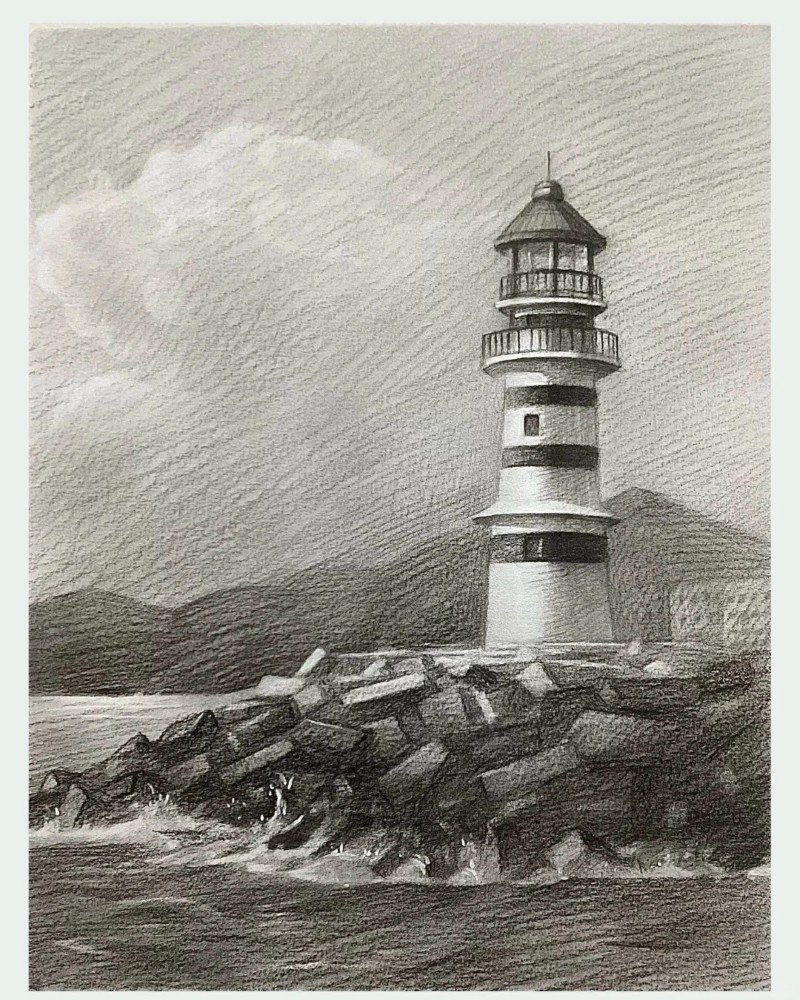
How to draw a lighthouse


Step 1: Start by drawing a simple curved line on the left to mark the base of the shoreline and a flat sea line across the bottom for the ocean surface.

Step 2: Add a wave crest on the left using a spiral curl and continue the ocean line to create a sense of motion in the water.
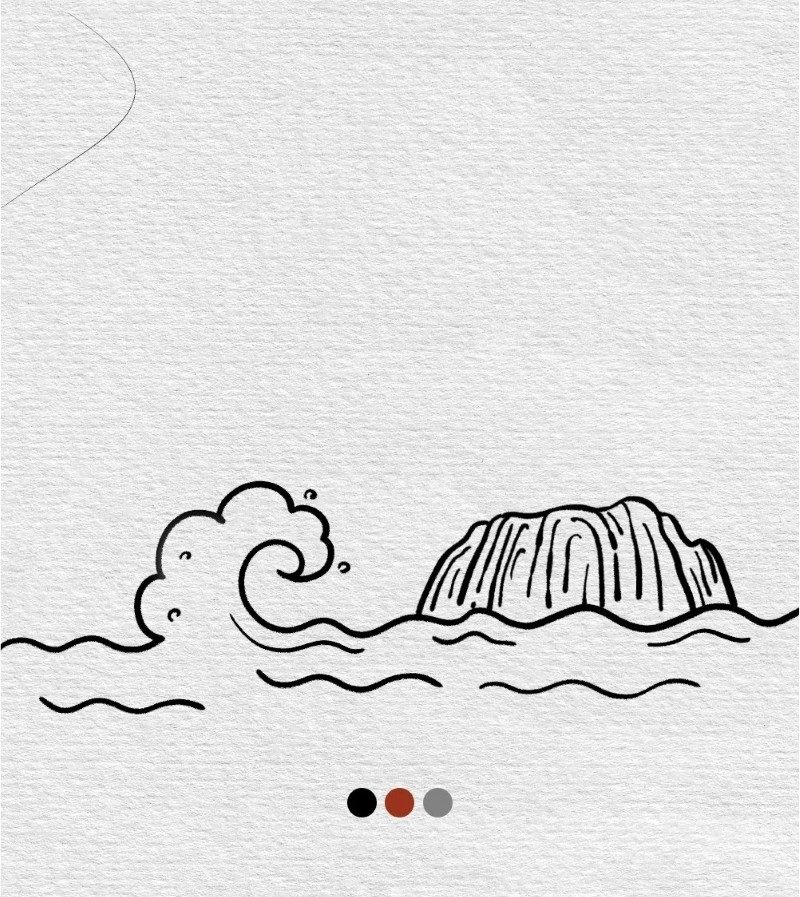
Step 3: Sketch a jagged rock formation in the middle of the sea; this will serve as the foundation for your lighthouse.
Step 4: Draw the base of the lighthouse as a tall rectangular shape with horizontal lines to separate future color bands.

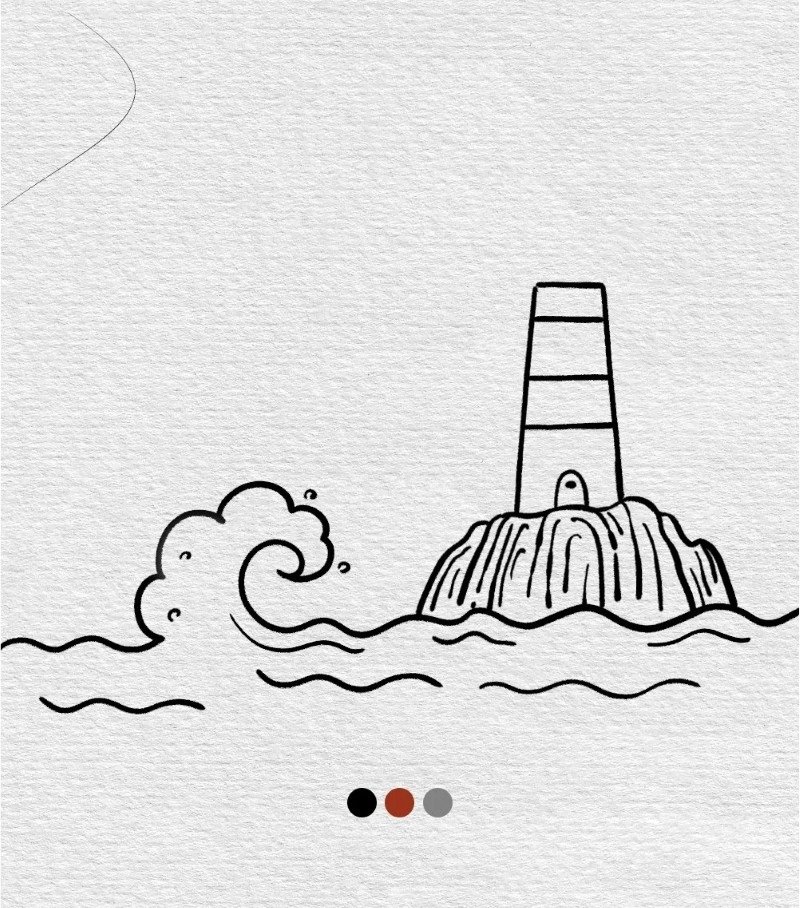
Step 5: Add more architectural details to the lighthouse body such as the platform, windows, and a stronger wave shape beside the rock.
Step 6: Sketch the lantern room on top of the tower, and enhance the body with more windows and structure lines.

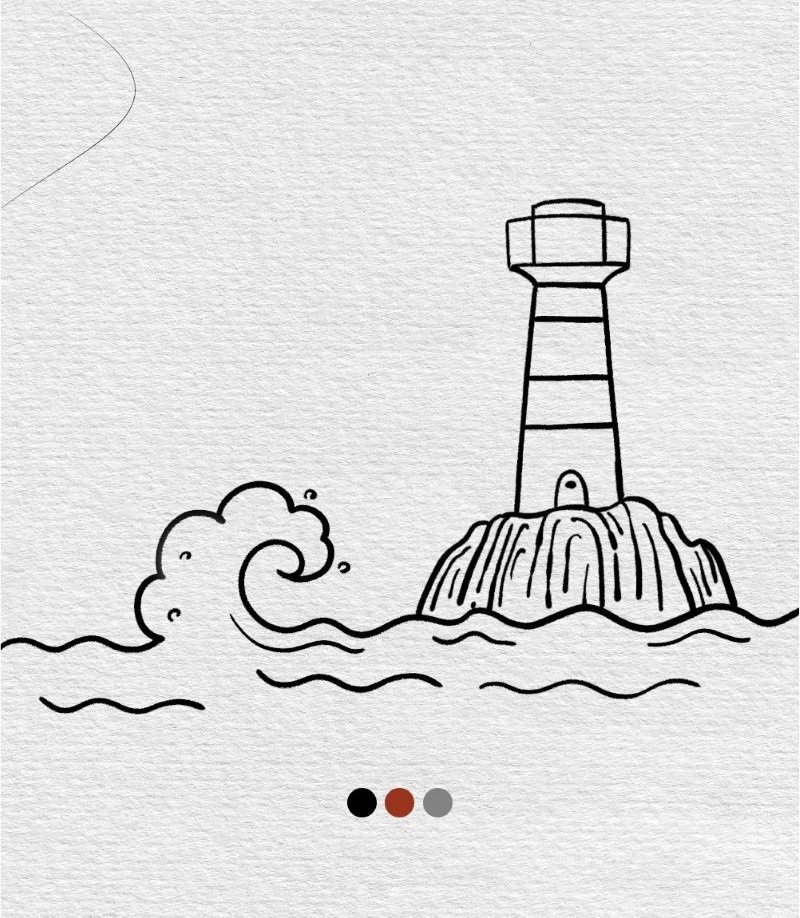
Step 7: Finalize the lighthouse outline with the dome-shaped top and railing, completing the tower’s design structure.

Step 8: Color the lighthouse in red and white stripes, and add gray tones to the rocks and sea to finish your vibrant coastal drawing.
How to draw a lighthouse easy


Step 1: Draw a wavy horizontal line near the bottom to represent the ocean surface where the lighthouse will be placed.
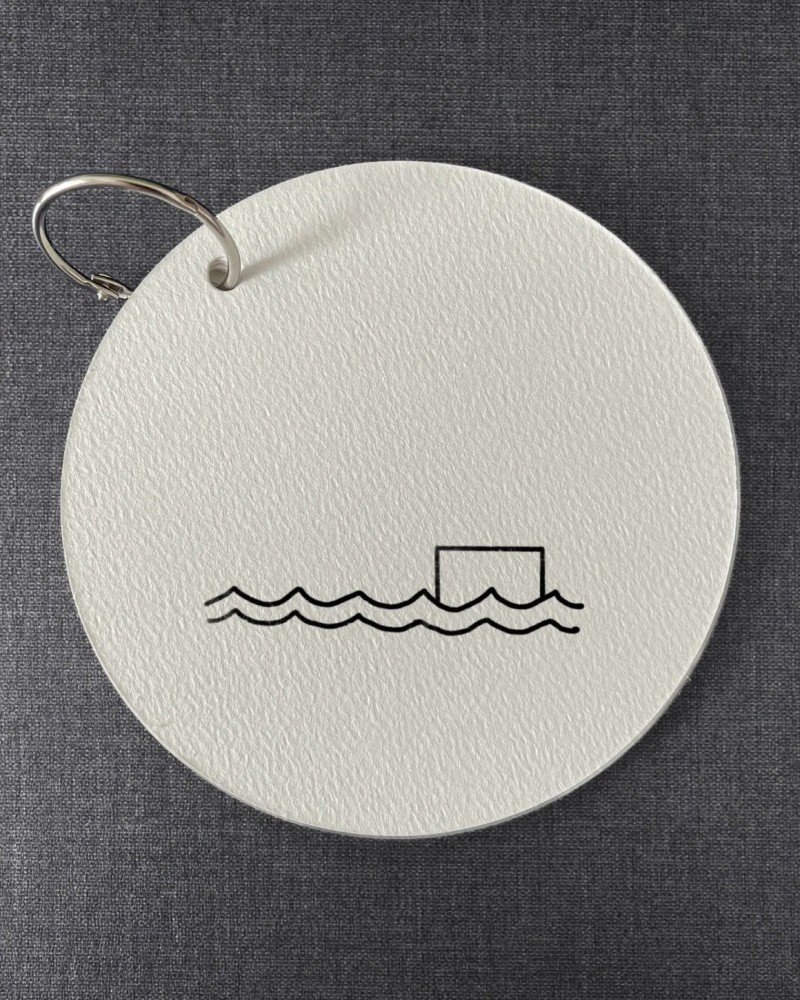
Step 2: Sketch a small rectangular base above the water line—this will be the bottom platform of your lighthouse.
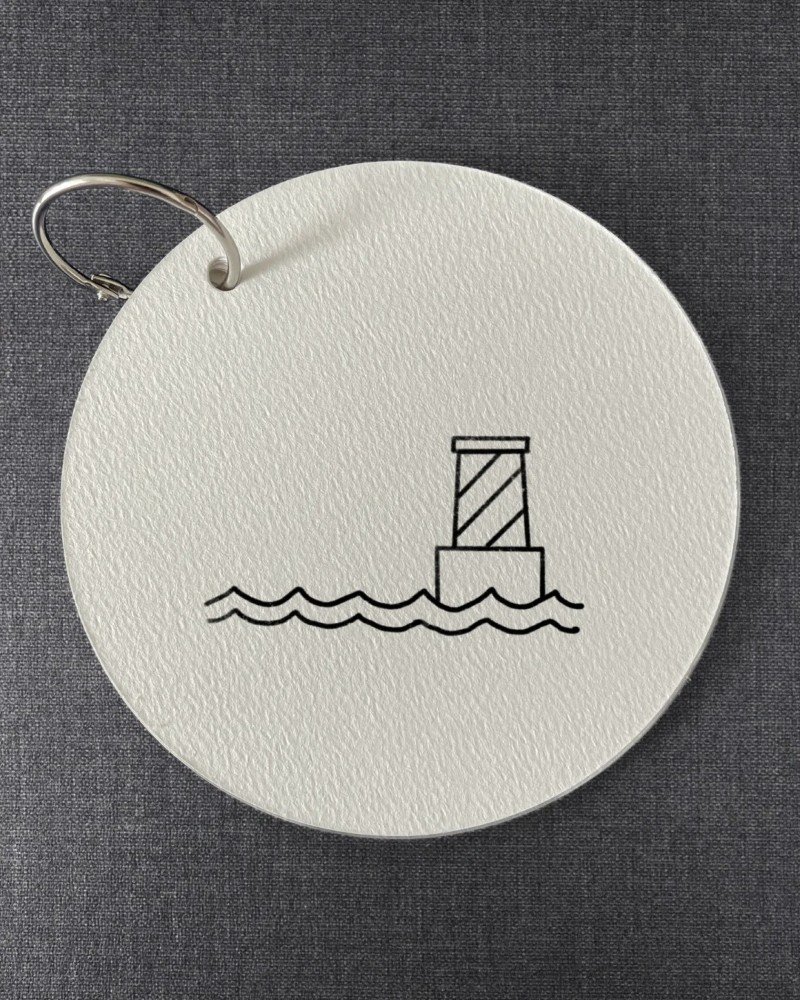
Step 3: Add a tall vertical tower with crisscross details to give it structure and indicate the classic lighthouse shape.

Step 4: Draw a dome top and small windows along the tower to make your lighthouse look more realistic and charming. 
Step 5: Add clouds and a sun in the background to complete your easy lighthouse scene with a peaceful sky atmosphere.
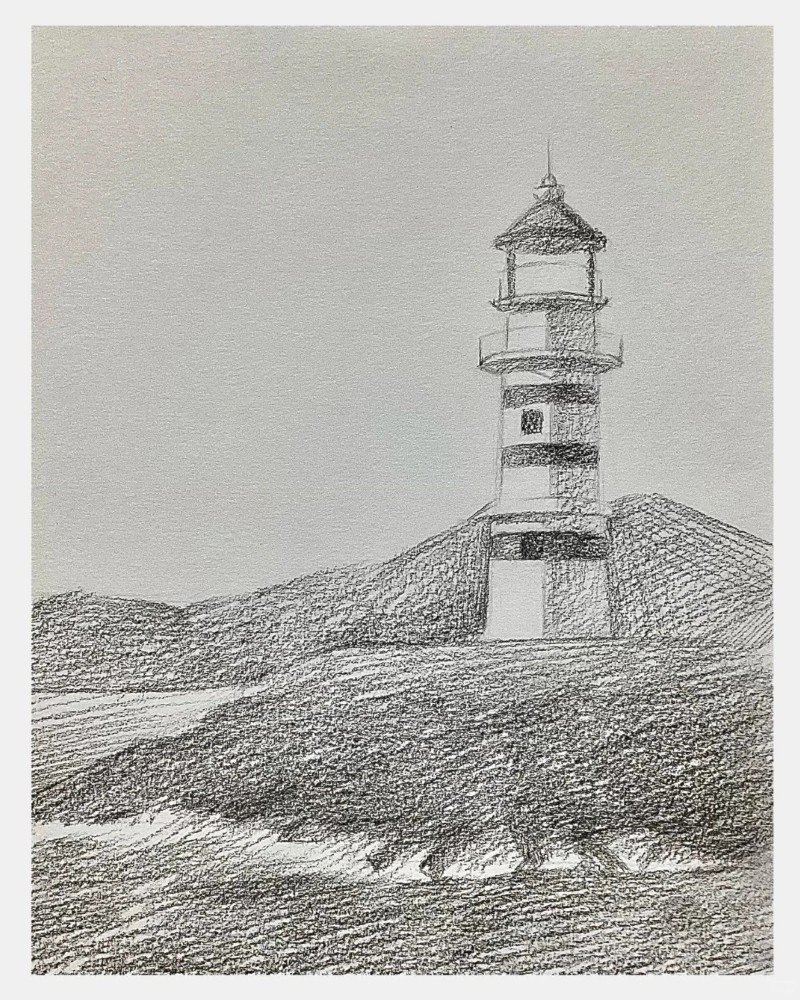
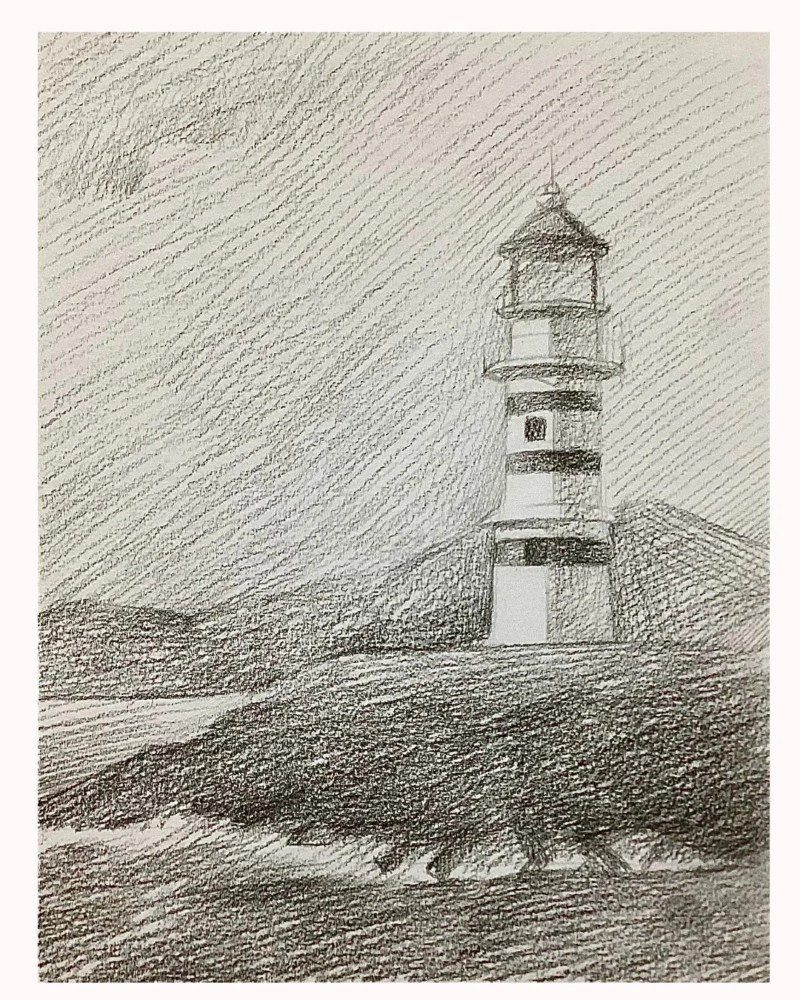
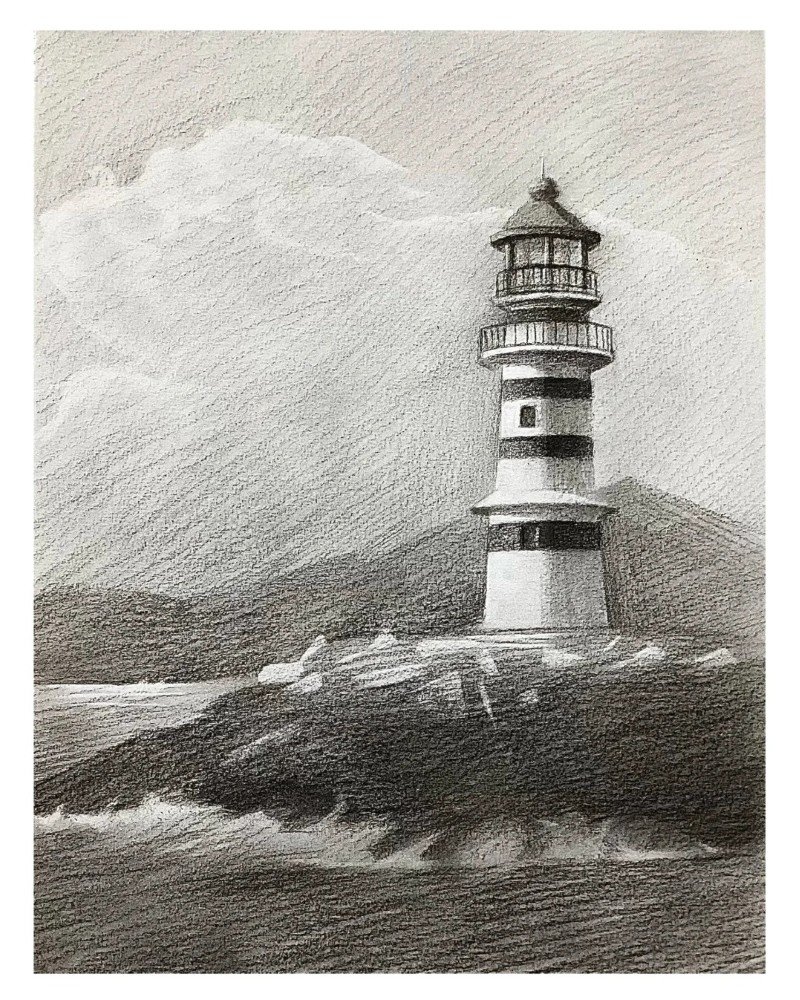
How to draw a lighthouse step by step


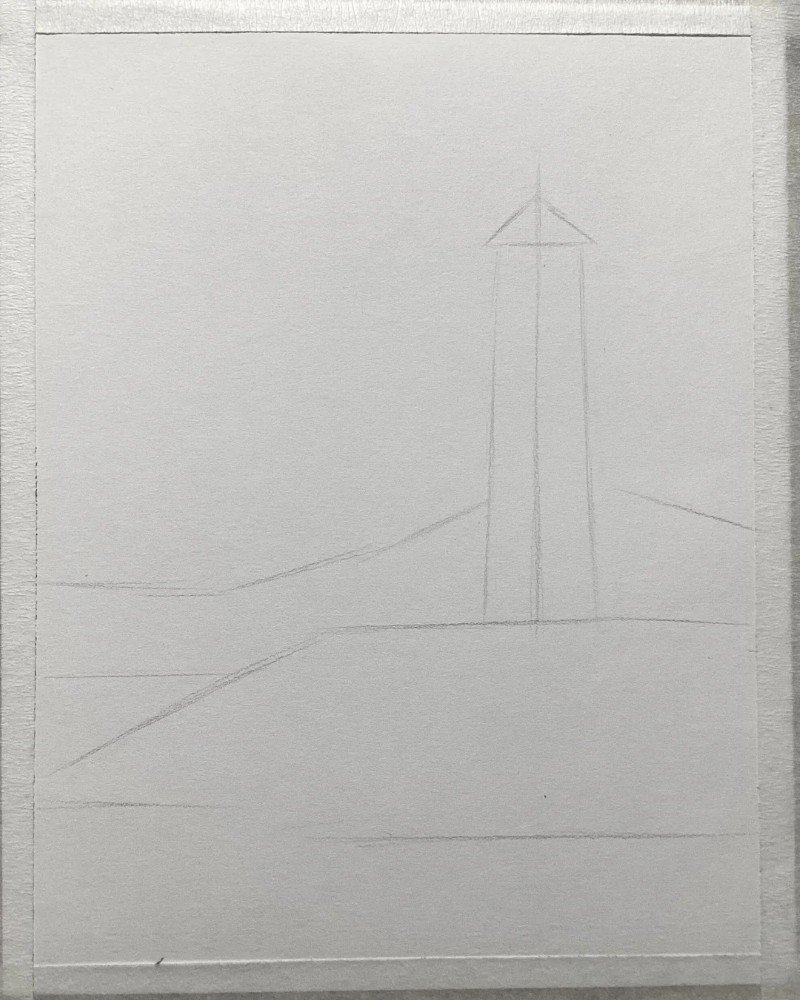
Step 1: Start by drawing the bumpy outline of the cliff or rocky base where the lighthouse will stand tall.

Step 2: Add a horizontal line on top of the cliff to prepare the base of the lighthouse structure.
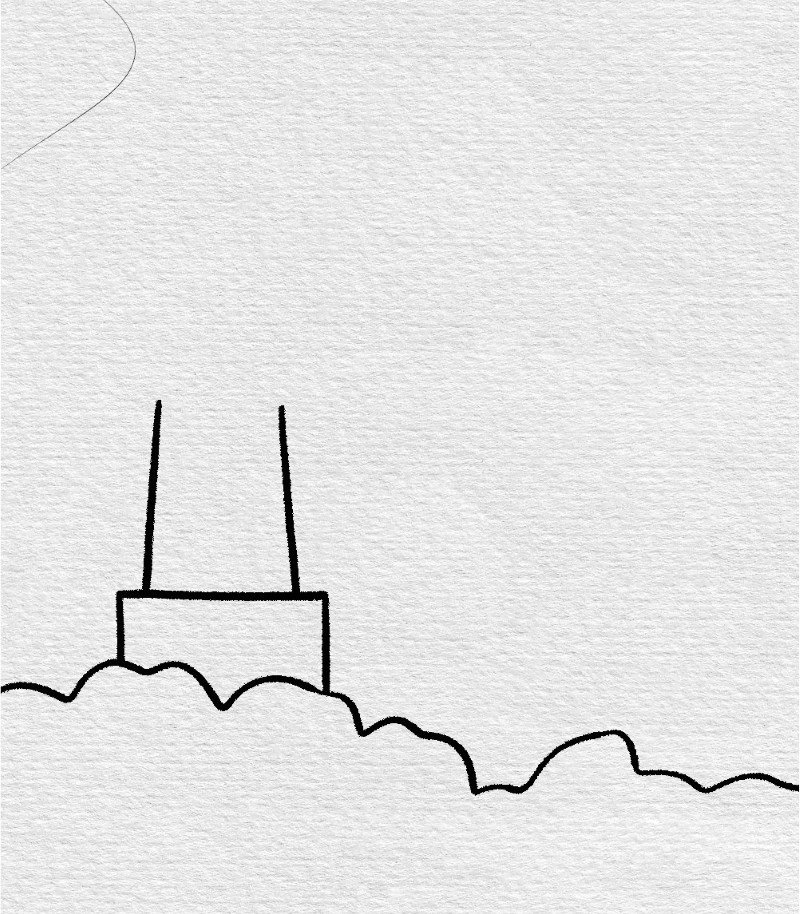
Step 3: Sketch two parallel vertical lines going upward—these will form the main body of the lighthouse tower.

Step 4: Connect the vertical lines with two angled roof lines and a slightly curved base to shape the tower.

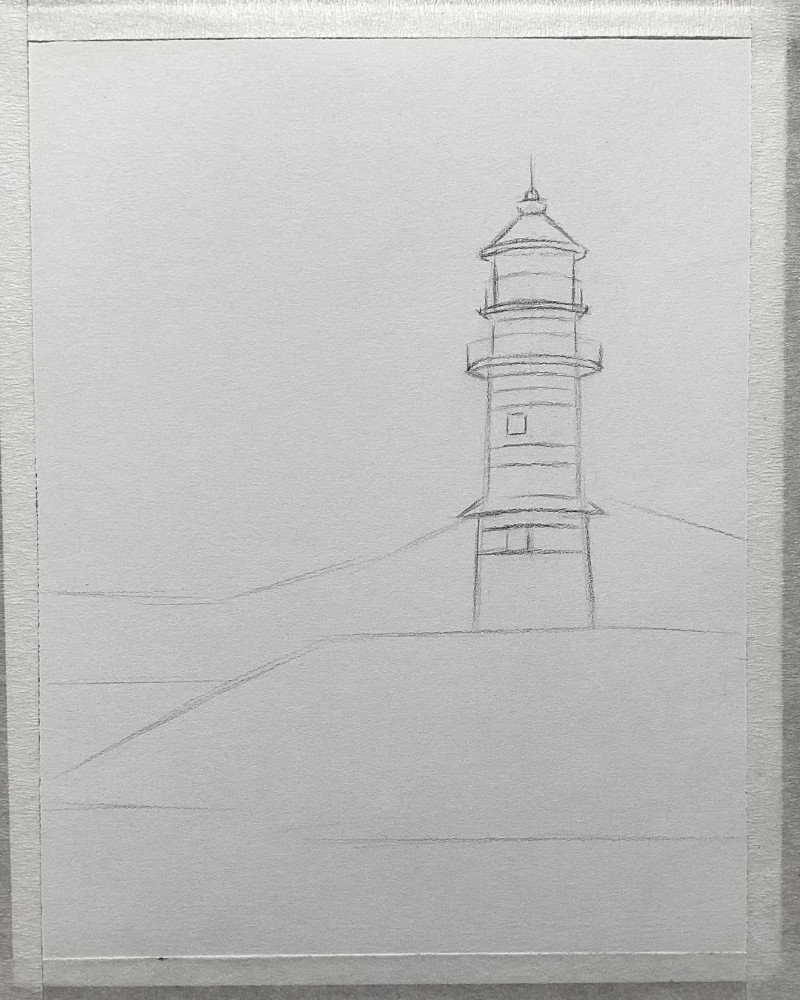
Step 5: Draw the top observation deck with a small roof and horizontal railing to give structure to the top

Step 6: Add a cone-shaped dome above the deck to finish the lighthouse top and suggest a lantern room.

Step 7: Add a small horizontal window or opening near the top of the dome to complete the structure.

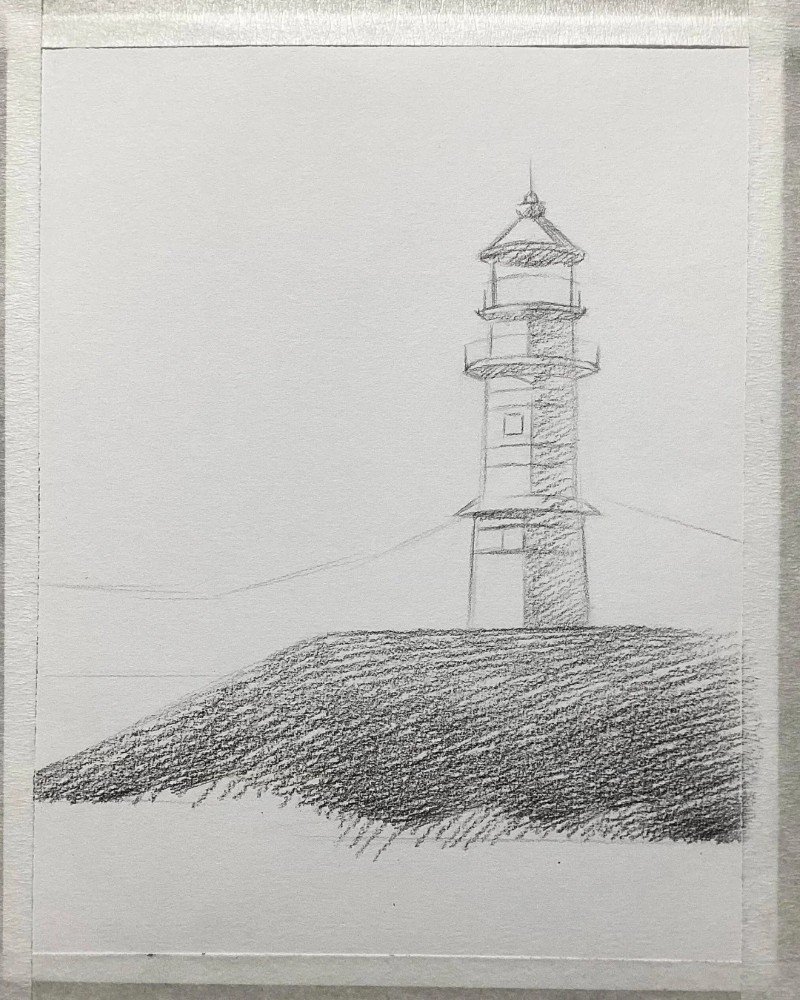
Step 8: Draw diagonal lines across the lighthouse body to create the iconic striped pattern.

Step 9: Add more rocks around the lighthouse base for a natural, grounded look on the cliff.
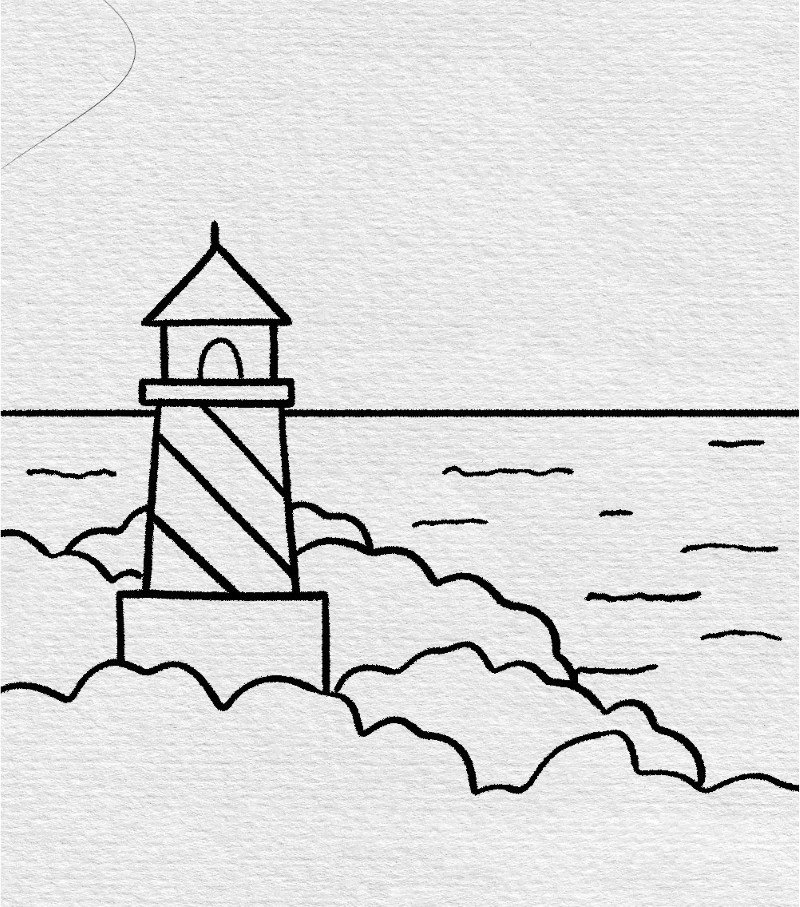
Step 10: Sketch the background horizon line and some birds flying in the distance for a scenic effect.

Step 11: Add a large sun in the sky and darken certain areas to bring your lighthouse drawing to life with contrast and balance.
See more:
How to draw a goose – 8 pro tips that actually work
Discover 10 amazing tricks to nail how to draw a vase
How to draw a tv in 7 simple and fun drawing stages
And that’s how simple it is to learn how to draw a lighthouse! With just a few basic steps and a little practice, you can turn a blank page into a beautiful scene by the sea. Don’t be afraid to add your own twist—change up the colors, draw waves crashing, or even add a tiny keeper’s house nearby. Drawing is not just about technique; it’s about telling your story.