Ever wondered how to draw a lizard that actually looks cool? Whether you’re a beginner or already love sketching reptiles, this guide has something just for you. We break it down into easy, step-by-step visuals so you can follow along with zero stress. From realistic details to fun cartoon twists, you’ll unlock new skills while having a blast. These tutorials work great for school projects, art challenges, or just chilling with your sketchbook. Let’s make your drawing game stronger than ever.
All the coolest Lizard drawing ideas are now on dooduko.com – check it out and unleash your inner artist!
How to draw a cute Lizard
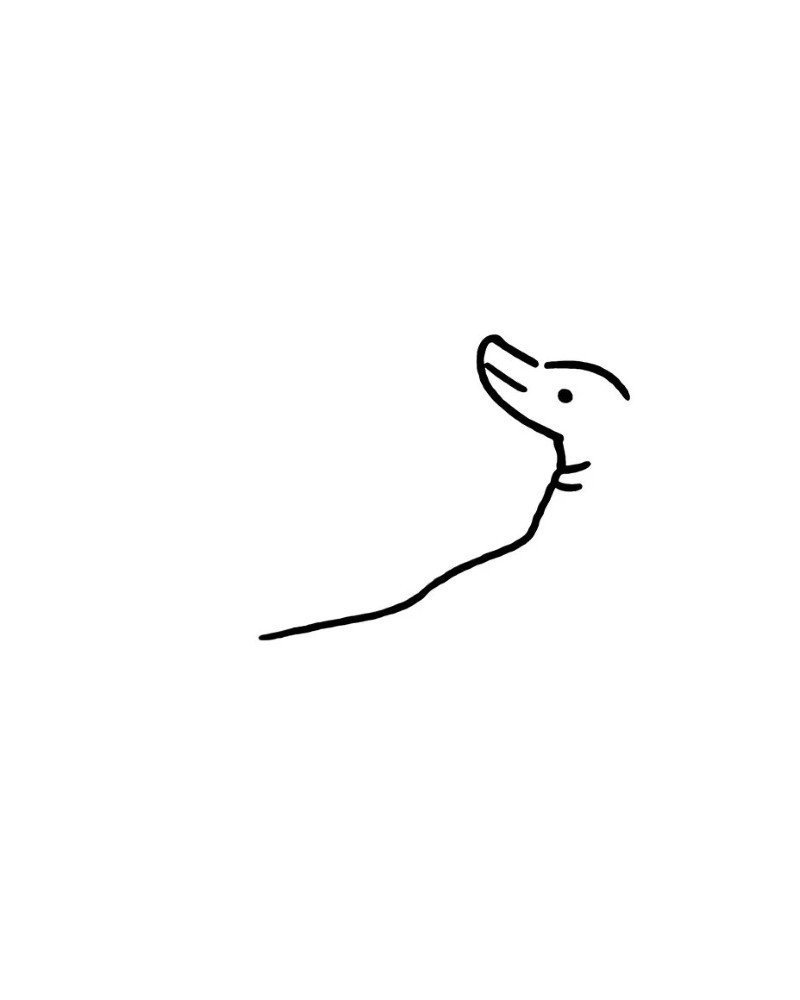
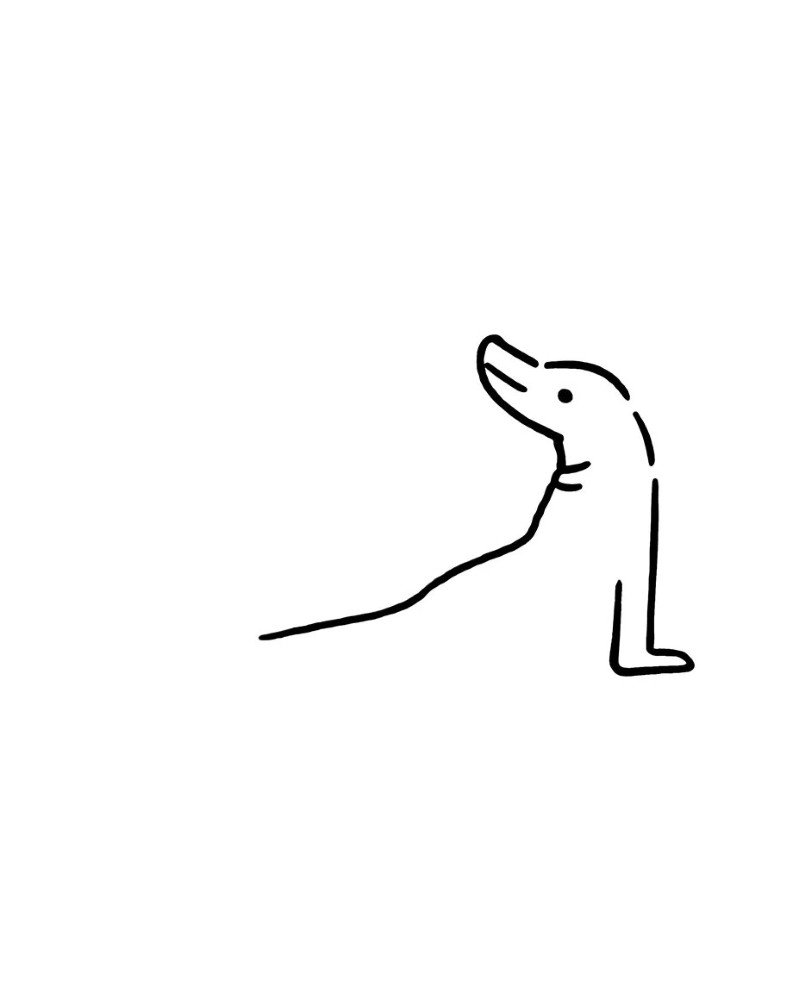
How to draw a easy Lizard


Step 1: Start by drawing two connected oval shapes, one for the head and one for the body, like a peanut shape to form the basic lizard structure.

Step 2: Add a curved tail at the bottom of the body to shape the classic lizard silhouette and make the pose more dynamic.

Step 3: Draw a small head shape and add two simple dots for the eyes to begin forming the lizard’s face.

Step 4: Sketch four curved legs with rounded toes extending from the body to create a crawling position.

Step 5: Add final touches like fingers, toes, spots, and outline details to complete the lizard drawing with a lively and expressive look.
How to draw a Lizard
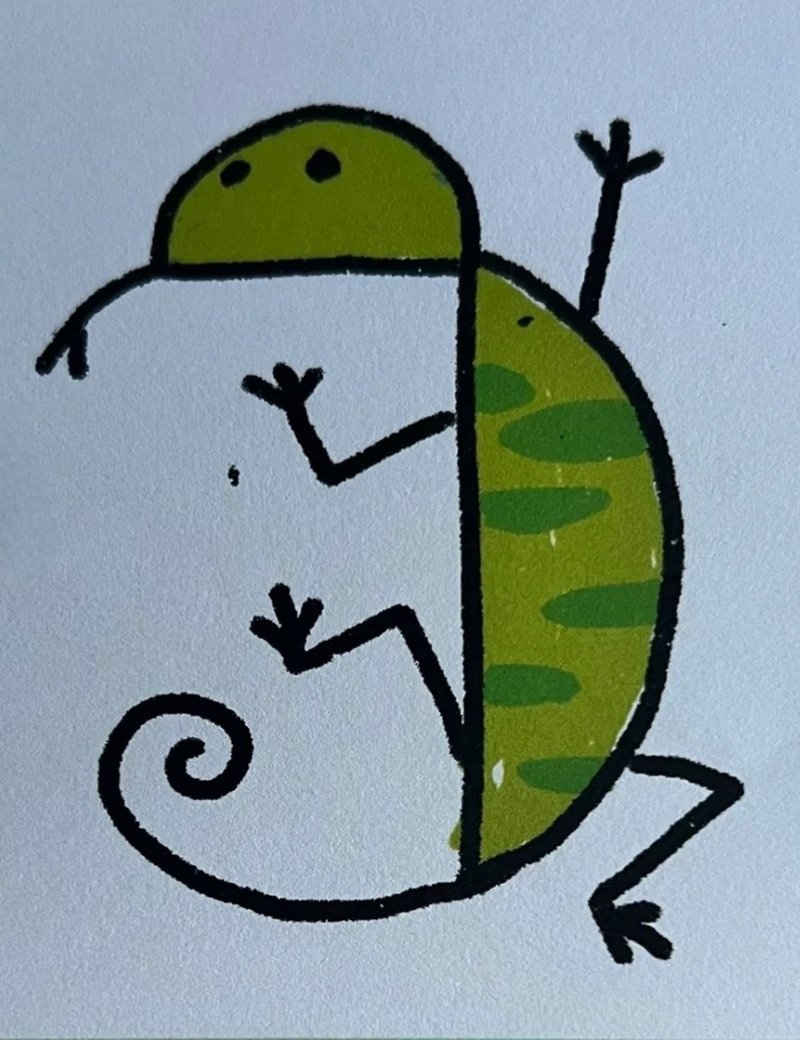

Step 1: Start with a curved dome shape to outline the top of the lizard’s head, keeping it simple and smooth for easy drawing.

Step 2: Draw a long curved line from the head down and back up to form the lizard’s body, ending with a looped tail.

Step 3: Add an eye and a smiling mouth to bring life to the face, then curl the tail like a spiral for a chameleon-style look.

Step 4: Sketch out the front and back legs with fingers stretching out to show movement and balance in the pose.
Step 5: Add color to the body with green tones and draw segment lines to give your lizard texture and a fun cartoon vibe.
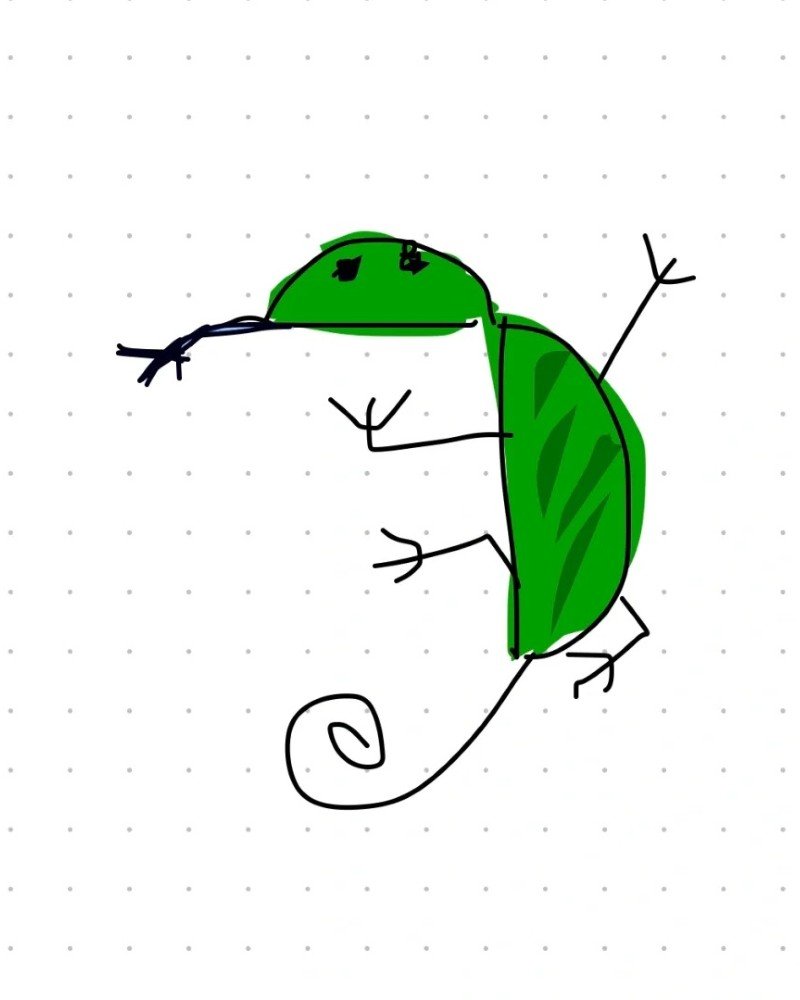
How to draw a Lizard step by step


Step 1: Begin by drawing the lizard’s head shape with a small curve for the snout and a dot for the eye to create a cute front-facing pose.
Step 2: Extend the line downward to form the upper body and neck area, keeping the posture upright and slightly leaning back.
Step 3: Add the front arm resting down and curving slightly, giving the lizard a sitting, relaxed vibe.

Step 5: Add both legs in a folded position with small toes to make the lizard look like it’s calmly sitting.

Step 6: Sketch a long curved tail that wraps around the body, giving it a natural and balanced appearance.

Step 7: Draw the back pattern or spine line with spikes or scales along the body to add character and detail.

Step 8: Add final face details and light shading or background shapes like rocks or bubbles for a fun finish.
See more:
Collection 5+ easy steps on how to draw a lily flower beautifully
Collection 5+ easy steps on how to draw a lily flower beautifully
7+ tips and tricks on how to draw a Hippo like a pro
Drawing a Lizard doesn’t have to be complicated or boring. With the right guidance and a bit of creativity, you can create impressive sketches that wow your friends and boost your confidence. Keep practicing, stay playful with your lines, and soon enough, you’ll be drawing all kinds of awesome reptiles with ease. See you in the next tutorial