Wanna learn how to draw a shamrock that actually looks good? Whether it’s for St. Patrick’s Day, journaling, or just a cute sketch, this guide has you covered. From simple three-leaf clovers to creative cartoon shamrocks, we break it all down step-by-step. You don’t need fancy tools—just a pen and some inspiration. Perfect for beginners and young creatives alike. Plus, we’ve added some fresh styles to help your art stand out. Ready to draw something lucky? Let’s sham-rock it! Find more cool tutorials at dooduko.com.
How to draw a shamrock
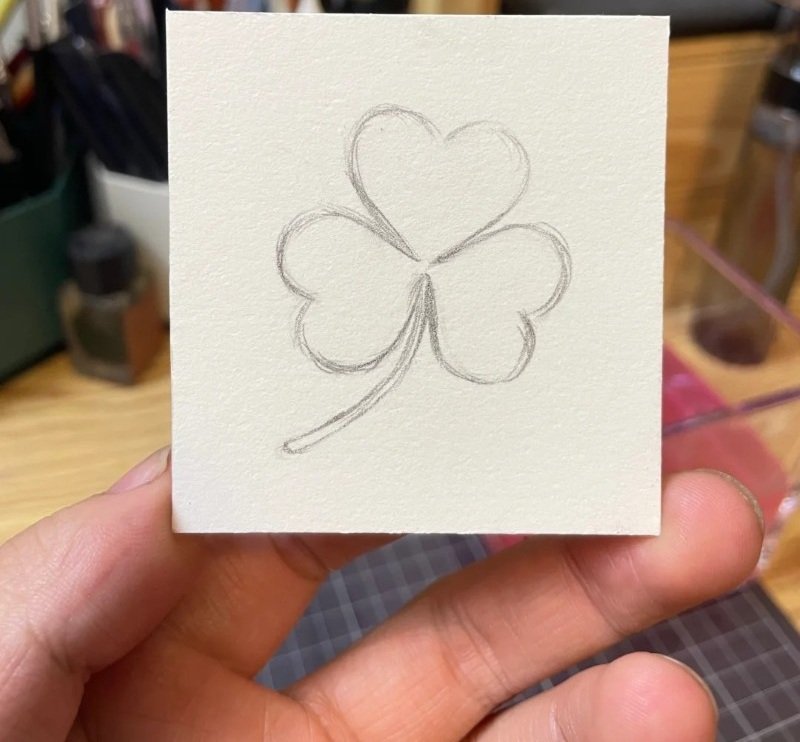
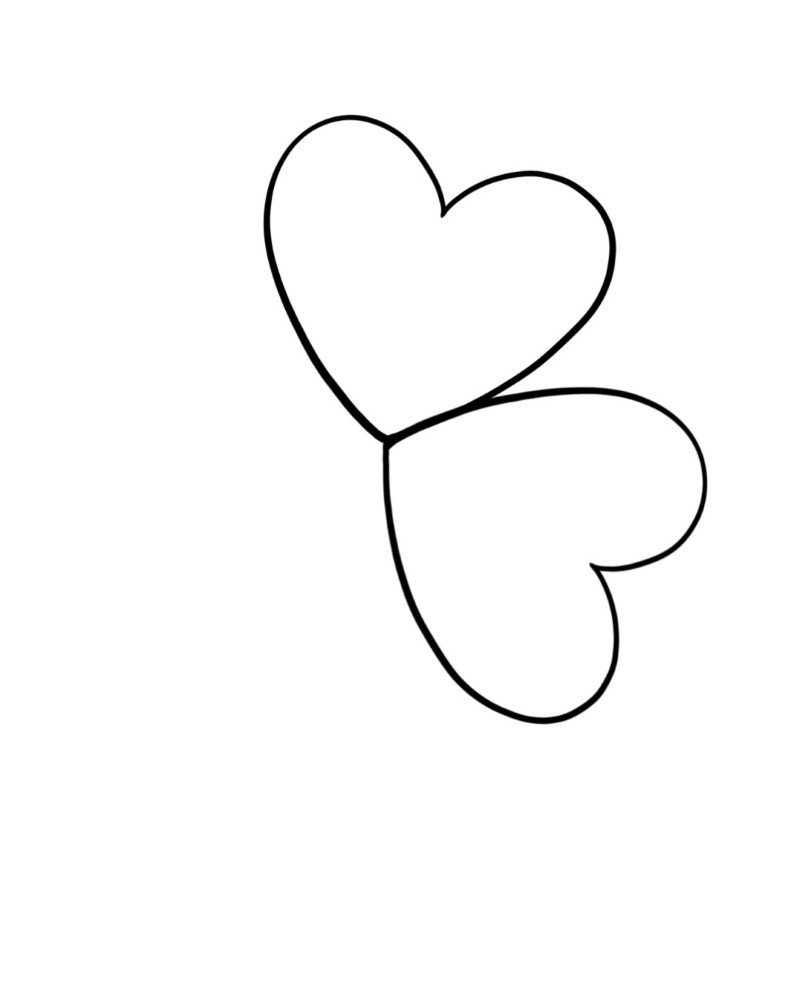
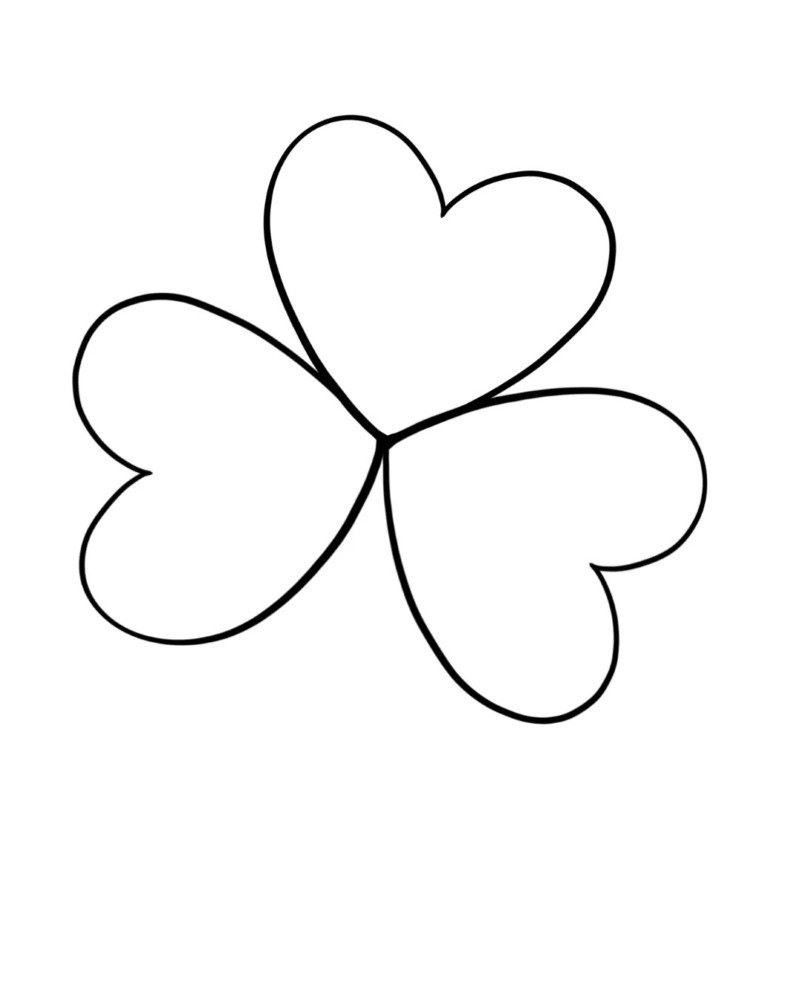
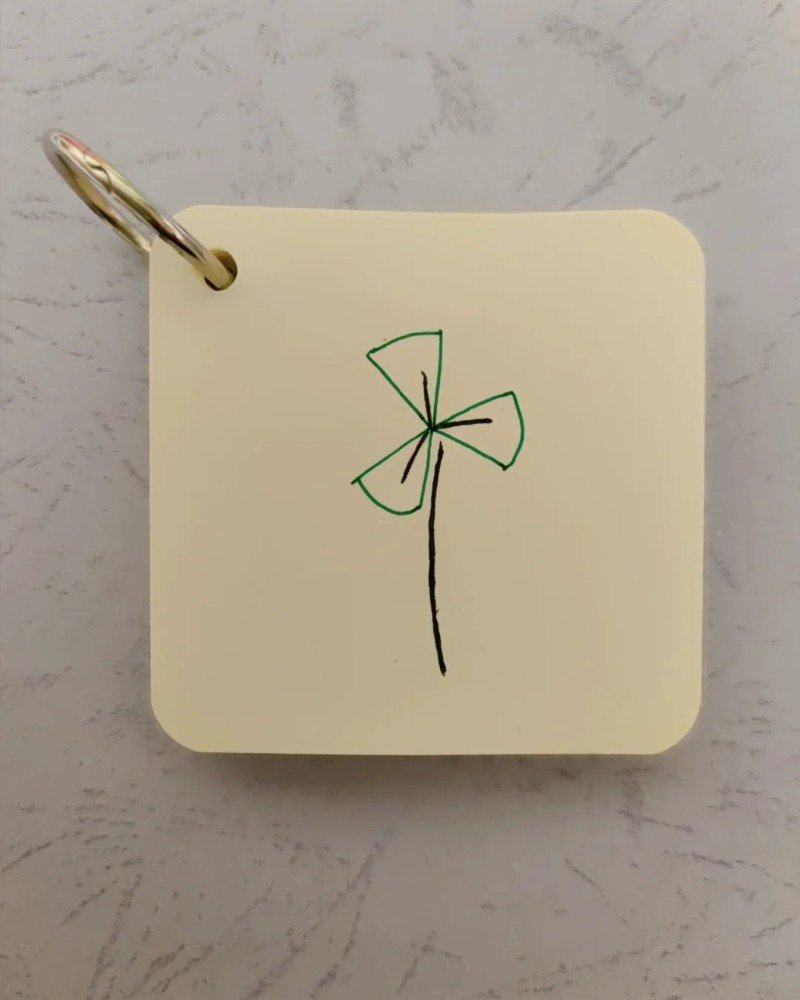
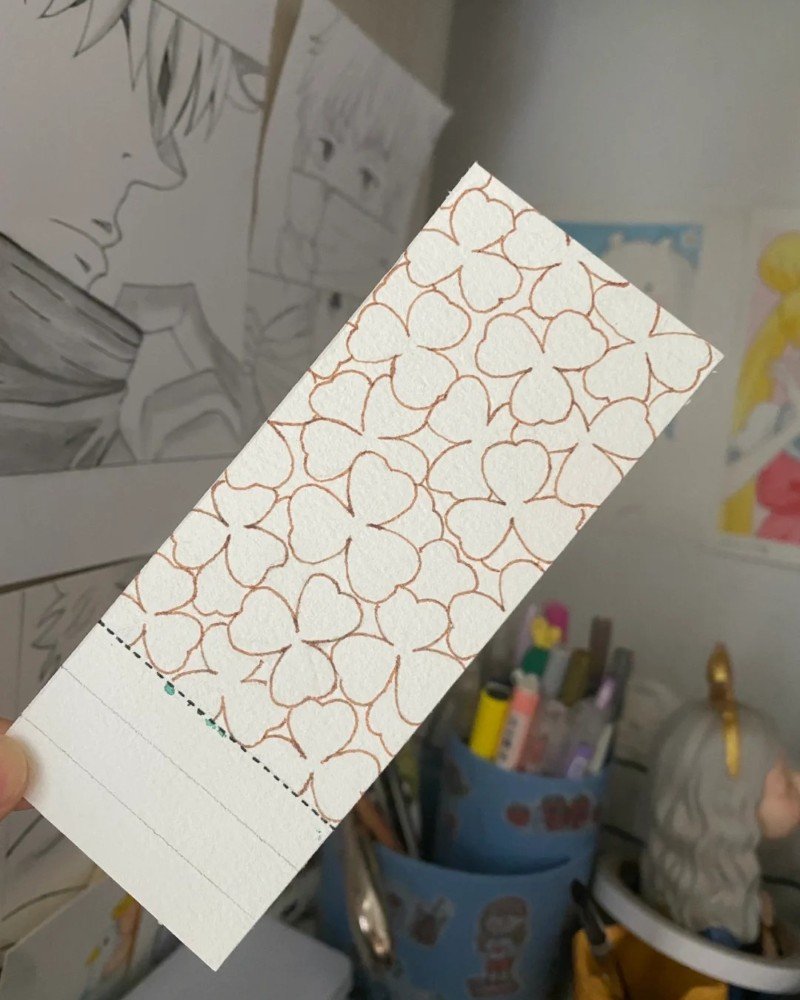
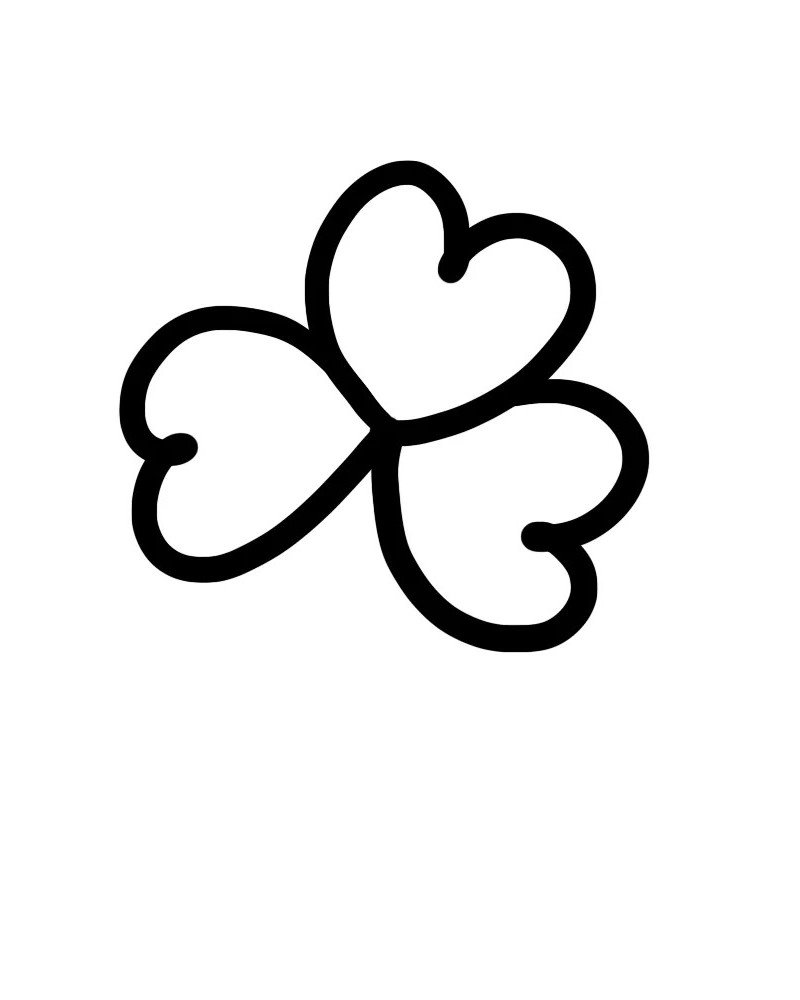
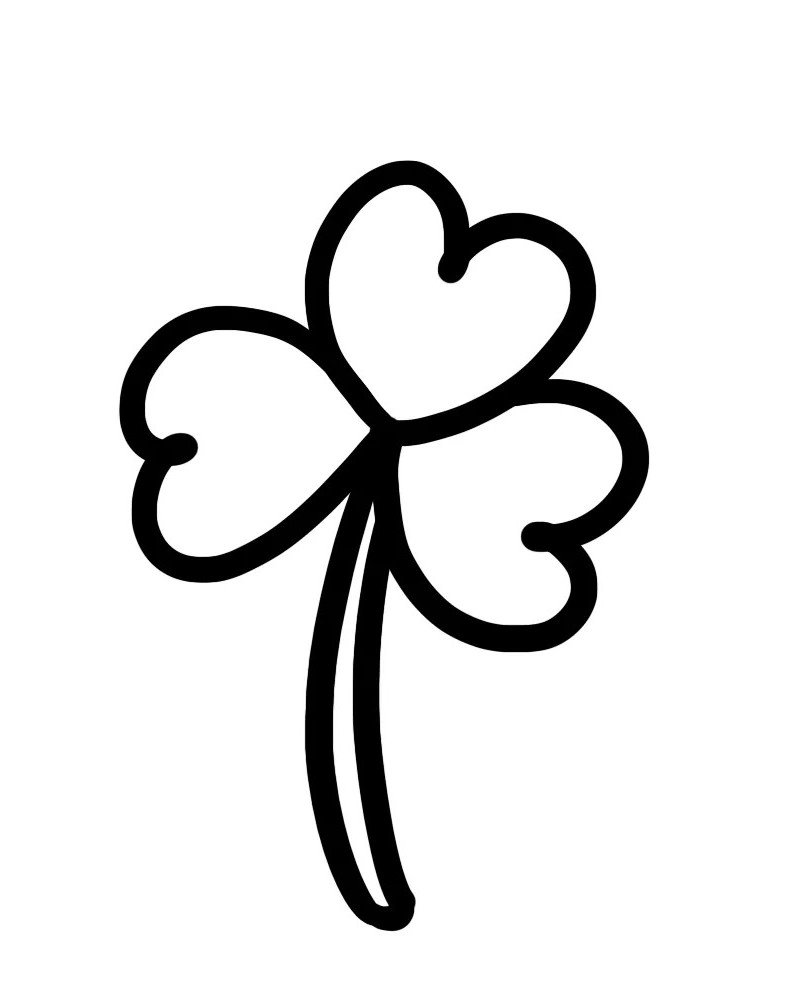
Step 1: Draw a small heart shape at the top, then add two more heart shapes angled left and right to form the three leaves of the shamrock.
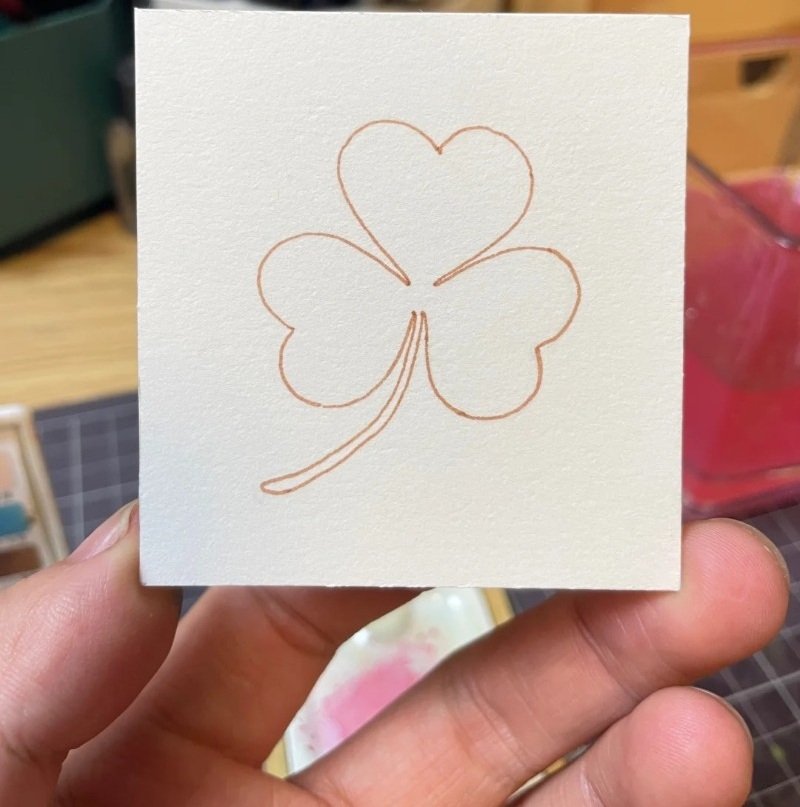
Step 2: Add a curved stem at the bottom center, connecting smoothly with the leaf shapes to give a natural shamrock look.
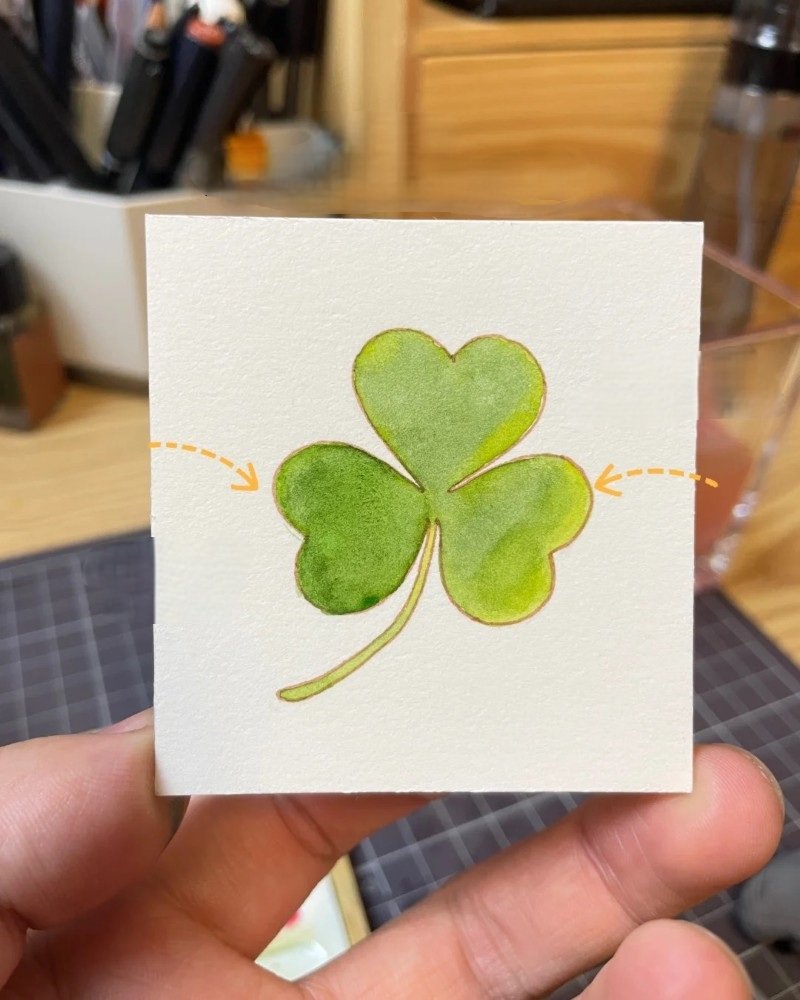
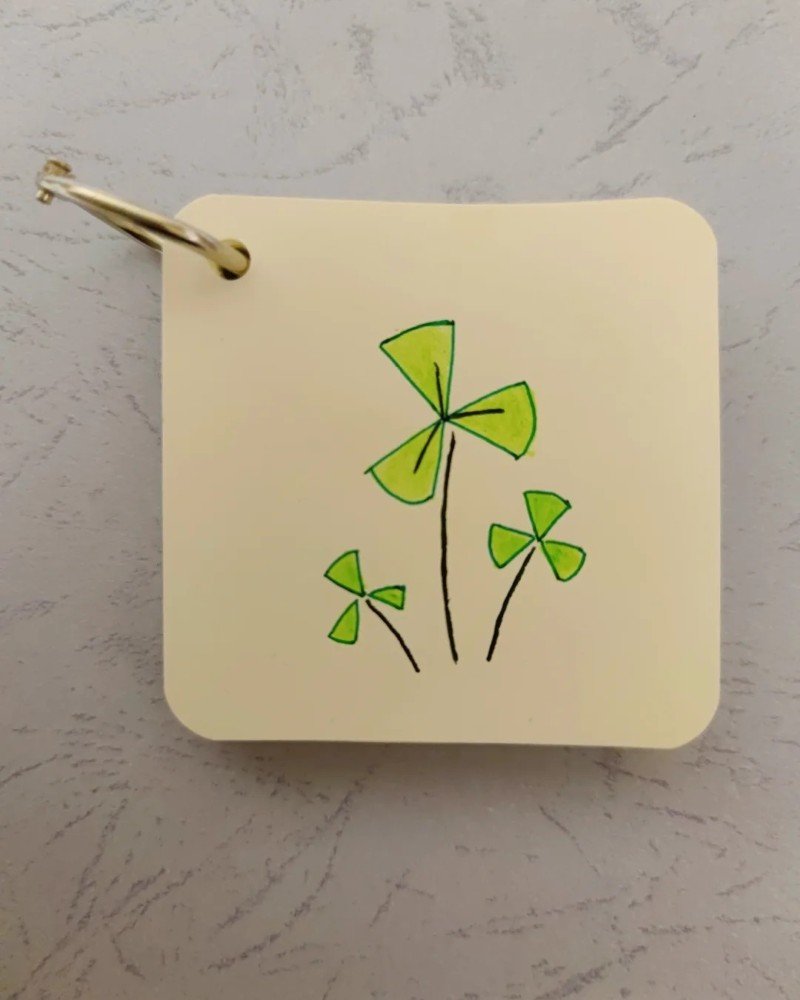
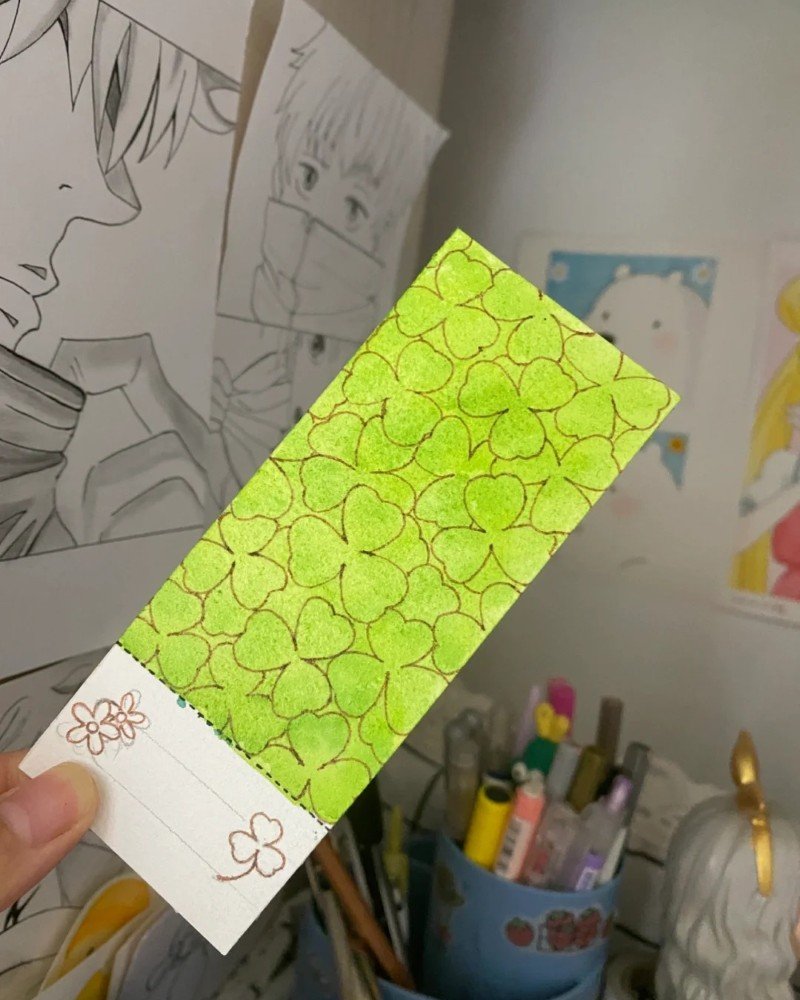
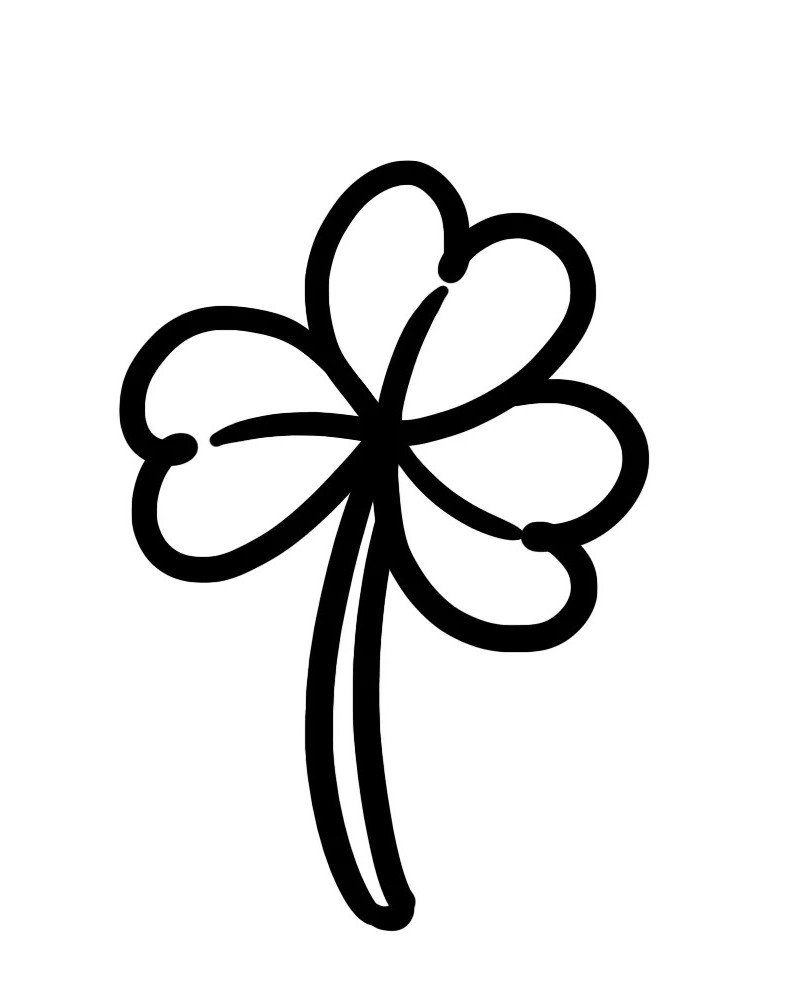
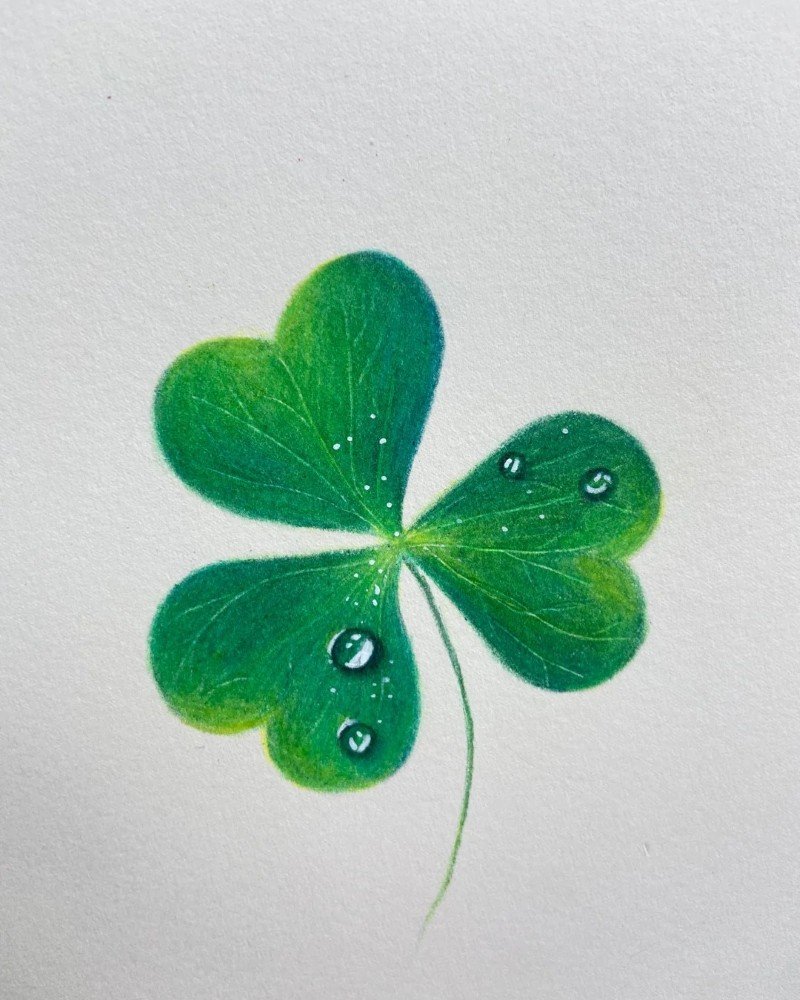
Step 3: Fill in each leaf with a light green base color, then layer darker green shades around the edges to add depth.
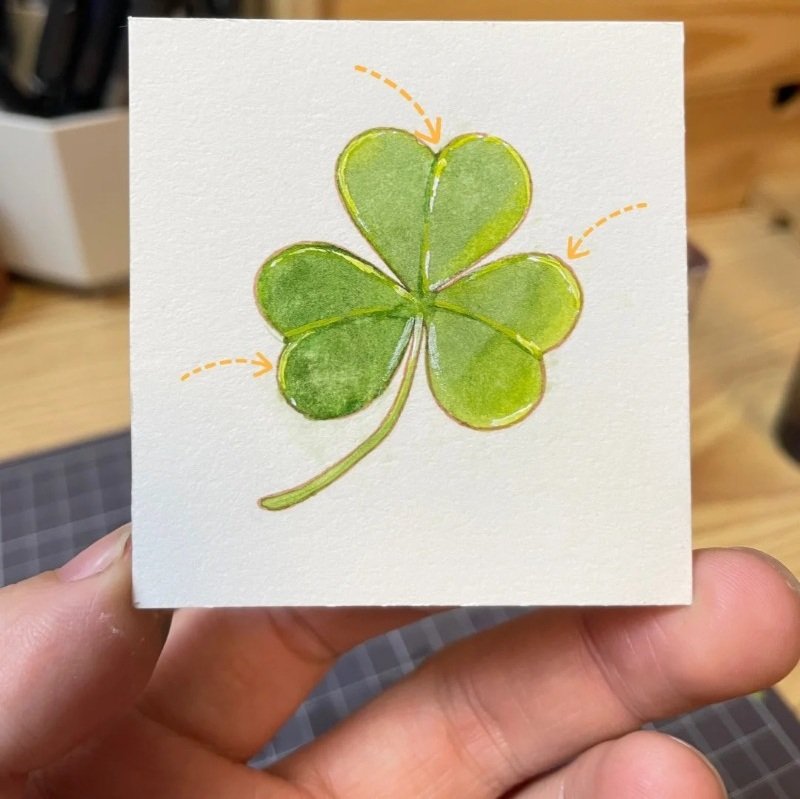
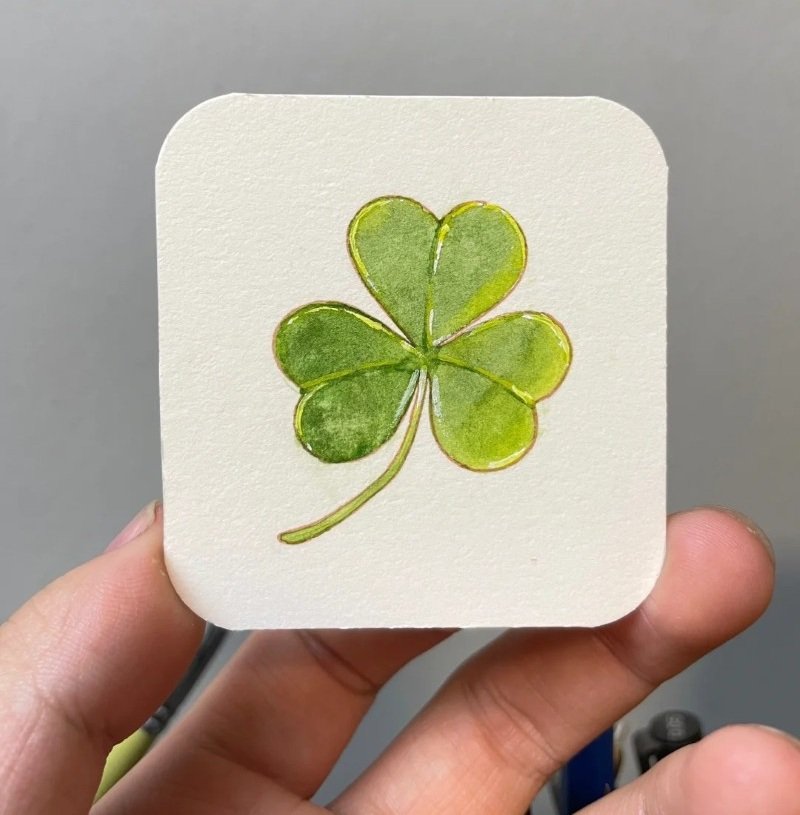
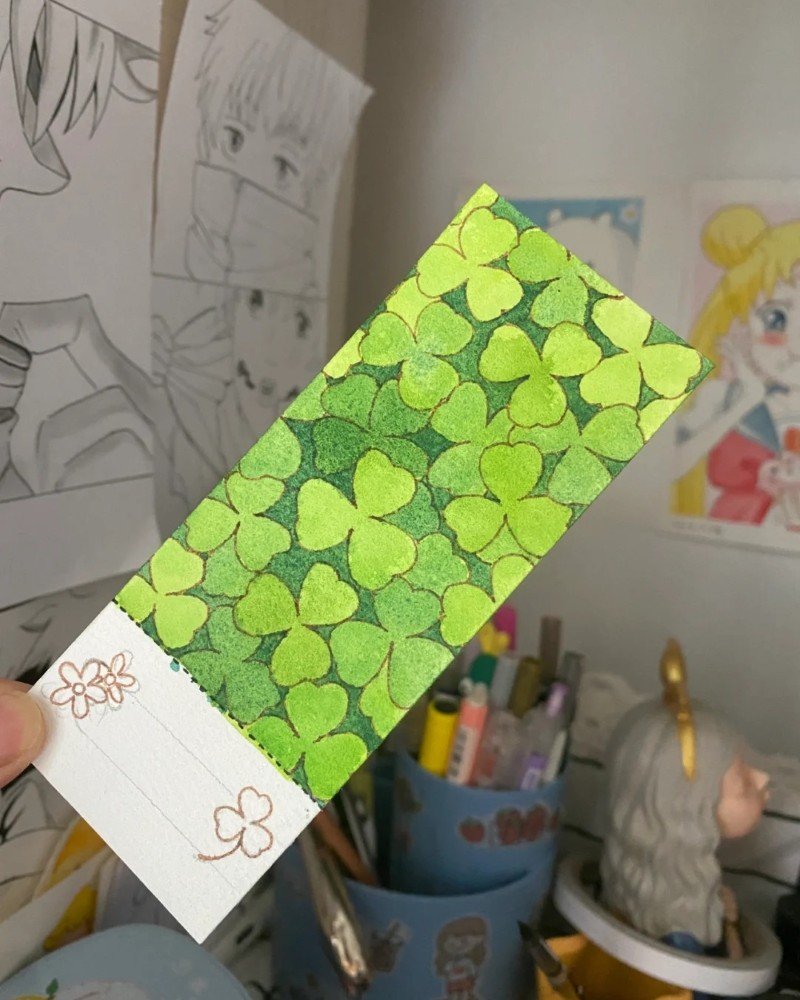
Step 4: Add final shadows and highlights to give each leaf a realistic touch, making your shamrock pop off the page beautifully.
How to draw a shamrock cute
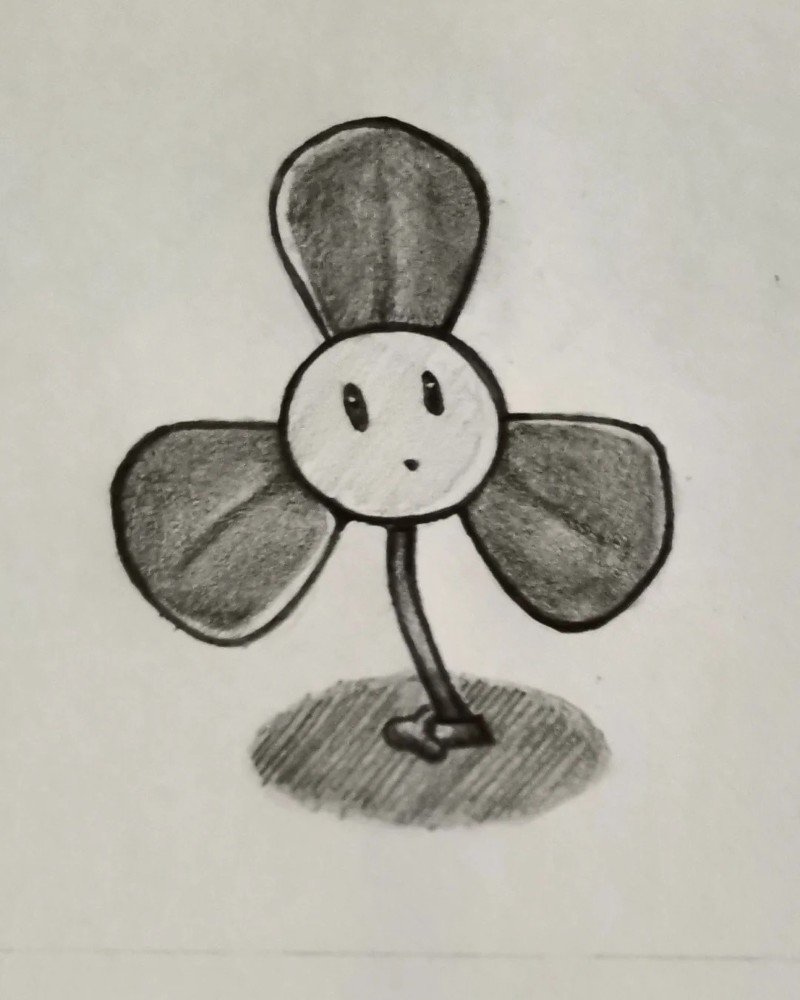
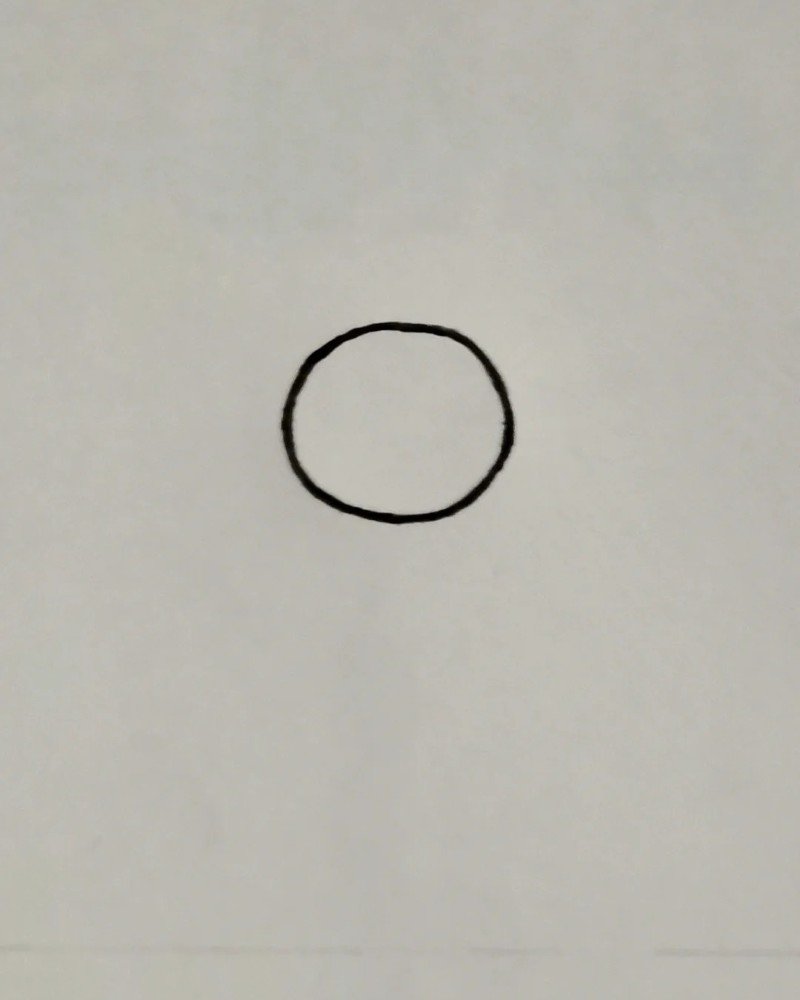
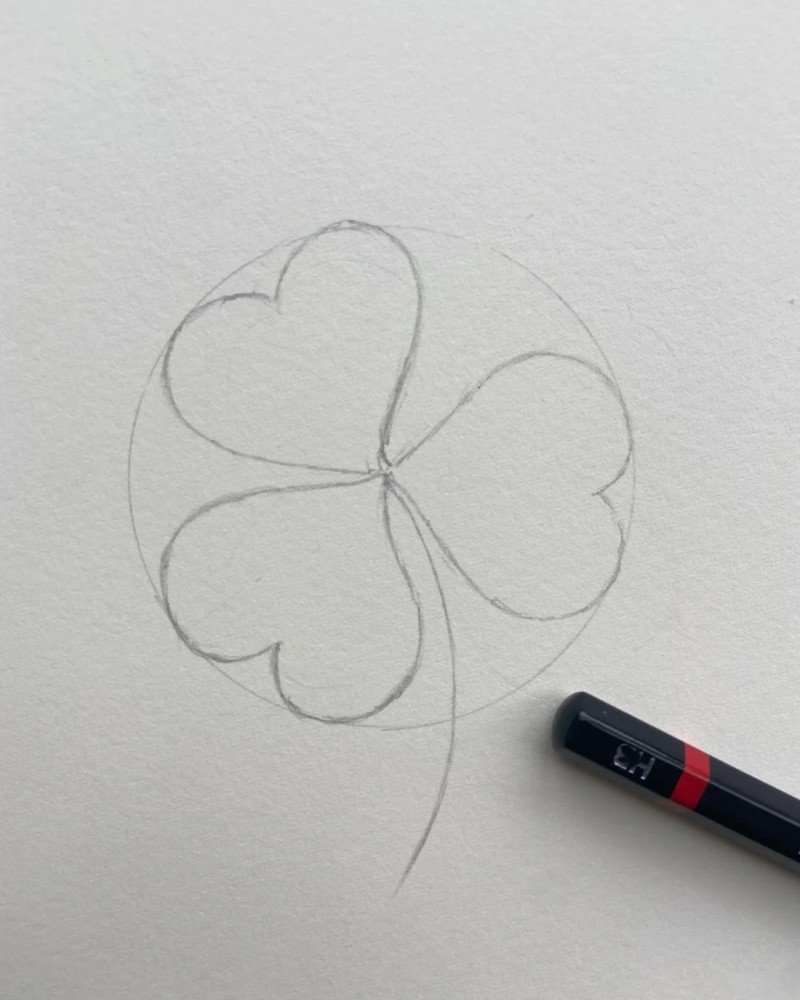
Step 1: Start with a medium-sized circle in the center of your paper—this will be the cute shamrock’s face.
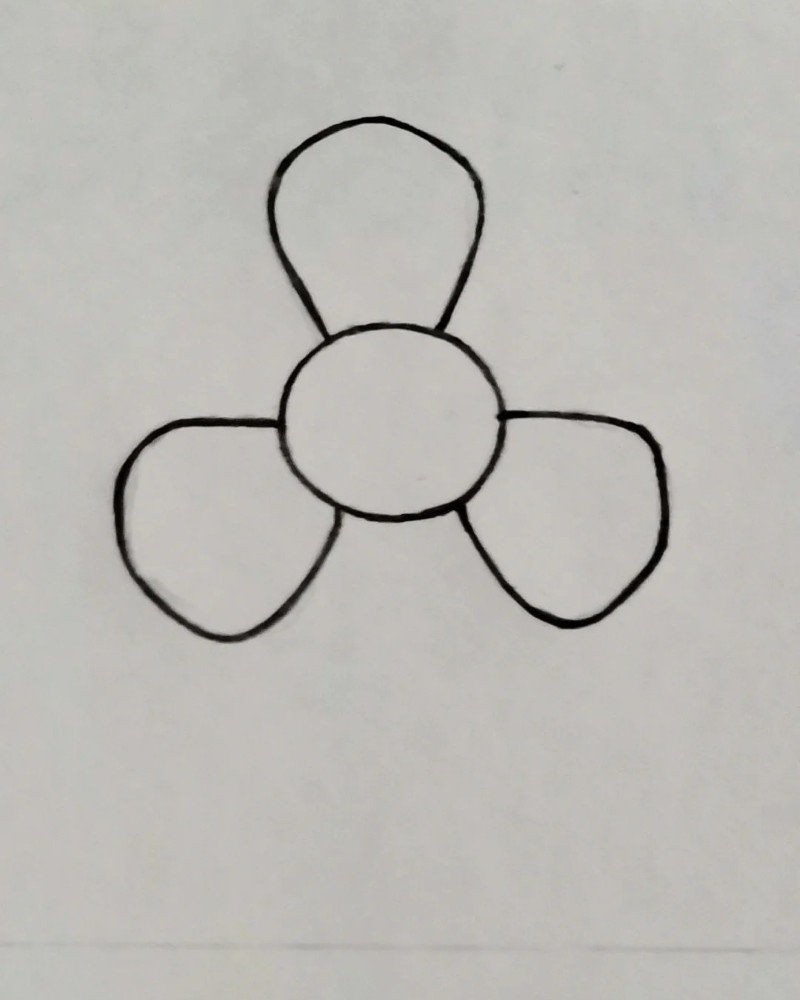
Step 2: Draw three big petal-like heart shapes around the circle to form the shamrock leaves, each tilted evenly for a playful look.
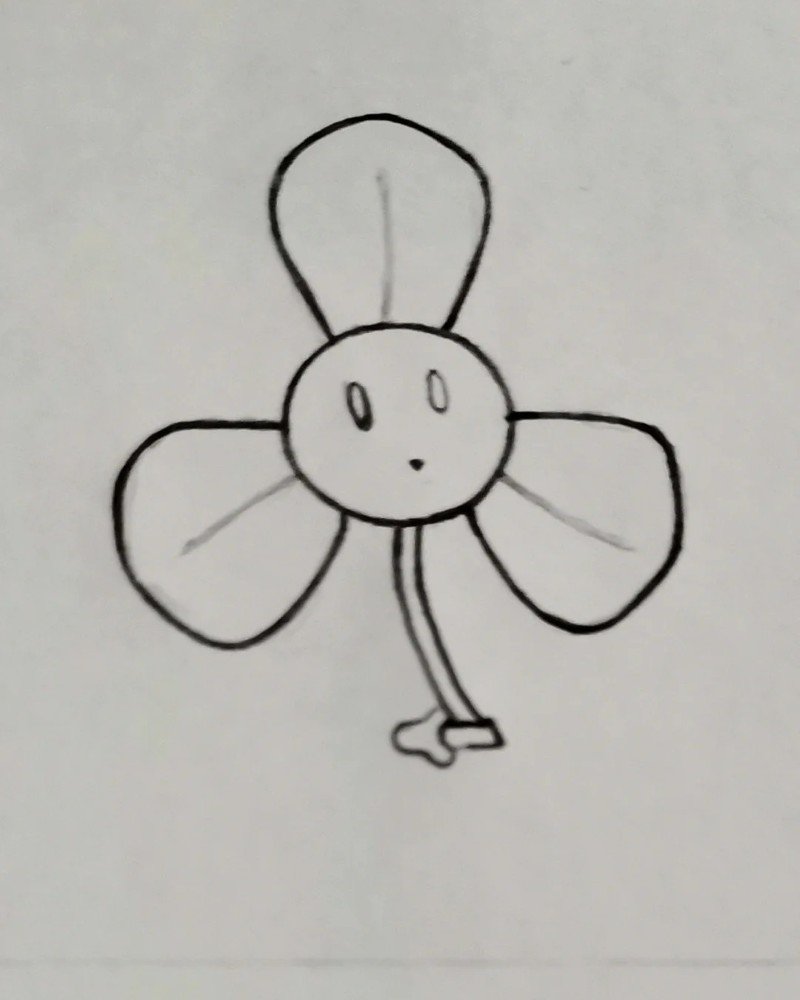
Step 3: Add a smiley face in the center, then draw a curvy stem and tiny legs to give your shamrock a fun cartoon personality.
How to draw a shamrock easy


Step 1: Begin by drawing a simple heart shape tilted slightly—this will be the first leaf of your shamrock.
Step 2: Add a second heart next to the first, pointing in a different direction to start forming the clover.
Step 3: Draw a third heart below the others, overlapping slightly to complete the three-leaf structure.
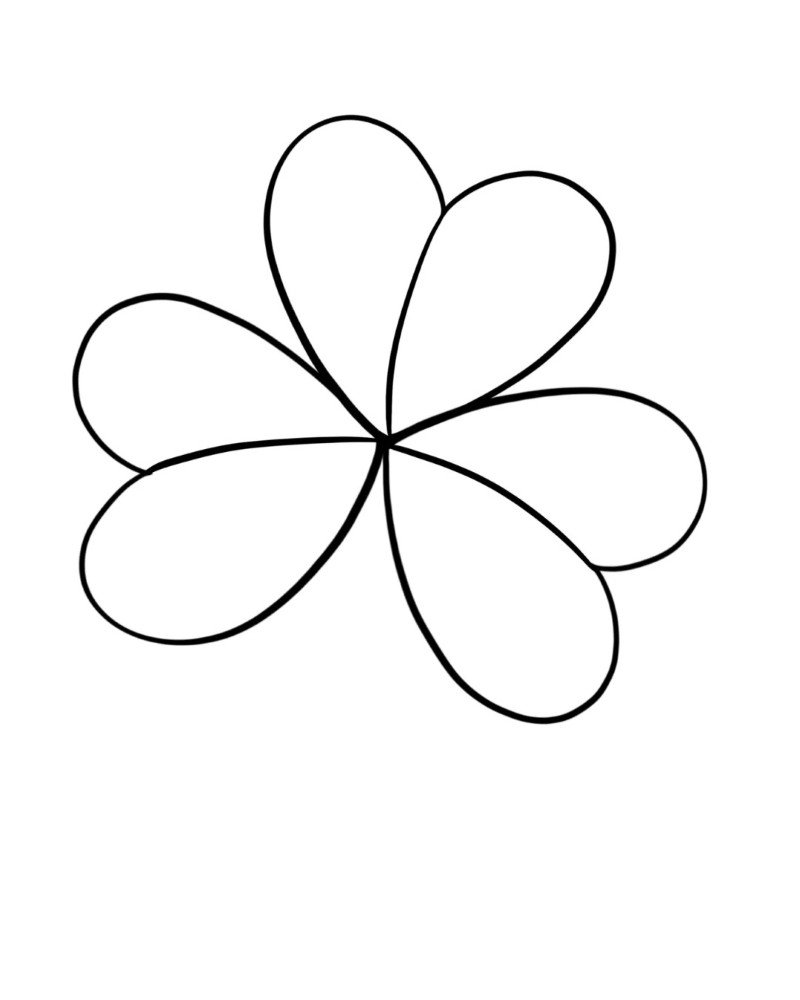
Step 4: Add a fourth heart for a lucky four-leaf clover look, keeping the symmetry around the center point.

Step 5: Finish by drawing a curved stem at the bottom to connect the leaves and complete your easy shamrock drawing.
How to draw a shamrock easy for kids
Step 1: Draw three small green hearts joined at the points to form the shamrock leaves, then add a long straight stem below them.
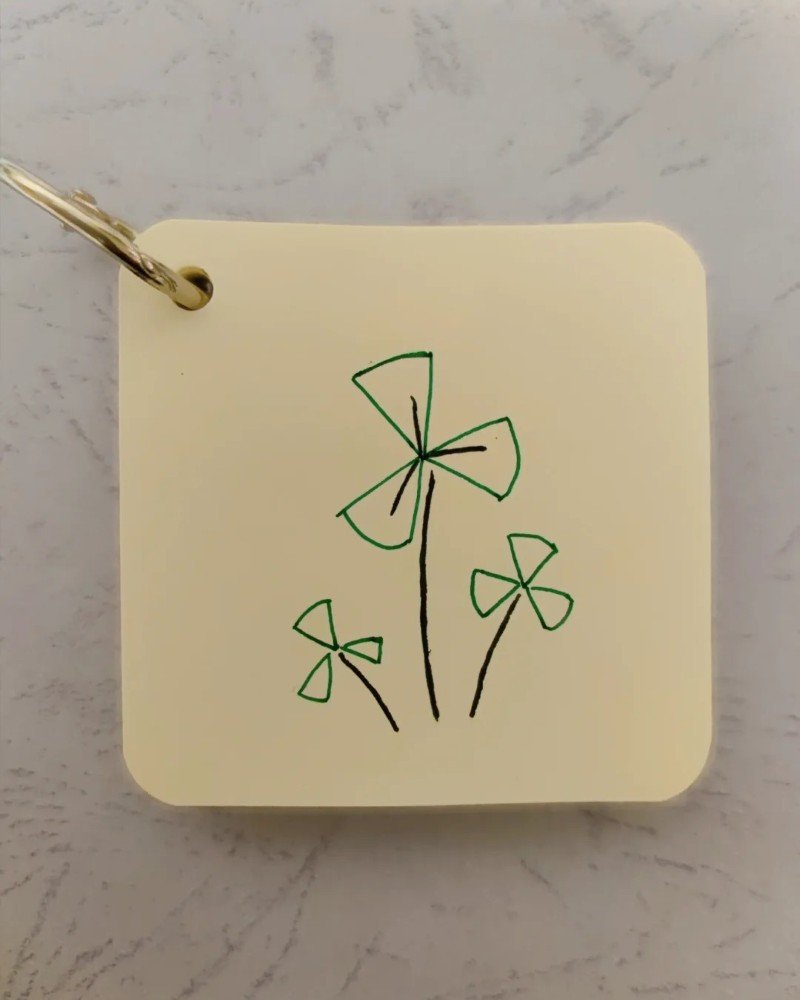
Step 2: Repeat the same steps to draw more shamrocks in different sizes, creating a fun and playful shamrock field for kids to enjoy.
How to draw a shamrock easy step by step

How to draw a shamrock for kids


Step 1: Start by drawing a large circle in light blue to help position the shamrock evenly—this will act as your guide.

Step 2: Inside the top part of the circle, draw a heart shape tilted to the left to begin the first shamrock leaf.

Step 3: Add a second heart on the right side, tilted in the opposite direction to keep balance in the shamrock’s shape.
Step 4: Draw a third heart pointing downward to complete the classic three-leaf shamrock look.
Step 5: Trace over your heart shapes with a bold line and erase the circle guide to clean up the drawing.
Step 6: Draw a slightly curved stem that connects to the center of the three leaves to give the shamrock its base.
Step 7: Thicken the stem and outlines to make the drawing pop—now your kid-friendly shamrock is complete and ready to color!
How to draw a shamrock step by step
Step 1: Lightly sketch three heart-shaped leaves connected at the center, forming the basic outline of a shamrock.
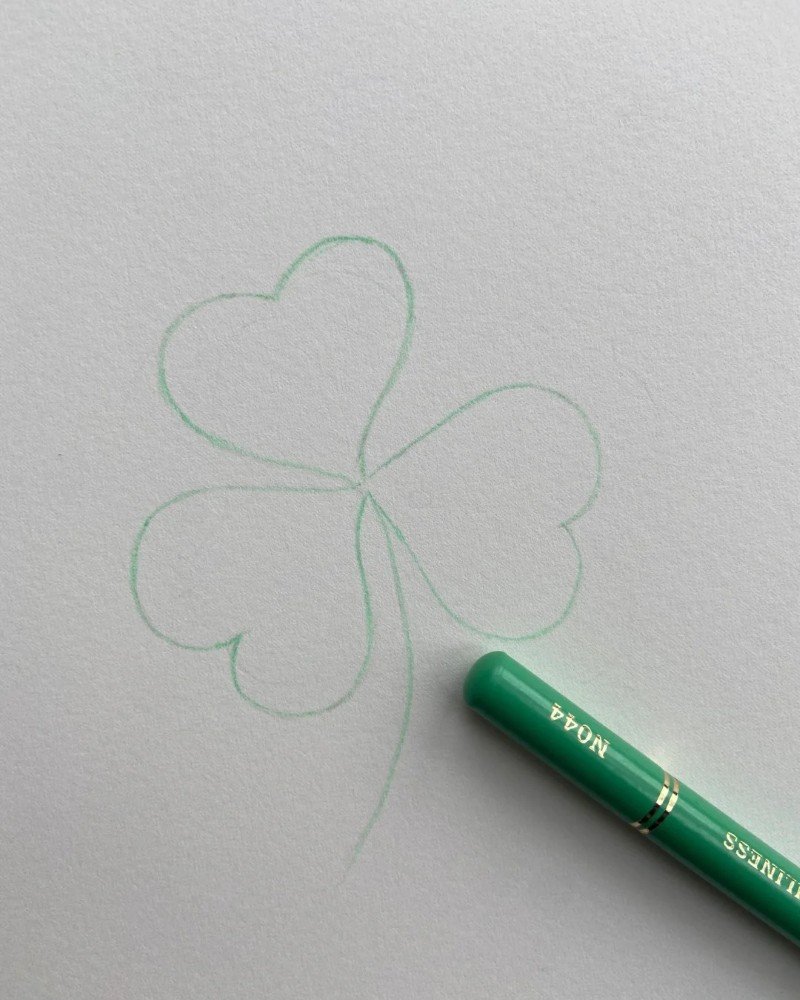
Step 2: Add a long curved stem extending downward from the center to complete the overall shamrock shape.
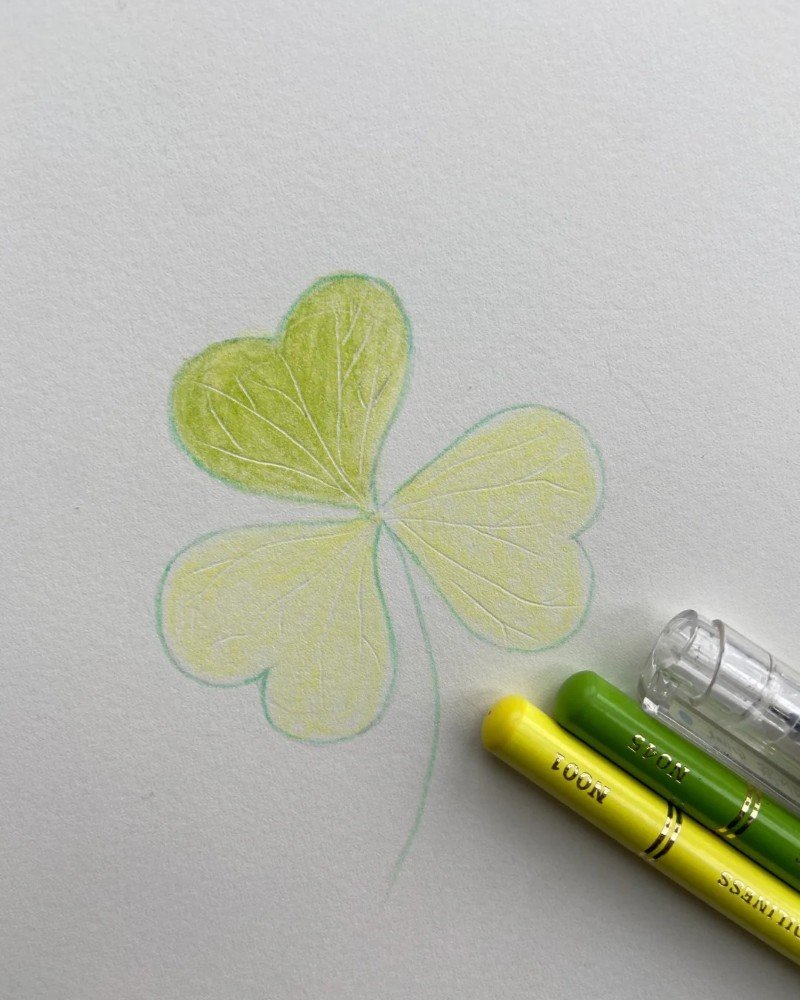
Step 3: Begin coloring each leaf with a light yellow-green shade as a base, keeping the strokes even and soft.
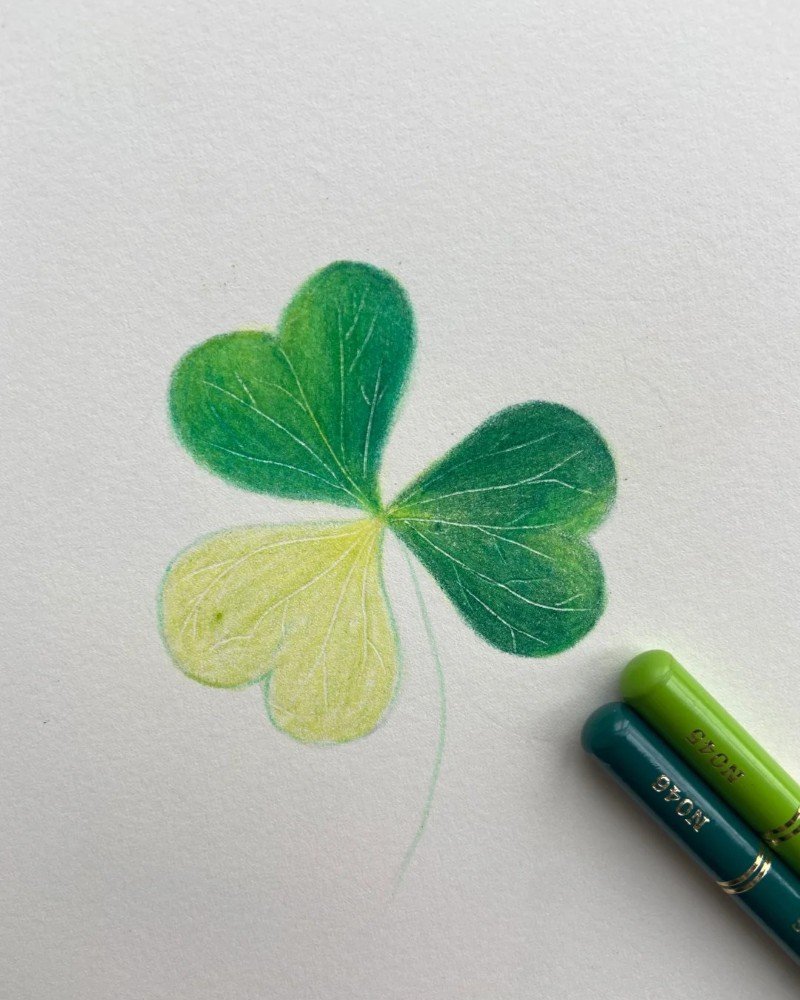
Step 4: Layer a deeper green on top of each leaf, blending gently to add depth and dimension to the shamrock.
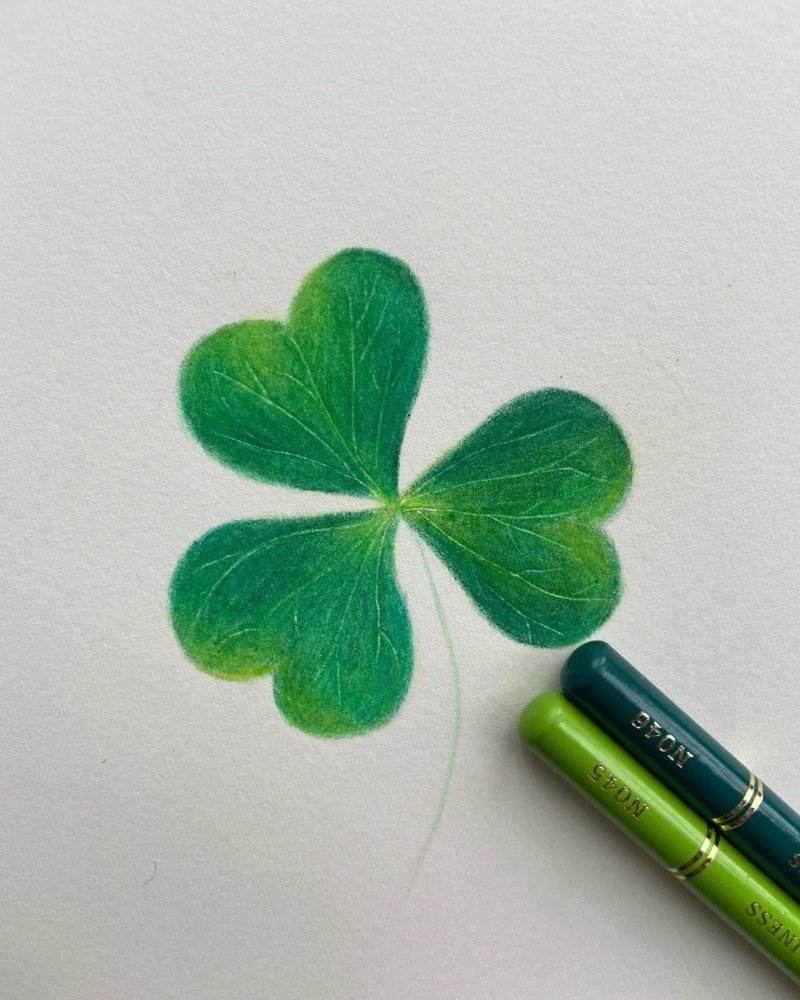
Step 5: Finalize the leaves with darker edges and blend the stem with matching tones to complete your colorful shamrock drawing.
See more:
How to draw a seashell: 4+ fun ways that feel like the beach
10+ best how to draw a Pumpkin easy tutorials for kids
How to draw a Pug in 6 Simple and cute steps
And there you have it! From basic lines to leafy charm, you now know how to draw a shamrock in multiple styles. Don’t stop at just one—keep experimenting, coloring, and having fun. Whether you’re decorating your notebook or making festive cards, a shamrock sketch adds a lucky touch. Share your creations and tag us for a feature!