Looking for a fun and easy way to express your creativity? Learning how to draw a tulip is a great place to start. Whether you’re a beginner or already confident with your pencil, tulips are the perfect flower to sketch—simple, elegant, and bursting with personality. With their soft petals and gentle curves, tulips offer endless ways to practice and improve your art.
In this guide, you’ll find step-by-step instructions that are perfect for artists of all levels. We break down each part of the tulip so you can follow along effortlessly. Say goodbye to boring tutorials—this one’s fun, fresh, and tailored just for you. Let’s draw together and make something beautiful! Find all the guides on dooduko.com.
How to draw a easy tulip
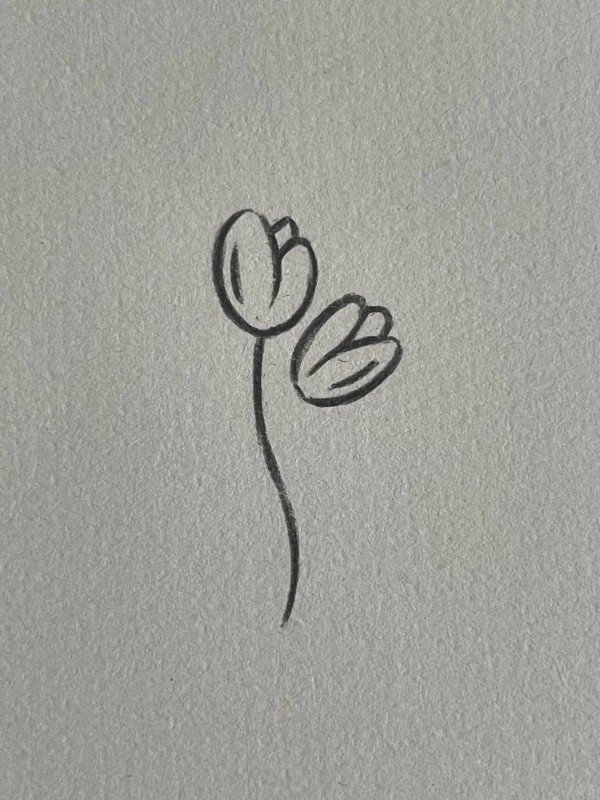
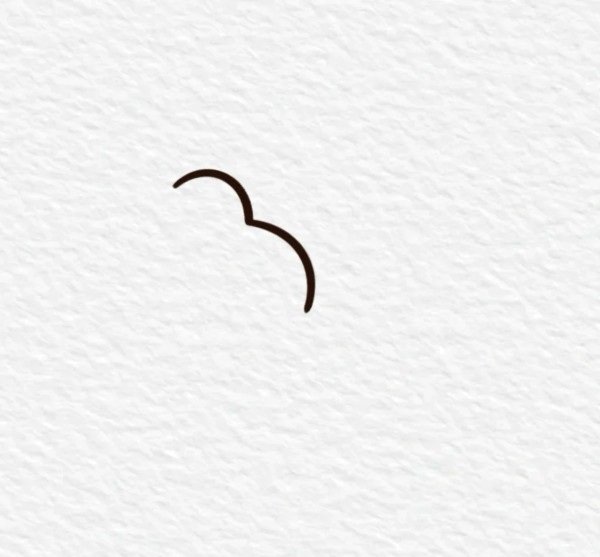
Step 1: Draw a small oval shape at the top of the page to represent the tulip bud, keeping it slightly pointed at the top for a natural look.
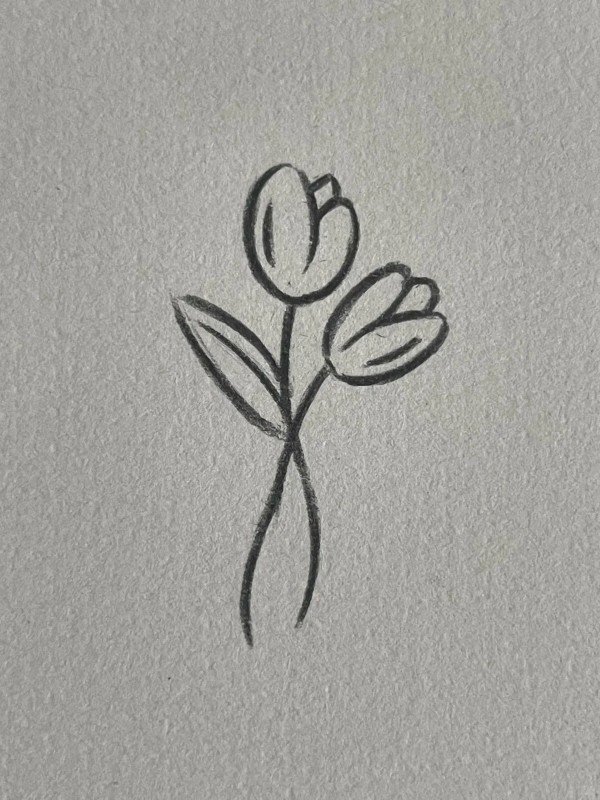
Step 2: Add two curved lines starting from the bud to form the side petals, creating a soft and balanced tulip shape.
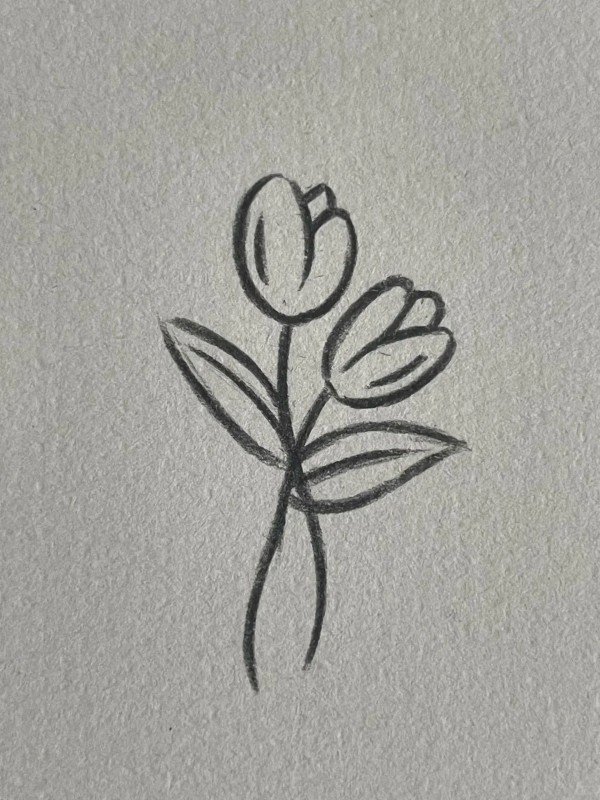
Step 3: Sketch a single straight stem extending downward from the base of the flower to define its structure and position.
Step 4: Draw two large leaves curving outward from both sides of the stem to give the tulip a graceful and full appearance.
How to draw a tulip easy


Step 1: Start by drawing a wide U-shape to create the outline of the tulip’s main body, which forms the base of the flower.
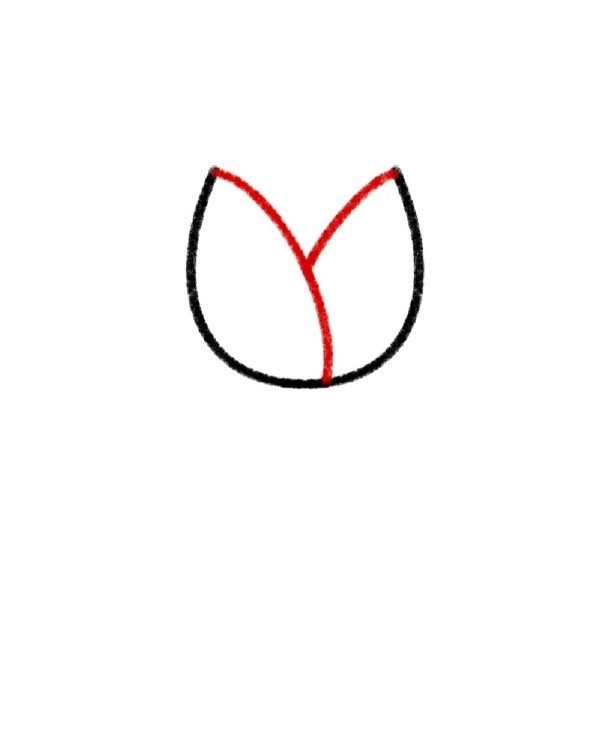
Step 2: Add two curved V-shaped lines at the top, connecting the ends of the U to form the side petals of the tulip.
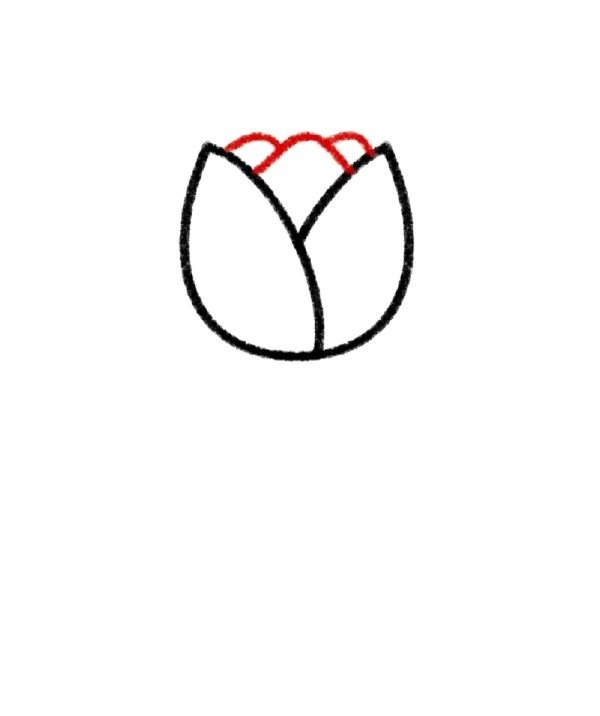
Step 3: Draw three small bumps at the top center to form the inner overlapping petals, completing the tulip’s blossom shape.

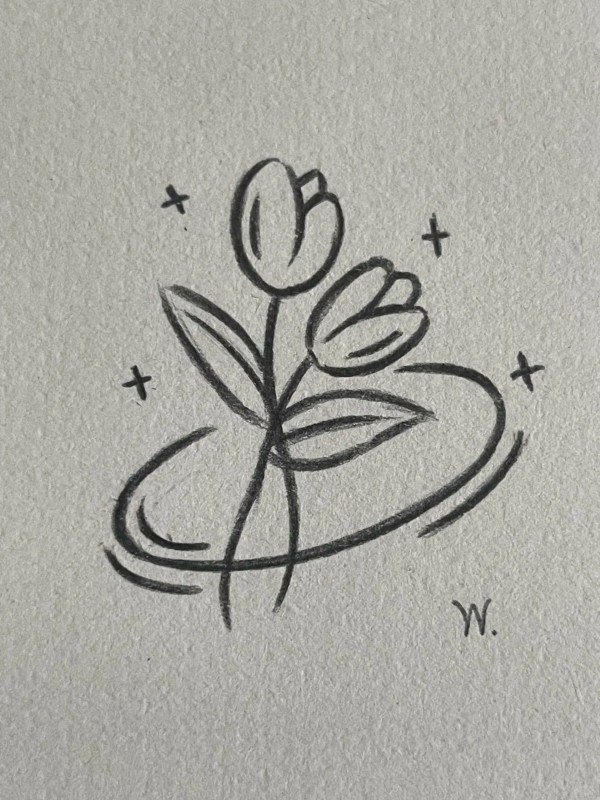
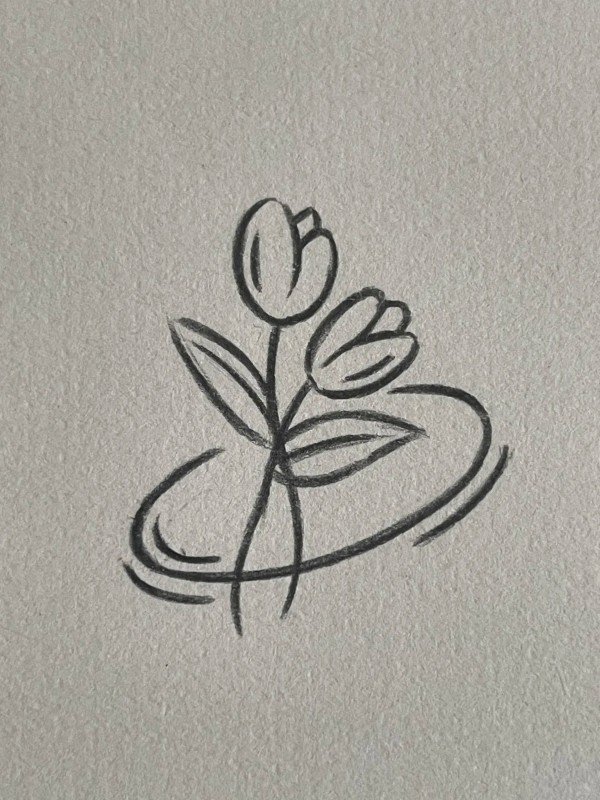
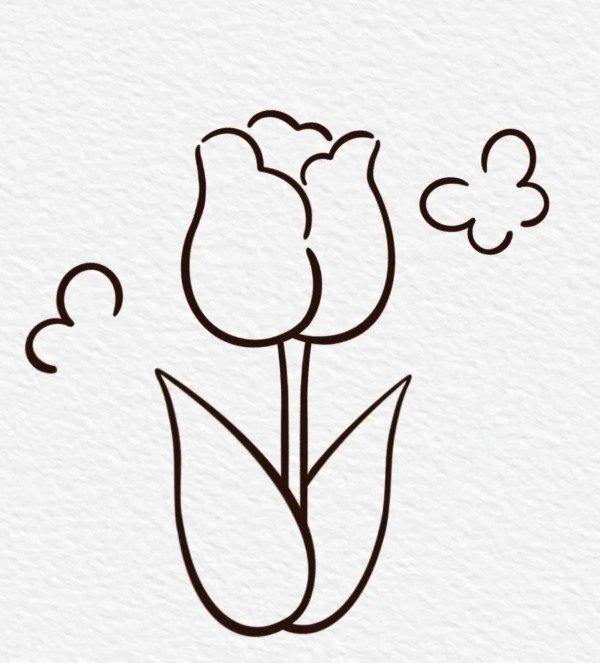
How to draw a tulip flower

Step 1: Begin by drawing a curved line to outline the top part of a petal, resembling the edge of a tulip opening.

Step 2: Add two more curves on each side to complete the top of the tulip, shaping the full flower head with three visible petals.
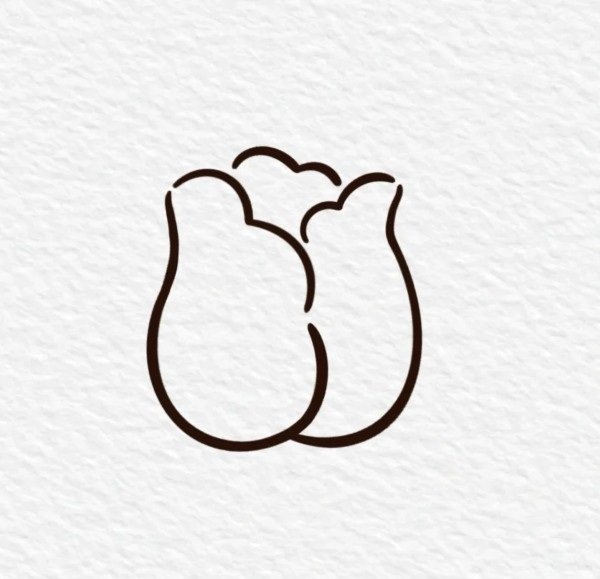
Step 3: Draw two long, slightly curved vertical lines beneath the flower to form the sides of the tulip’s main body.
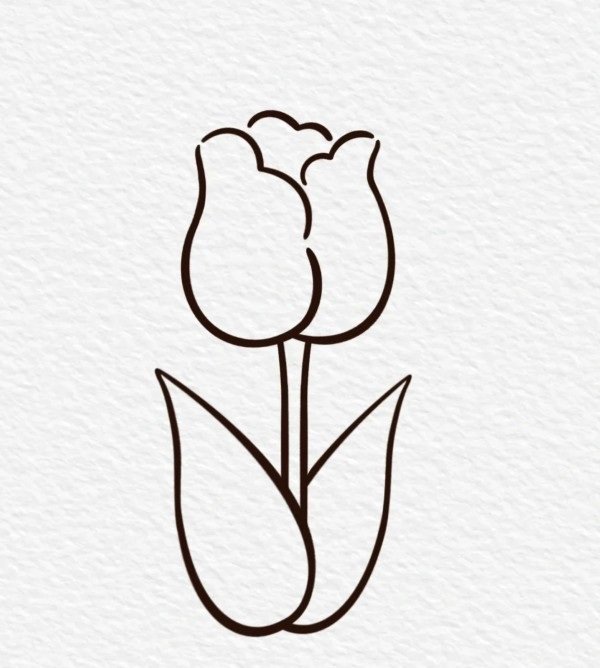
Step 4: Sketch a stem extending downward from the base of the flower, then draw one leaf on each side for symmetry.
Step 5: Add detail inside the leaves with a central line and define the petals with soft inner lines to add depth.
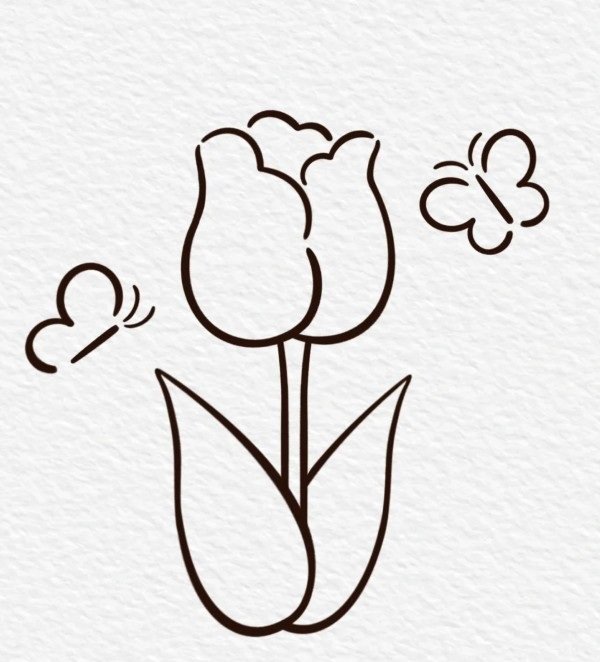
Step 6: Complete the tulip by adding decorative elements like swirls or sparkles around it for a playful, lively touch.
How to draw a tulip step by step

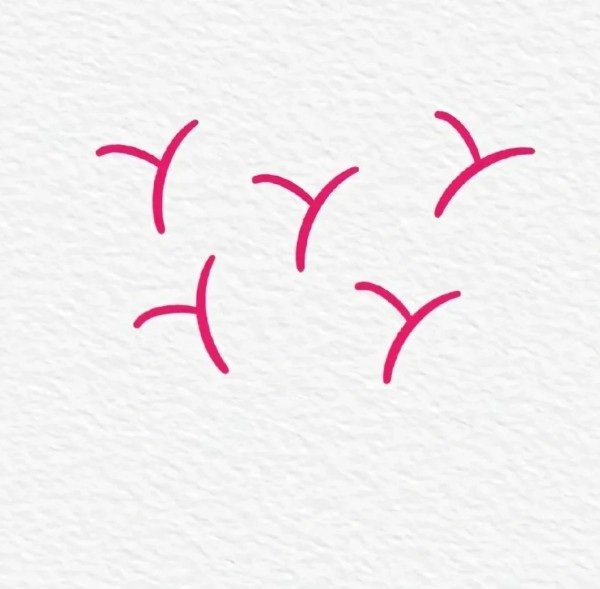
Step 1: Draw five short curved lines spread out across the page; these will guide the position and angle of each tulip in the bouquet.
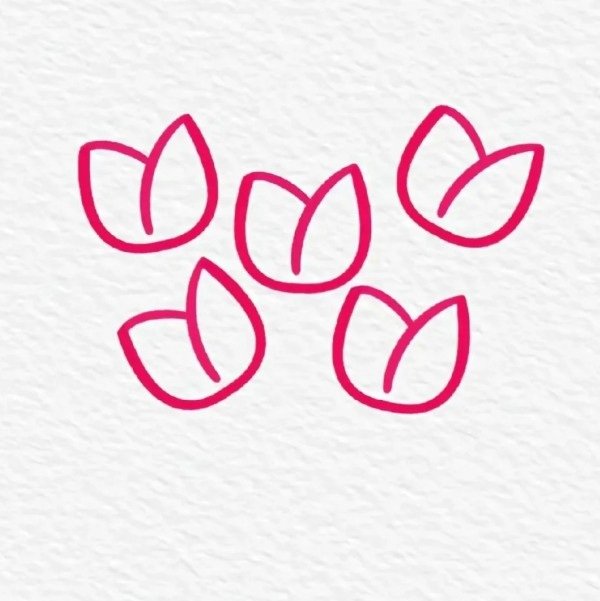
Step 2: Add tulip petals around the ends of each curved line to form the basic flower heads with open petals facing various directions.
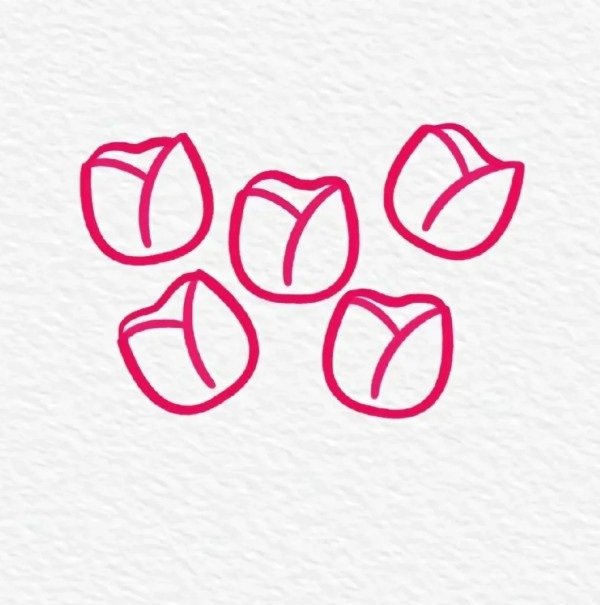
Step 3: Complete all tulip heads by adding inner petal lines and make sure each flower has a distinct rounded shape.
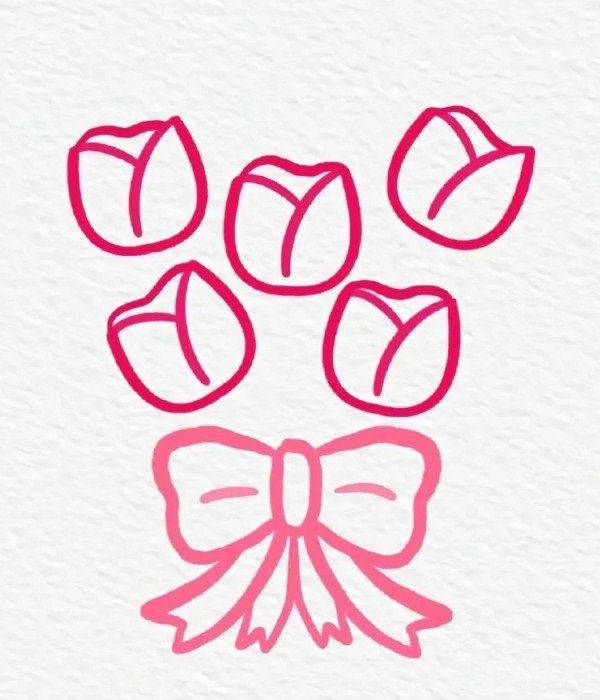
Step 4: Draw a ribbon with two loops and tails at the bottom center to bundle the flowers, giving it a bouquet appearance.
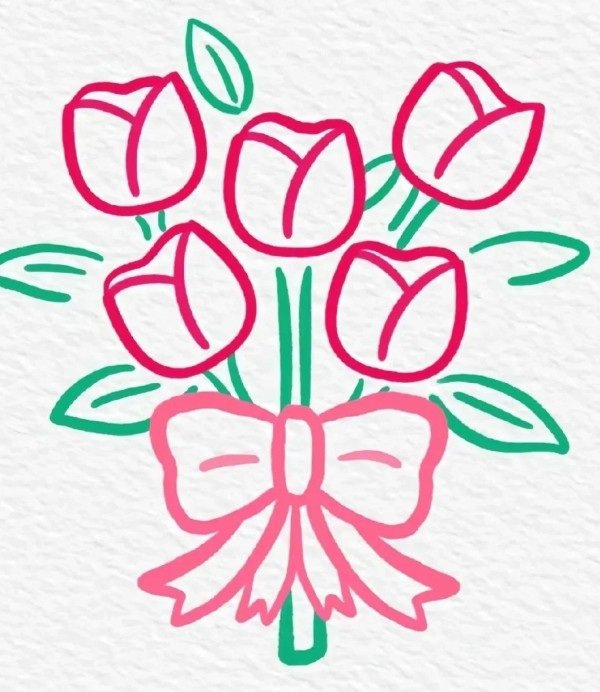
Step 5: Add stems connecting the tulips to the ribbon, then draw several leaves spreading outward to fill the bouquet.
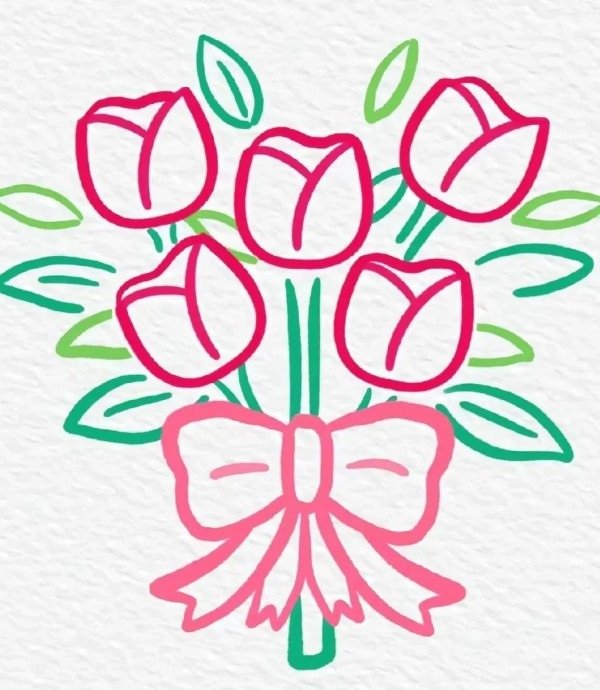
Step 6: Finish by adding small extra leaves and lines for texture and decoration, making your tulip bouquet look full and beautiful.
See more:
10+ creative ideas to try for how to draw a Strawberry
Discover 6+ fun ways on how to draw a Squirrel no
9+ tips on how to draw a Santa hat like a pro
Drawing a tulip might seem tricky at first, but once you get the hang of the shapes and flow, it becomes pure joy. By following the steps and experimenting with your own style, you’ll create tulips that are uniquely yours. Whether you’re sketching for fun or practicing daily, never stop exploring your creativity. Remember, every great artist was once a beginner. So grab your pencil, revisit the guide when needed, and most of all—have fun. For more inspiring how-to-draw lessons.