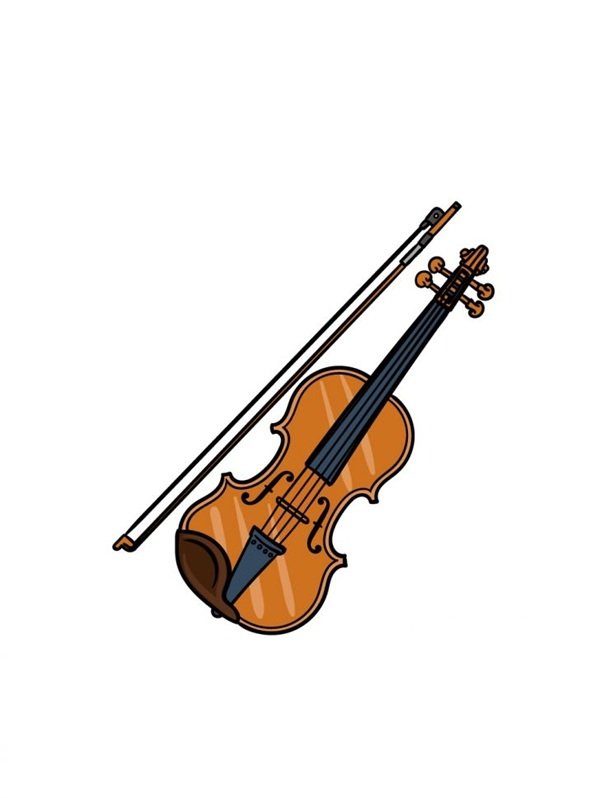
Are you passionate about music and art? Combining the two, learning how to draw a violin is not only fun but also deeply satisfying. Whether you’re a beginner or just want to improve your drawing skills, this guide is for you. We’ve curated a collection of tutorials that break down each step with ease. From sketching the elegant curves to shading for realism, you’ll find everything you need here. And if you’re looking for inspiration or references, dooduko.com has you covered with tons of creative resources. Let’s dive into the artistic world of violins together!
How to draw a simple violin
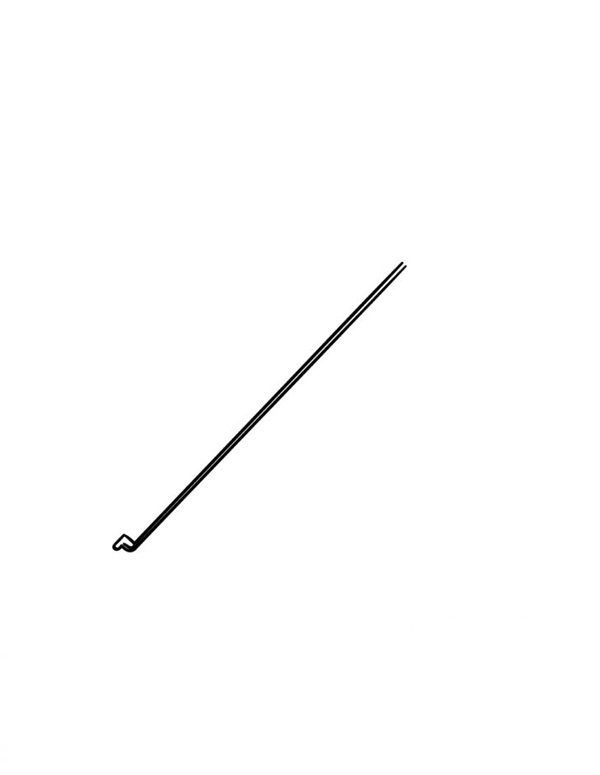
Step 1: Draw a diagonal line to form the basic guide for the violin’s bow.
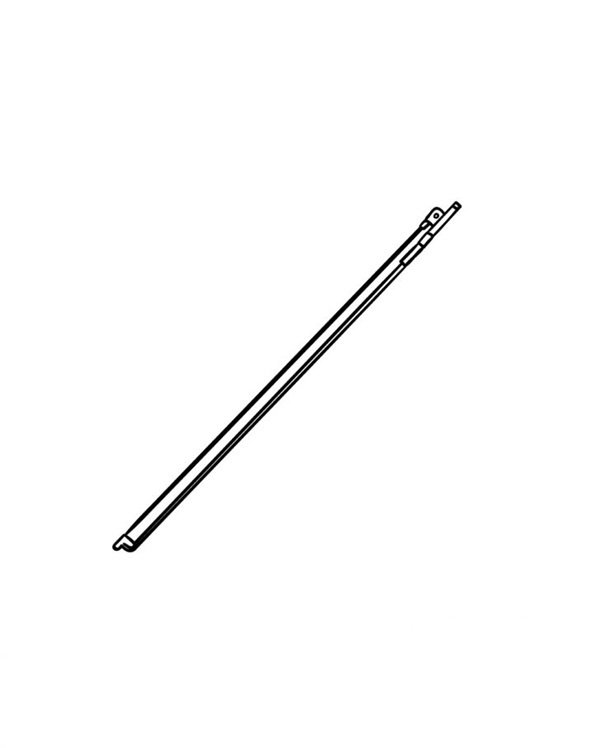
Step 2: Add thickness to the bow by sketching a parallel line and connecting both ends
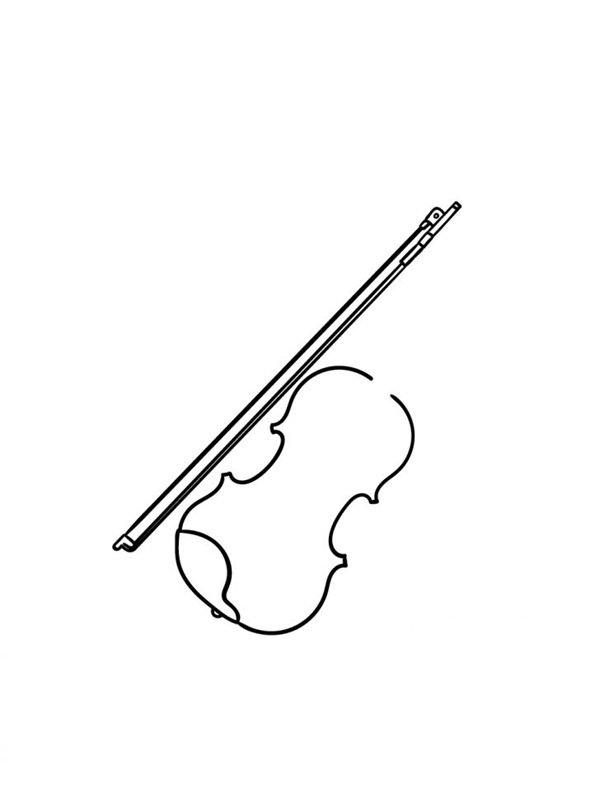
Step 3: Draw the basic outline of the violin’s body—start with the curved shape in the center.
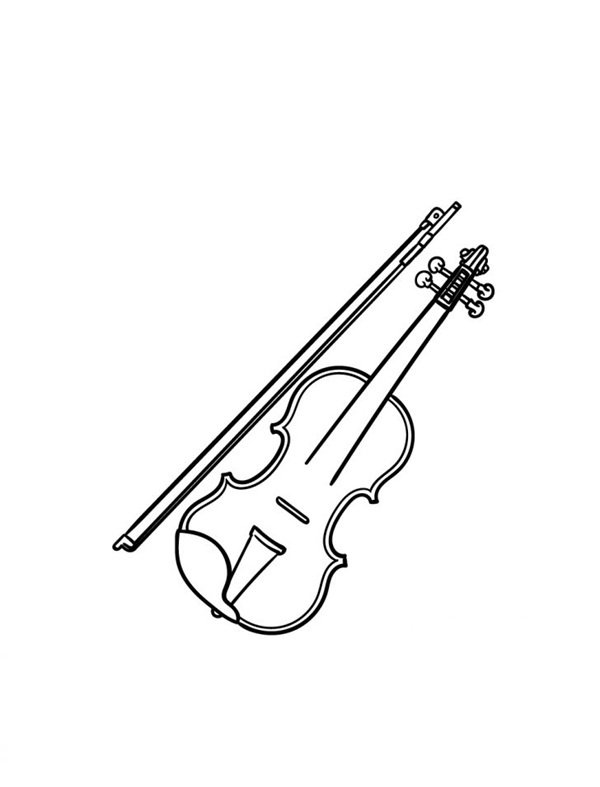
Step 4: Add the violin neck, pegbox, and bridge; refine the outline to define the structure.
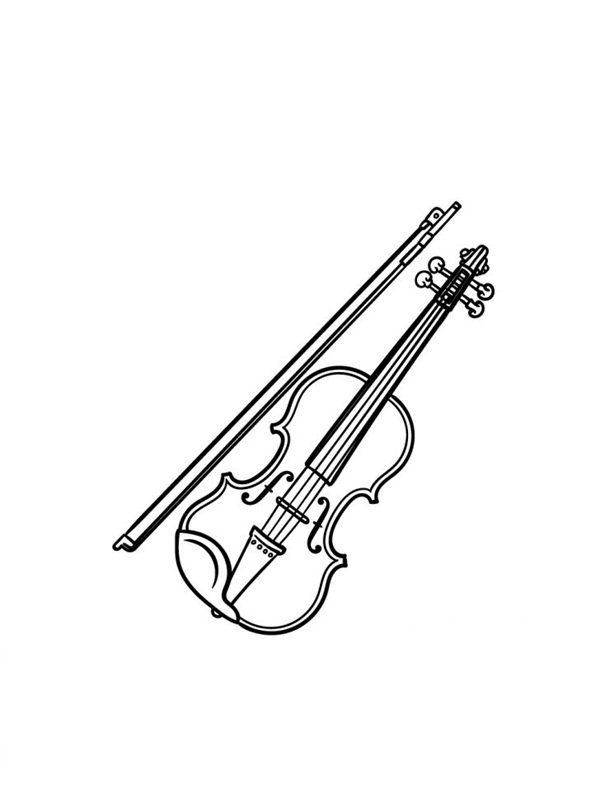
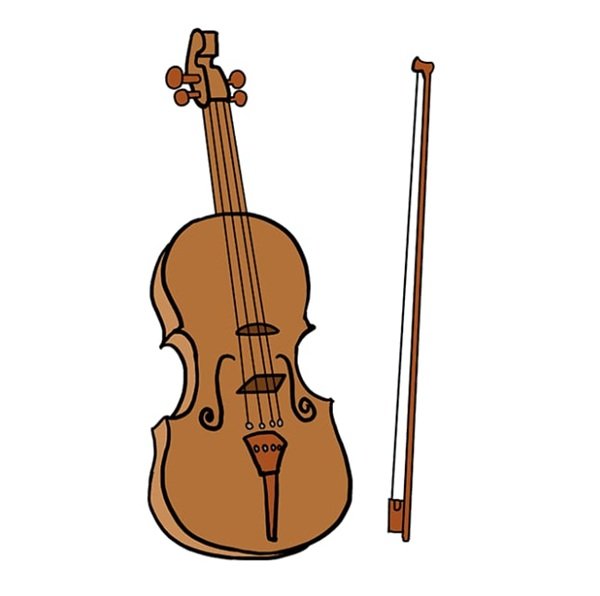
Step 5: Draw strings, fine tuners, and detail both the bow and violin for a finished look.
How to draw a violin
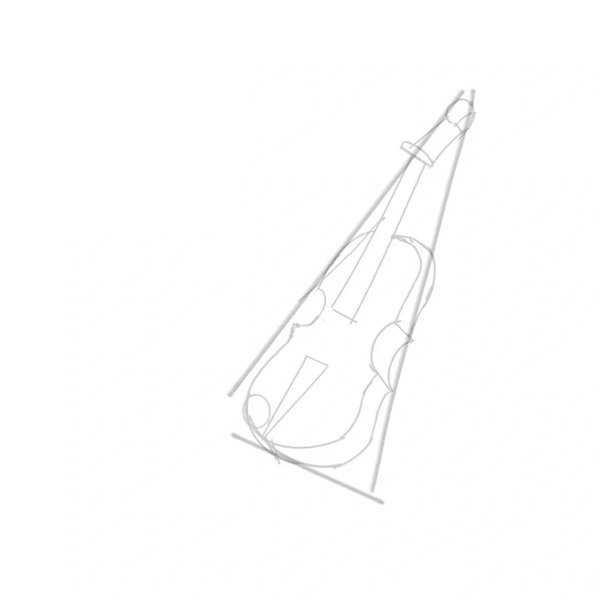
Step 1: Start with a rough triangular outline to shape the violin body and indicate perspective with basic curves.
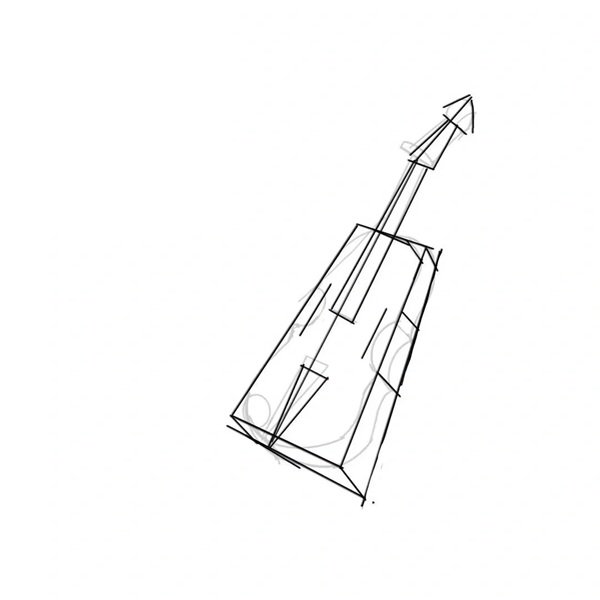
Step 2: Add the neck and fingerboard with straight lines; sketch the body’s side edges to build depth.
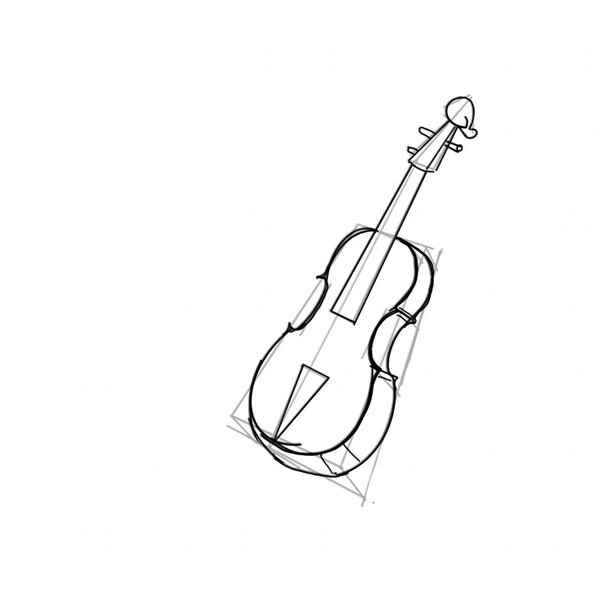
Step 3: Refine the violin’s body shape with smooth curves and add detailed contours around the edges.
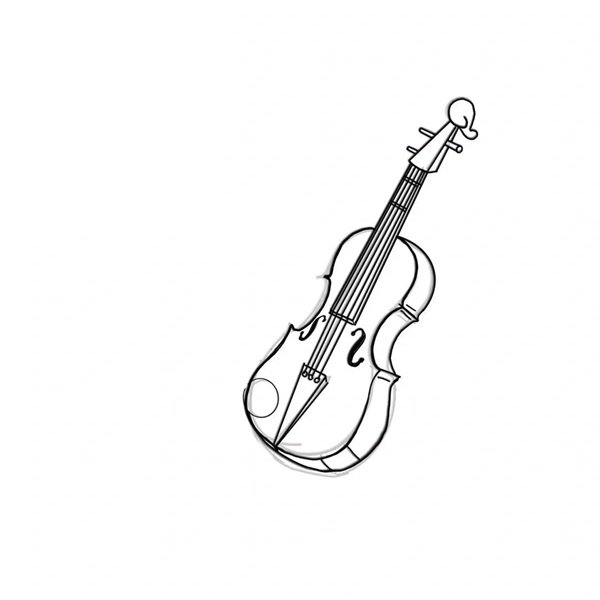
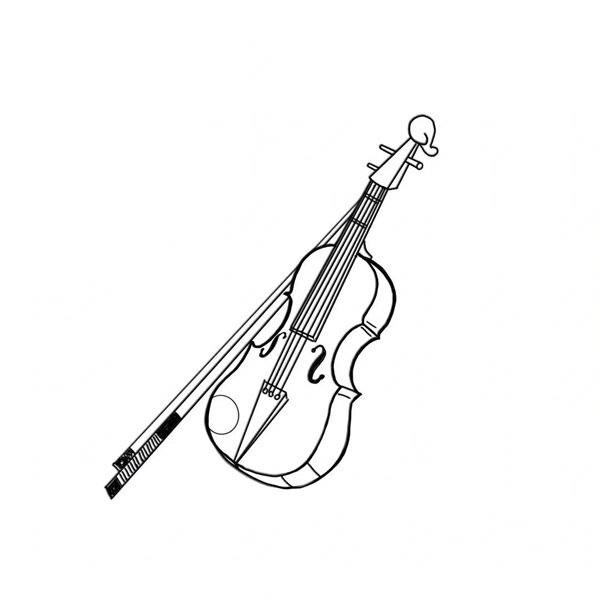
Step 4: Finalize the drawing by adding strings, pegs, and shading to give the violin a realistic three-dimensional look.
How to draw a violin easy

Step 1: Begin by drawing the top curve of the violin body with two short symmetrical arcs on each side.

Step 2: Extend the curves downward to form the upper half of the violin’s outline.

Step 3: Continue sketching the bottom half with smooth symmetrical lines to complete the full violin body shape
Step 4: Draw the central line to divide the violin body and start adding the curved sound holes.
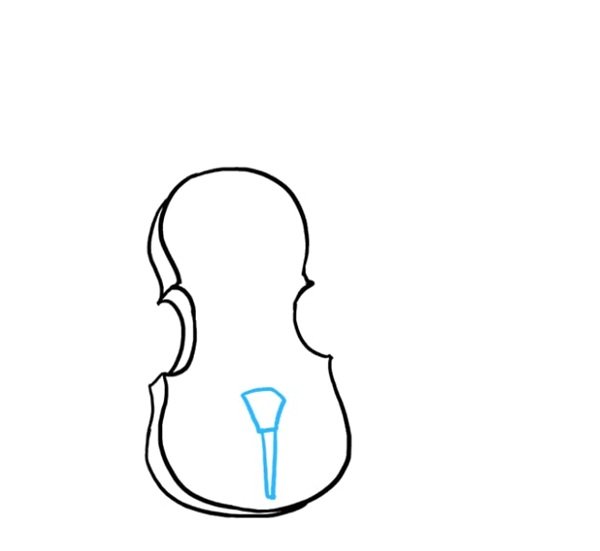
Step 5: Add the violin’s tailpiece and finish drawing the two stylized f-holes for realism.

Step 6: Draw the fingerboard and connect it from the middle to the top of the violin.
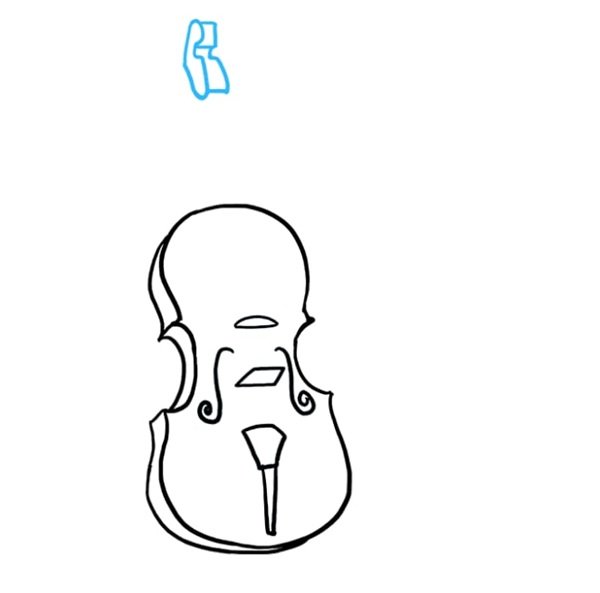
Step 7: Add the scroll and pegbox by sketching a rounded shape with four small tuning pegs.
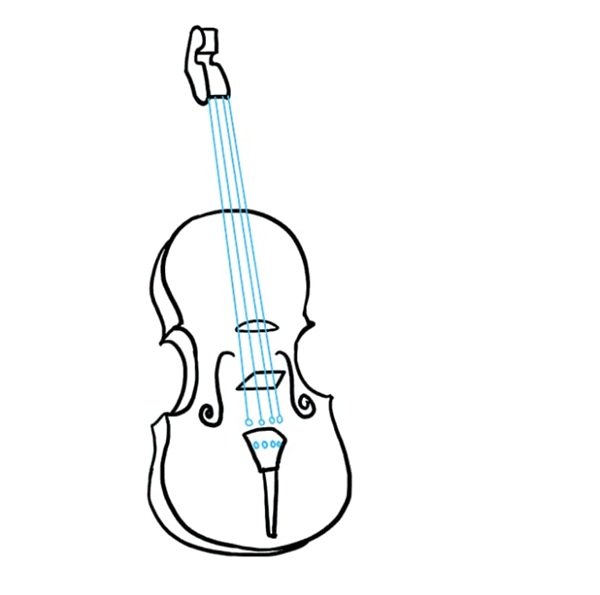
Step 8: Add the four strings, running vertically along the fingerboard from pegs to the tailpiece.
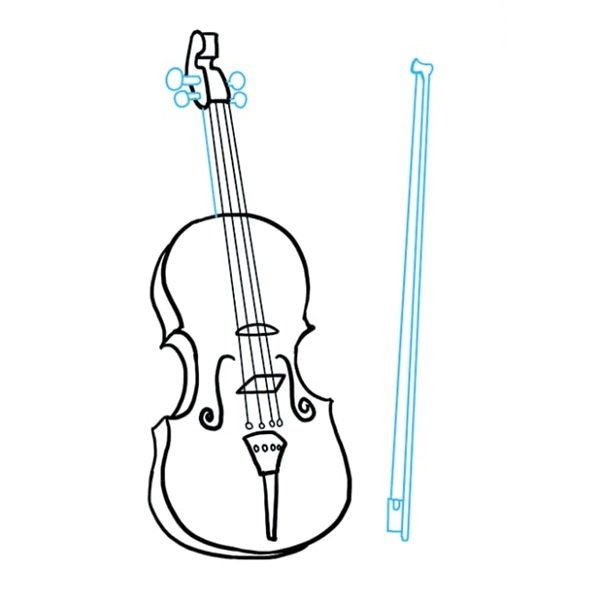
Step 9: Finish by drawing the bow diagonally across the violin, completing your simple violin drawing.
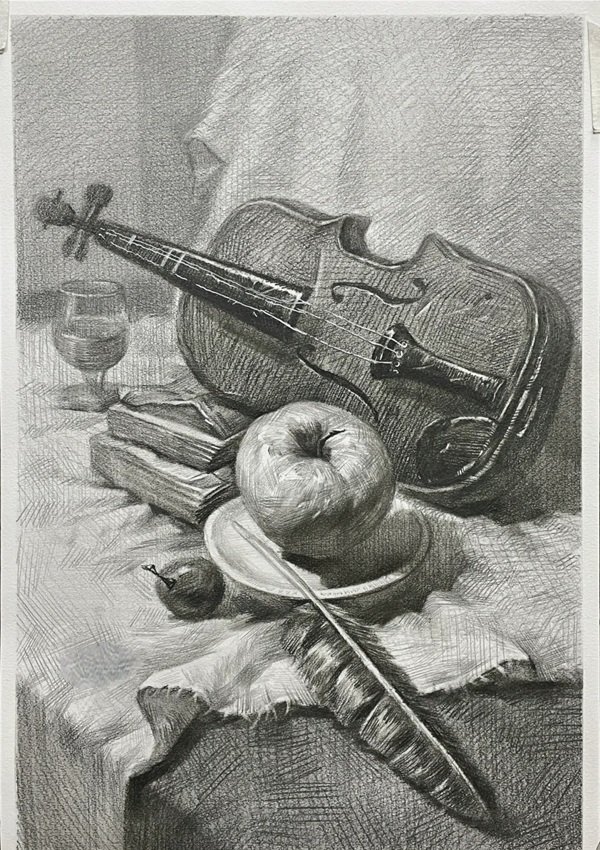
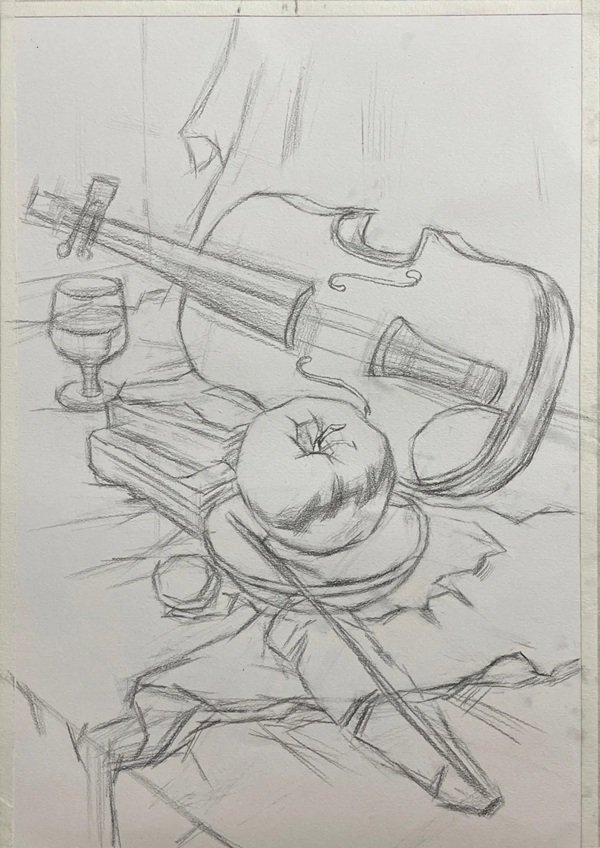
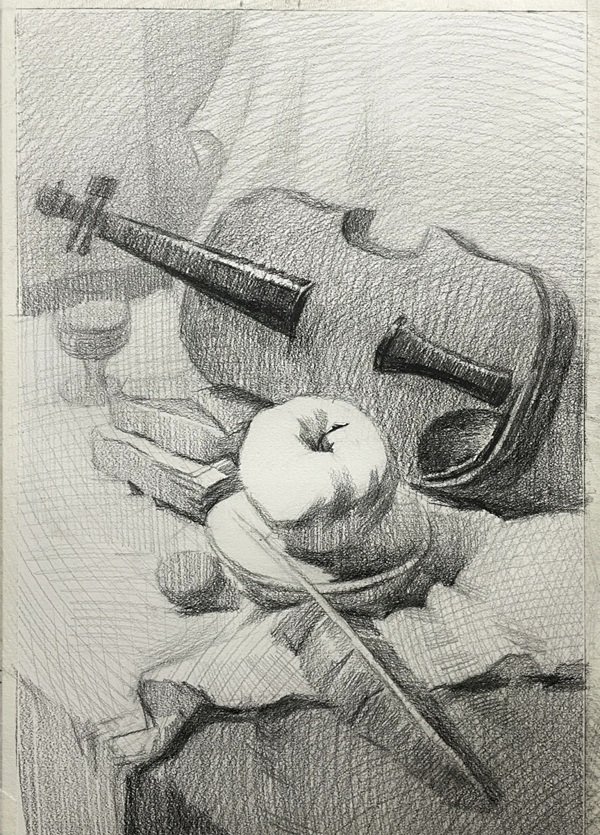
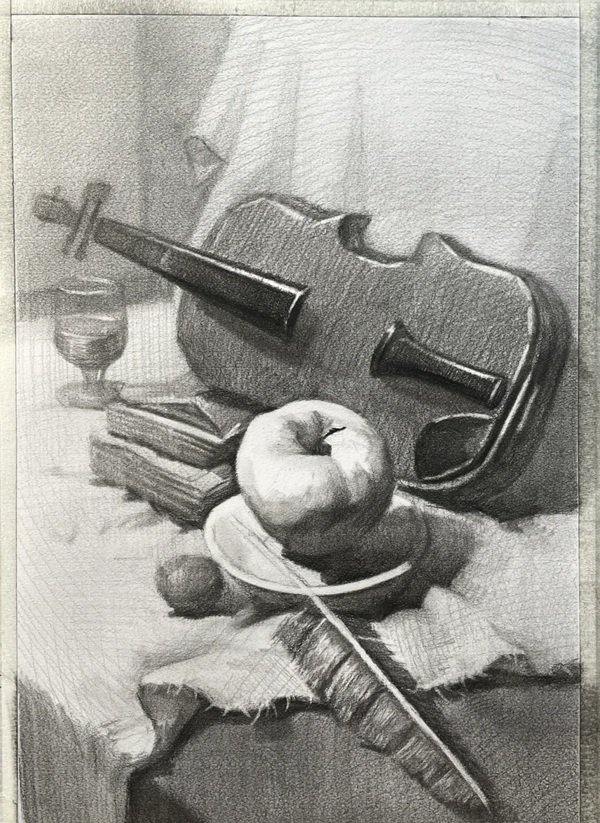
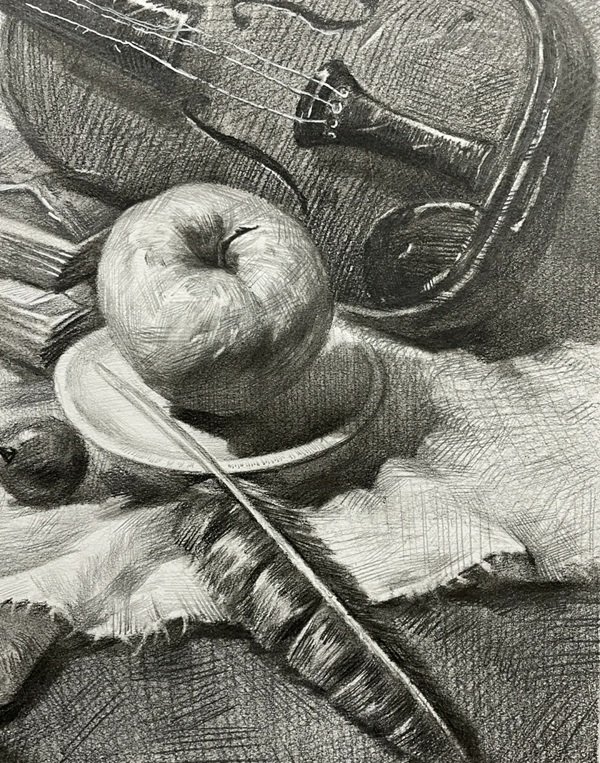
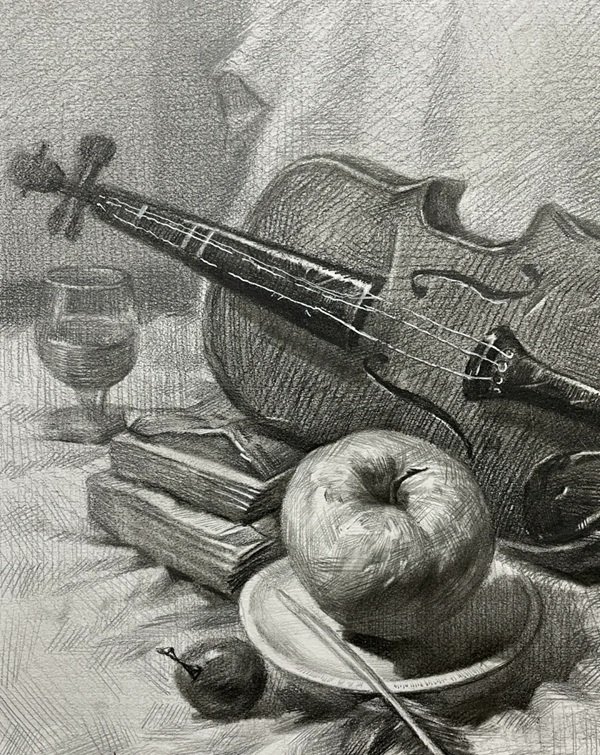
How to draw a violin step by step
See more:
8 super fun ways to teach kids how to draw a treasure chest
8 simple tips on how to draw a tent like a pro
Learn how to draw a stocking in 6 cool and creative ways
Now that you’ve explored multiple ways to draw a violin, it’s time to pick up your pencil and let your creativity flow. Don’t be discouraged by complex shapes—practice makes perfect! Keep revisiting these guides and challenge yourself with new poses or styles. Drawing a violin can be a great way to express your love for classical instruments while improving your artistic skills. Share your drawings with friends or even online communities to get feedback and grow. Stay creative, stay consistent, and let your art sing like the strings of a violin!