If you’ve ever wondered how to draw a zebra but felt stuck at those black-and-white stripes, you’re not alone. This animal may look complex, but with the right tips and a little practice, even beginners can sketch it with ease. Drawing zebras is a perfect way to train your eye for patterns, shapes, and creativity.
Whether you’re using pencils, pens, or digital tools, the key lies in mastering proportion and stripe flow. In this article, we’ll explore fun, easy, and effective methods to bring zebras to life on paper. From quick doodles to more realistic looks, you’ll find inspiration and guidance to boost your art game. Let’s get started and draw your first zebra today on dooduko.com!
How to draw a zebra easy
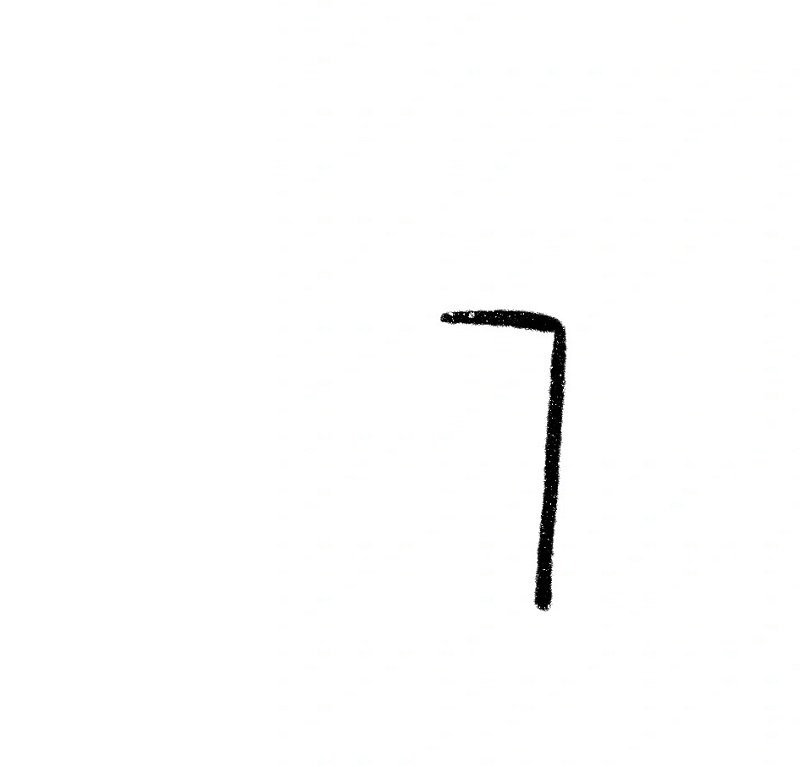
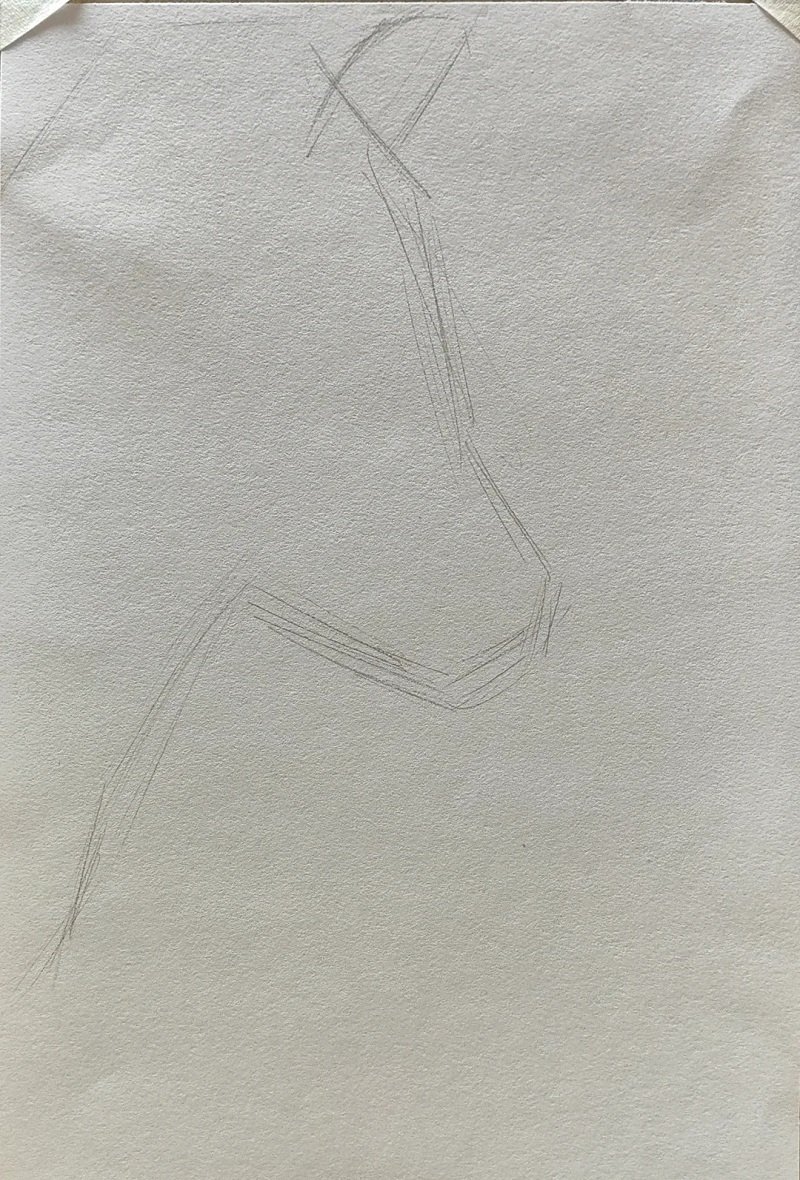
Step 1: Draw a vertical line with a short horizontal base to form the front leg and part of the chest of the zebra.
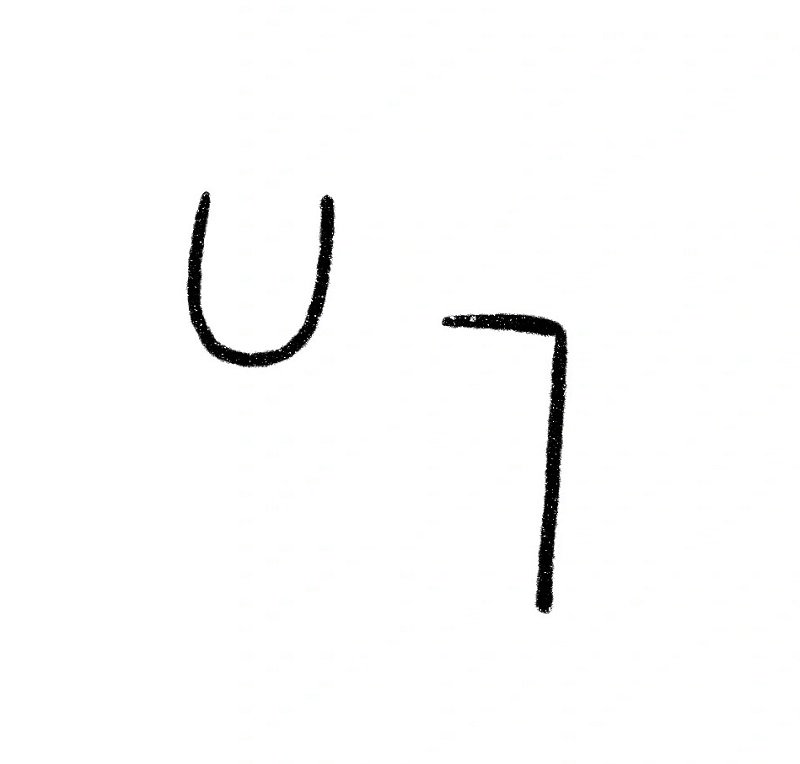
Step 2: Add a large U-shape next to it for the body and connect the lines to complete the front.
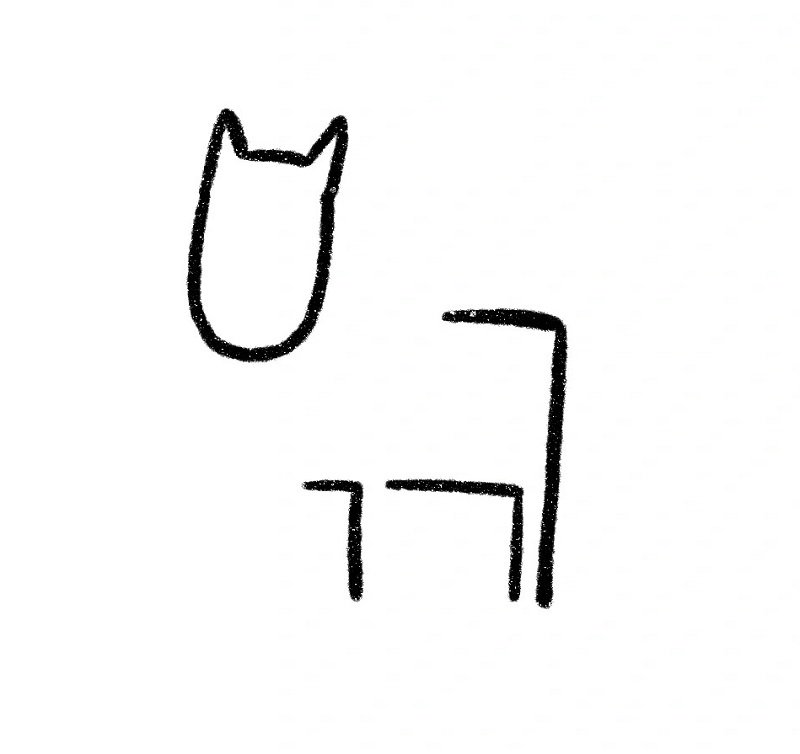
Step 3: Draw a rounded head with two ears on top and connect it to the body, then add a small tail and another leg.
Step 4: Add two more legs under the body and define the overall zebra shape with simple, boxy lines.
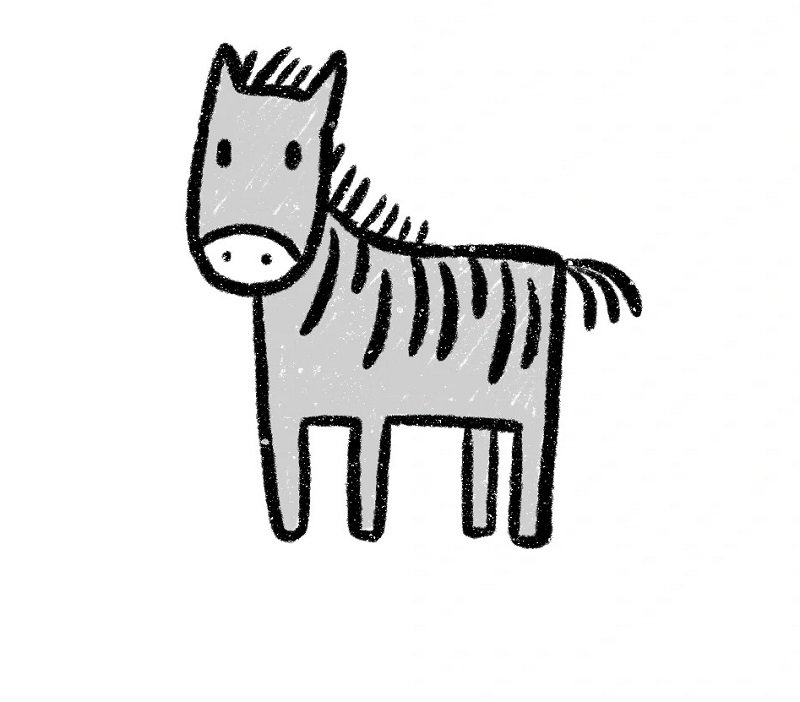
Step 5: Finish by drawing the facial features, ears, hooves, and iconic black stripes to complete your cartoon zebra.
How to draw a zebra for kids
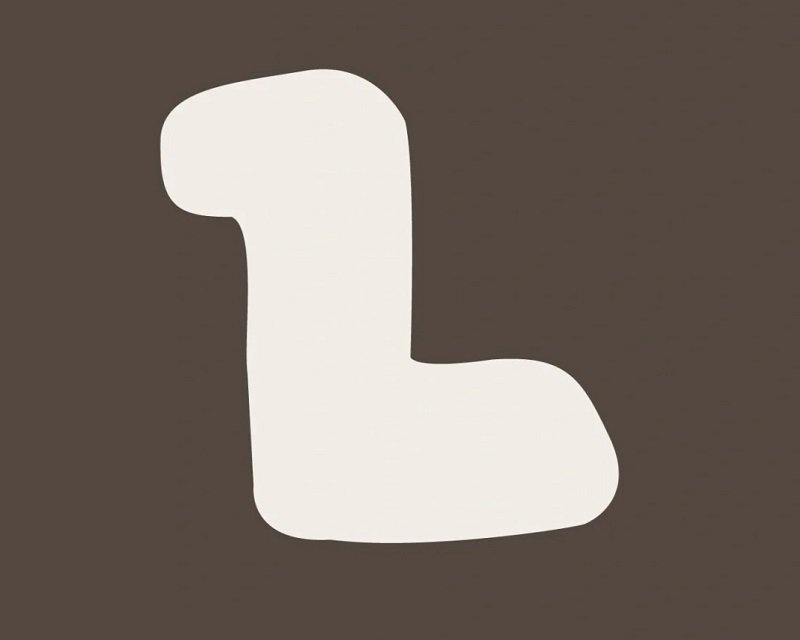
Step 1: Draw a big L-shape to form the zebra’s body and neck; keep the curves smooth to make it look friendly for kids to follow easily.
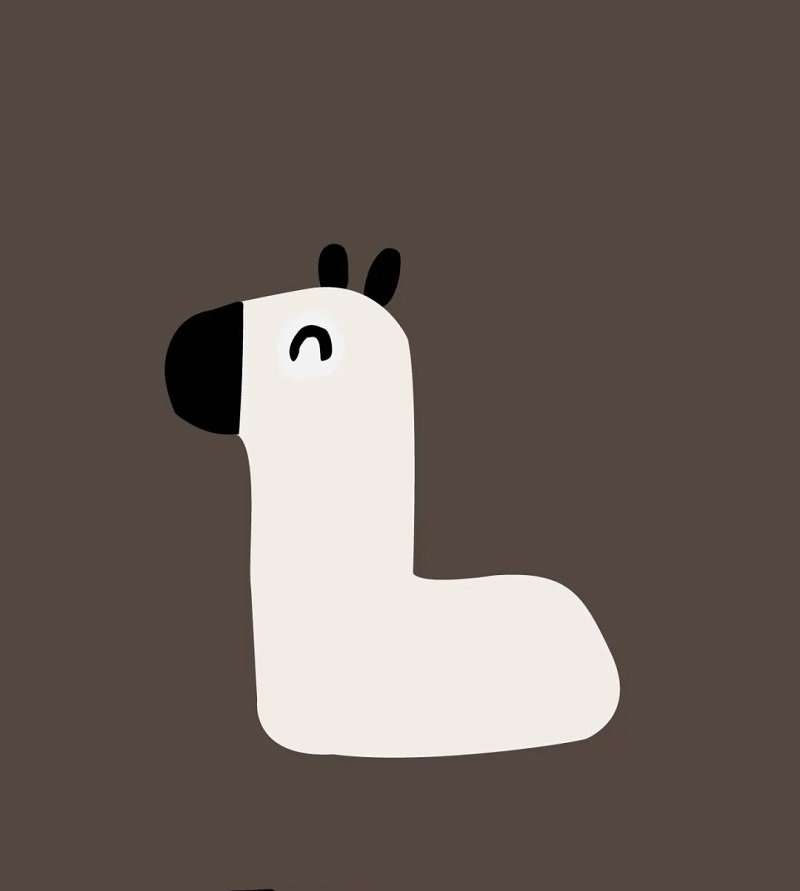
Step 2: Add an oval head on top of the neck, two small eyes, and a black ear and nose to bring the zebra’s cute face to life.
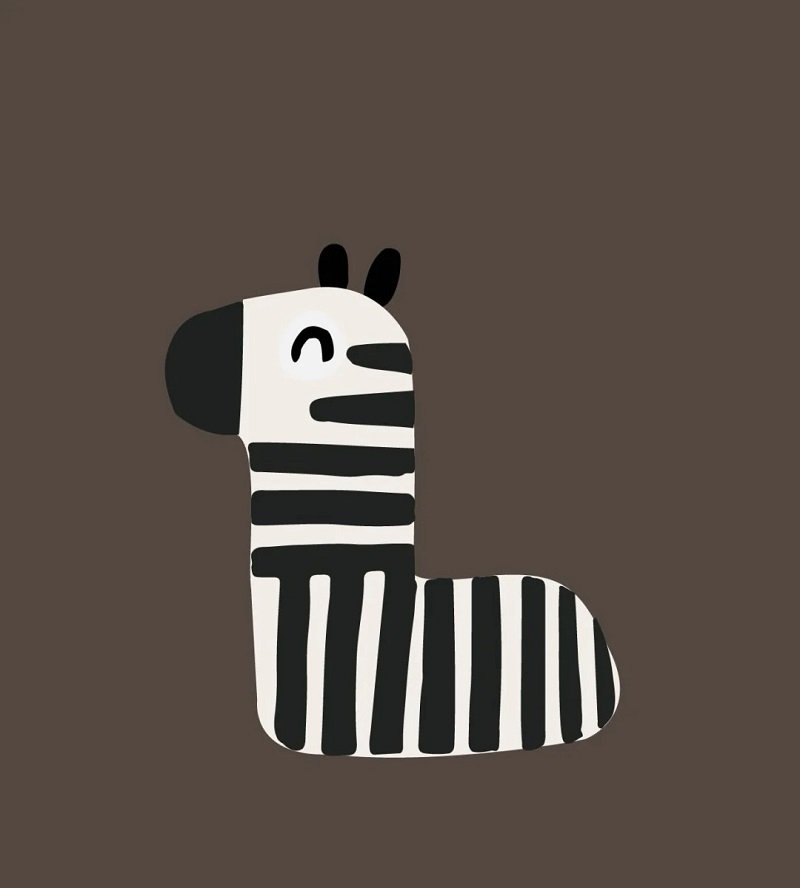
Step 3: Draw several horizontal black stripes across the body and neck to create the classic zebra pattern.
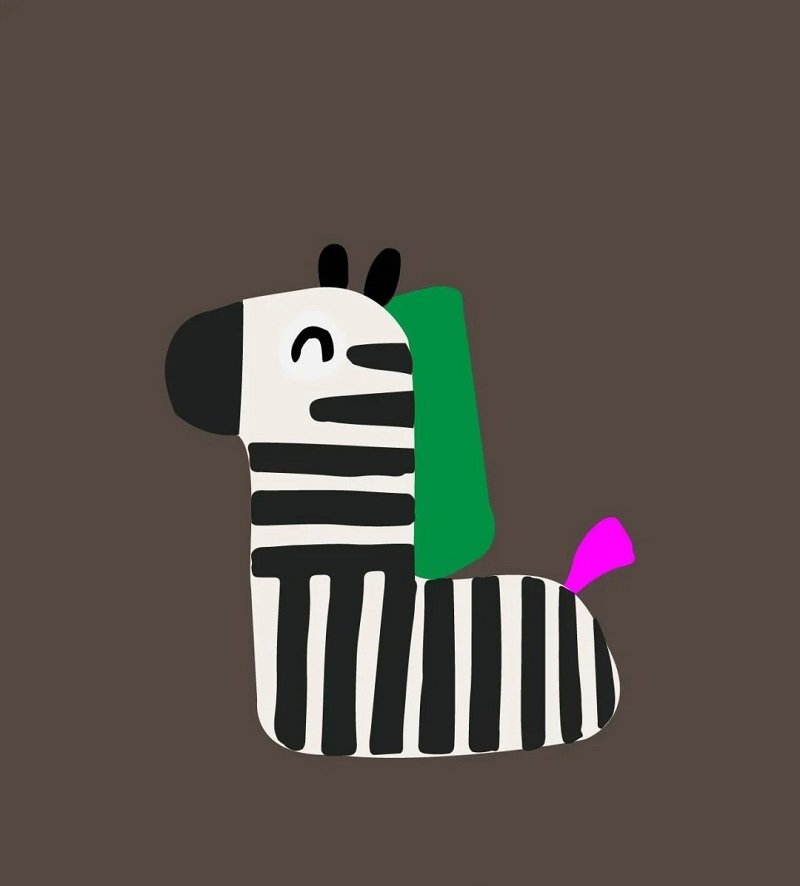
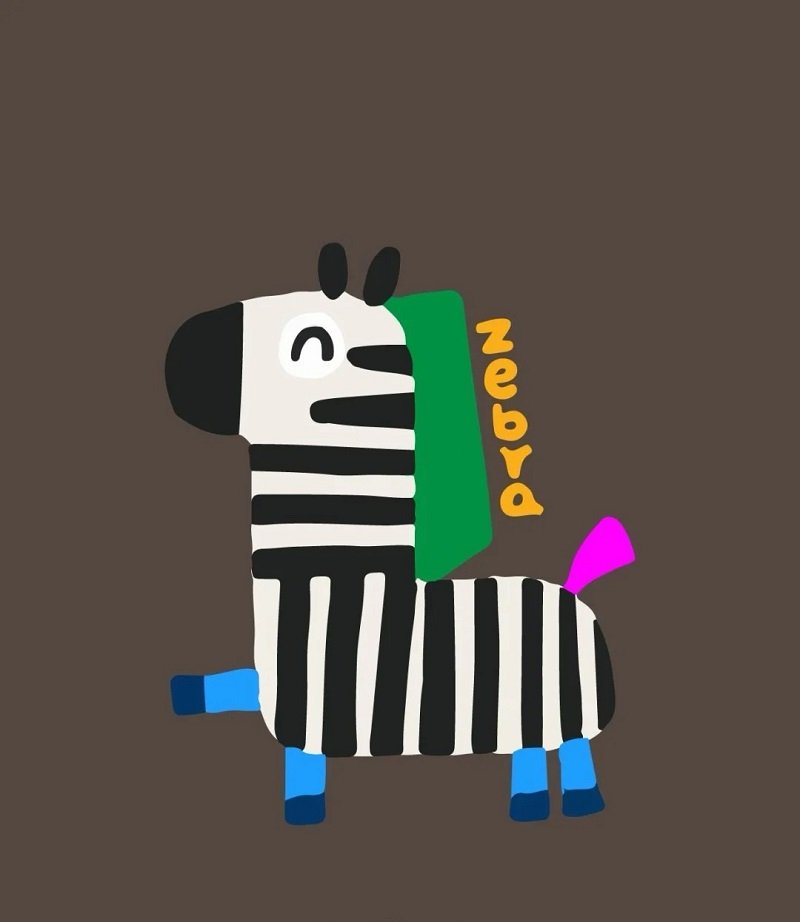
Step 4: Add a green mane with short lines and draw a tail and pink hooves to make the zebra colorful and fun.
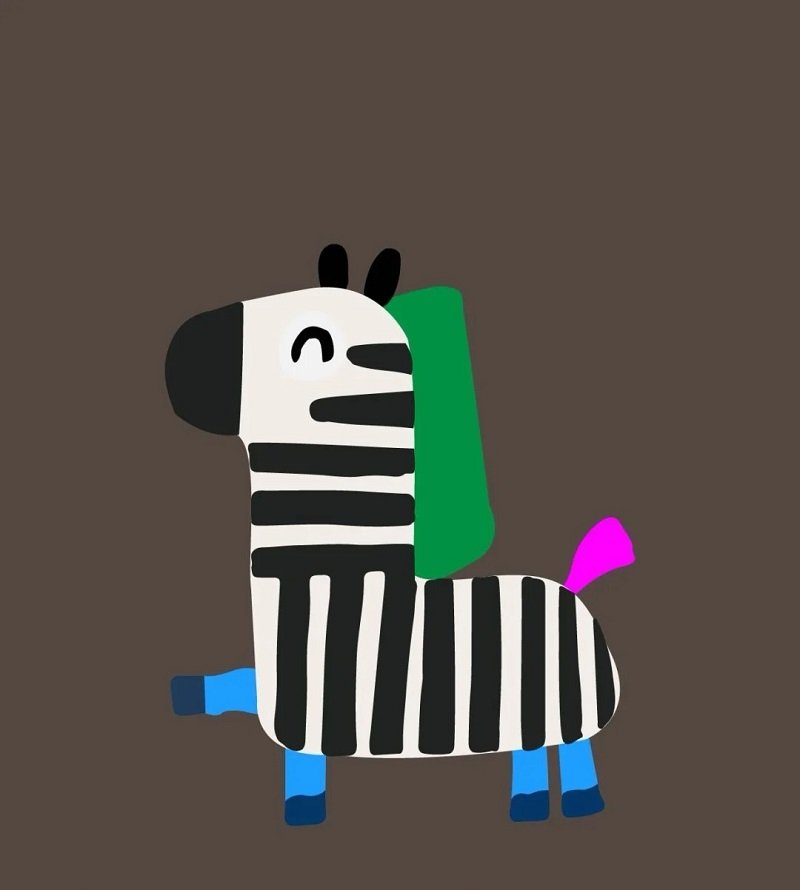
Step 5: Finish by adding a smiling mouth, a few more stripes, and blue hooves – your adorable cartoon zebra is ready to run!
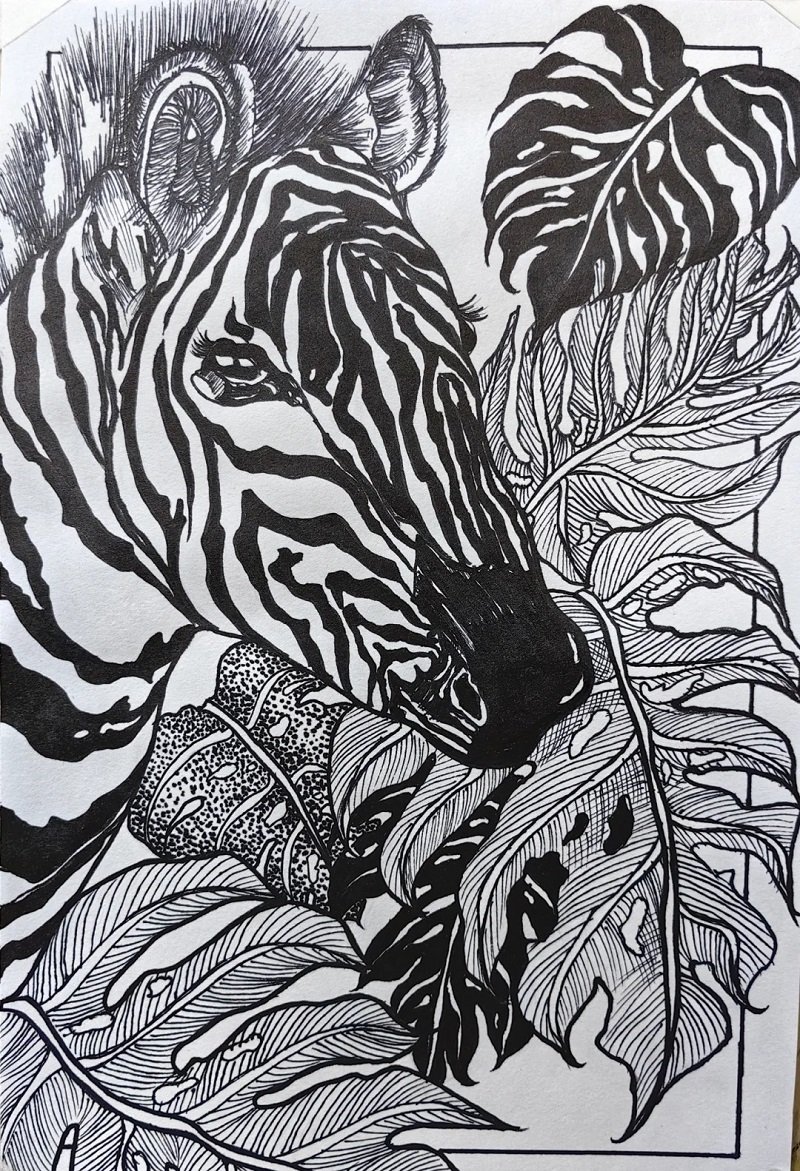
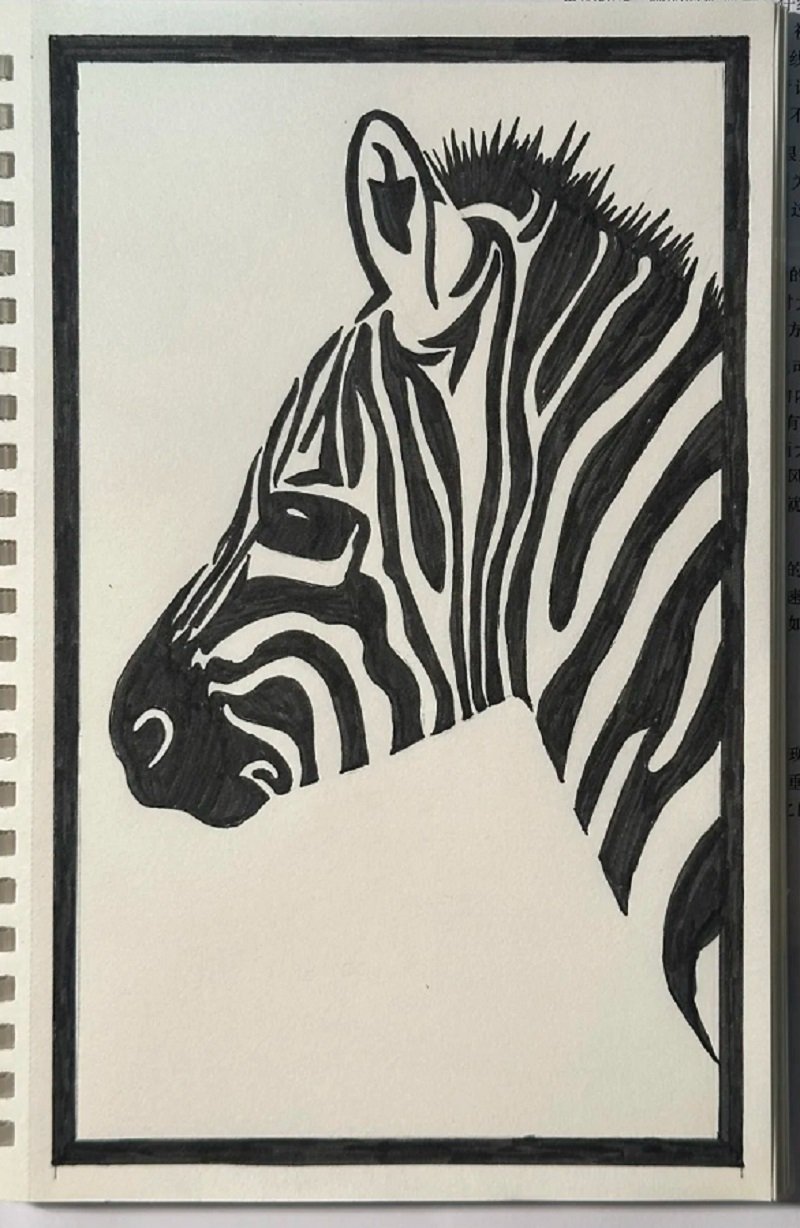
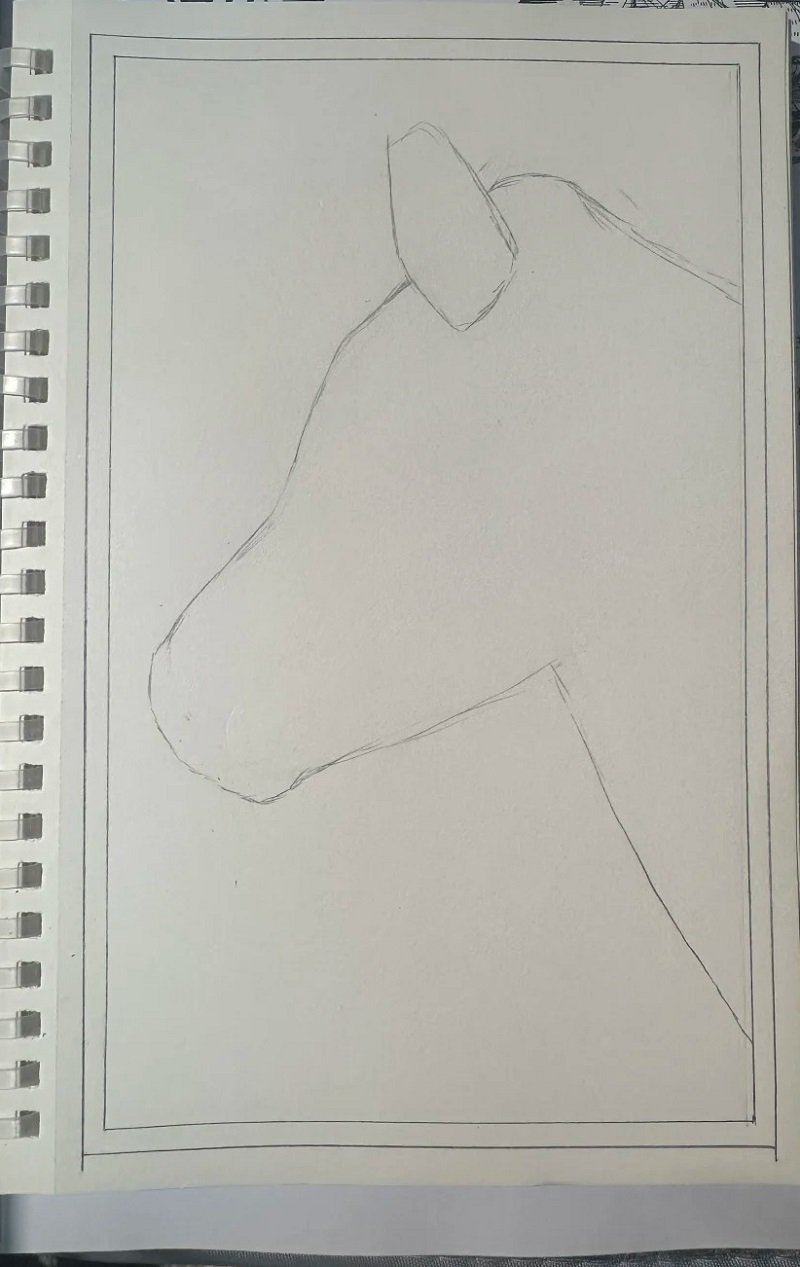
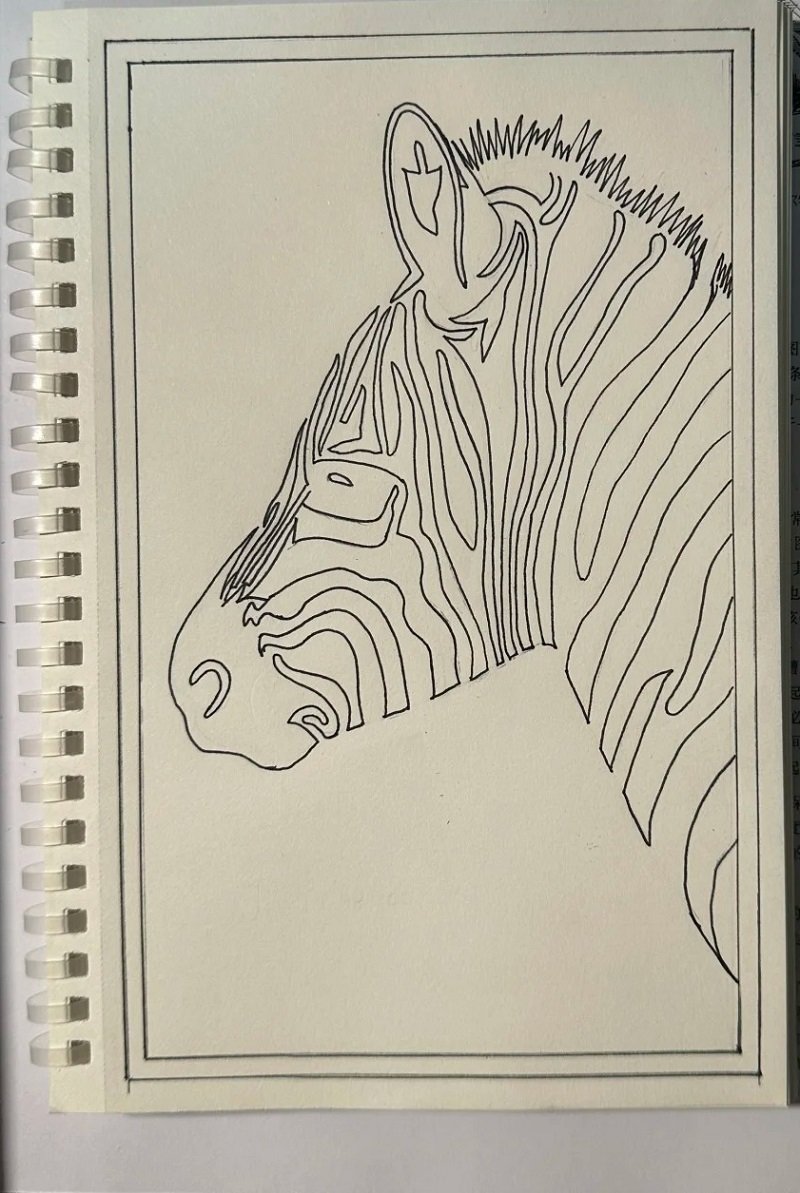
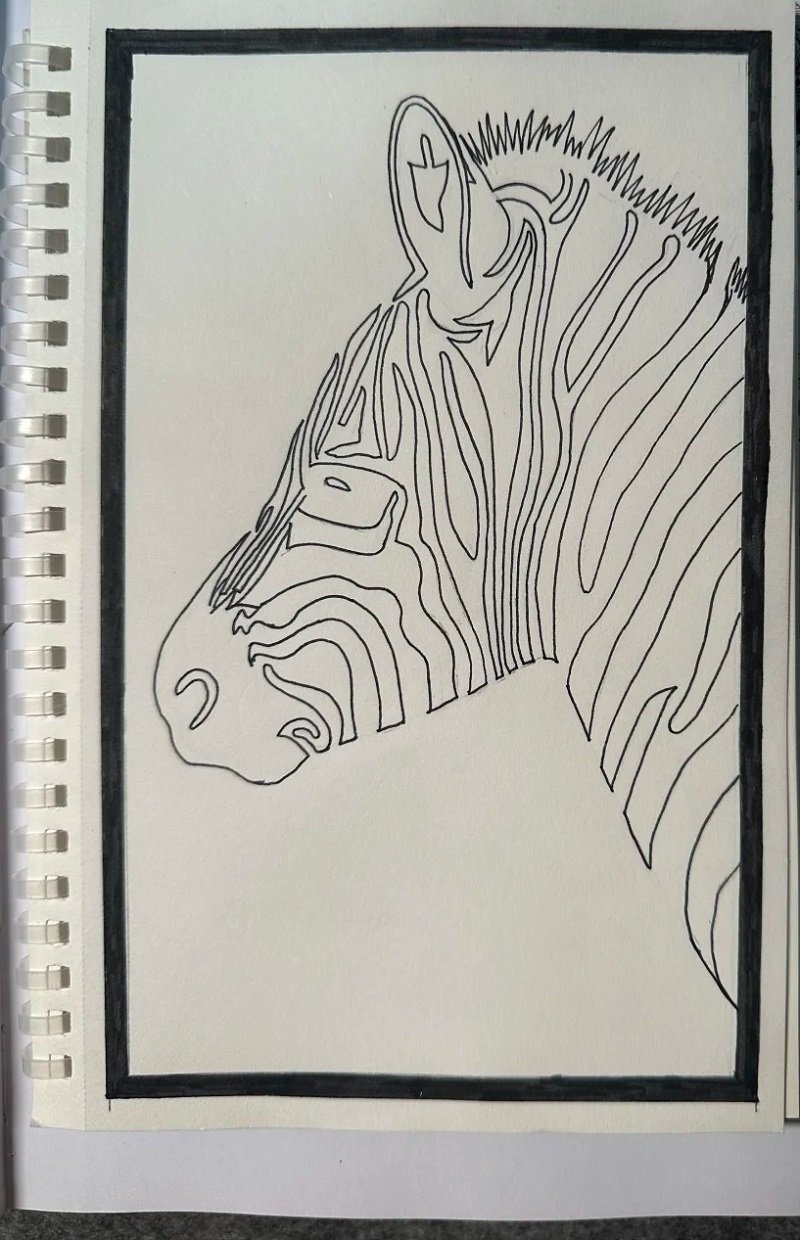
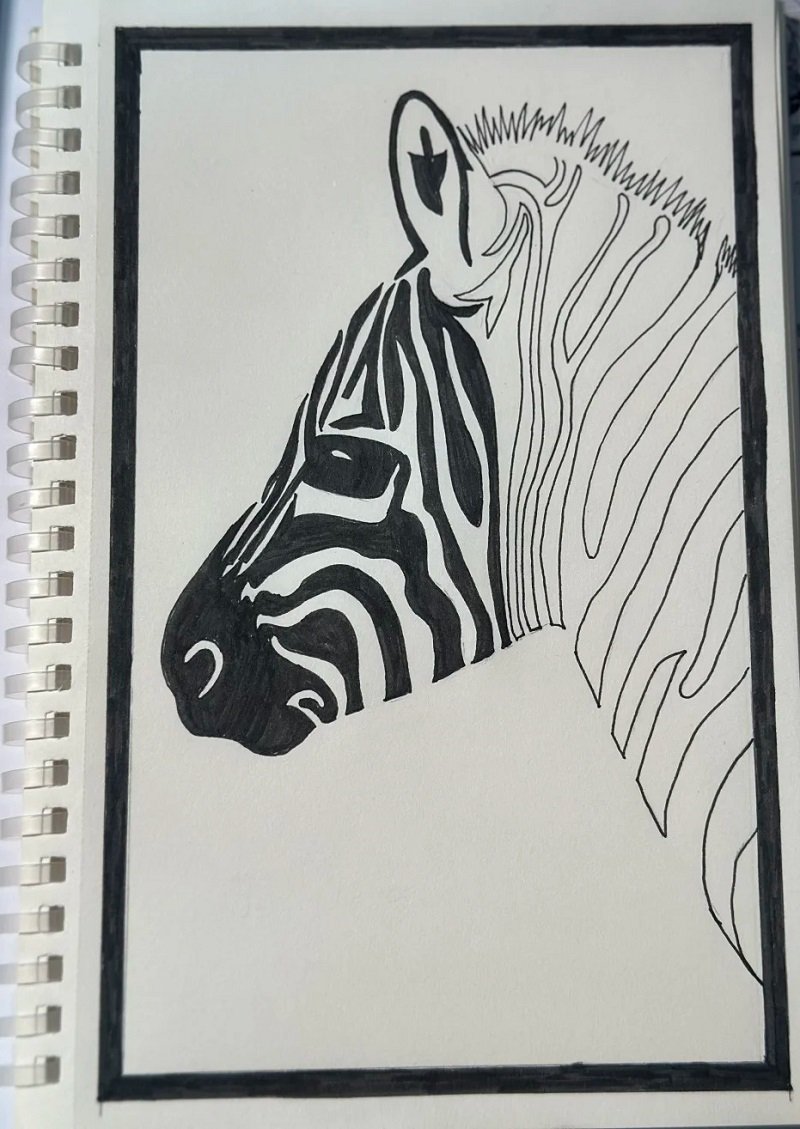
how to draw a zebra head
How to draw a zebra kids
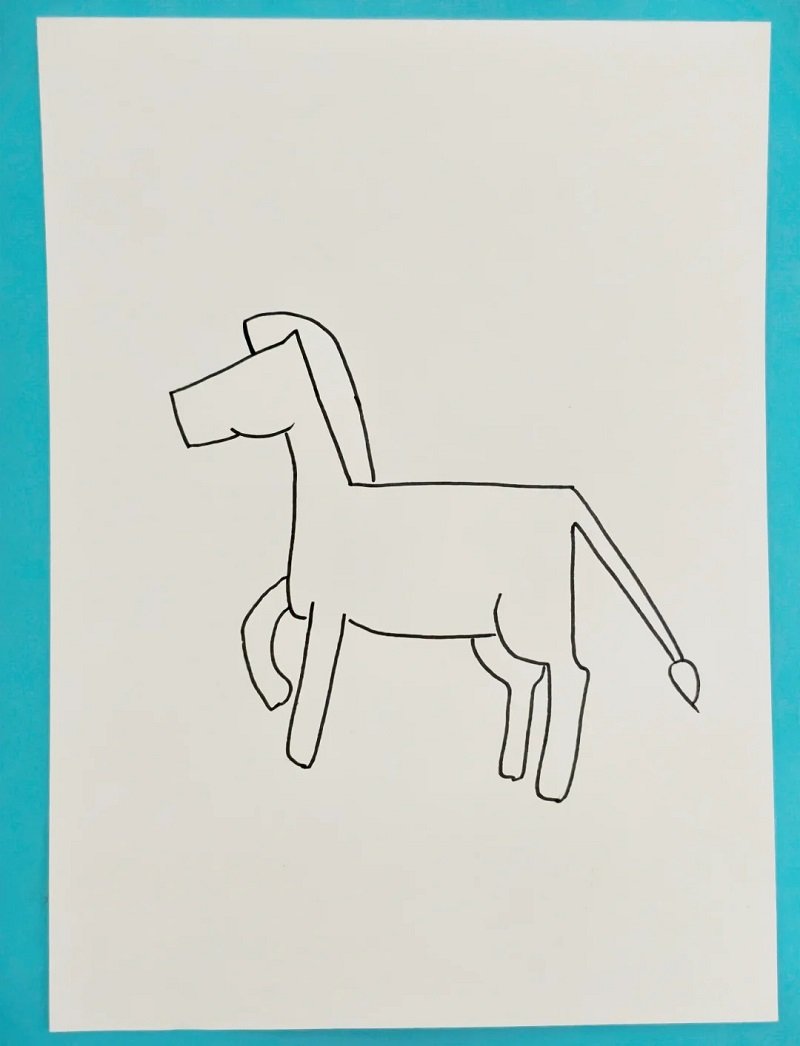
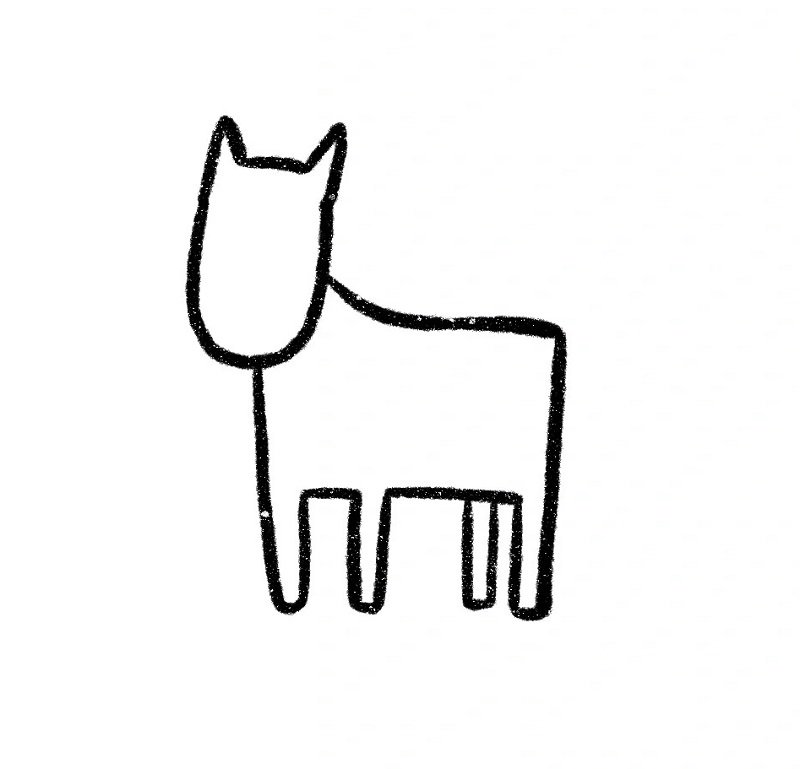
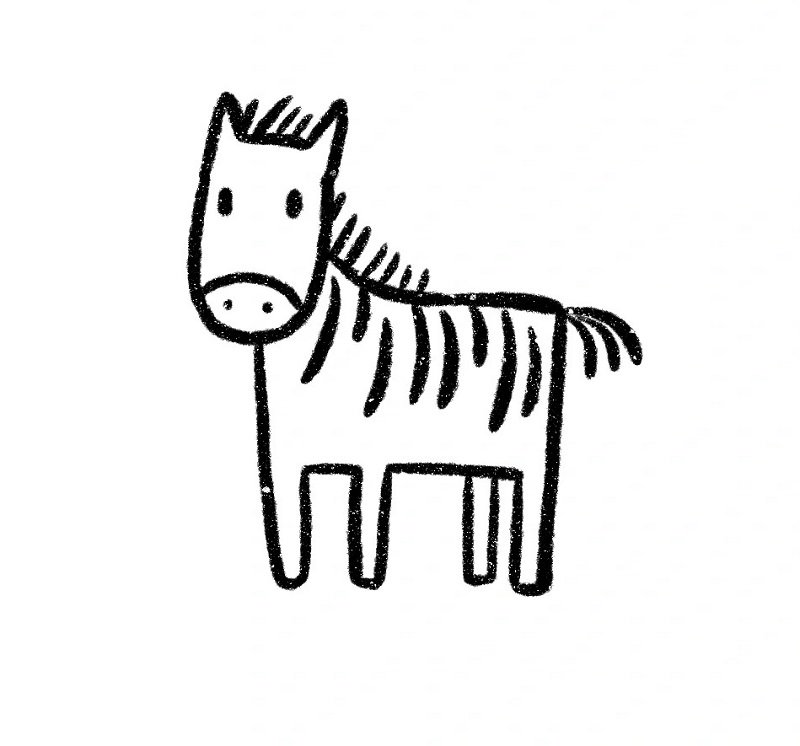
Step 1: Start by drawing a boxy body with four legs, a rectangular neck, and a simple head with ears and a tail to shape the full zebra structure.
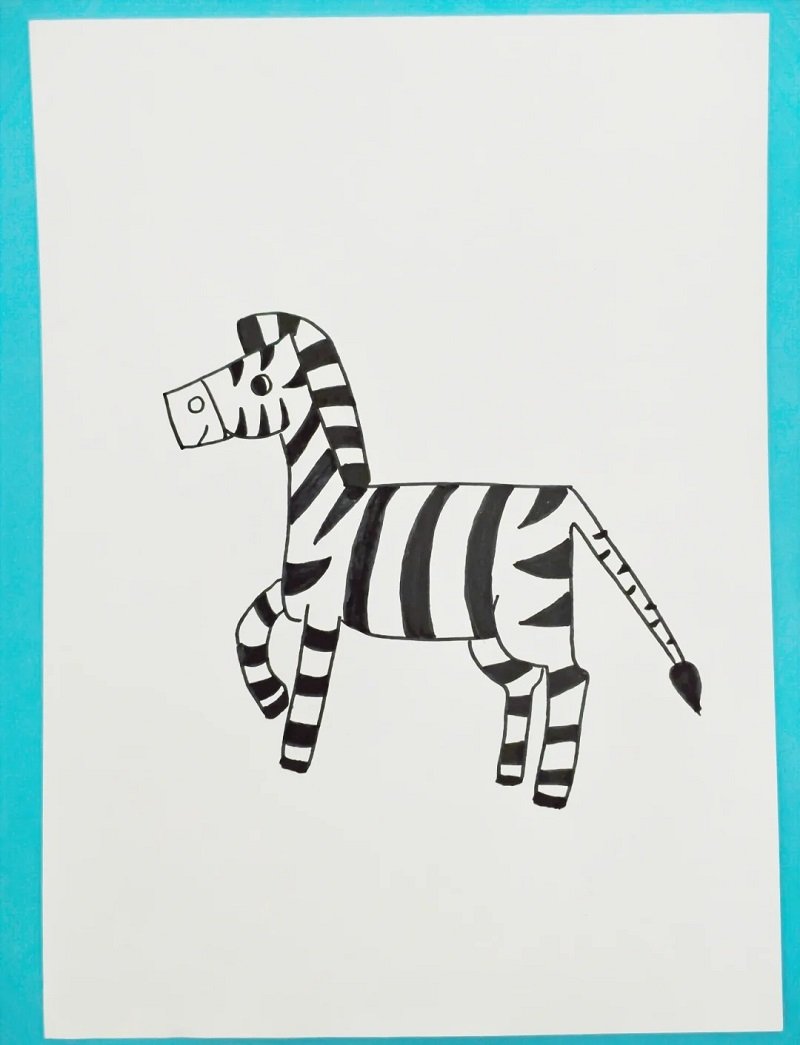
Step 2: Outline the zebra’s head more clearly and start adding bold stripes along the body and neck for its iconic black-and-white look.
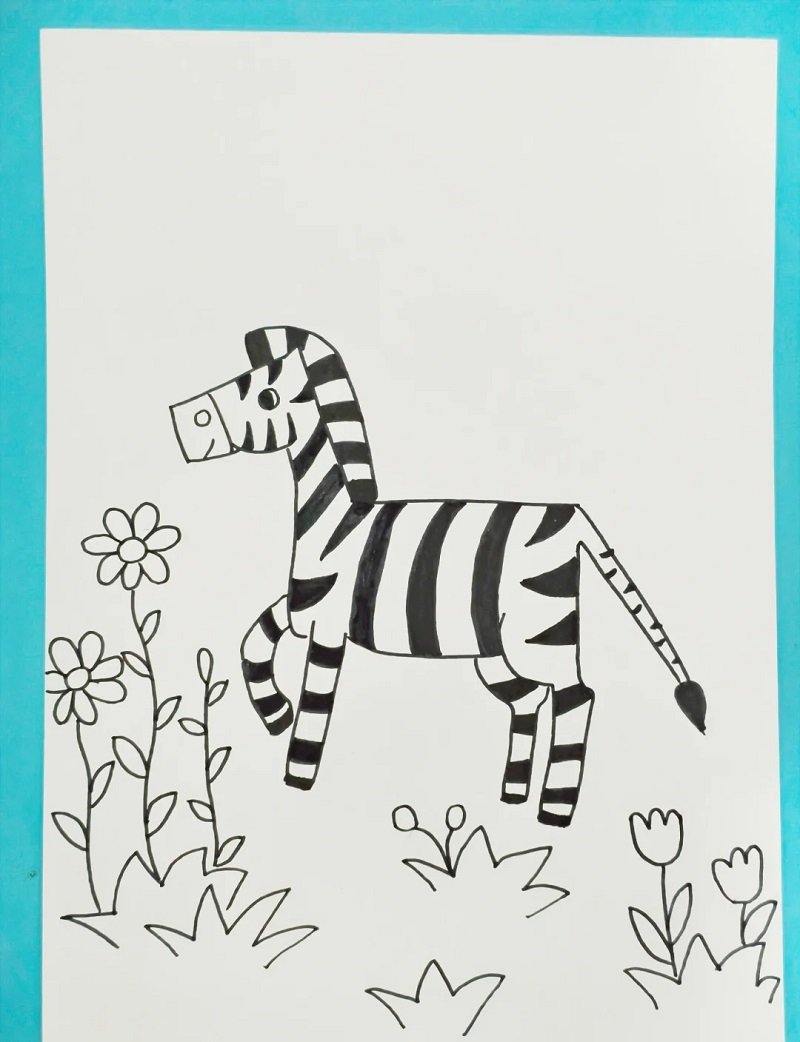
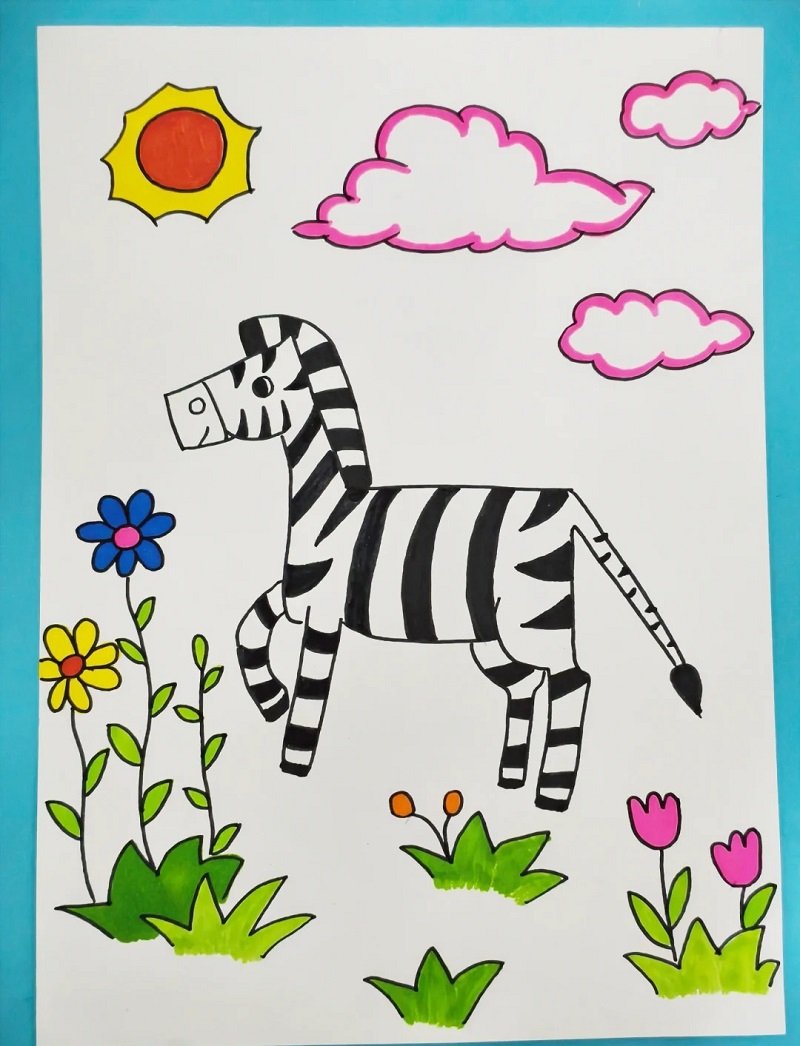
Step 3: Draw flowers and grass near the zebra’s feet to add more life to the scene while continuing the stripe pattern on its back and legs.

Step 4: Add a sun, clouds, and more grass in the background to make the drawing look fun, natural, and playful for kids.
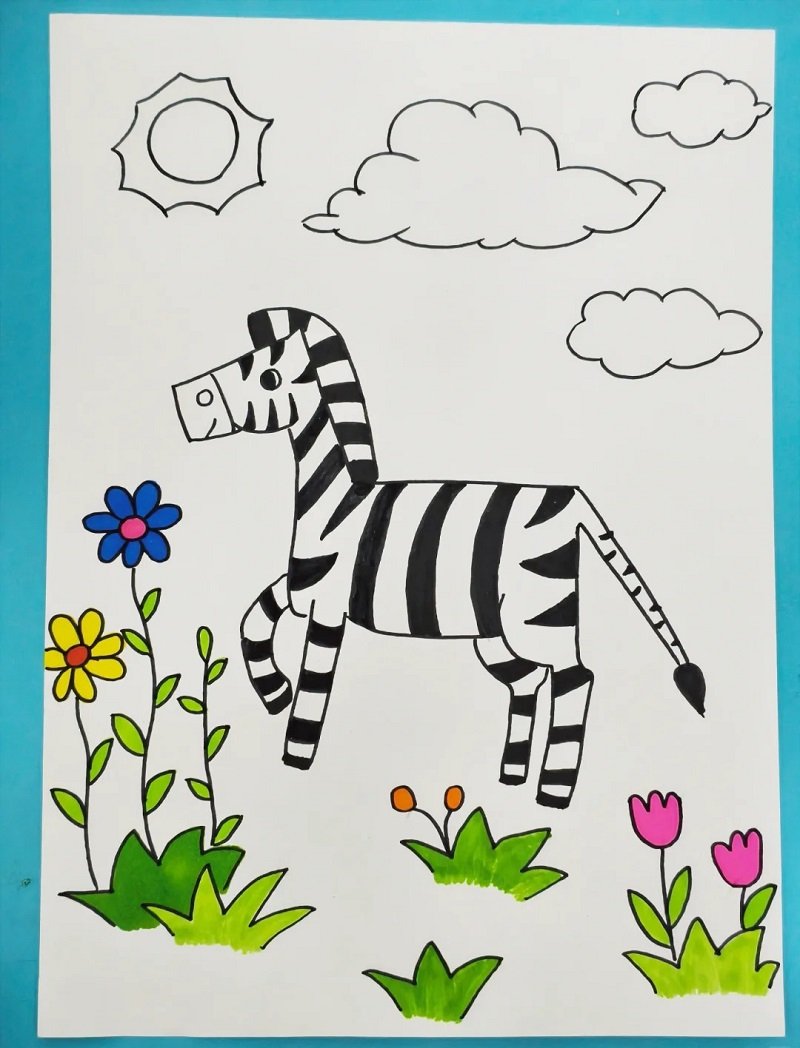
Step 5: Color in the background with green, blue, pink, and yellow to complete a cheerful zebra artwork full of nature and joy!
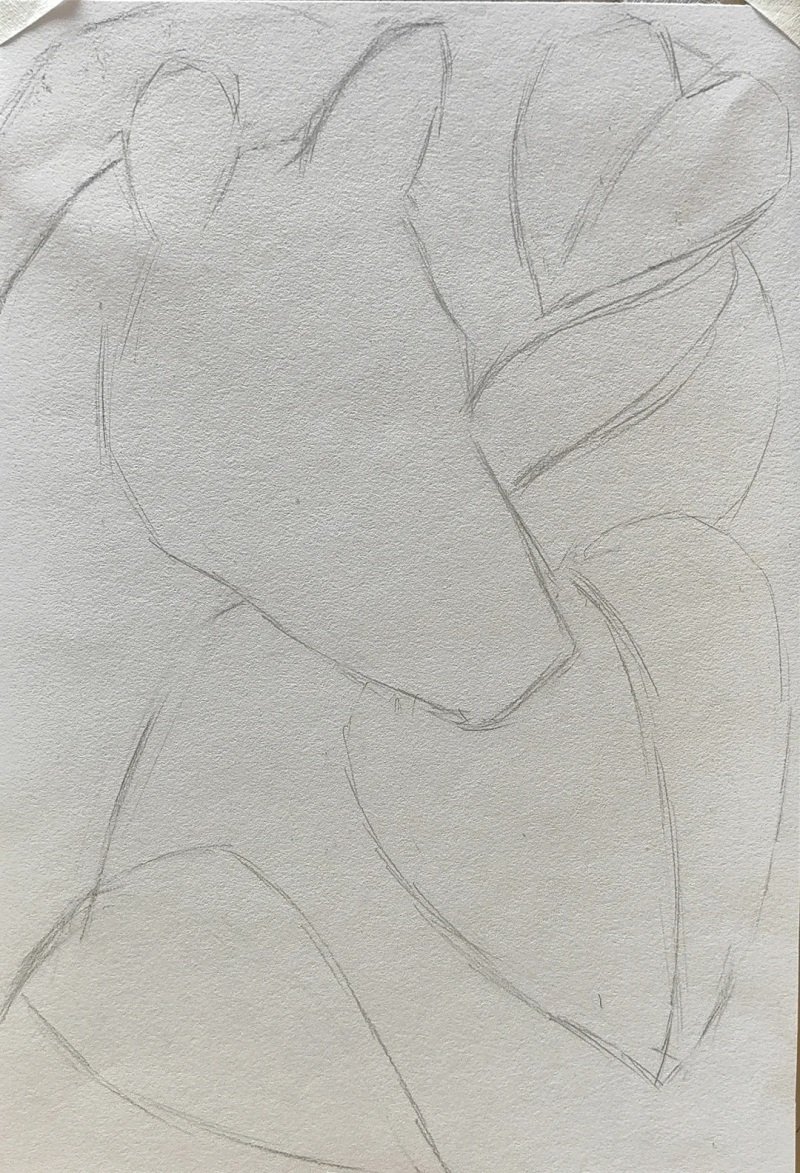
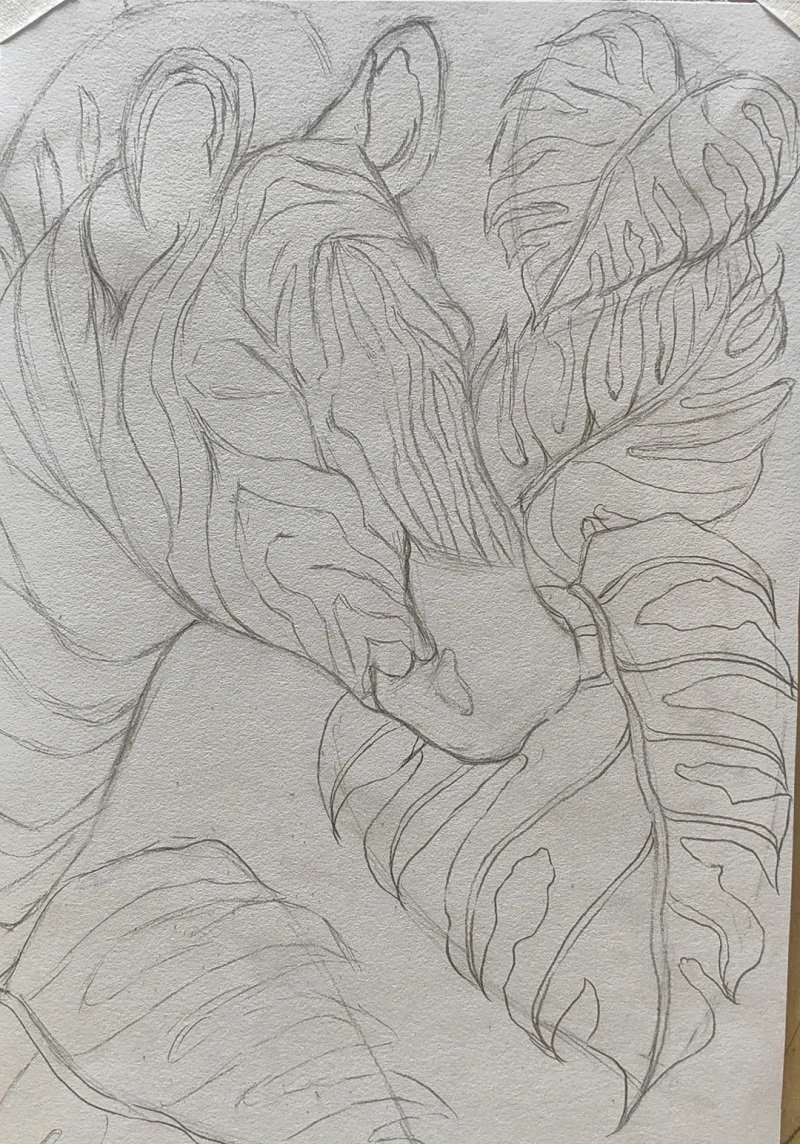
How to draw a zebra step by step
See more:
9+ tips to improve your skills on how to draw a Teddy be
Top 10+ tutorials on how to draw a sheep like a pro
4+ fast ways to learn how to draw a Seahorse like a pro
Drawing a zebra might seem intimidating at first, but once you break it down into basic shapes and lines, it becomes an exciting and rewarding challenge. Remember, every artist has their own unique flair – so don’t worry about perfection. Practice makes progress, and your zebra will improve with every sketch. Try different poses, stripe patterns, or even add fun backgrounds. Keep experimenting and, most importantly, enjoy the process. The world of art is wide and wild – just like the zebra itself!