Looking to master how to draw an apple but not sure where to start? You’re in the right place! Drawing an apple might seem simple, but adding the right touch of realism and creativity makes it truly pop. Whether you’re a complete beginner or just want to polish your skills, these easy-to-follow guides will help you sketch juicy apples in no time. We’ll explore different techniques, from cartoon styles to realistic shading. Plus, you’ll learn helpful tips to make your artwork stand out. Let’s grab that pencil and dive into the world of apple-drawing fun—only on dooduko!
How to draw an apple
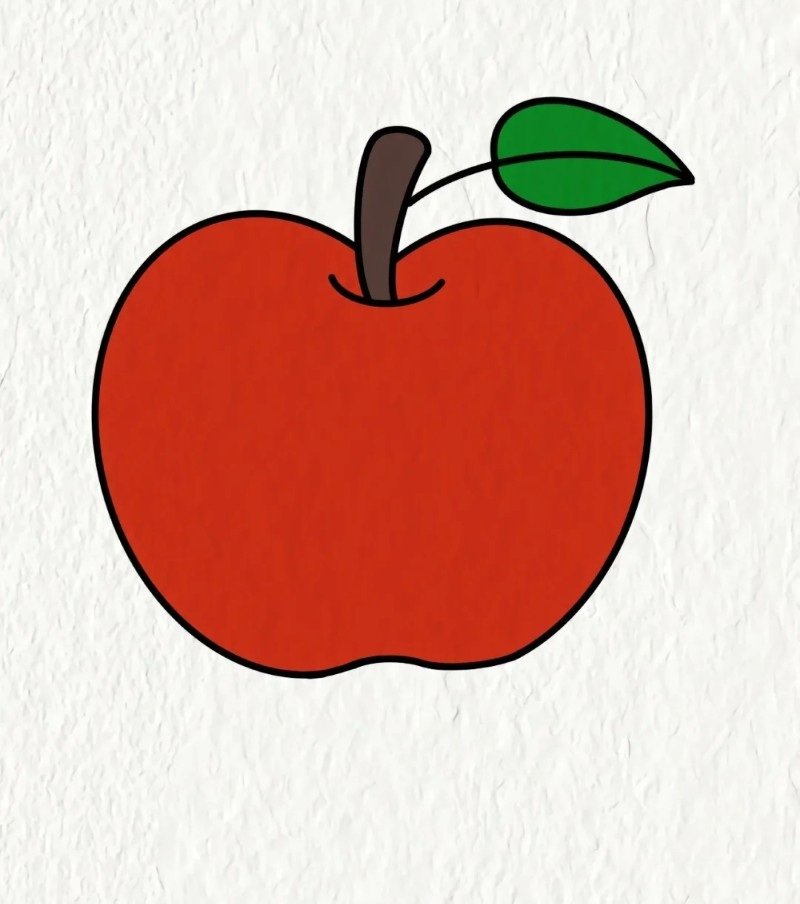

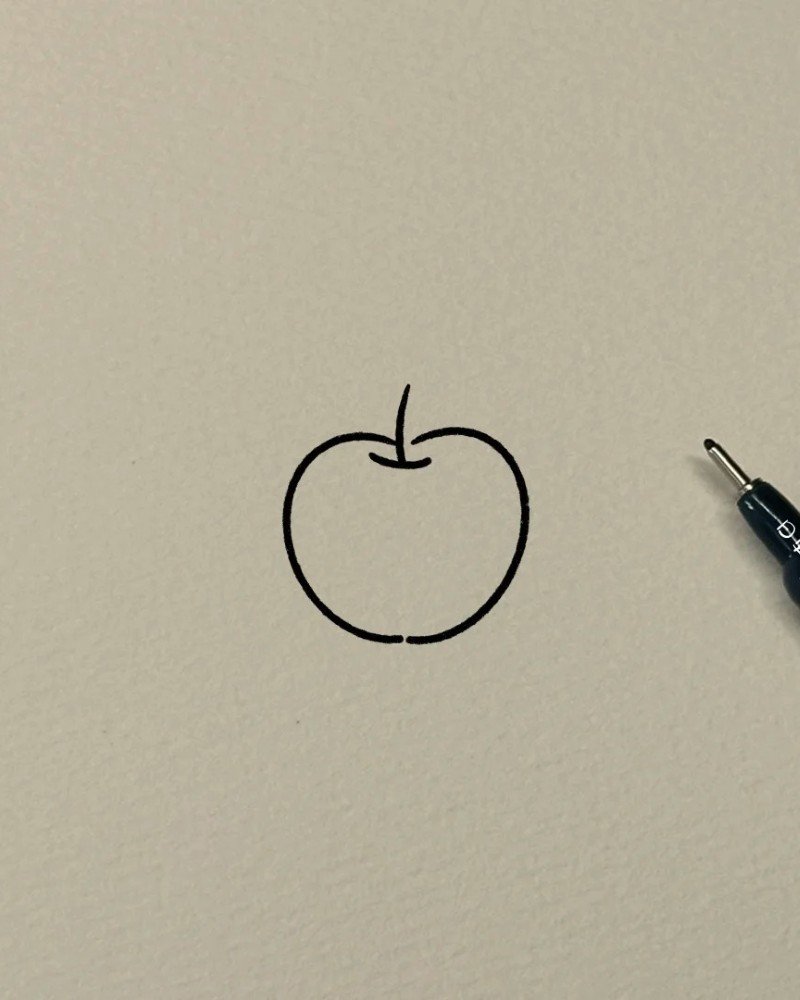
Step 1: Draw a short curved line with a thick base to form the stem of the apple, placing it near the top center of your paper for balance.
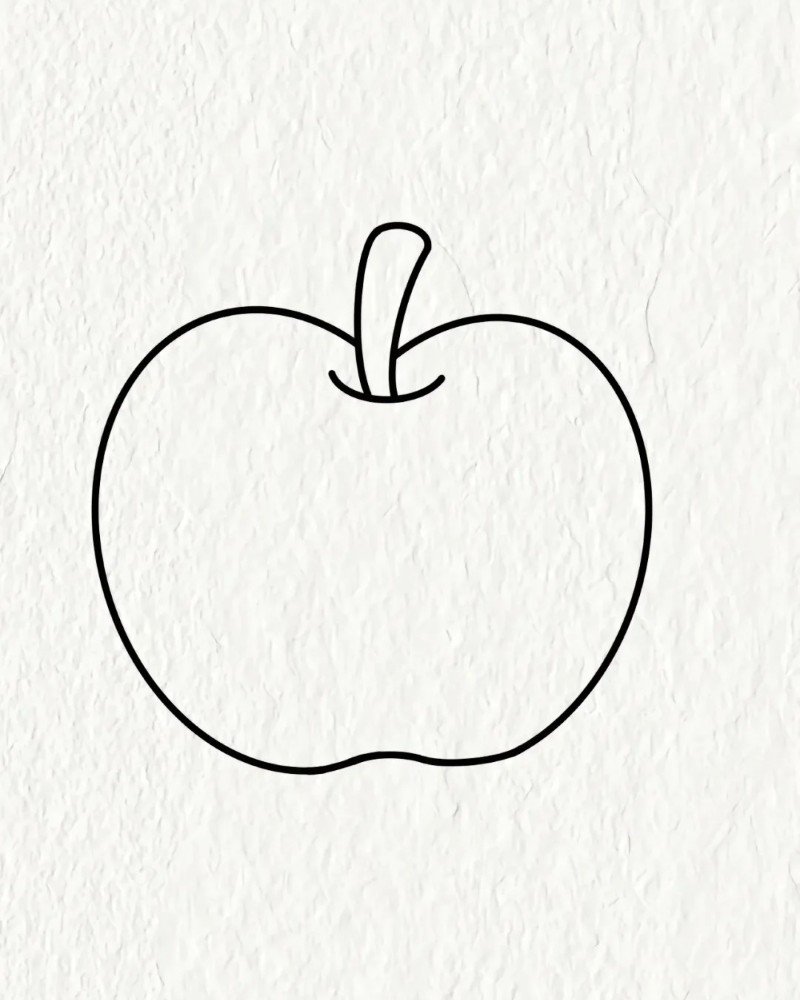
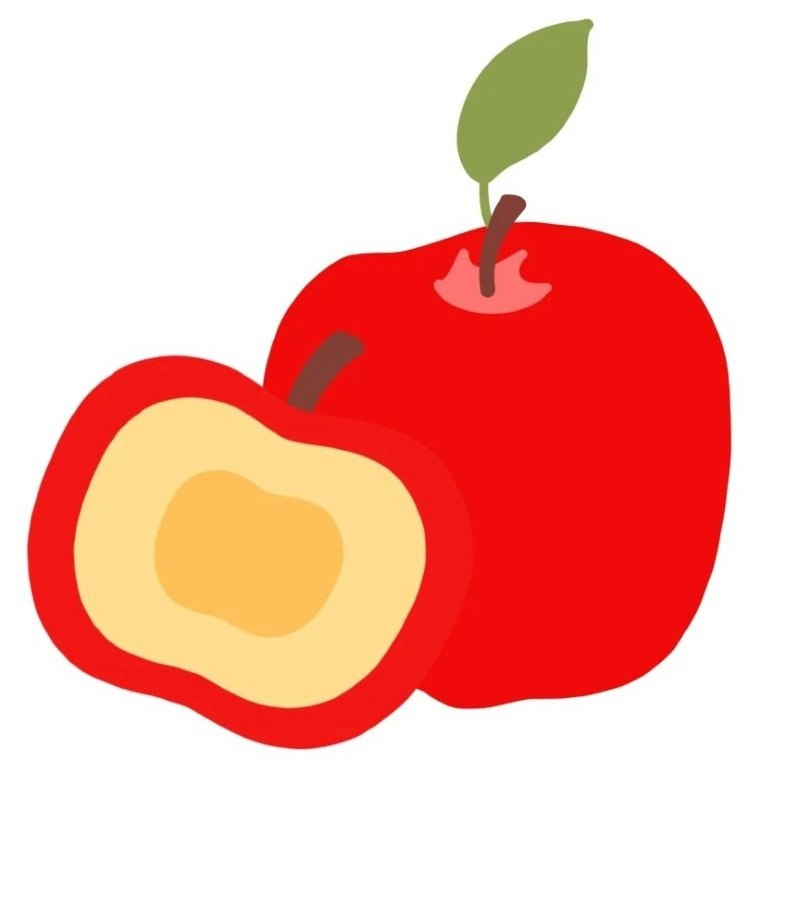
Step 2: Sketch the rounded apple shape by drawing two large curves on each side connected at the bottom, forming a heart-like outline.
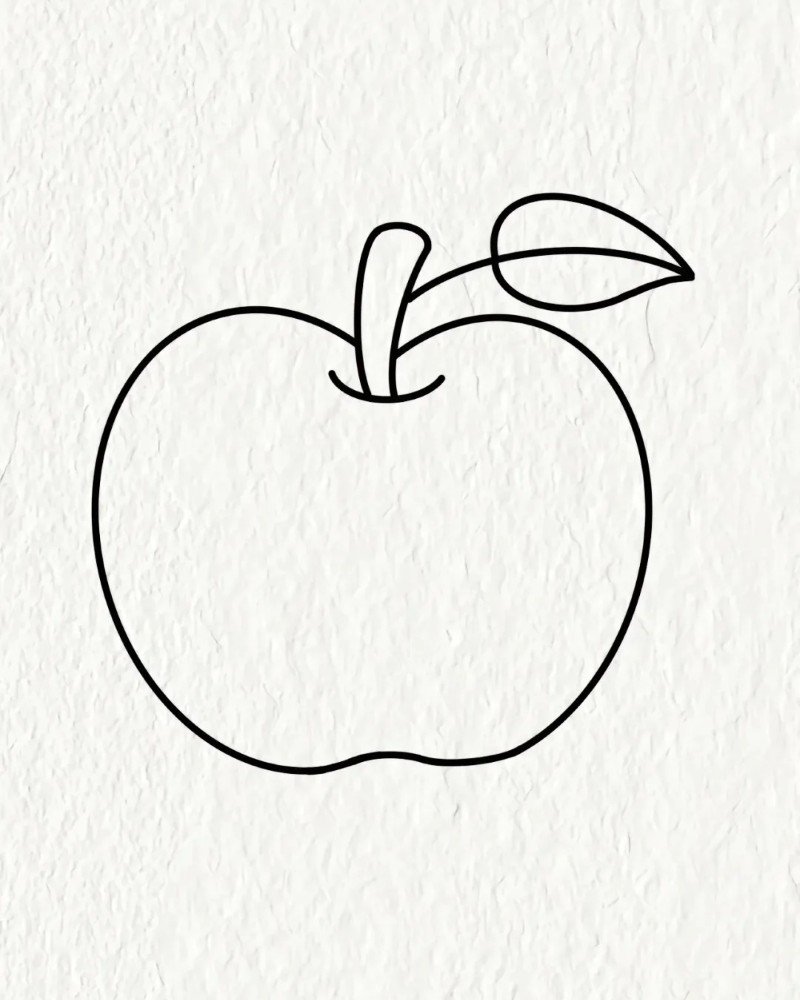
Step 3: Add a leaf on the right side of the stem by drawing an almond-shaped curve, then add a line in the middle to show the leaf’s vein.
How to draw an apple cute


Step 1: Start by drawing two small, shiny cartoon eyes—big circles with tiny white reflections inside—to make the apple look expressive and cute.

Step 2: Add a small curved line between the eyes to form a tiny smiling mouth, giving your apple a cheerful and friendly personality.

Step 3: Draw a curved line below the face to begin shaping the bottom half of the apple’s round body, making sure it curves slightly outward.

Step 4: Complete the apple’s round shape by closing the top with a wavy line and add a small stem and leaf on top to finish the outline.

Step 5: Add cheeks by drawing two little ovals next to the eyes and add freckles or tiny dots for extra cuteness and character to the apple.
How to draw an apple easy


Step 1: Start by drawing the number “5” – this clever shortcut forms the basic outline for the apple with its top dip and curved body.

Step 2: Complete the apple’s body by connecting the bottom of the “5” with a smooth rounded line to close the shape and form a full apple.

Step 3: Draw a short curved stem coming out of the top center of the apple to make it look like a real fruit ready to be picked.

Step 4: Add a leaf beside the stem by sketching an almond shape, then draw a center vein to give it a natural and cute finishing touch.
How to draw an apple for kids


Step 1: Start by drawing a big round apple shape with a small dip at the top, like a circle with a soft heart-like curve for a fun, simple look.
Step 2: Add a short vertical stem right at the top center of the apple to make it look more natural and recognizable for kids.

Step 3: Draw a single leaf by curving a line out from the stem, creating a simple pointed shape to bring your apple to life.

Step 4: Add a second leaf on the opposite side to balance the drawing and make the apple even cuter and more complete for young artists.
How to draw an apple step by step


See more:
Compile 5+ steps on how to draw a Wolf easy for beginners
5+ easy steps on how to draw a Shark for beginners
7+ must-try tutorials on how to draw a shamrock easily
And there you have it! With just a few simple steps and a dash of creativity, you’ve learned how to draw an apple in multiple fun and expressive ways. Don’t worry if it’s not perfect—every great artist starts somewhere. Keep practicing, try out different styles, and most importantly, enjoy the process.