Looking to learn how to draw an egg in the easiest way possible? Whether you’re just starting your art journey or want to improve your sketching skills, this guide is perfect for you. Eggs are simple yet surprisingly fun objects to practice with – great for mastering shapes, light, and shadows. In this article, we’ll walk you through practical methods that even beginners can follow confidently. From basic outlines to more realistic shading, you’ll learn it all. Plus, we’ll add some cool tricks to spice up your artwork. Get ready to sketch like a pro with help from dooduko.com!
How to draw a chick in an egg
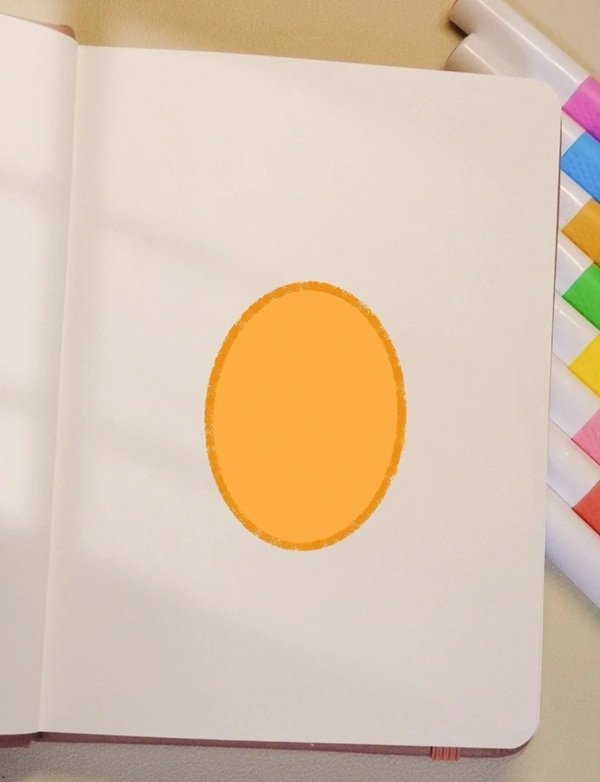
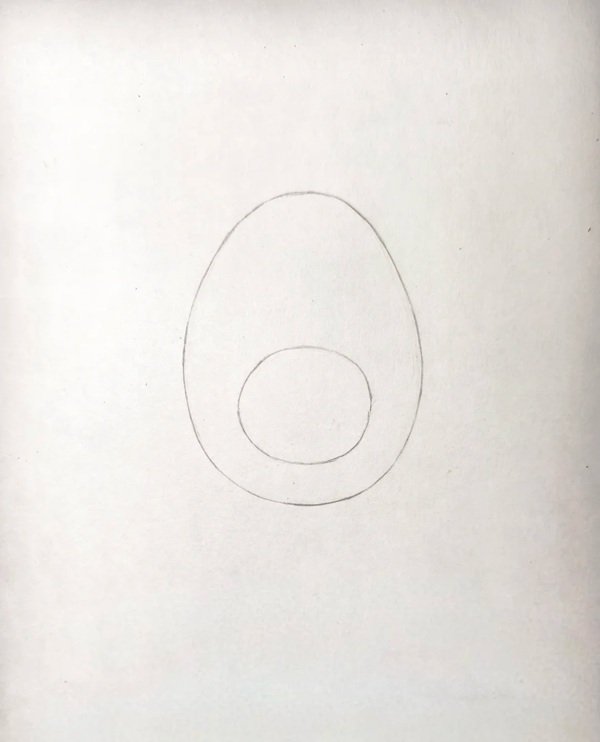
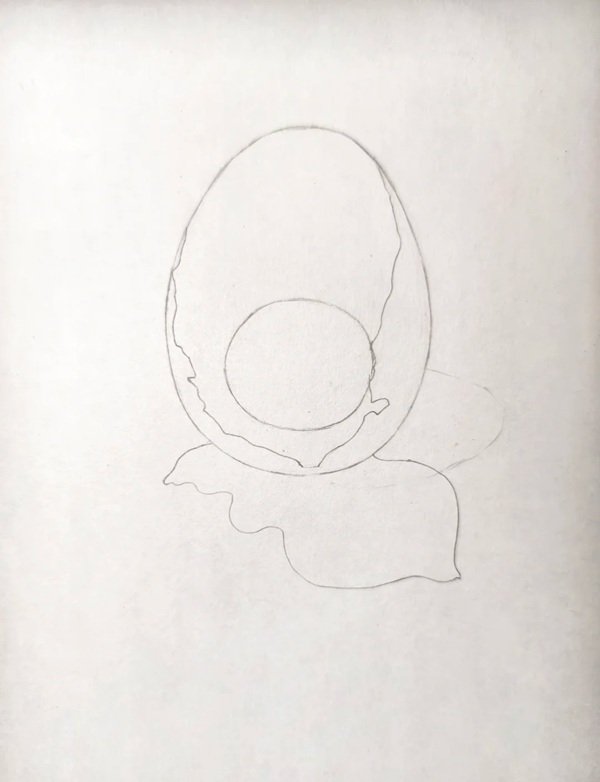
Step 1: Draw an oval shape in the center of the page to represent the egg’s top half—keep the edges smooth and make sure it’s nicely centered.
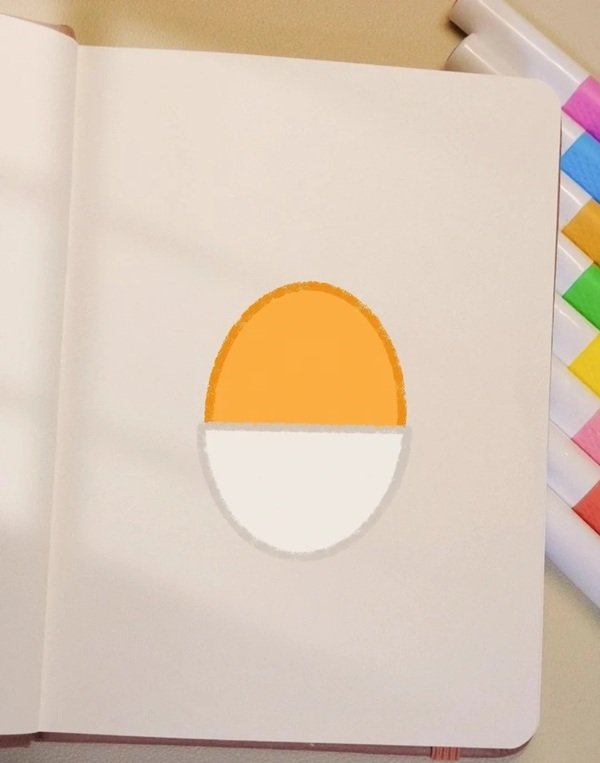
Step 2: Add a straight horizontal line near the bottom of the oval, then draw a larger semi-circle underneath it to complete the base of the egg shell
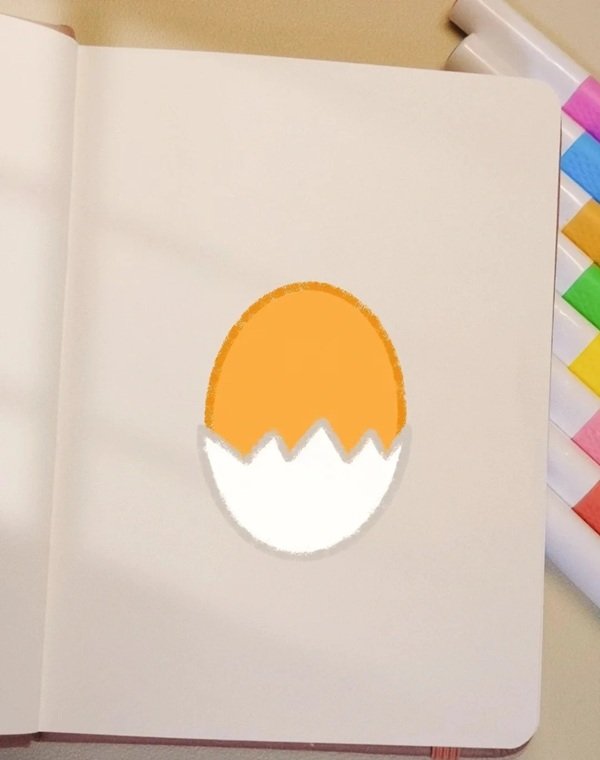
Step 3: Replace the straight edge with a zigzag line to form a cracked eggshell look; make sure the top and bottom halves align symmetrically.
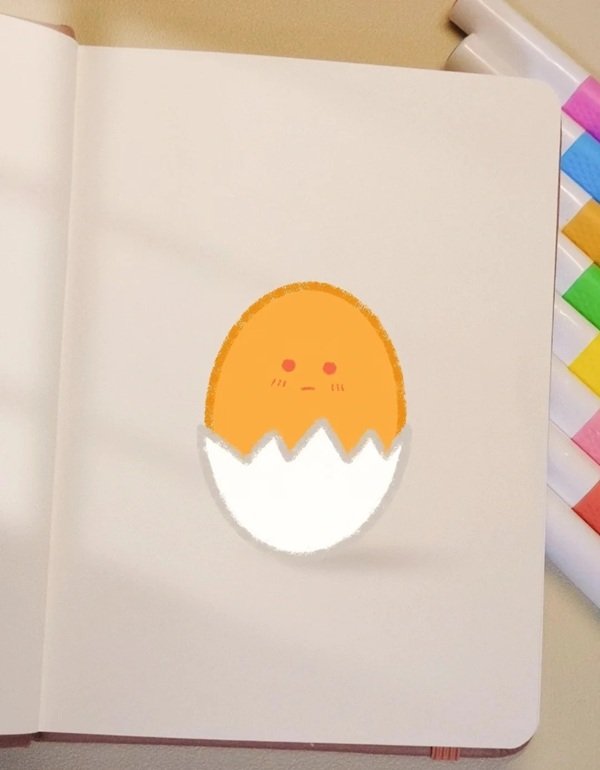
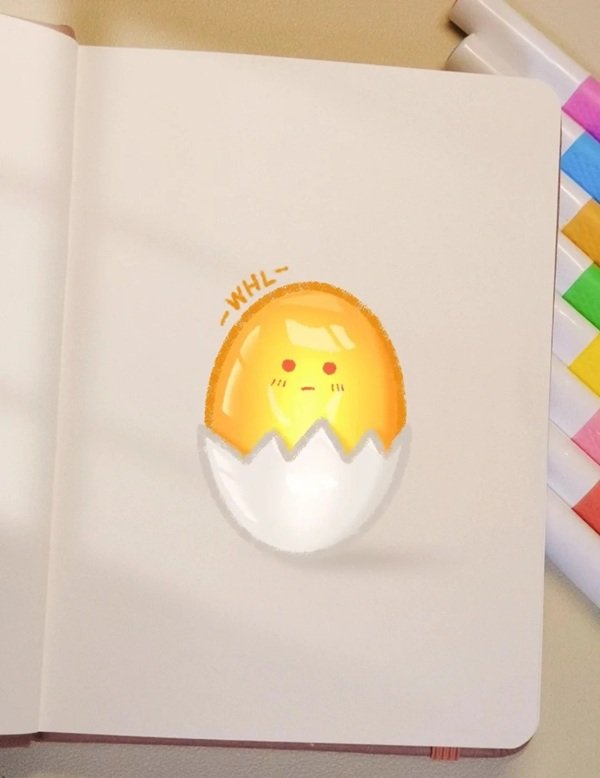
Step 4: Inside the top shell, draw two small black dots for eyes and a tiny triangle for the beak to start forming the baby chick’s face.
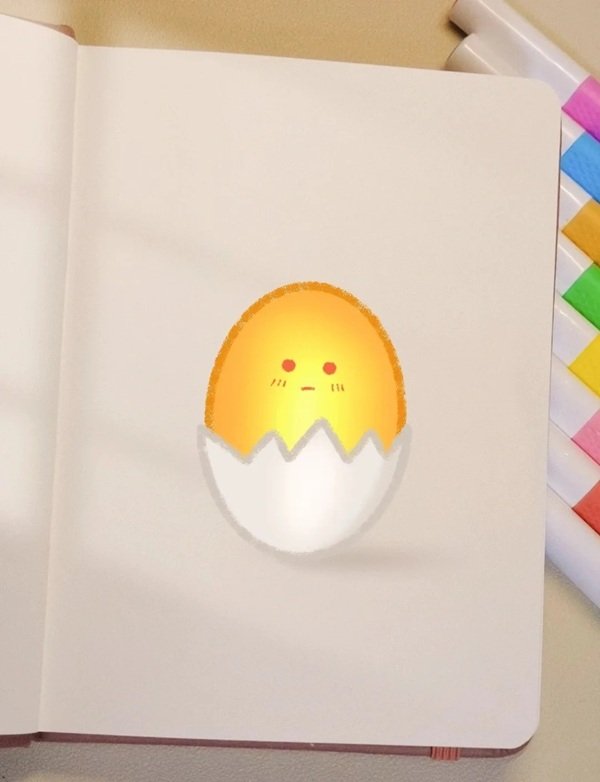
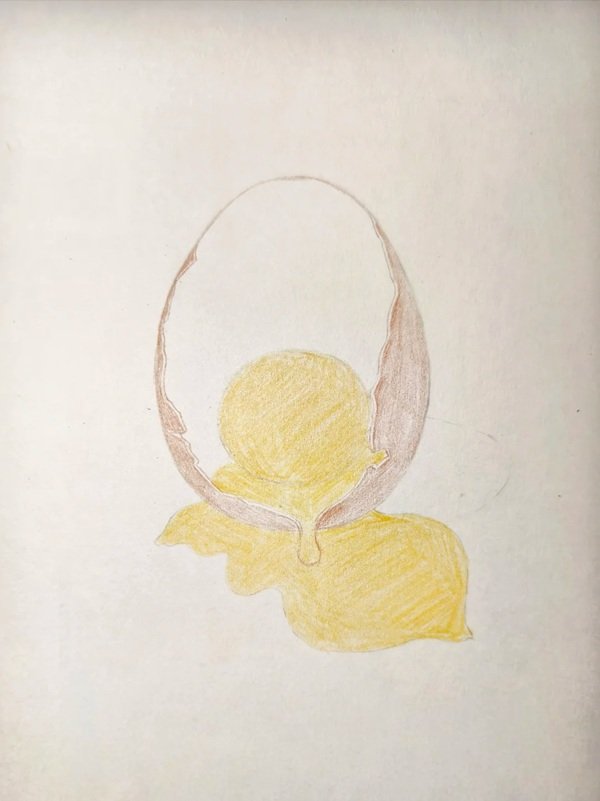
Step 5: Color the chick’s face yellow and add tiny blush spots and feathers for detail—your cute baby chick in an egg is now complete!
How to draw an easter egg
How to draw an easter egg easy
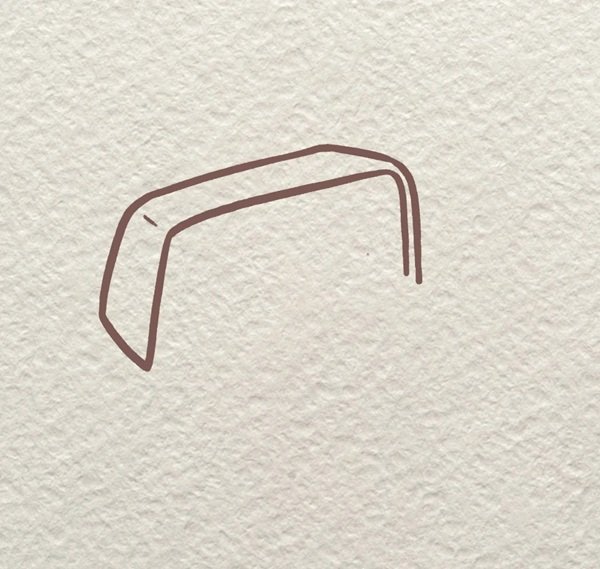
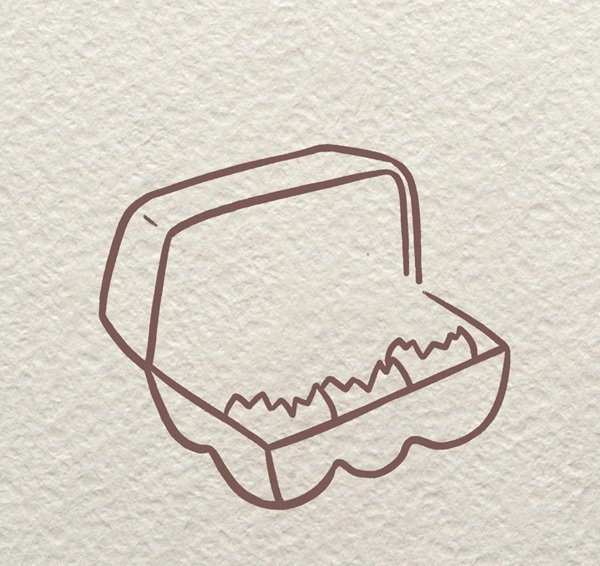
Step 1: Start by drawing a curved handle, shaped like an upside-down “U”, to form the top part of your Easter egg basket.
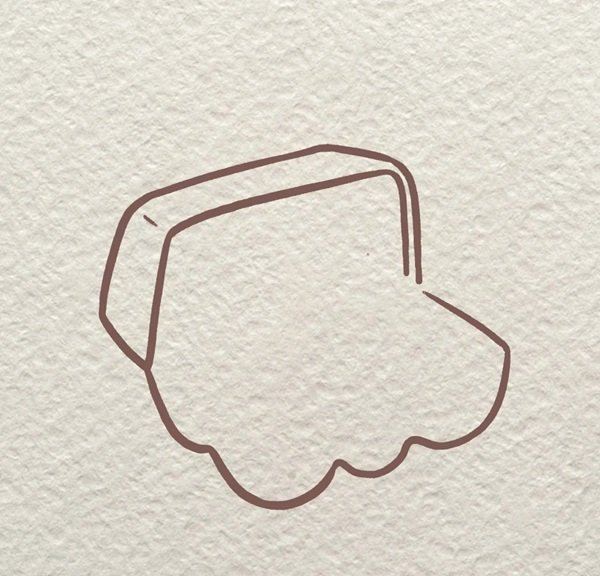
Step 2: Sketch a wavy line under the handle to create the straw or decorative cloth edge of the basket—this gives it a fun, festive feel.
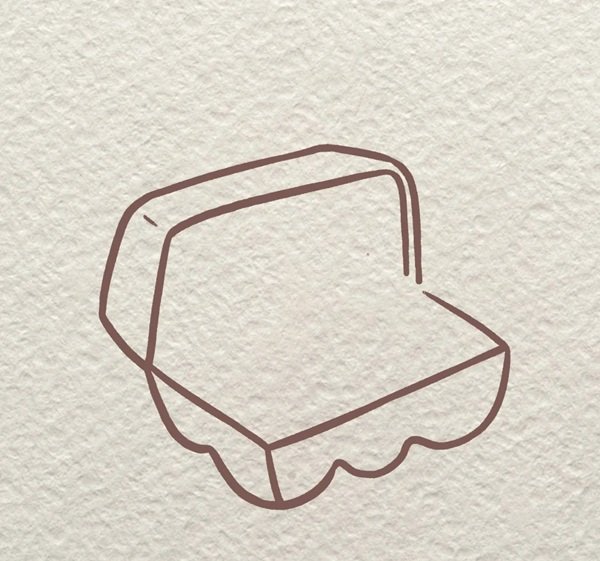
Step 3: Extend straight lines down from each end of the wavy line and connect them with a curved base to form the full shape of the basket.
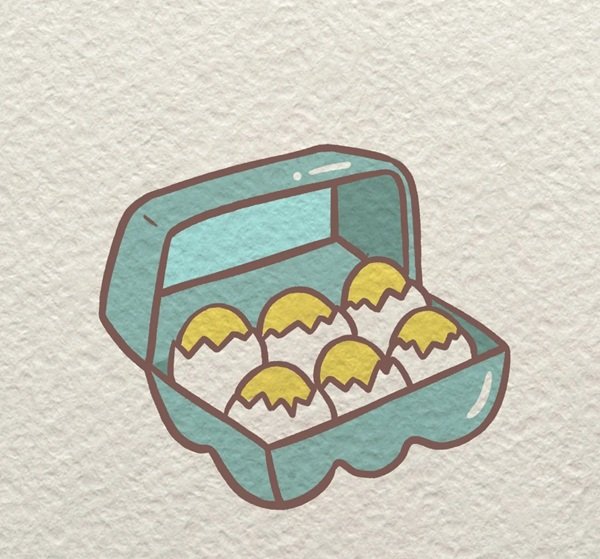
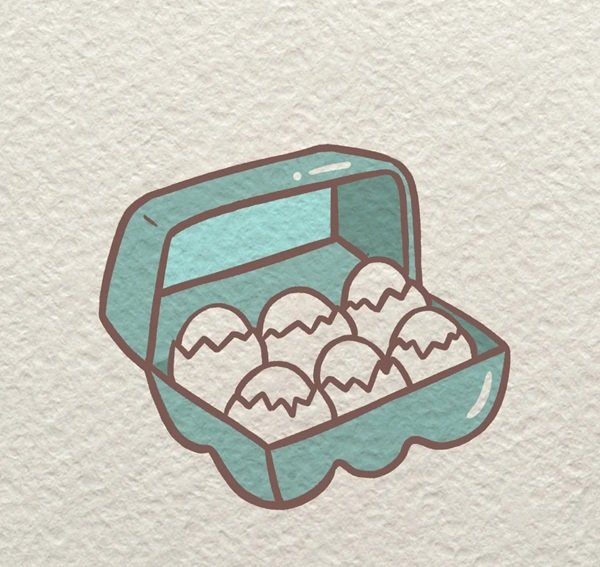
Step 4: Inside the basket, draw overlapping ovals in two layers to represent the Easter eggs nestled closely together.
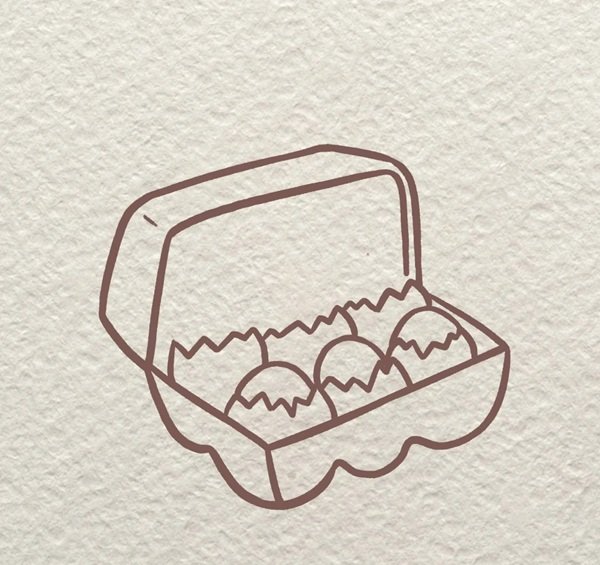
Step 5: Add smaller curved lines and details on each egg to show separation, giving a more realistic look of a basket filled with colorful eggs.
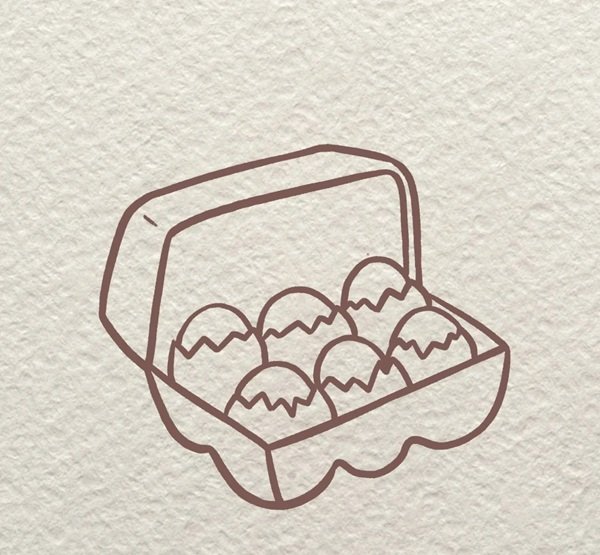
Step 6: Sketch facial expressions or decorative details like stripes or dots on the eggs to make each one unique and full of personality.
Step 7: Draw the basket’s inner rim to give it depth, and add a base outline underneath to make the structure look sturdy and dimensional.
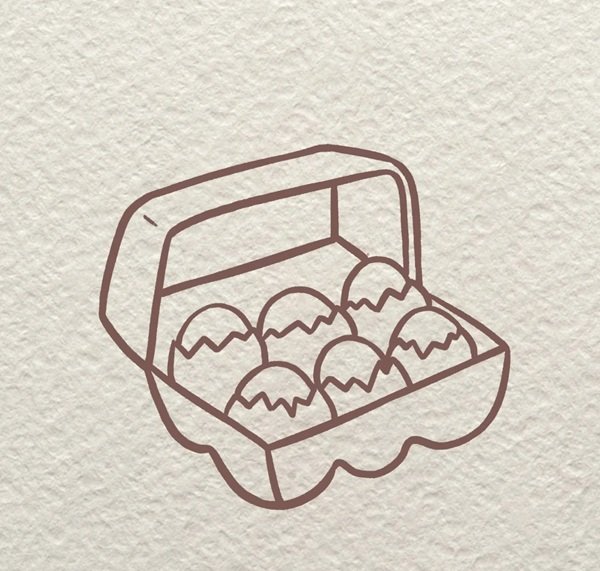
Step 8: Finish by coloring the basket and eggs—use soft pastels, bright spring colors, or your favorite festive shades to bring your Easter artwork to life!
How to draw an egg

How to draw an egg cute


Step 1: Begin by drawing a simple curved arch, like the top of an egg—this will be the top of your cute egg character’s head.

Step 2: Add a wavy line under the arch to complete the body shape and give it a playful look like a cracked shell or soft blob.
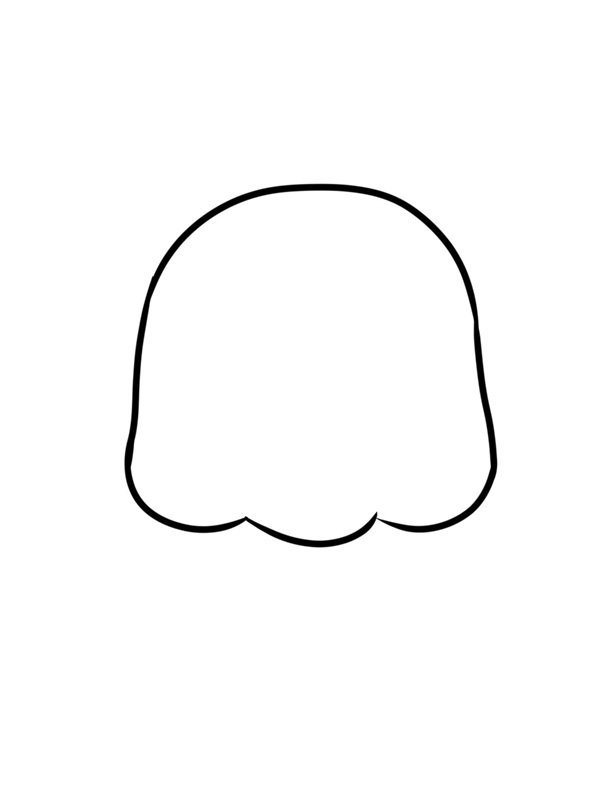
Step 3: Connect the top and wavy bottom with smooth curves on each side to form a jellybean-like body shape that feels cute and round.

Step 4: Draw two flipper-like arms on each side of the body; keep them short and slightly curved outward to enhance the adorable look.

Step 5: Add a pair of large, shiny eyes and tiny blush circles below them to make the face cute—finish with a small dot or smiley mouth if desired.

Step 6: Complete your drawing with fun accessories—like a flower on its head and a mini plush friend—to give personality and extra cuteness!
See more:
How to draw a wreath with 5 cute styles to try now
4 quick lessons to try how to draw a worm by hand
How to draw a water bottle in 7 simple and fun steps
Learning how to draw an egg may seem simple, but it teaches core drawing techniques like form, shading, and proportion. With practice, this everyday object can become a fun artistic challenge and a great warm-up sketch. We hope these tips and steps helped you get started with ease. Keep practicing and try out different styles for variety. Don’t forget—every master artist starts with the basics. Happy drawing!