Want to know how to draw an turtle that’s both cute and realistic? Whether you’re a total beginner or someone who loves art, you’re in the right place. Drawing a turtle may look tricky at first, but with a few fun techniques, anyone can do it. From smooth curves to cool shell patterns, you’ll discover how easy it is to bring this adorable animal to life on paper. Our collection features step-by-step guides perfect for all ages. Get inspired, sketch confidently, and show off your turtle drawings like a pro. Check out these cool tutorials now on dooduko.com and unleash your inner artist!
How to draw an easy sea turtle

Step 1: Draw a wide oval shape for the turtle’s head, slightly flattened on top and bottom to create a cute, rounded base for the face.

Step 2: Add two small black dots for the eyes and a tiny curve below for the mouth to give the turtle a friendly, cartoon-style expression.

Step 3: Draw a larger oval shape beneath the head to form the shell body, making sure it connects softly to the bottom of the head.

Step 4: Add three short horizontal lines on the shell to indicate the belly plates, giving the turtle’s body more structure and turtle-like detail.
How to draw an easy turtle
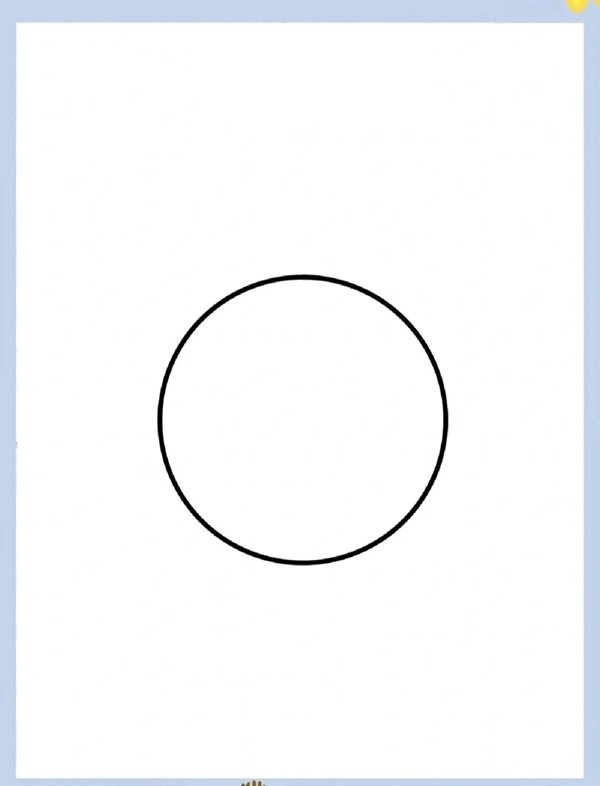
Step 1: Draw a large circle in the center of the page to create the base of the turtle’s shell, which will be the main part of its body.
Step 2: Add a smaller oval on top of the shell for the head, slightly overlapping the big circle to keep the proportions balanced and cute.
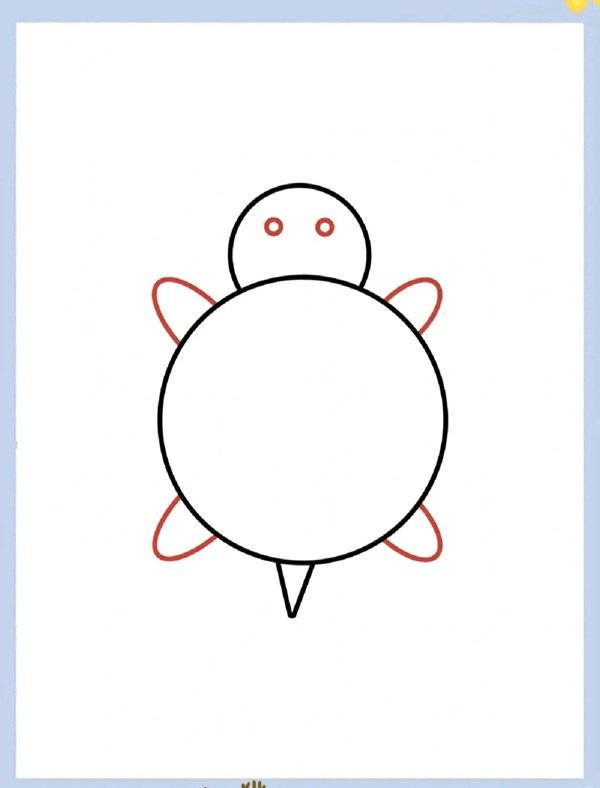
Step 3: Draw four small oval flippers on the sides and bottom of the shell, plus a tiny tail at the back to complete the turtle’s basic outline.
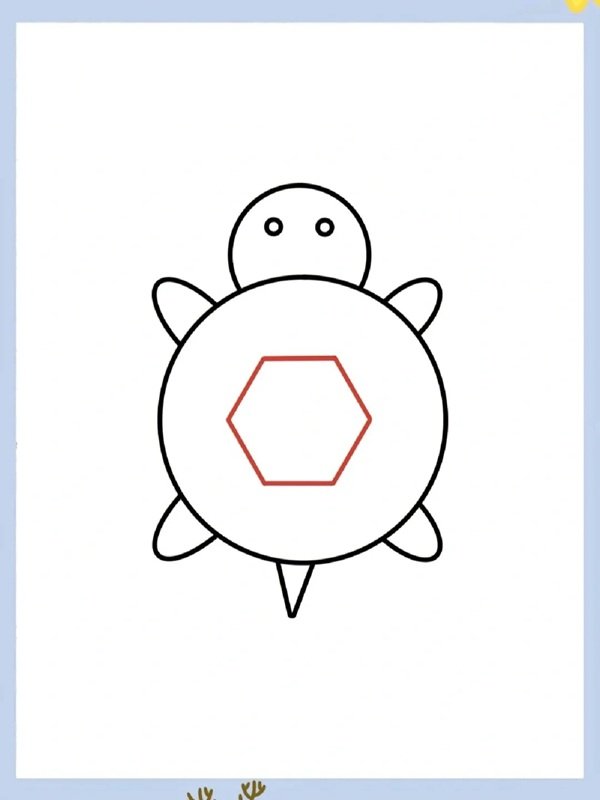
Step 4: Inside the shell, draw a hexagon in the center to start forming the turtle’s shell pattern, aligning it neatly with the outer circle.
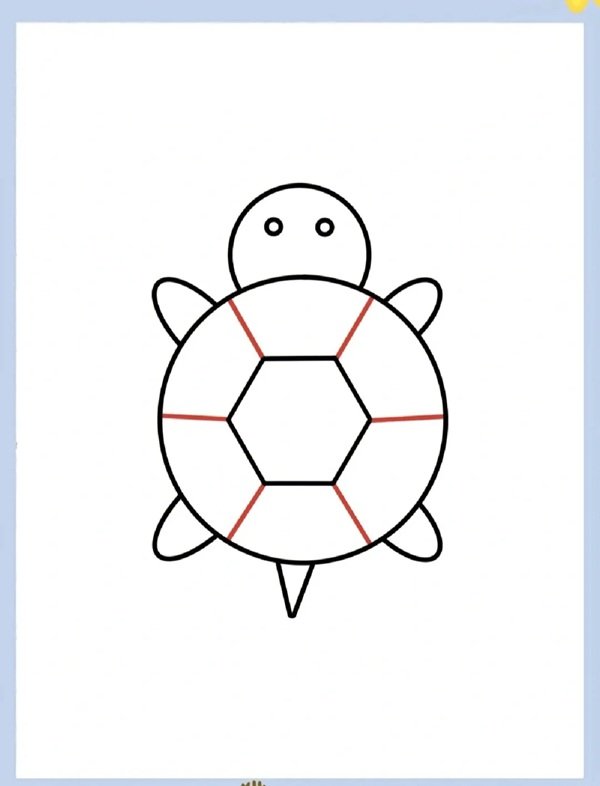
Step 5: Add more lines around the hexagon to form a pattern of connected shapes, giving the shell a classic turtle look with detailed segments.
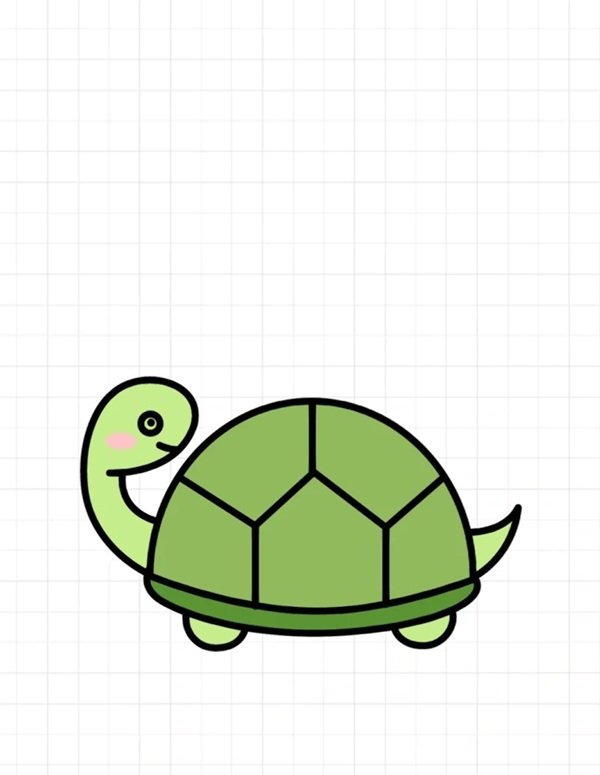
How to draw an turtle for kids

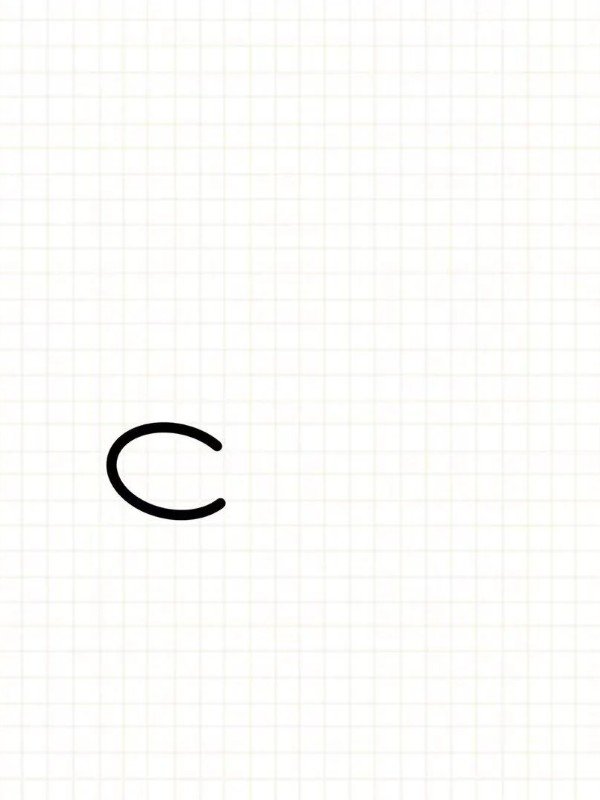
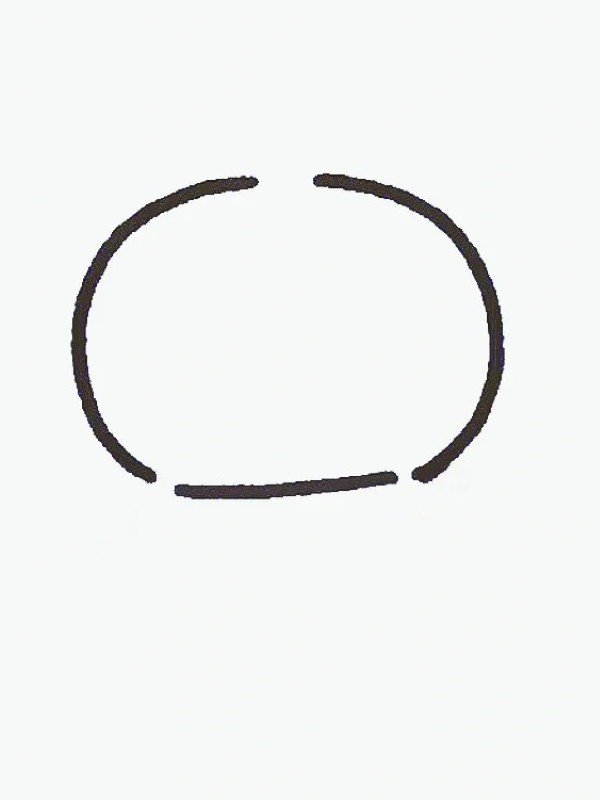
Step 1: Start with a small curved “C” shape to form the turtle’s nose and front of the head, placing it slightly left on the page.
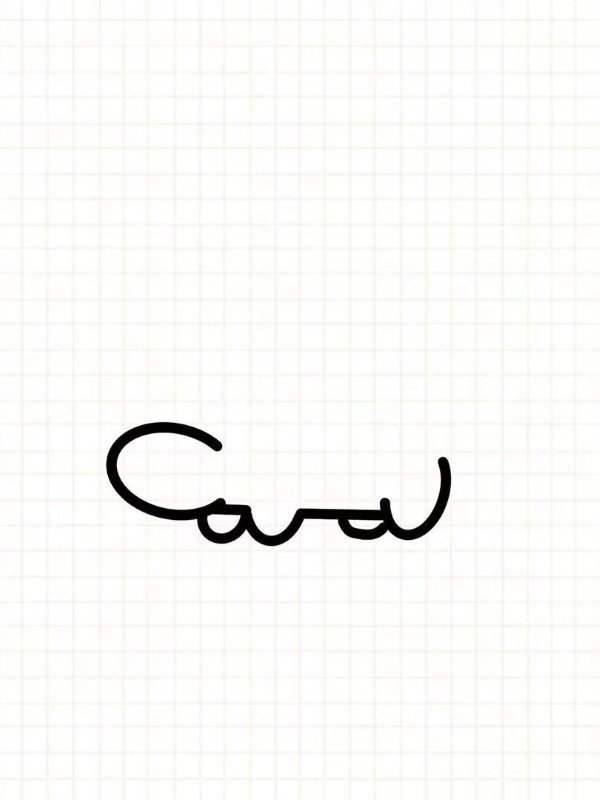
Step 2: Extend the curve backward and down to make the head and front leg, then add a bumpy line for the belly and first back leg.
Step 3: Continue the line to complete the back of the body and tail, then draw a small dot for the eye to give your turtle a friendly face.
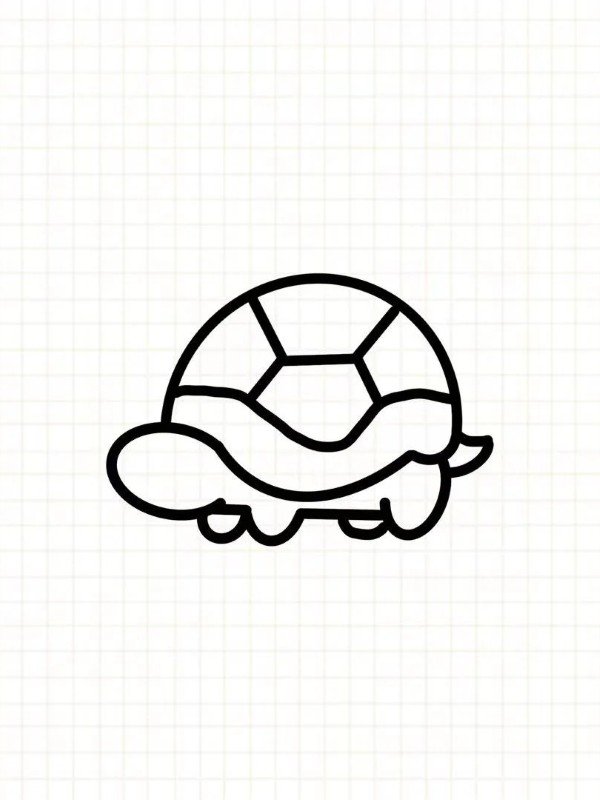
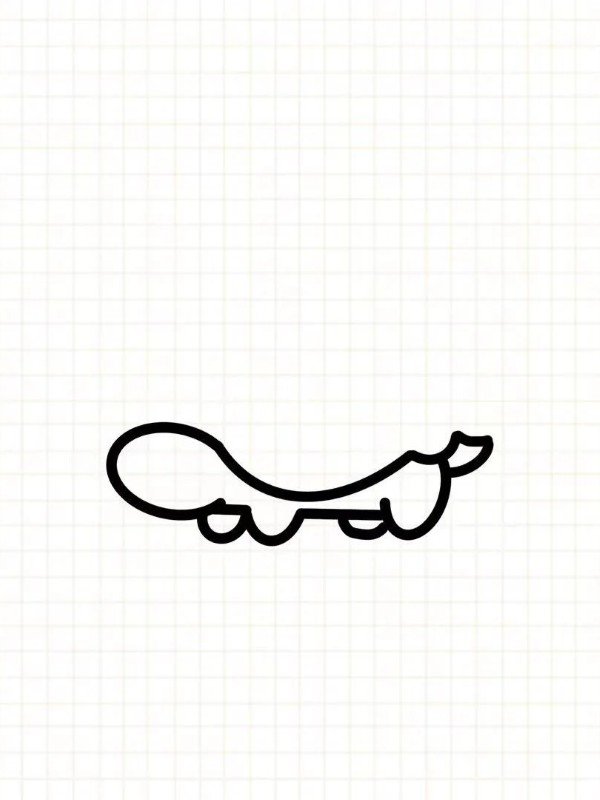
Step 4: Add a large shell on the turtle’s back with a dome-like shape, then draw hexagon-style segments inside to complete the cute turtle look.
How to draw an turtle simple
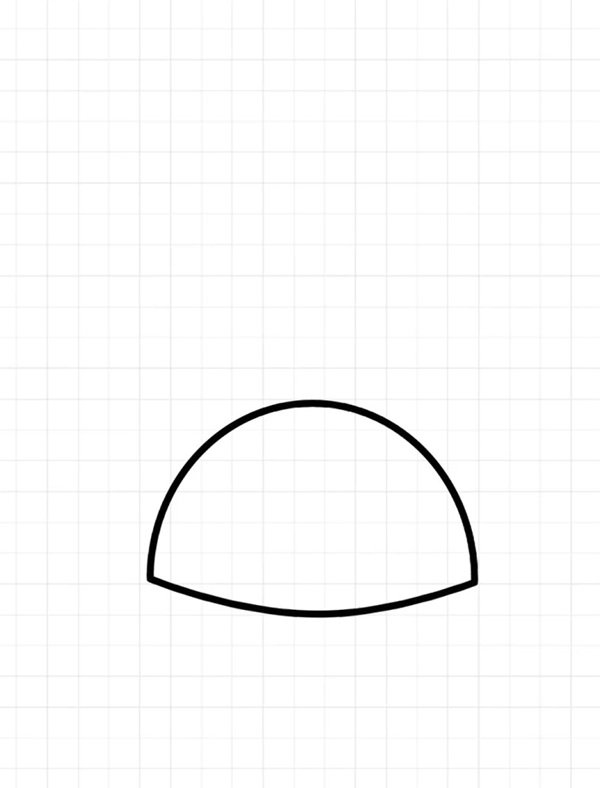
Step 1: Draw a dome shape to create the turtle’s shell, with a straight line at the bottom and a curved top to form a neat half-circle.
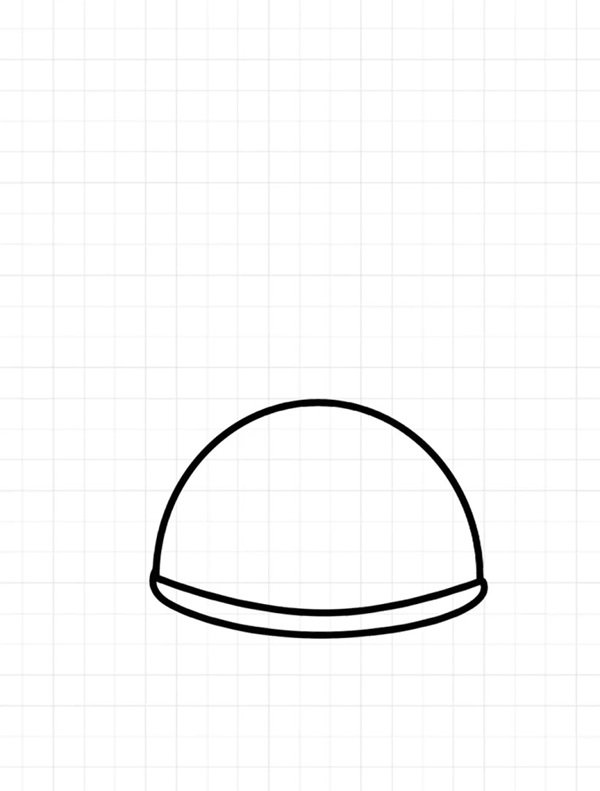
Step 2: Add a zigzag line across the bottom of the shell to create a shell edge detail, giving it a fun and cartoon-like style.
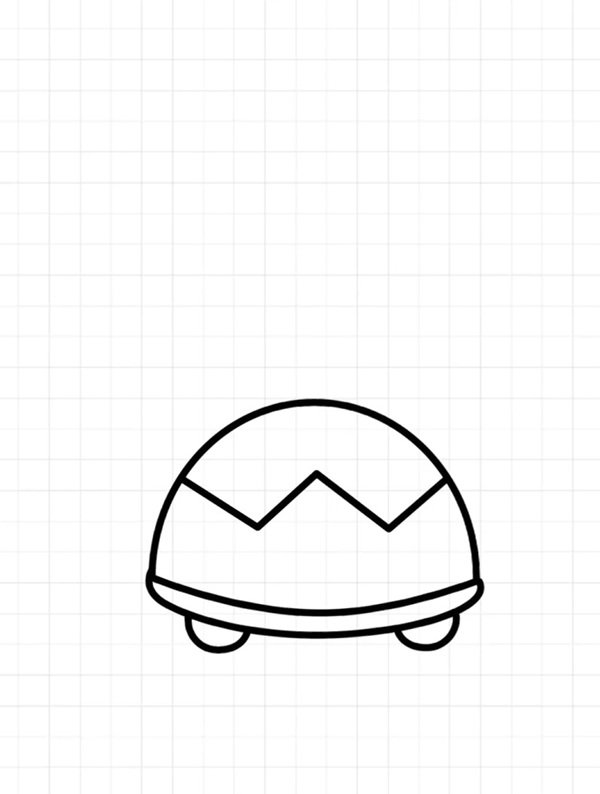
Step 3: Inside the shell, draw three hexagon-like shapes to form the shell pattern and give your turtle a more natural look.
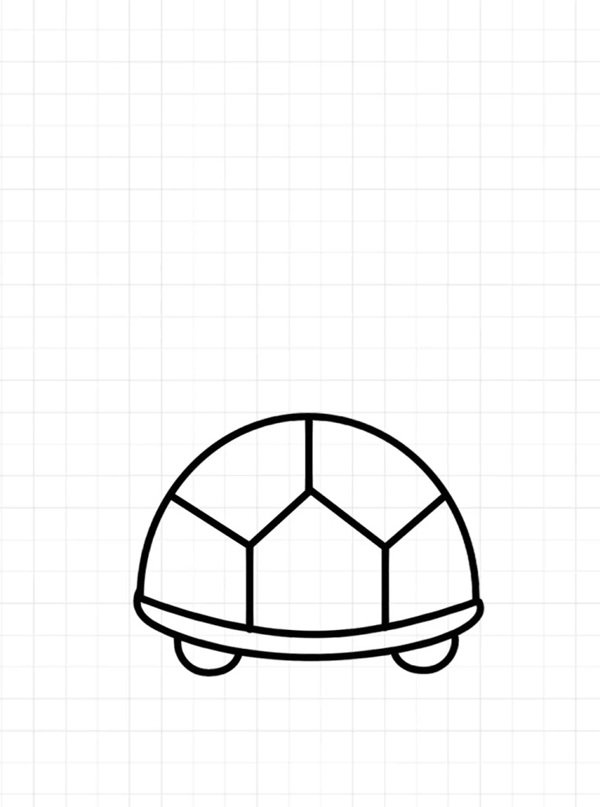
Step 4: Add four small legs under the shell by drawing short ovals near each corner, keeping the style simple and rounded.
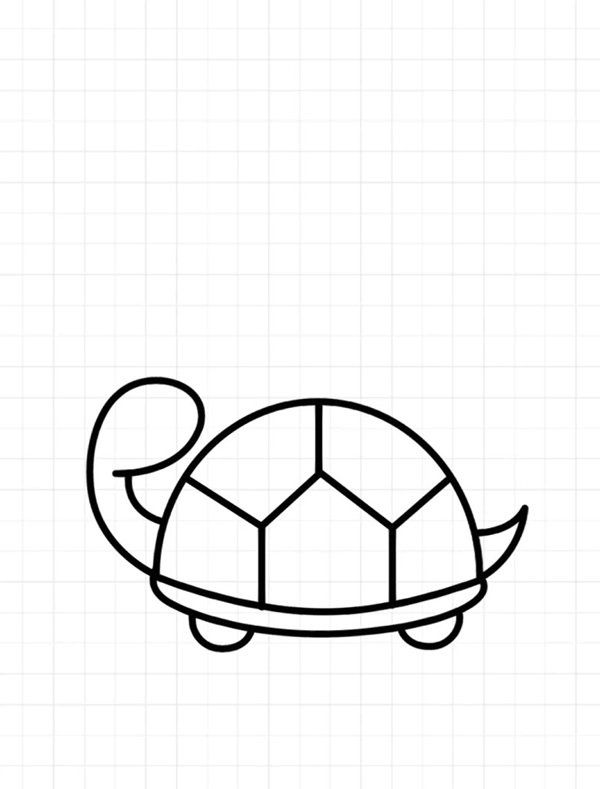
Step 5: Draw the turtle’s head on the left side and a tail on the right, using curved lines to keep the appearance playful and friendly.
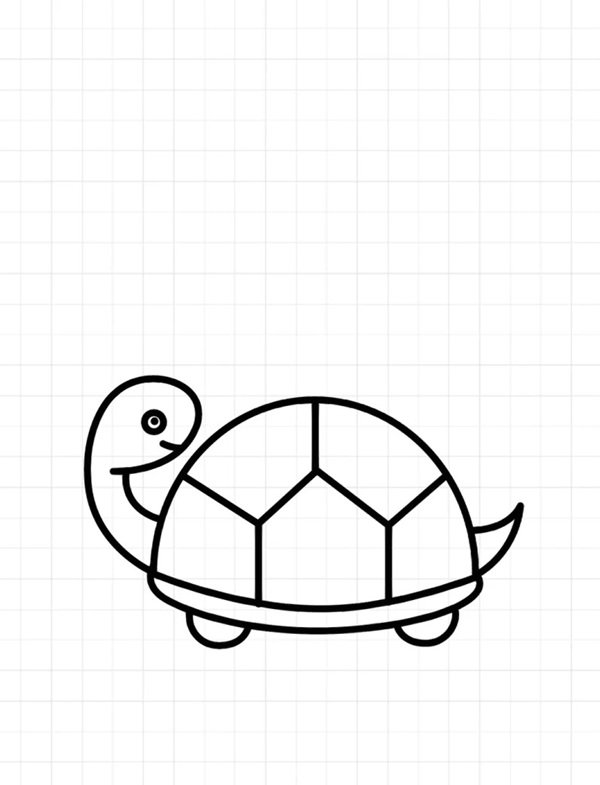
Step 6: Finish by adding a small swirl on the tail and a smiley face on the head to complete the cute, simple turtle drawing.
How to draw an turtle step by step


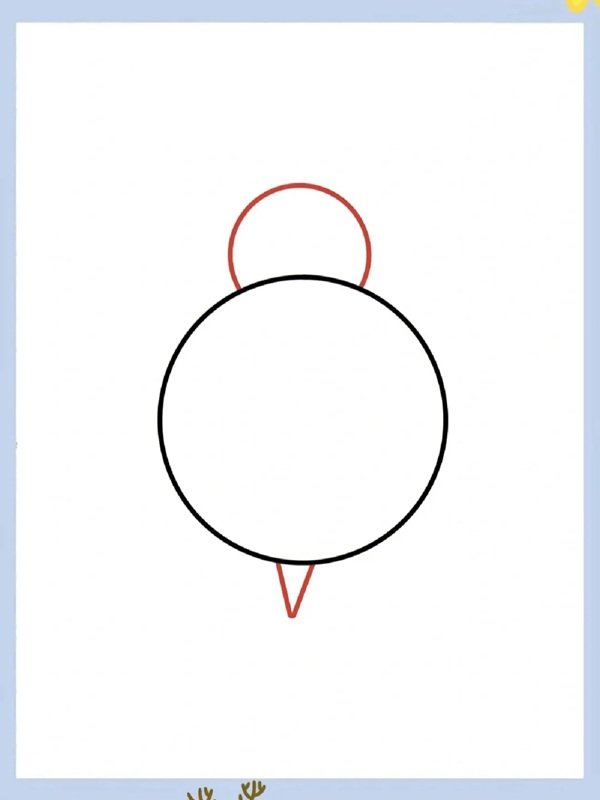
Step 1: Start with two circles—one large for the turtle’s shell and one smaller for the head, placed close together but not overlapping.

Step 2: Draw a curved line from the top of the head, extending down to outline the back and bottom of the turtle’s body.

Step 3: Add the front flipper and a small bump for the tail by drawing two short curves on each side of the bottom shell.

Step 4: Sketch the turtle’s face by adding a dot for the eye and a curved line for the mouth, then draw the second flipper on the opposite side.

Step 5: Complete the back flippers with two more rounded shapes behind the shell to give your turtle a full, balanced look.

Step 6: Add a final touch with a small blush on the cheek or smile detail, and you now have a complete cute turtle drawn step by step!
How to draw an turtle with pencil


Step 1: Start by drawing two small black dots spaced evenly apart to create the turtle’s eyes in the center of your paper.

Step 2: Draw a large circle around the eyes to form the head, keeping the shape round and slightly wider than the eye spacing.

Step 3: Sketch a curved rectangular shape beneath the head to form the turtle’s shell body, connecting it smoothly to the head.

Step 4: Add two legs by drawing short rectangles on each side of the body and a tail on the lower right using a small triangle.
 Step 5: Complete the drawing with a shell pattern and two more legs in the background to give your turtle a finished, playful look.
See more:
9+ tips to perfect your skills in how to draw an Easter bunny
5 Easy Steps on How to Draw a Witch Hat Like a Pro
Learn how to draw a Tulip in just 6 simple stages
Mastering how to draw a turtle doesn’t require professional art skills – just a little guidance, patience, and imagination. From playful cartoons to realistic renditions, you now have the tools to make your turtle come alive on the page. Keep experimenting with styles, colors, and expressions to make your turtle uniquely yours