Ready to bring the legendary plumber to life with just a pencil? Whether you’re a beginner or an aspiring artist, our ultimate “how to draw Mario” guide on dooduko.com will walk you through fun, easy, and engaging steps to capture Mario’s iconic look. Let’s-a go!
How to draw a easy mario
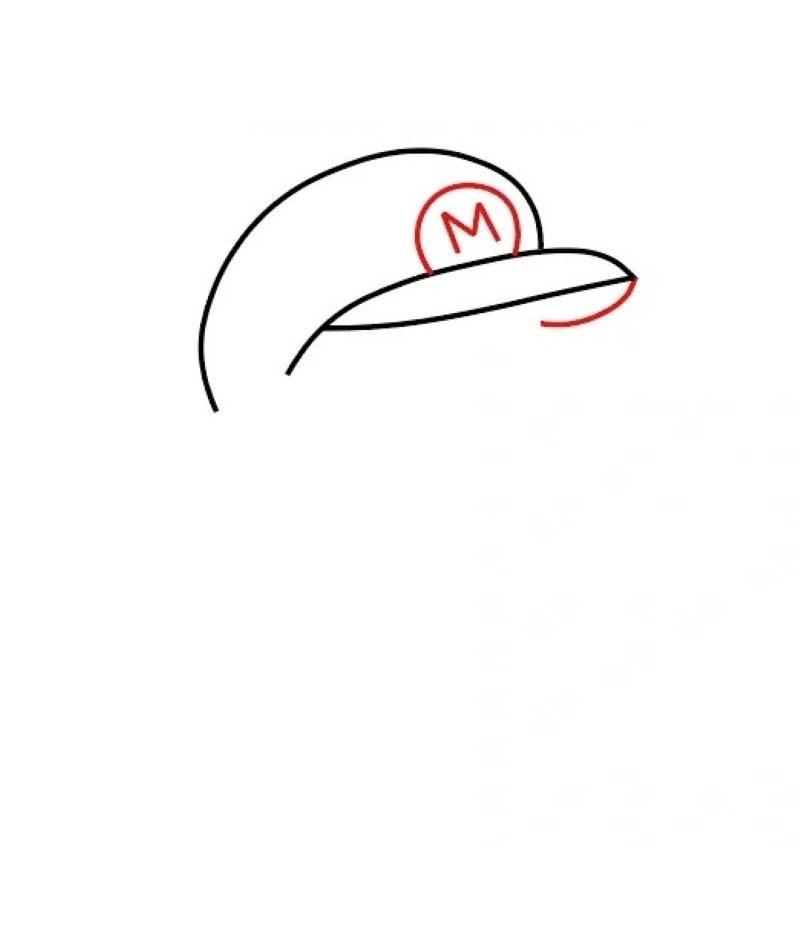
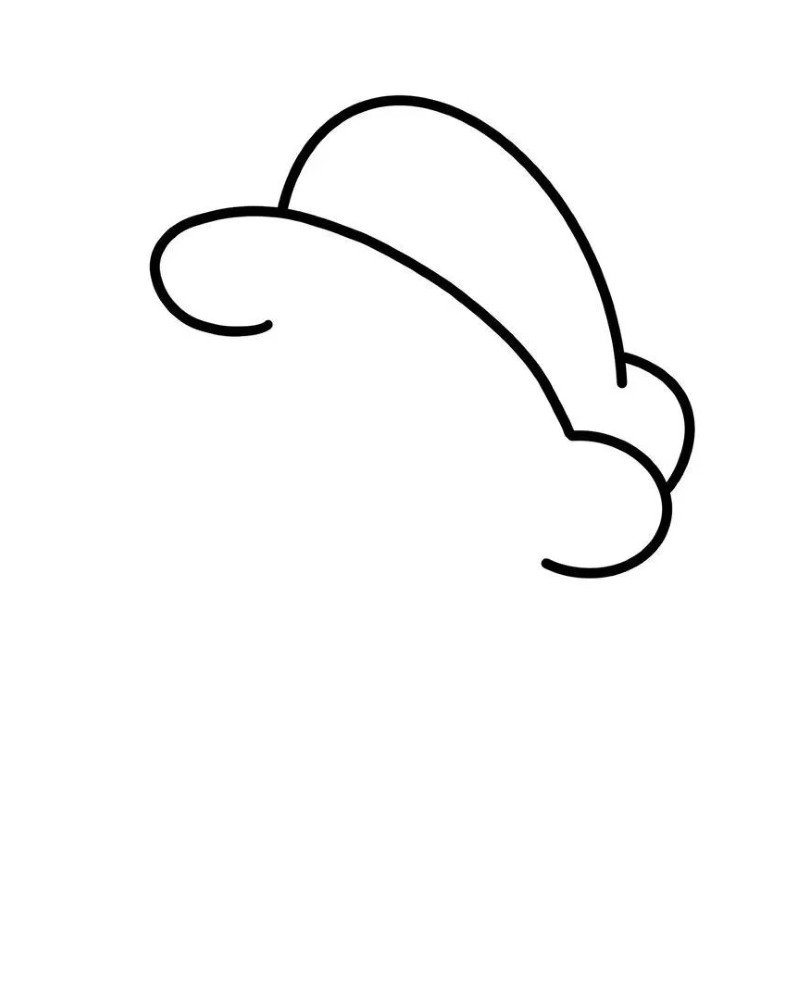
Step 1: Draw Mario’s signature hat with a curved brim and bold “M” logo, starting the drawing from the top of his iconic look.
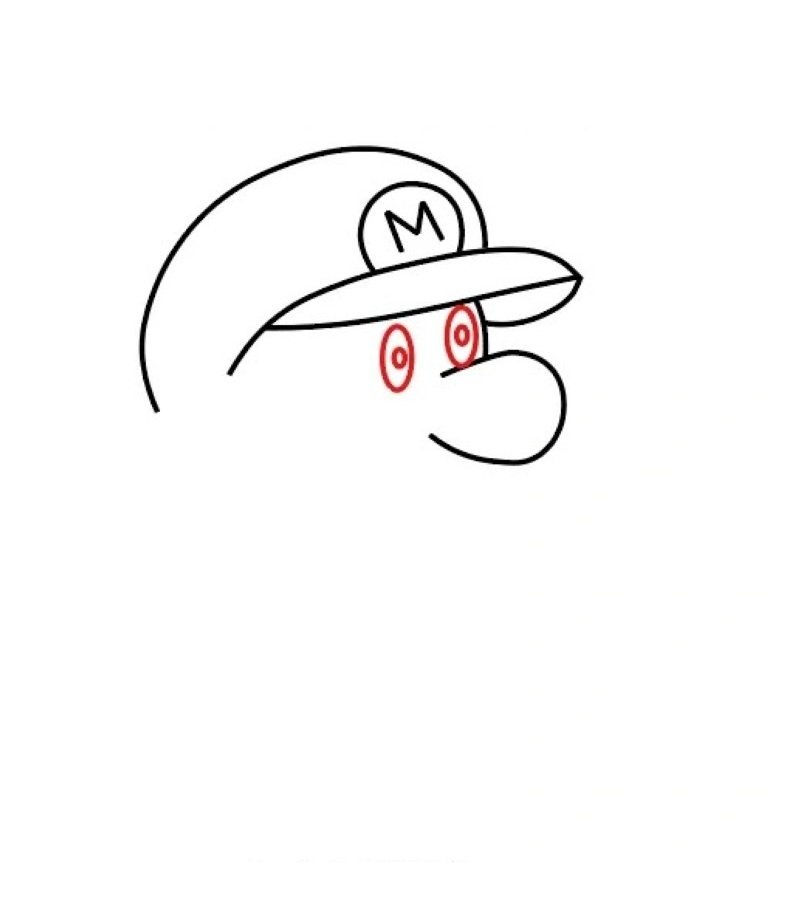
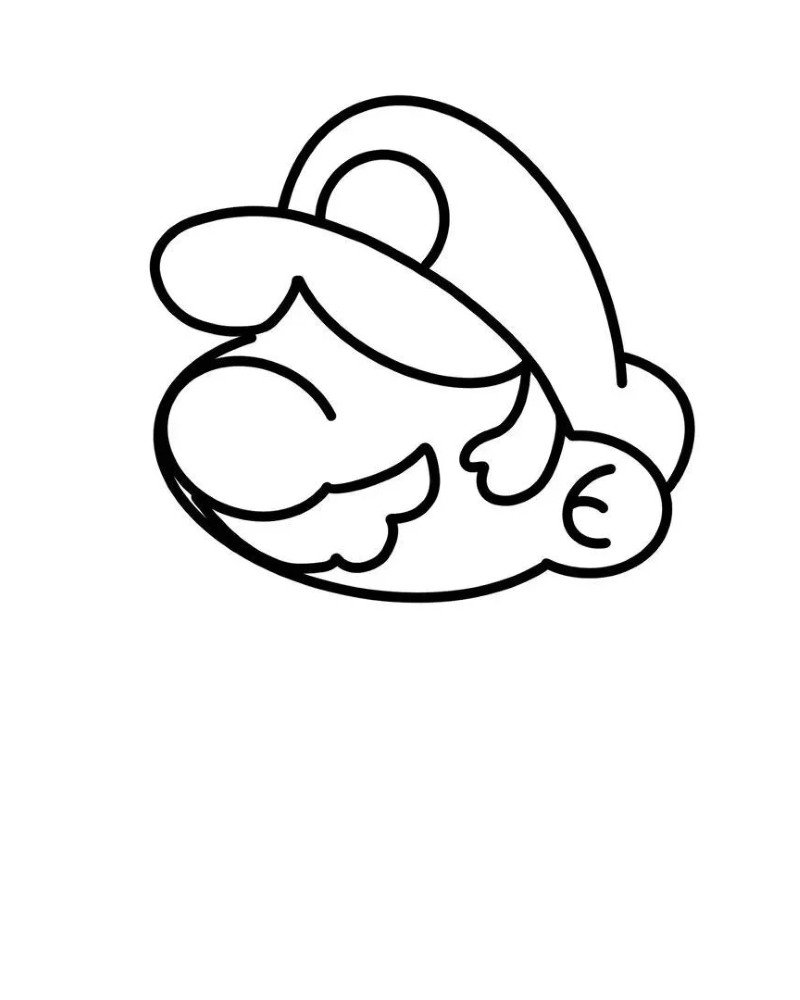
Step 2: Sketch his round nose, large mustache, and ear to begin shaping Mario’s familiar face from underneath the cap.
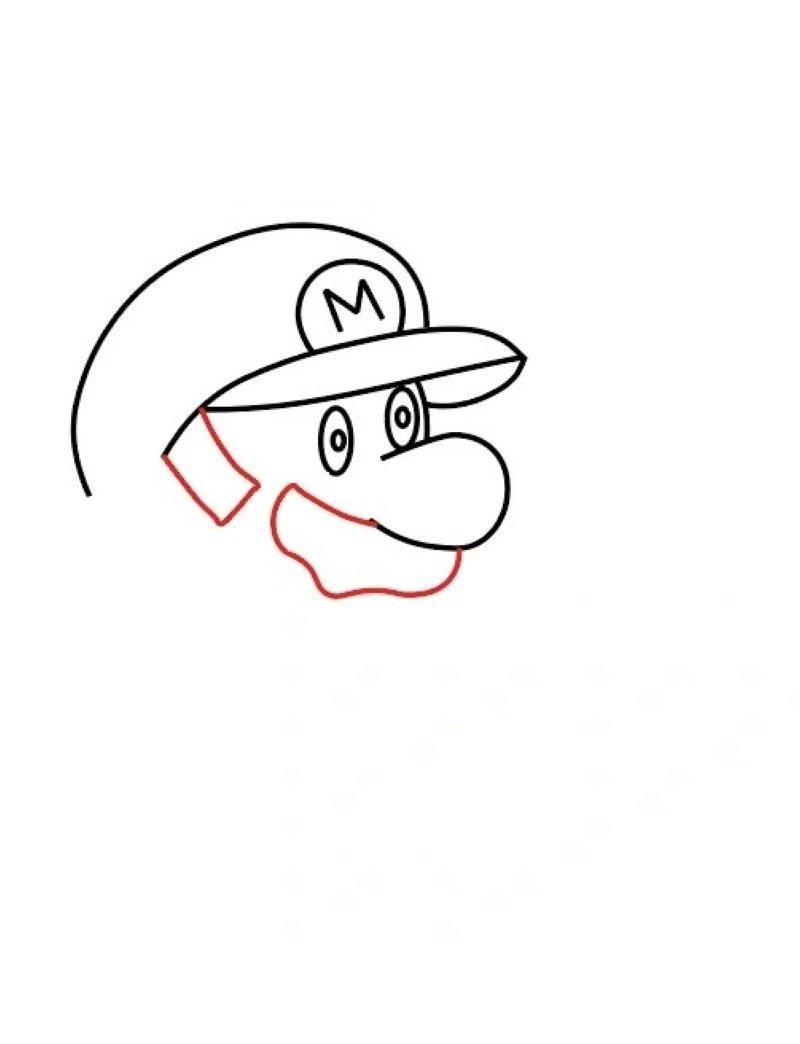
Step 3: Add his eyes under the brim and complete the face outline with his cheek, jawline, and expressive smile
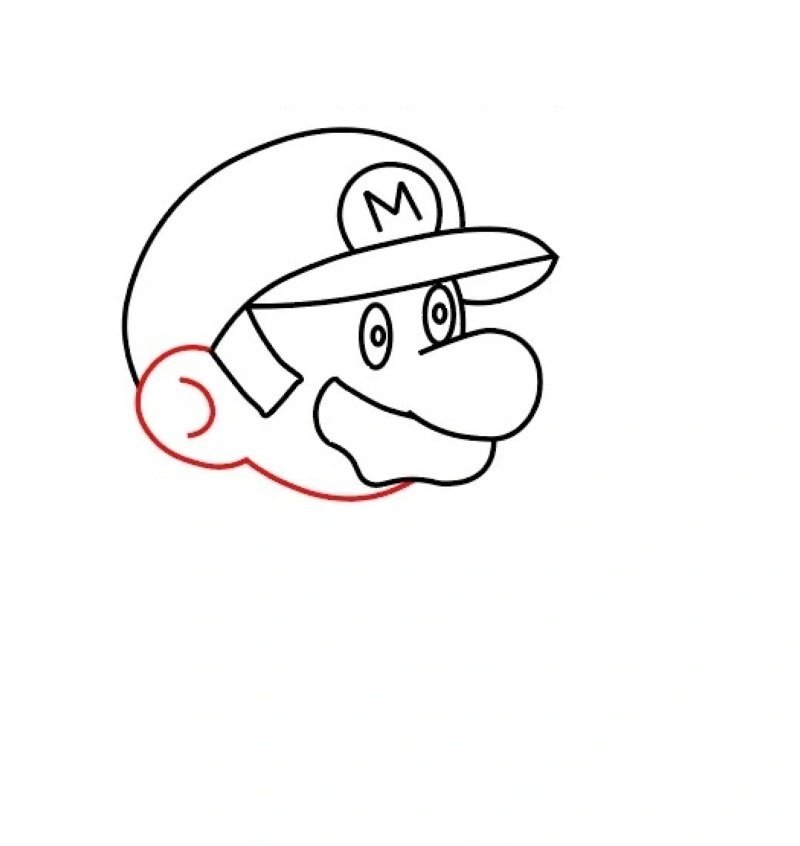
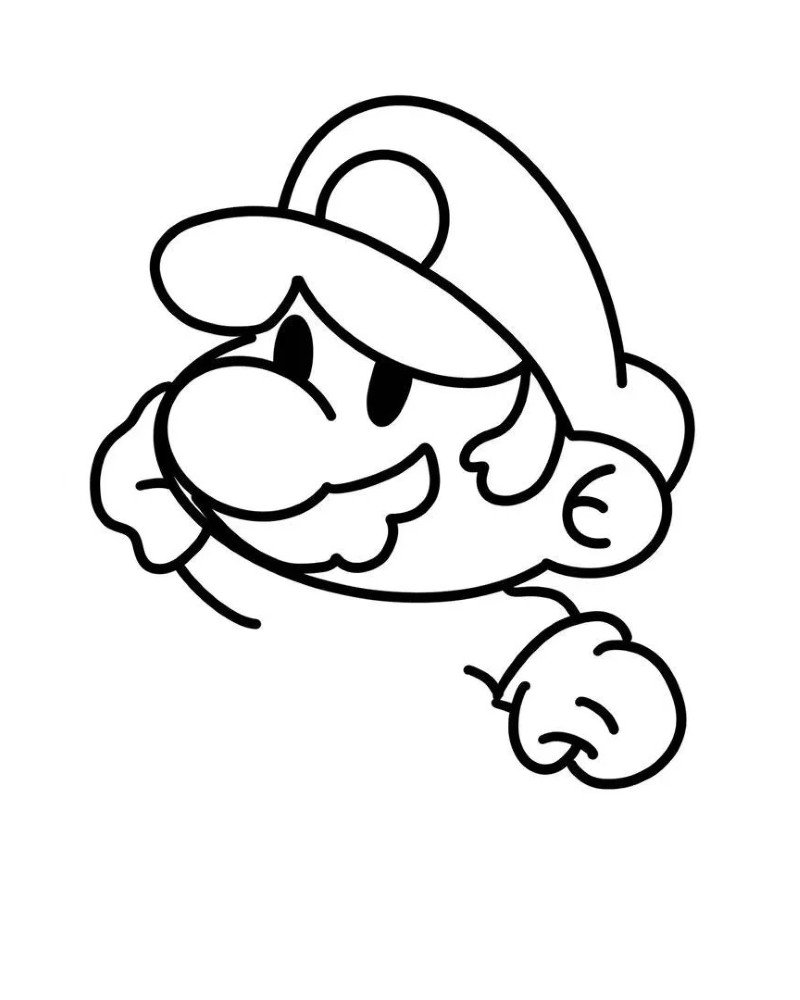
Step 4: Detail the ear and finish the head shape, then add the underside curve of the cap and base of the neck.
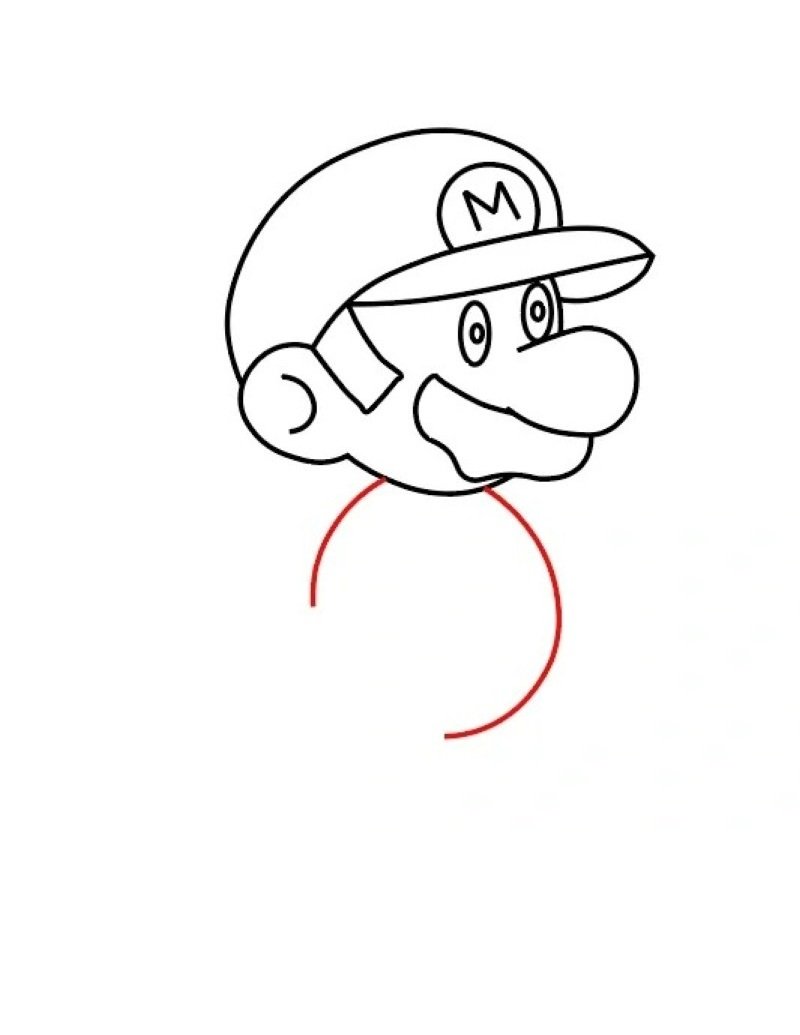
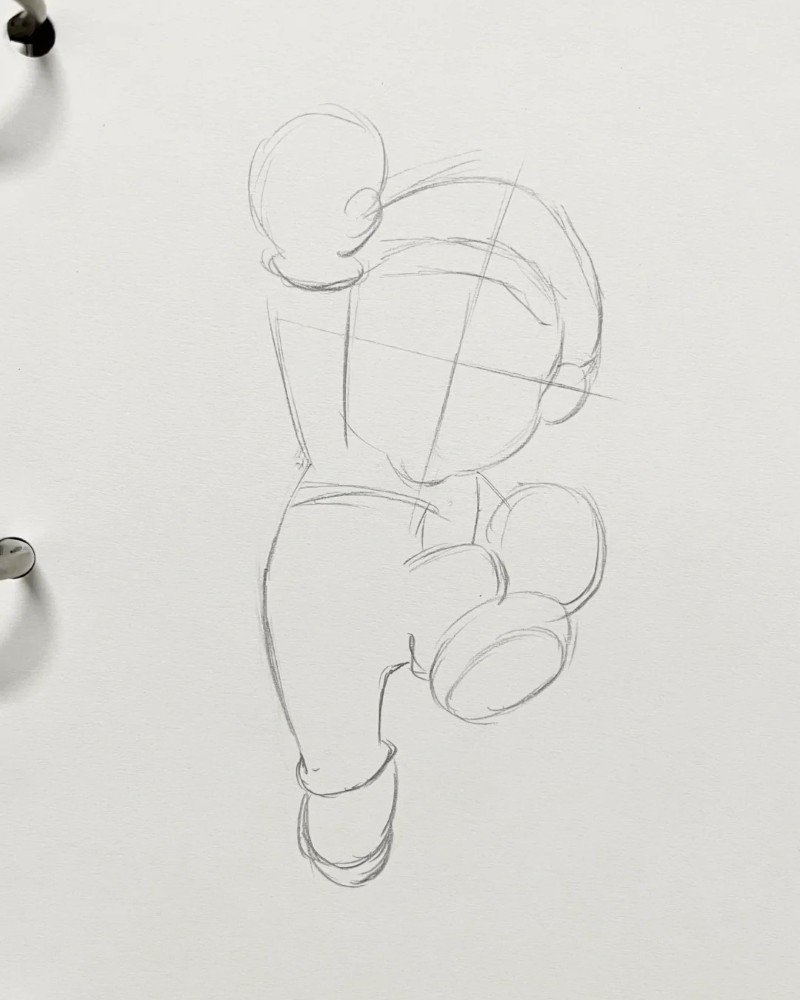
Step 5: Draw the neck and start shaping Mario’s body with a curved line down for the chest and shoulders.
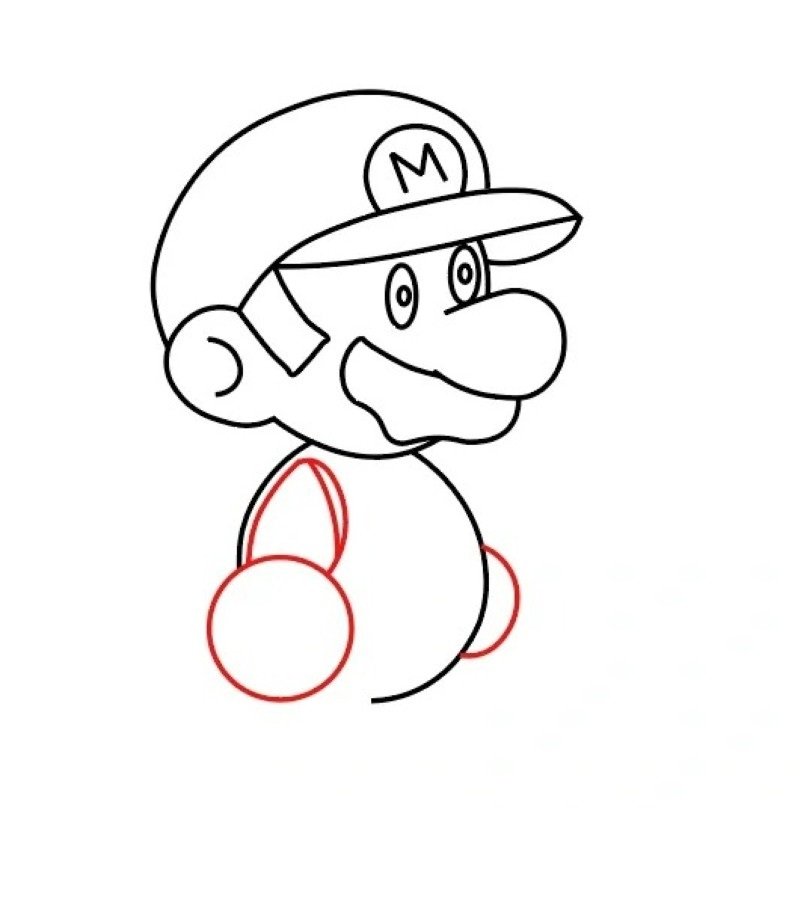
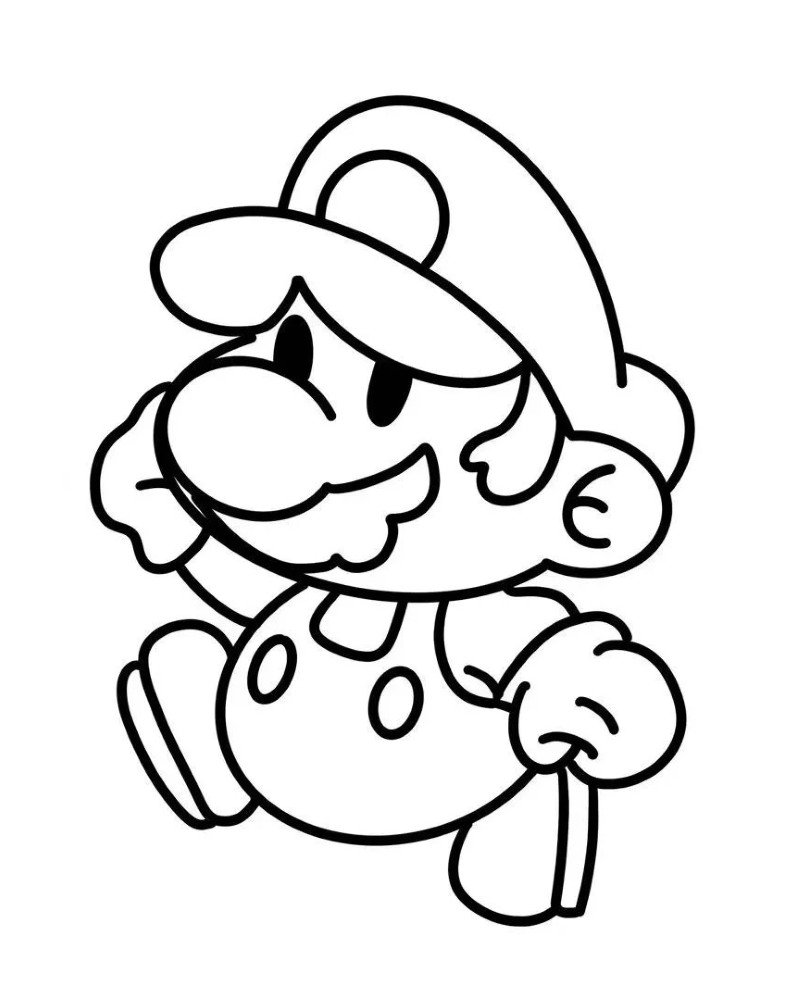
Step 6: Add the round torso and one raised arm to show movement and build the shape for Mario’s outfit.
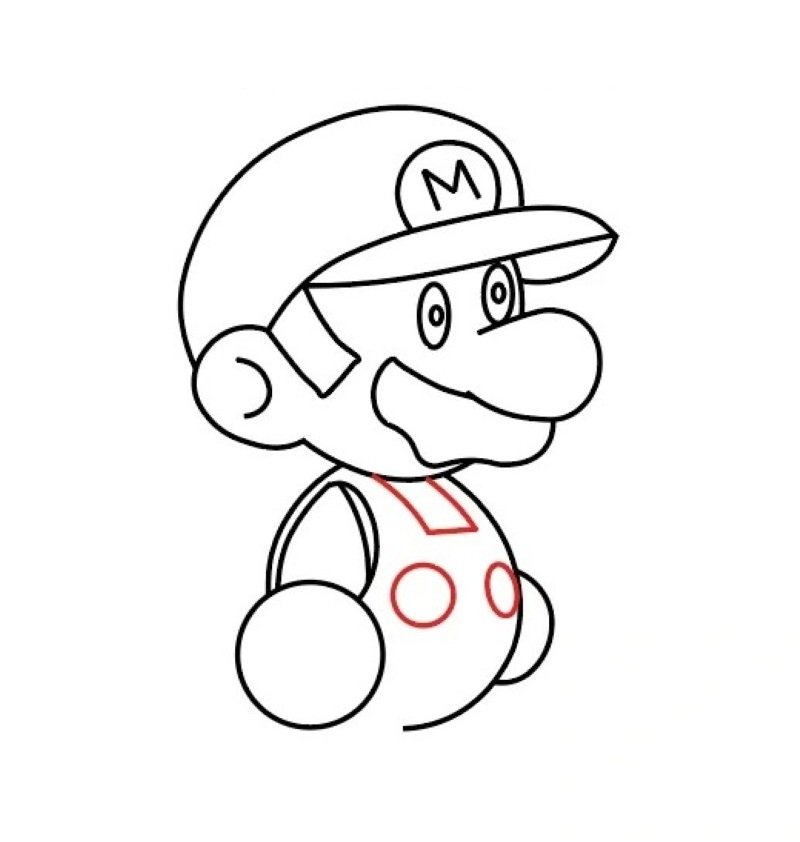
Step 7: Sketch both arms and gloves, include the overall straps and cuffs to give him his classic workman look.
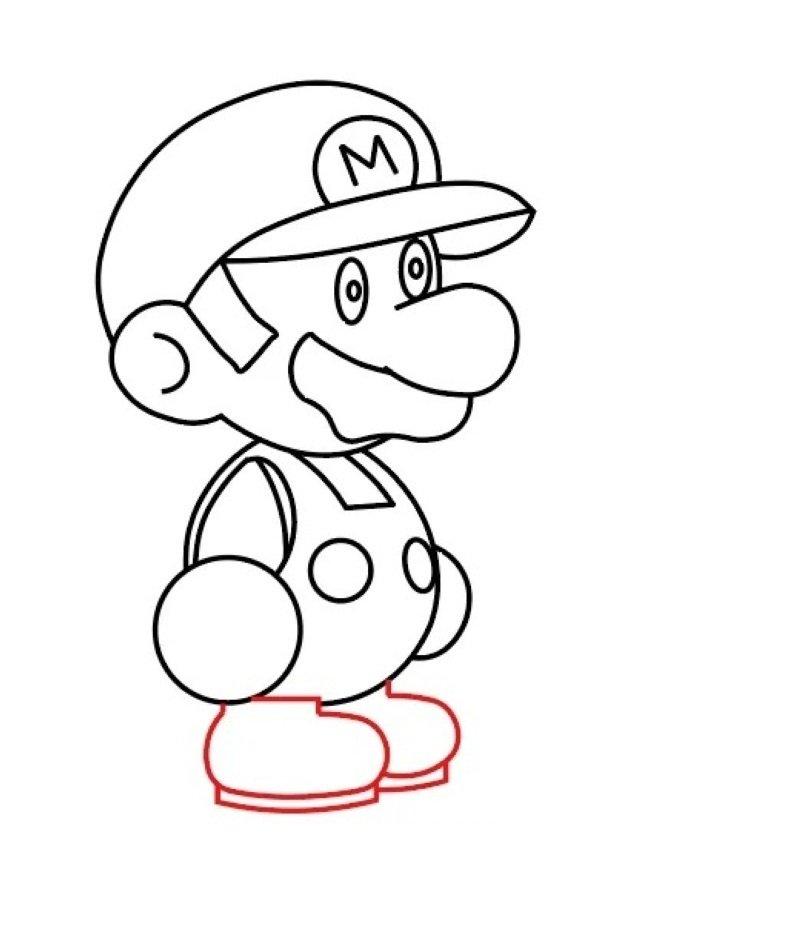
Step 8: Complete the drawing with details like buttons, overall lines, and gloves resting at his side in his heroic pose.
How to draw a mario
Step 1: Start by drawing Mario’s iconic hat with a smooth curved brim and small rounded top, laying the foundation for the cute bear design.
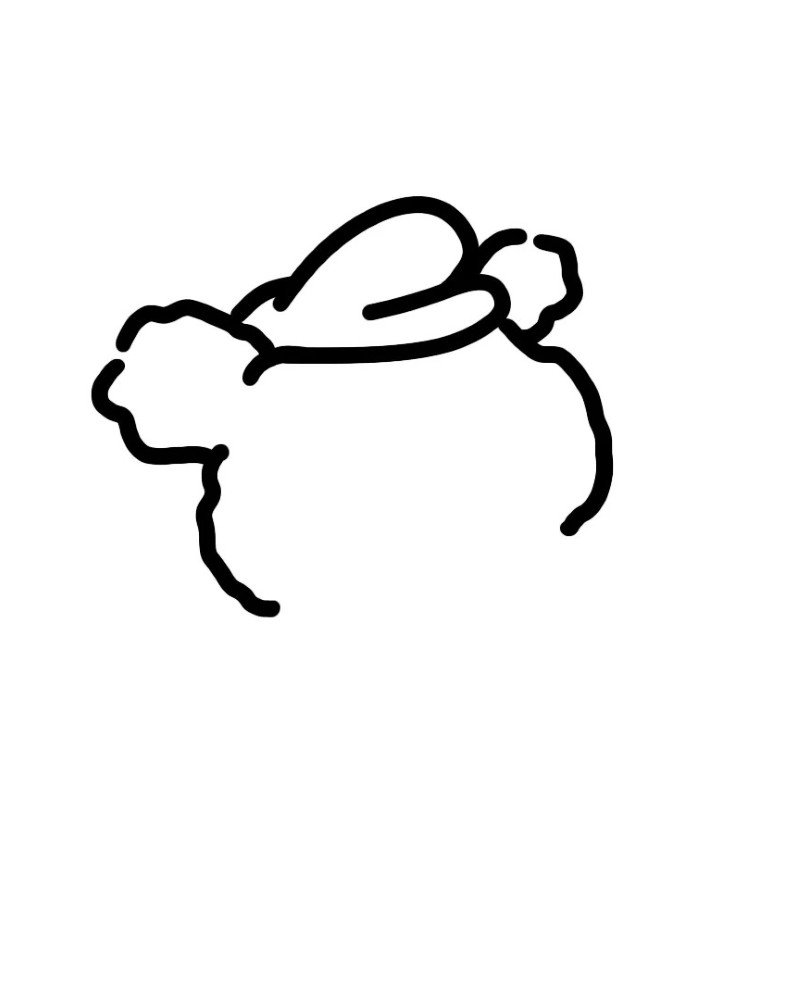
Step 2: Add two fluffy ears and a curved head shape under the cap, then draw a simple vertical line to begin outlining the body.
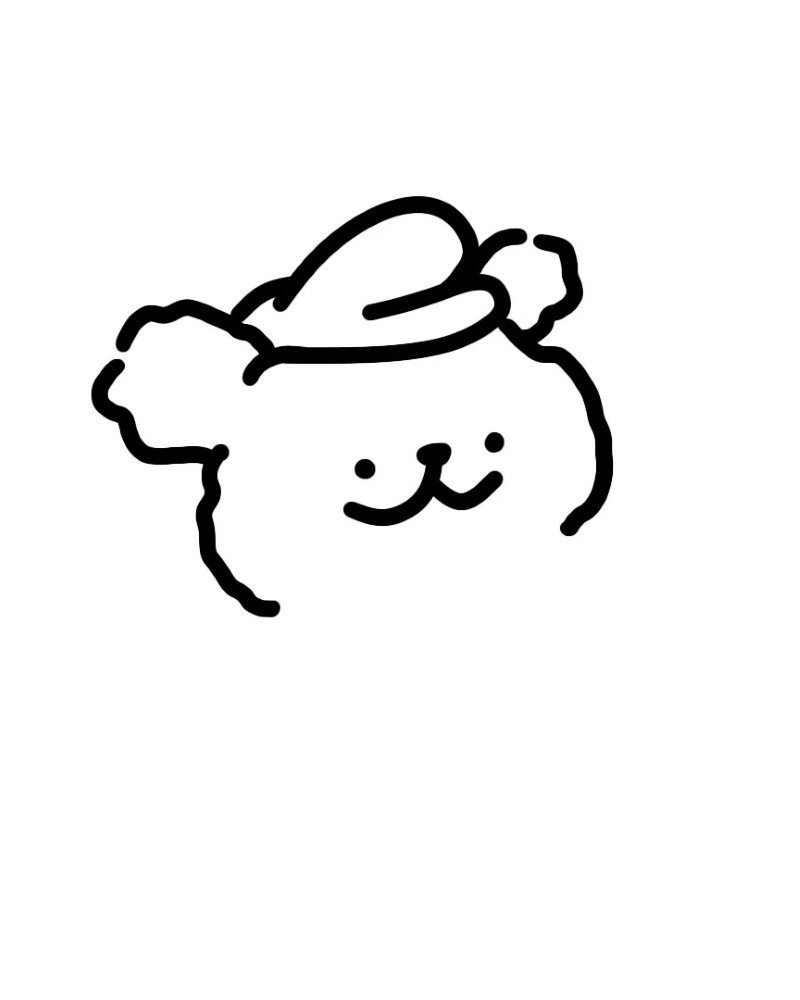
Step 3: Sketch two cute closed eyes and a small smiling mouth to bring the bear’s cheerful face to life under Mario’s cap.
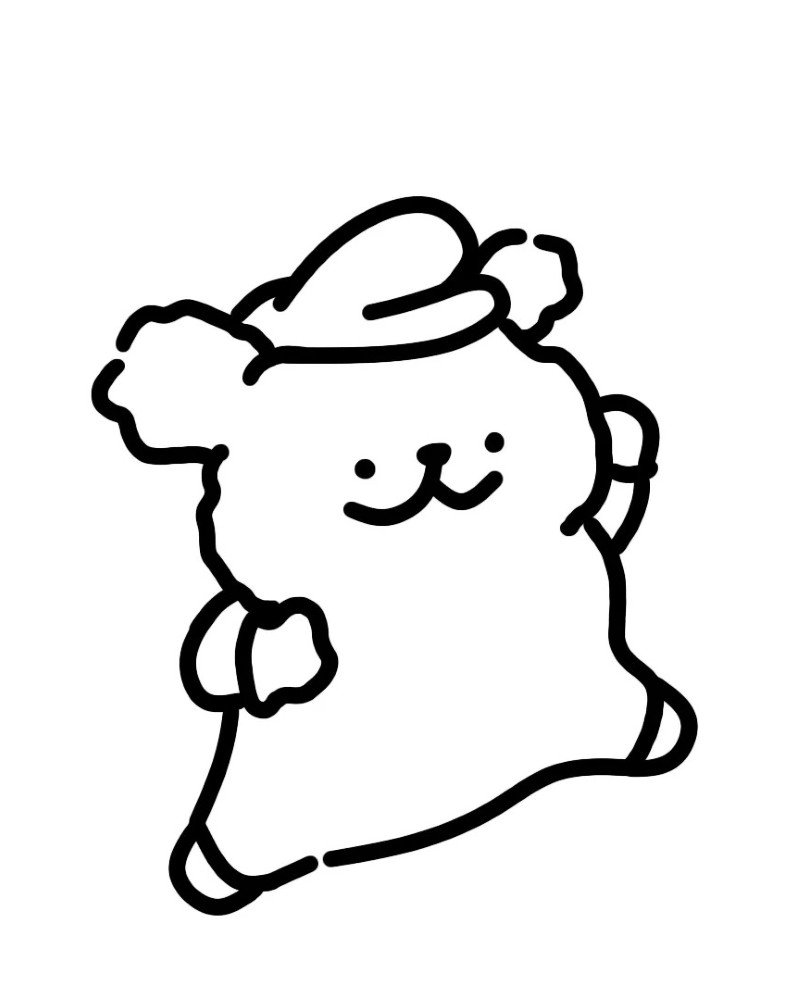
Step 4: Draw both arms, one raised and one lowered, along with stubby legs to complete the playful standing pose.
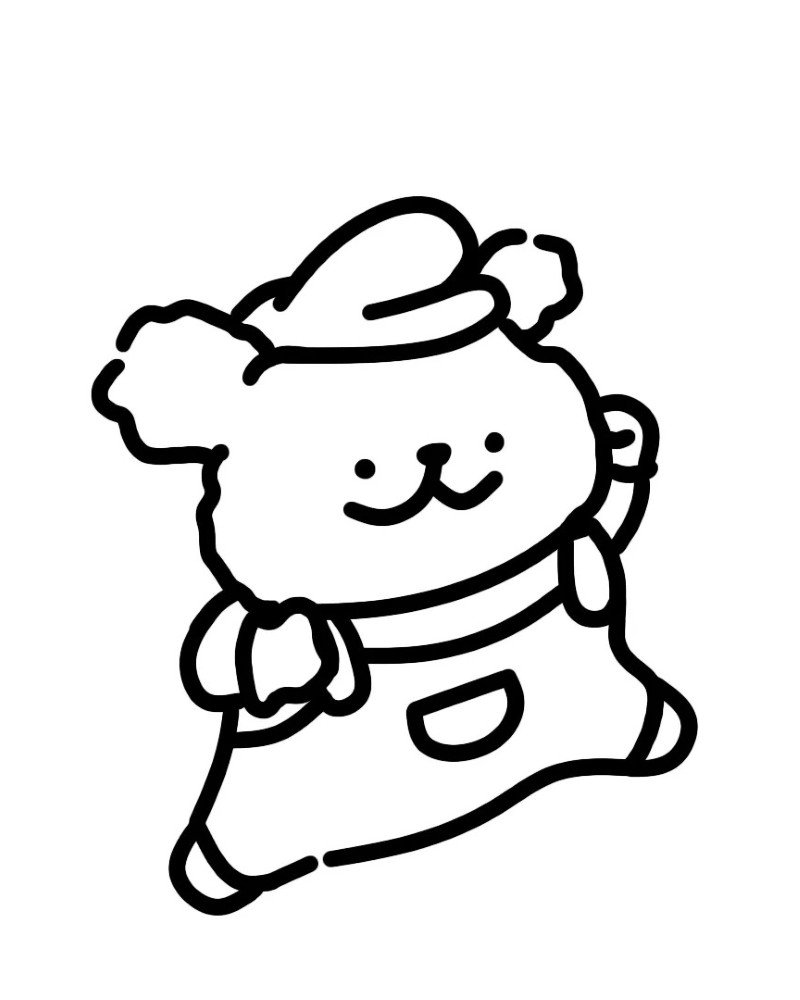
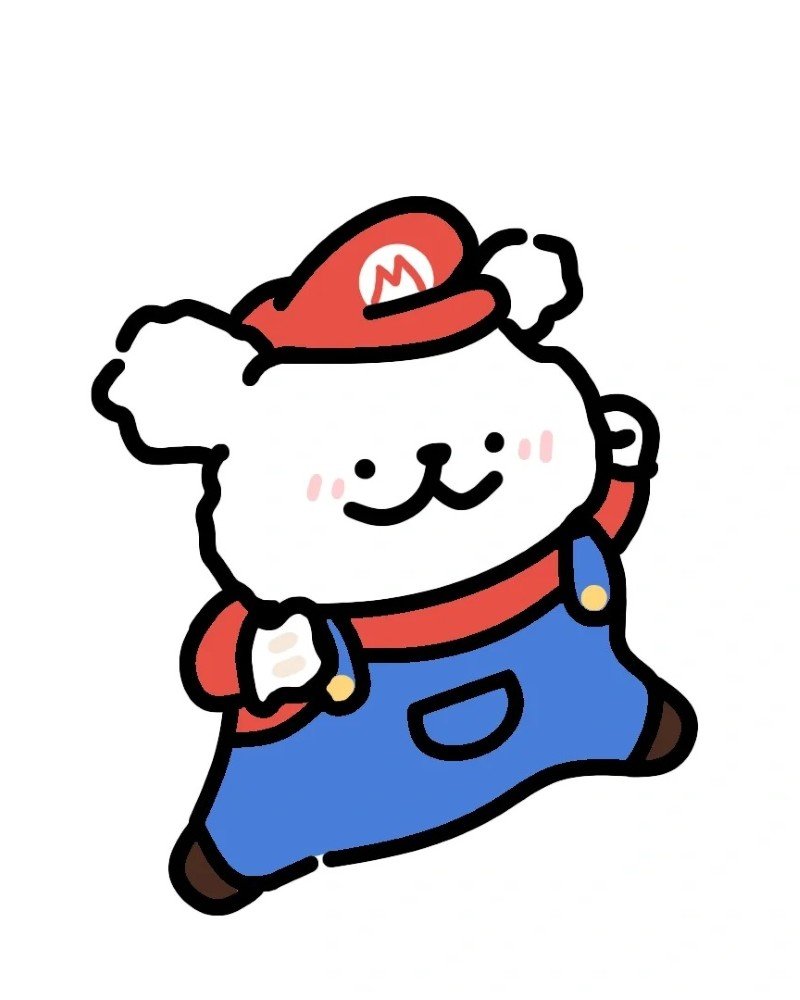
Step 5: Add final details like the overalls, buttons, and pocket, completing the look of Mario with adorable bear-like charm.
How to draw mario easy
How to draw mario

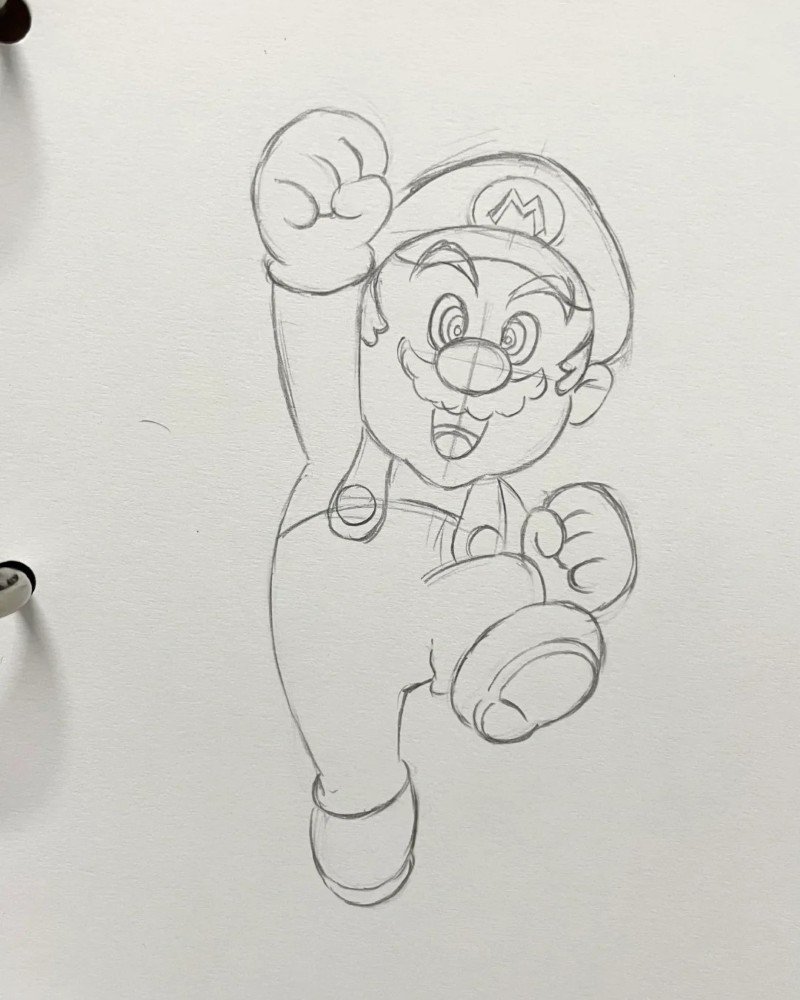
Step 1: Draw Mario’s cap with a curved top and large brim, laying out the main outline of his headgear in a bold, cartoonish shape.
Step 2: Add his nose, mustache, and smiling mouth under the hat, along with one eye and cheek to start forming his expressive face.
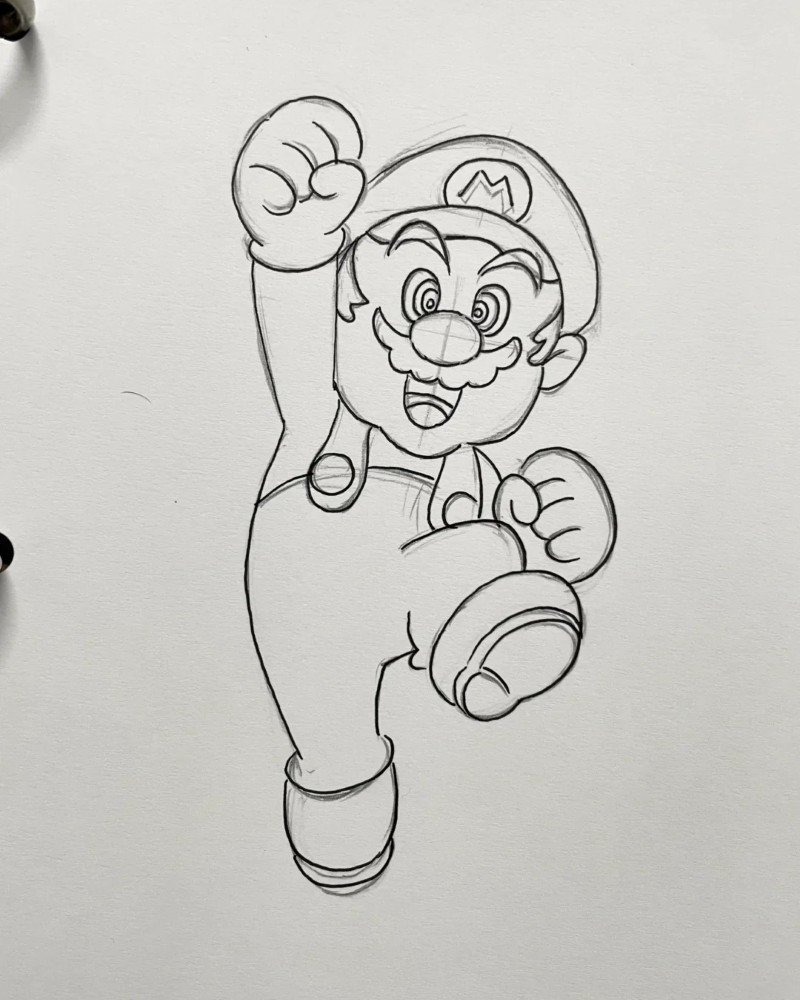
Step 3: Complete both eyes and finish his face, then draw one arm with a gloved hand extended in a playful motion.
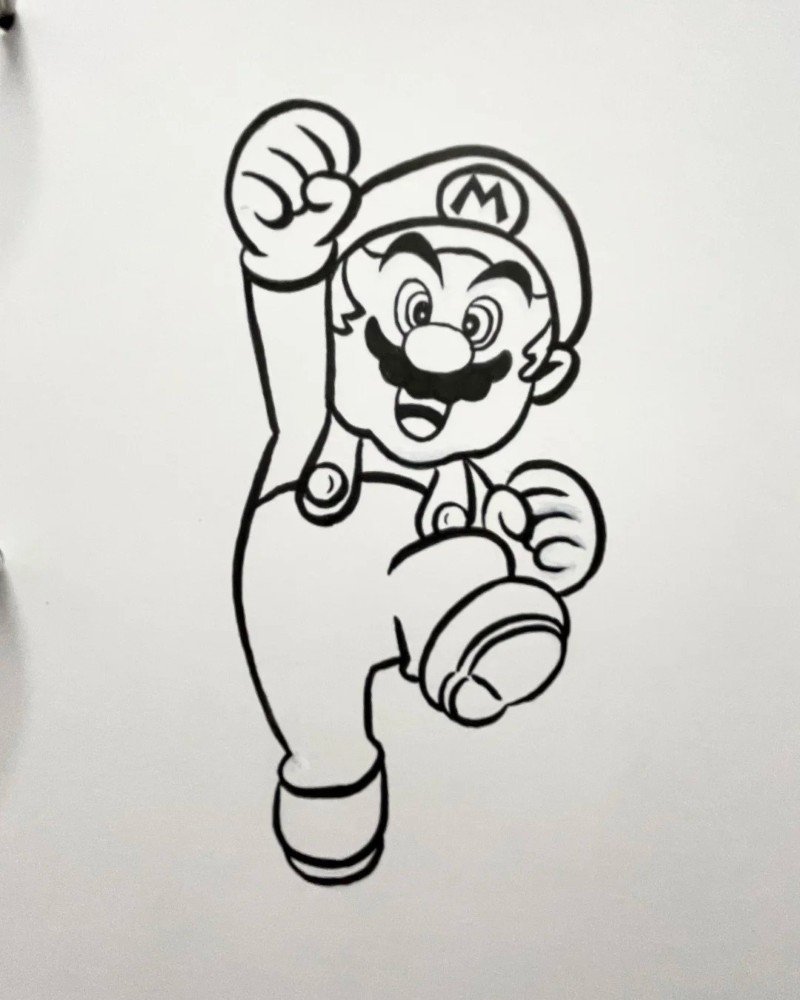
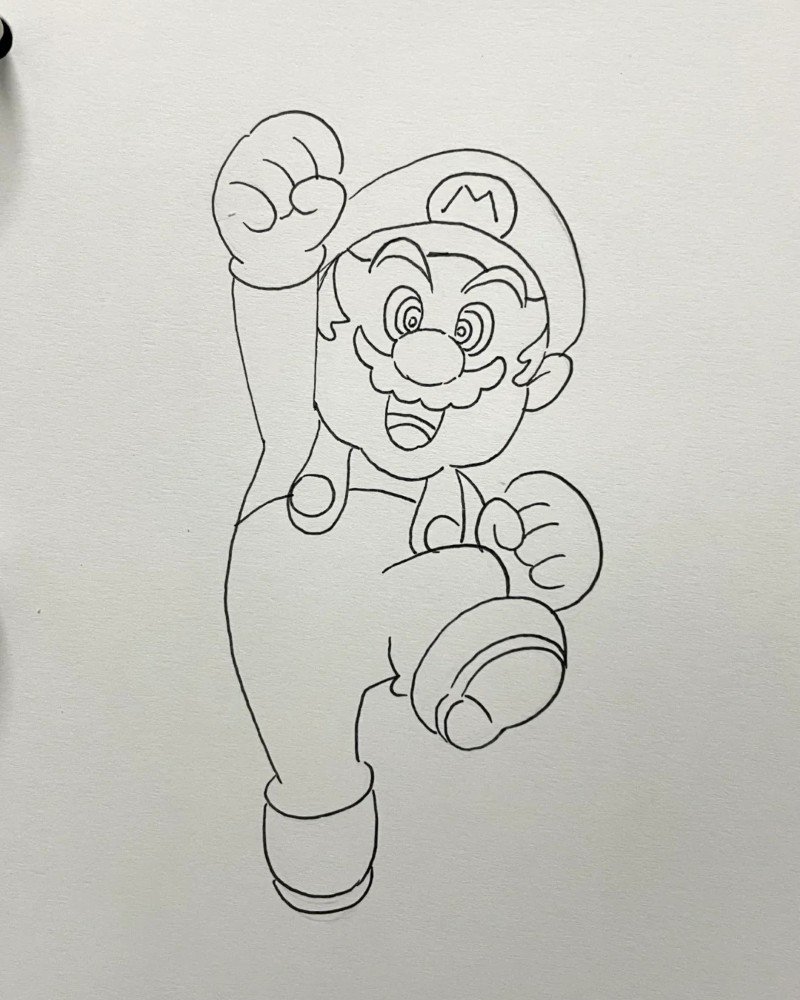
Step 4: Sketch his body, overalls, and second arm, then finish by adding his legs and shoes in a fun, mid-jump pose full of energy.
How to draw mario characters
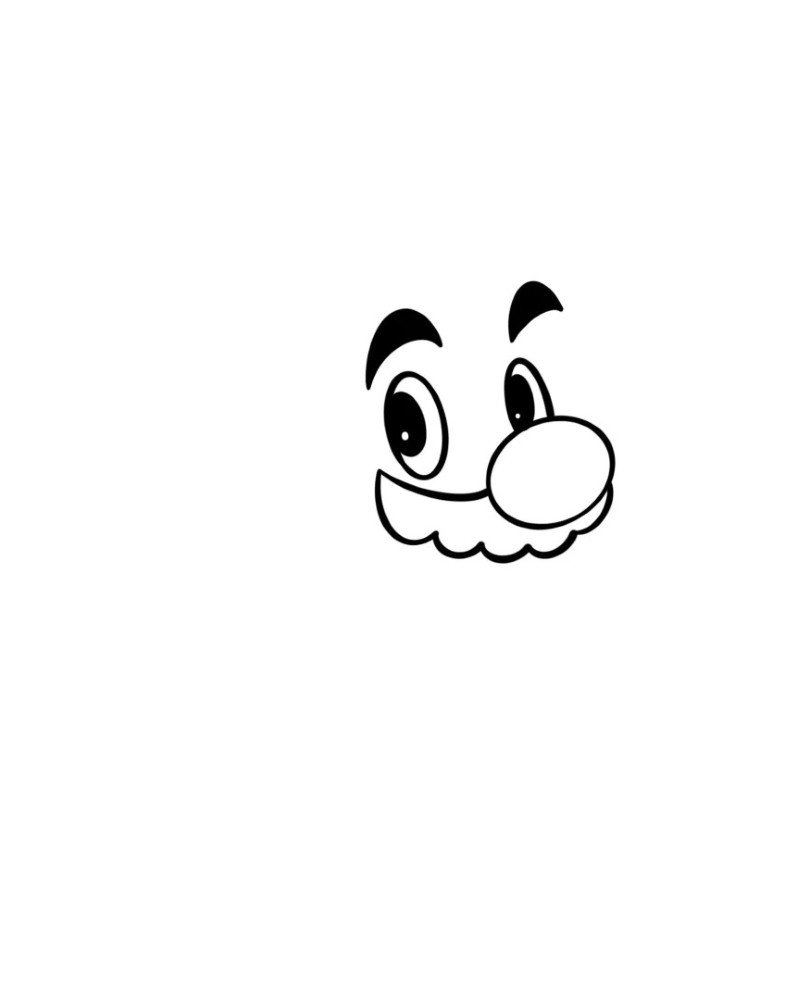
Step 1: Start by drawing Mario’s two large cartoon eyes with dramatic eyebrows and a cute rounded nose in the center.

Step 2: Add his smiling mouth, mustache, and round cheek, then sketch one ear to complete the basic face structure.
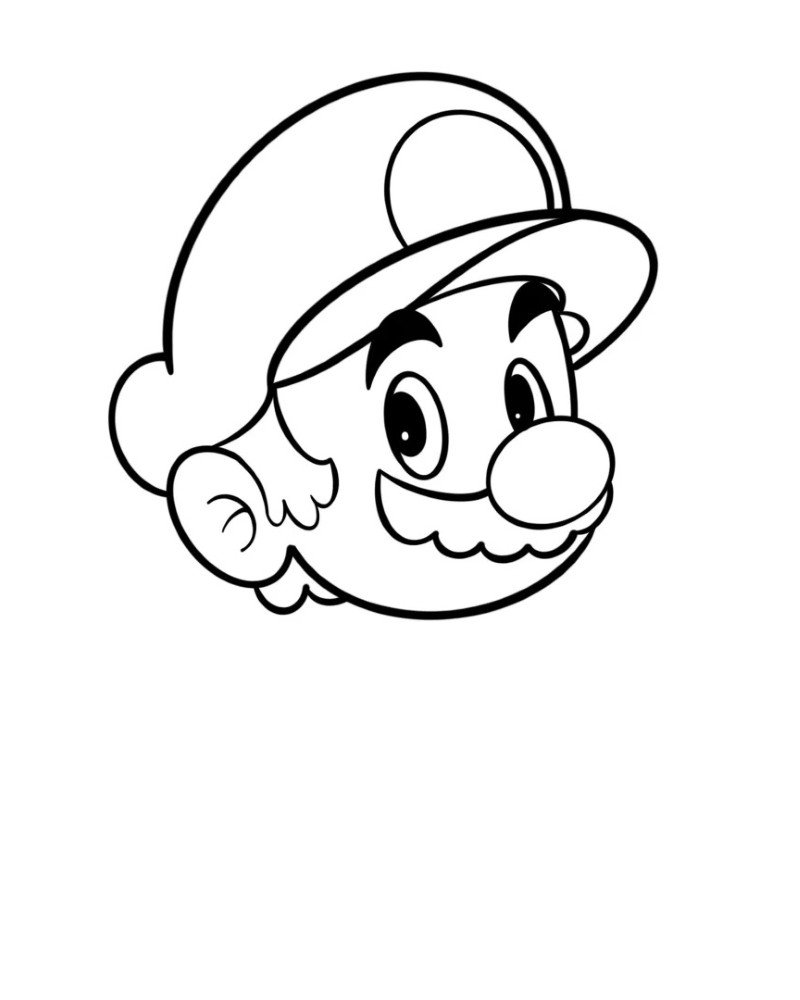
Step 3: Draw the iconic hat with the “M” emblem, his hair, and sideburns, forming a full and cheerful Mario head.
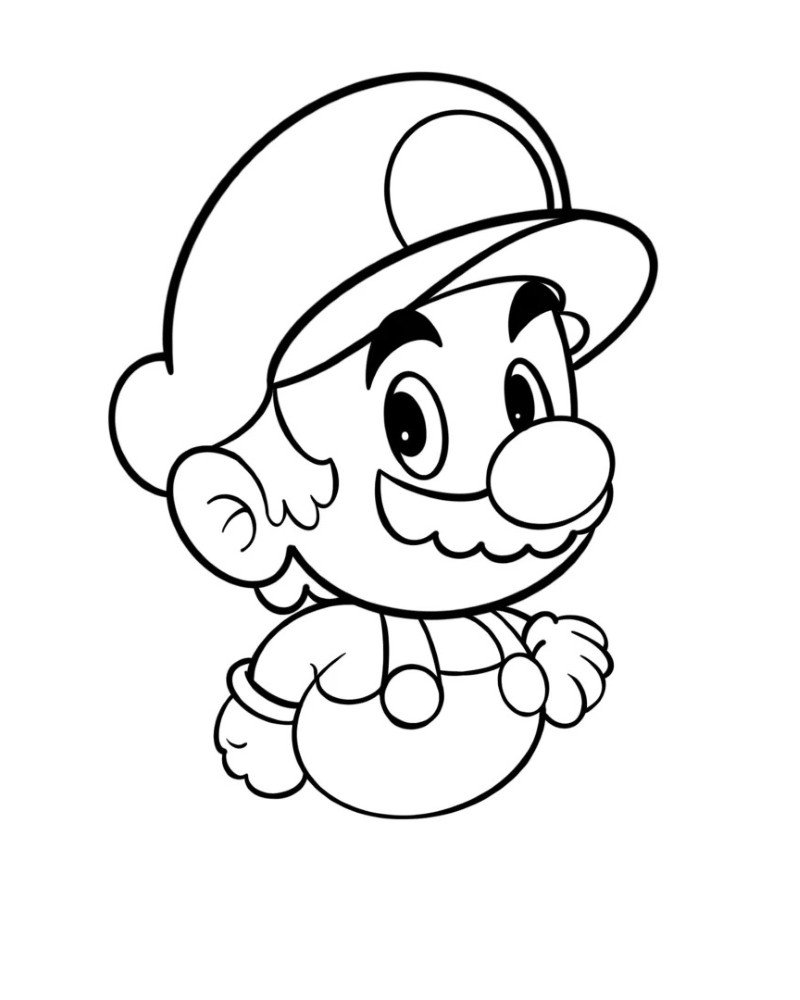
Step 4: Sketch the body with small arms, gloves, and short legs to give Mario a fun, chibi-style posture.
Step 5: Refine the outfit with overalls, adding shoes, buttons, and clear line details to define each clothing part.
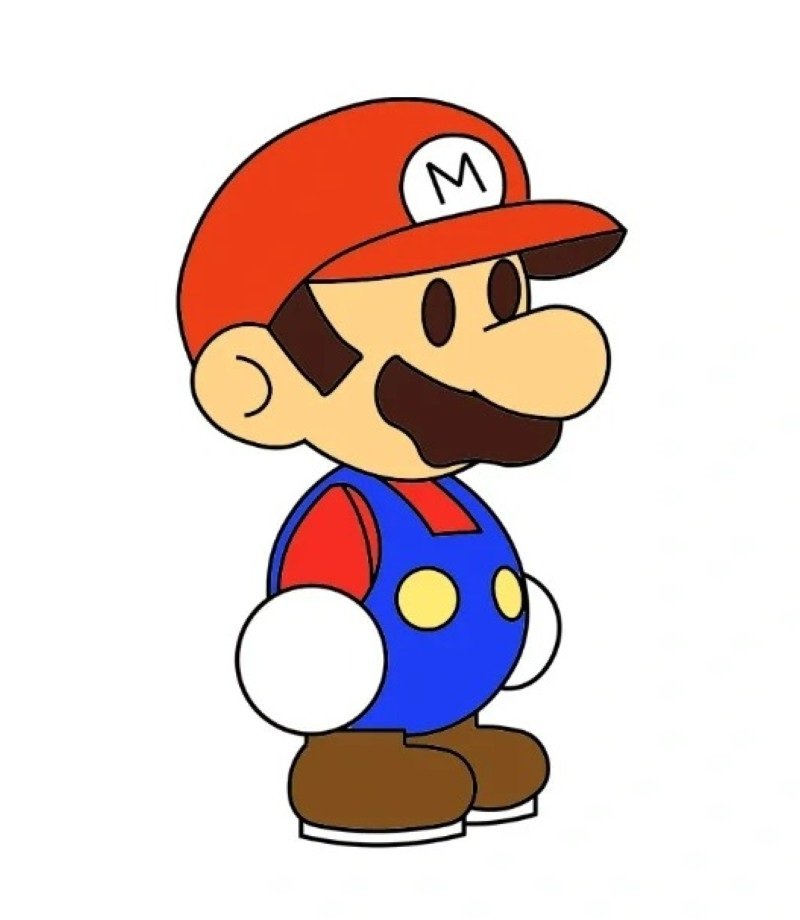
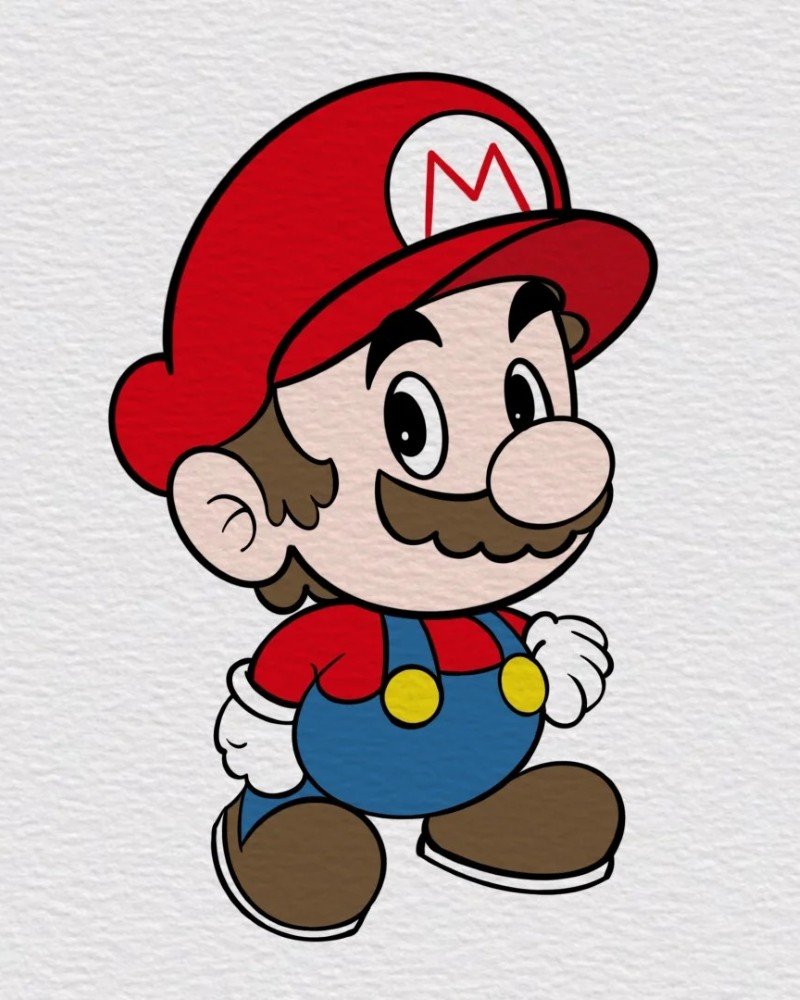
Step 6: Color the drawing by filling in skin tone, brown shoes, blue overalls, and red hat to bring Mario to life
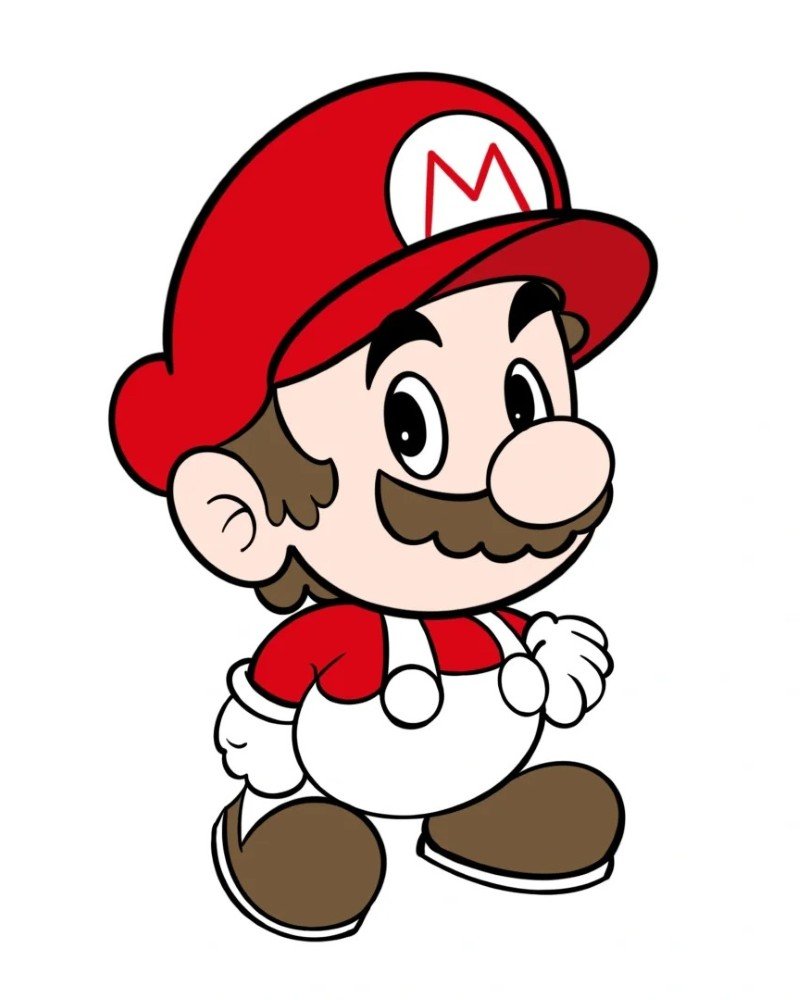
Step 7: Finalize the look by enhancing line boldness and color shading for a vibrant, clean, and animated finish.
See more:
6+ creative ways to master how to draw Gojo Satoru fast
9+ must try styles on how to draw clouds with a youth vibe
8+ quick tricks on how to draw braids with depth and detail
Drawing Mario is not only fun but also a great way to practice cartoon anatomy and improve your sketching confidence. With the right steps and a bit of practice, anyone can master the iconic red cap, big mustache, and cheerful stance. So grab your pencil and keep creating more Nintendo magic on paper!