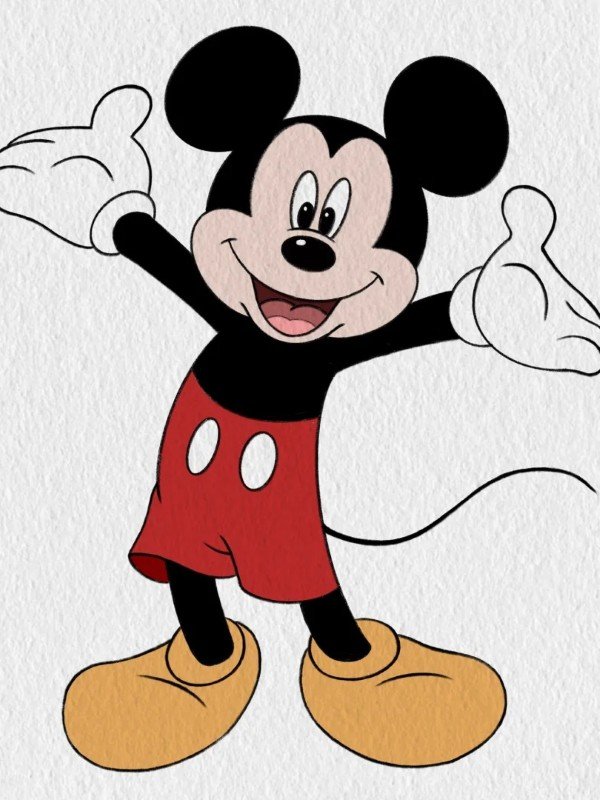
Mickey Mouse is more than just a cartoon—he’s a timeless icon loved by millions around the world. If you’ve always wanted to learn how to draw Mickey Mouse in a fun, simple way, you’re in the right place. Our step-by-step tutorials break down his classic look so anyone can draw him with ease. From his cheerful face to those famous round ears, each part is made beginner-friendly and enjoyable. At dooduko.com, we’ve crafted the coolest drawing guides that speak to today’s creative youth. Grab your pencil and let’s bring Mickey to life together!
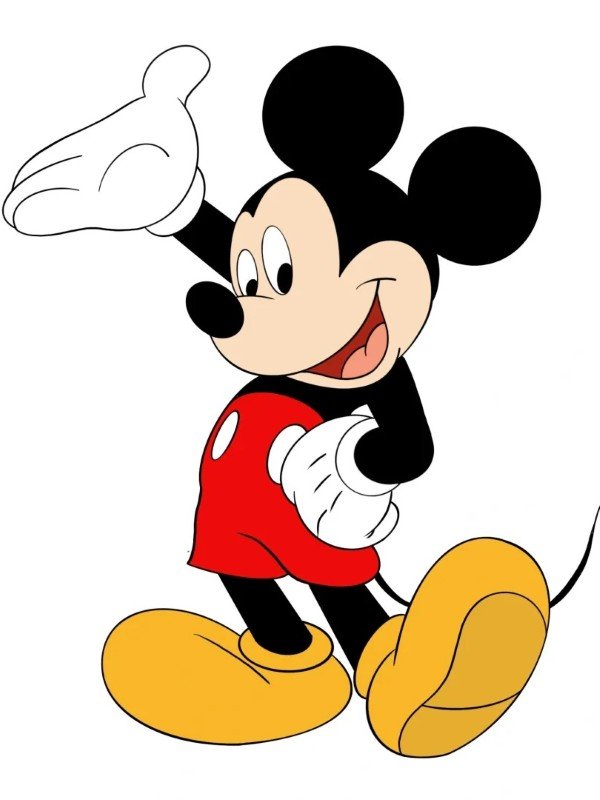
How to draw Mickey Mouse
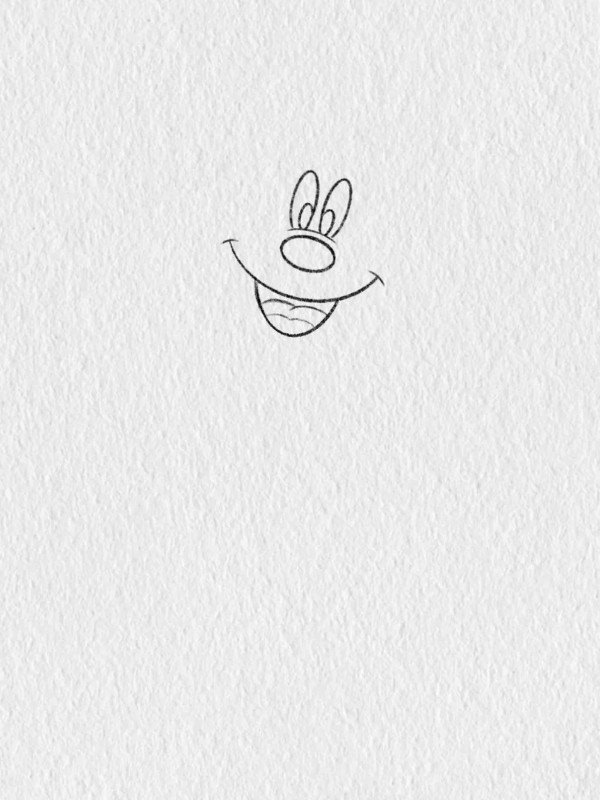
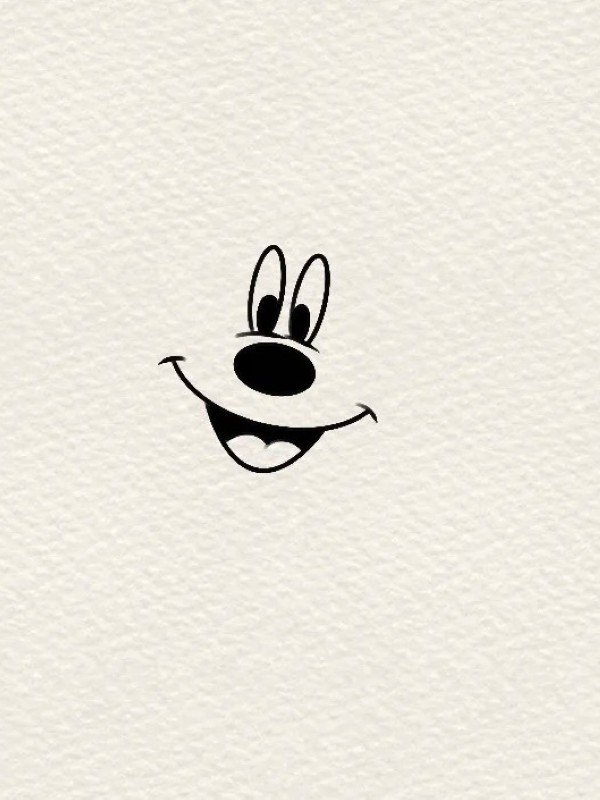
Step 1: Start by drawing Mickey’s nose and mouth, adding a small curve above to mark the eye area.
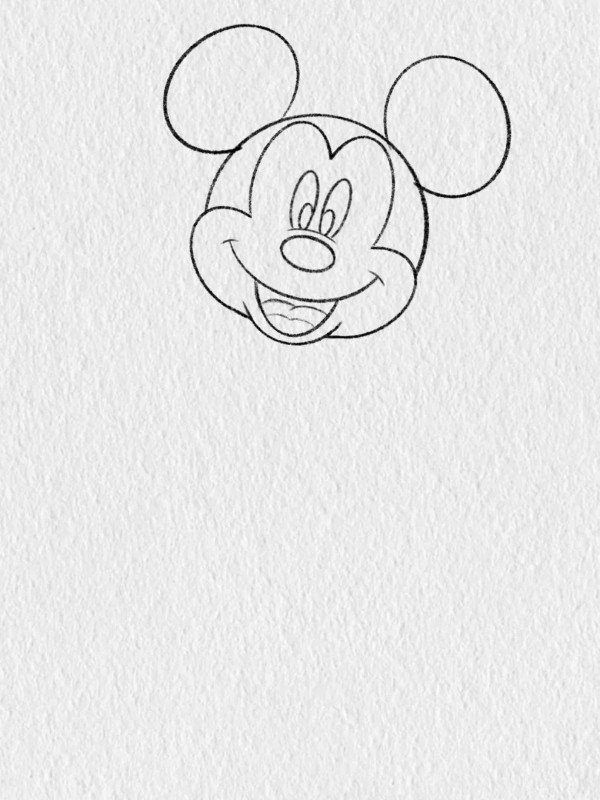
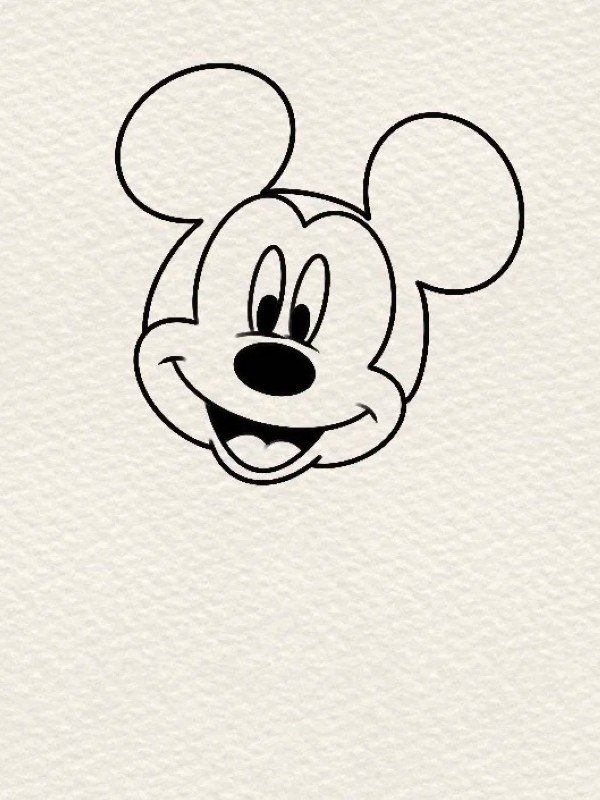
Step 2: Sketch large circles for the ears, outline the head, and draw oval eyes.
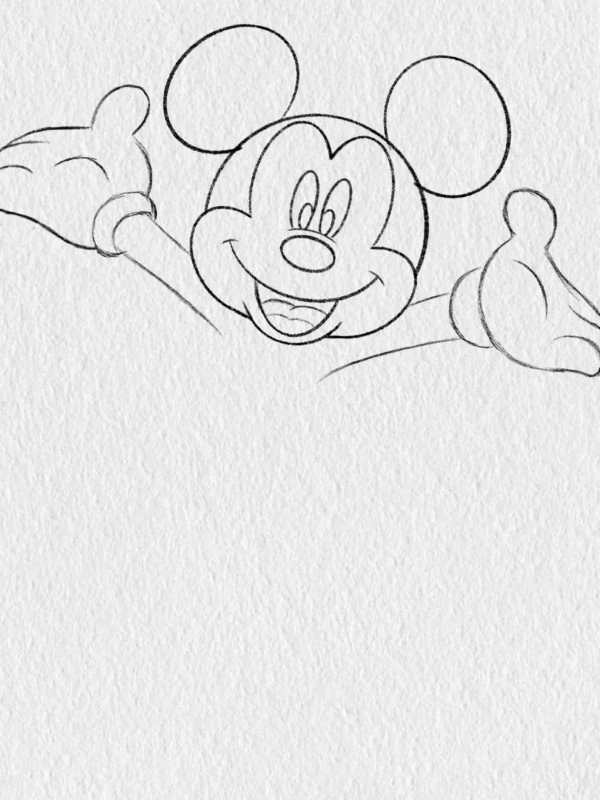
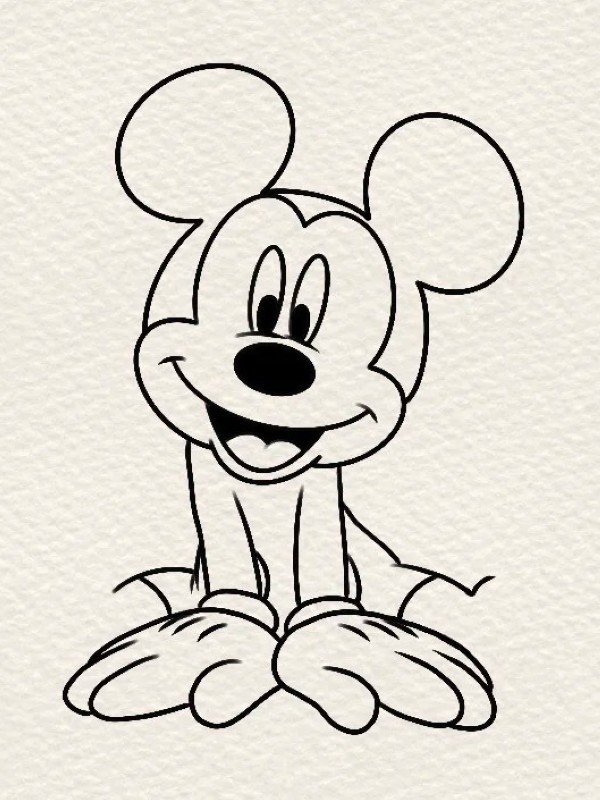
Step 3: Add Mickey’s raised arm and gloved hand, then shape his upper body.
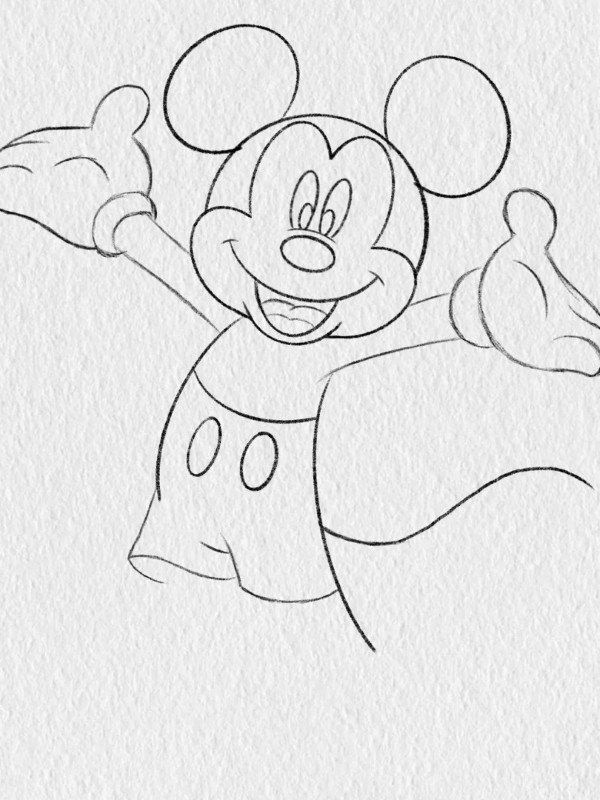
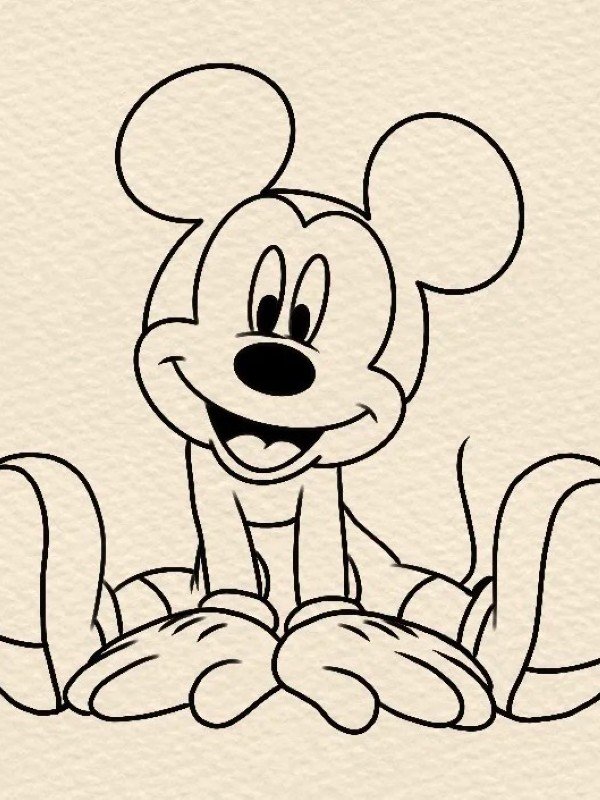
Step 4: Draw his pants with two buttons, complete both arms, and outline the legs.
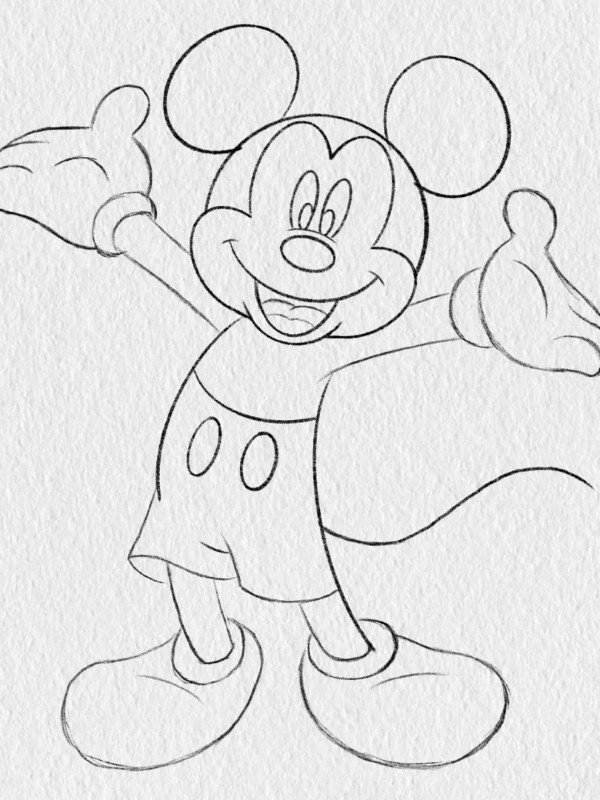
Step 5: Add his large shoes and curved tail to complete the full body shape.
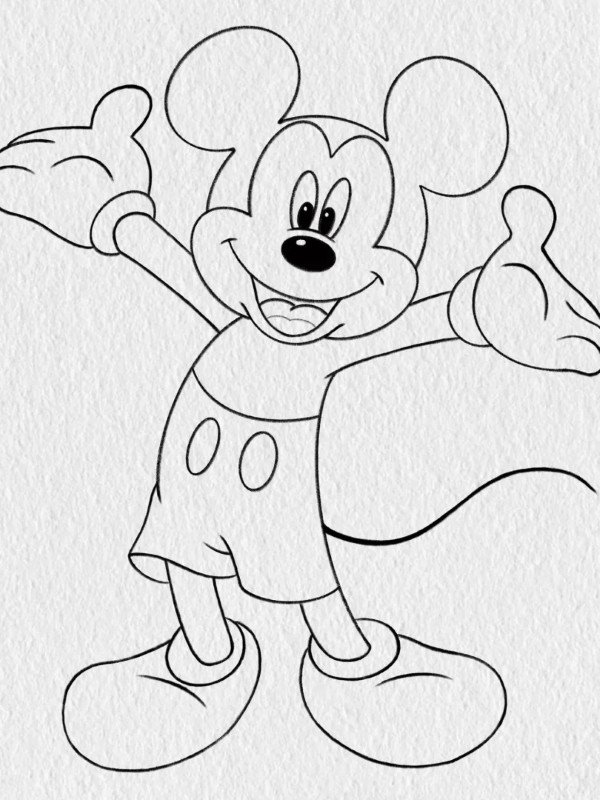
Step 6: Finalize by darkening lines, adding facial details, and cleaning up the sketch.
How to draw a easy Mickey Mouse
Step 1: Draw Mickey’s nose and smiling mouth with a small curve under it.
Step 2: Add his head shape, large circular ears, eyes, and eyebrows.
Step 3: Sketch his body with both arms resting and big oval shoes.
Step 4: Finish by detailing the hands, adding gloves, and darkening the outlines.
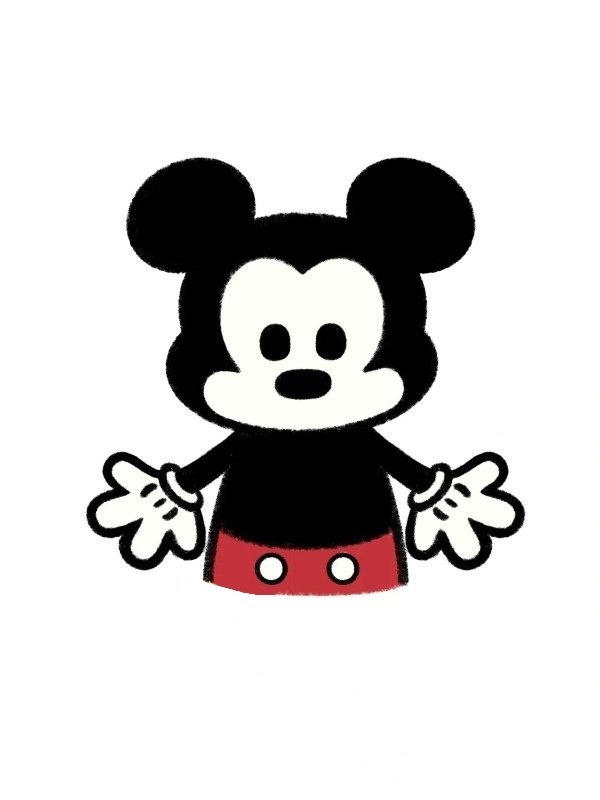
How to draw Mickey Mouse easy
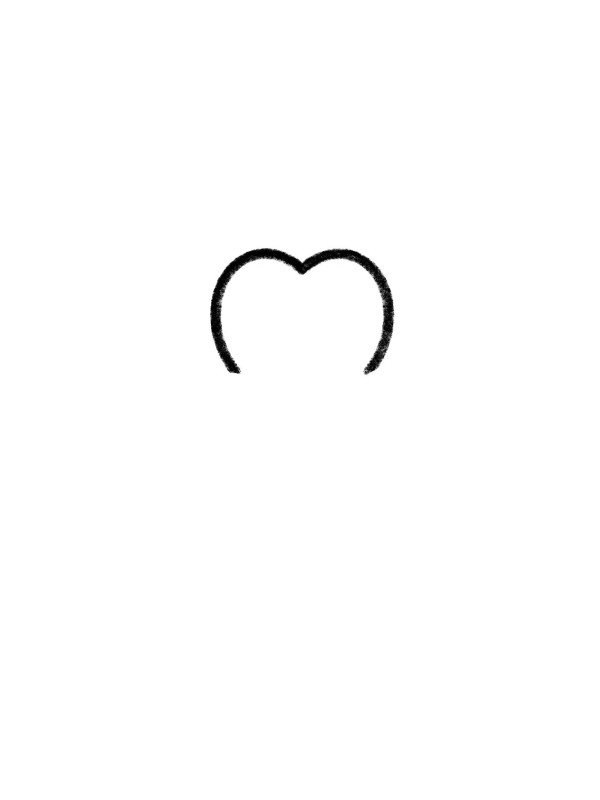
Step 1: Start with a rounded “M” shape to form Mickey’s hairline or top head curve.

Step 2: Draw the side curves to complete the full shape of Mickey’s head.
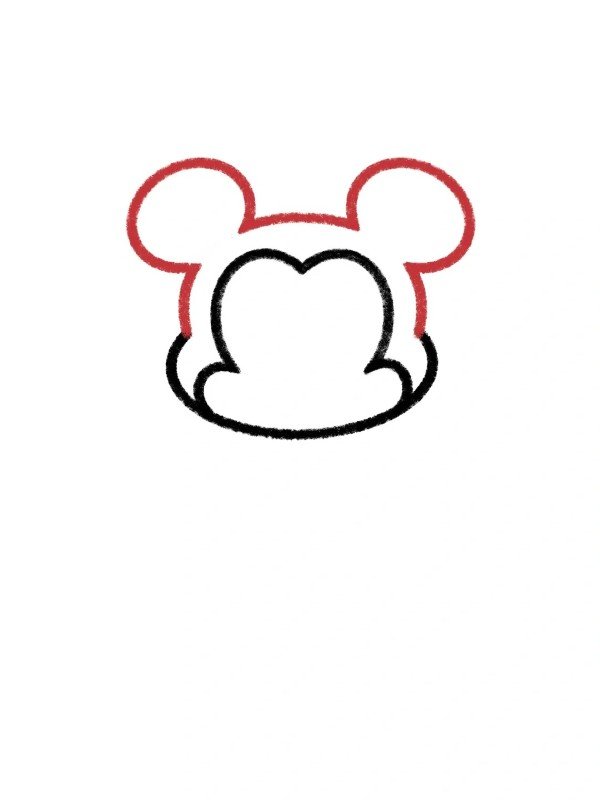
Step 3: Add two large circular ears and a simple facial outline inside the head.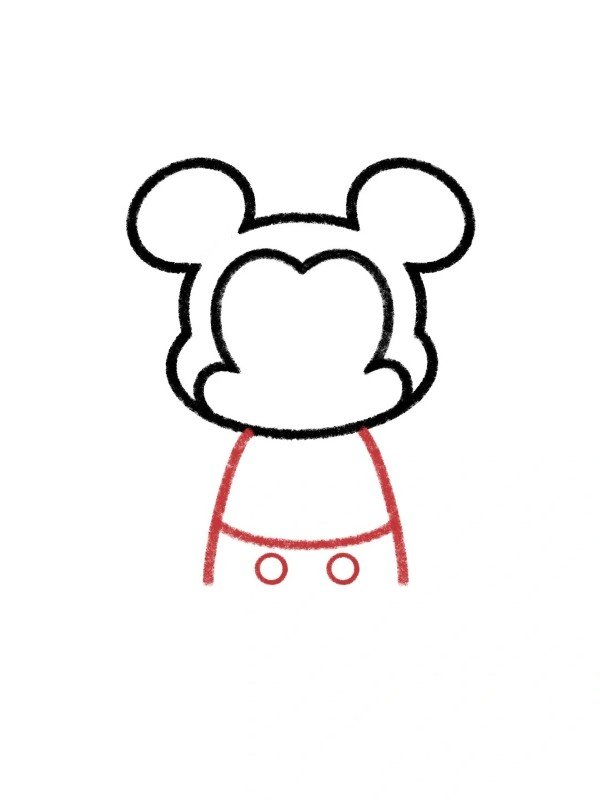
Step 4: Sketch the body with two buttons on his shorts under the head.

Step 5: Add Mickey’s arms and gloved hands with thumb and finger outlines.
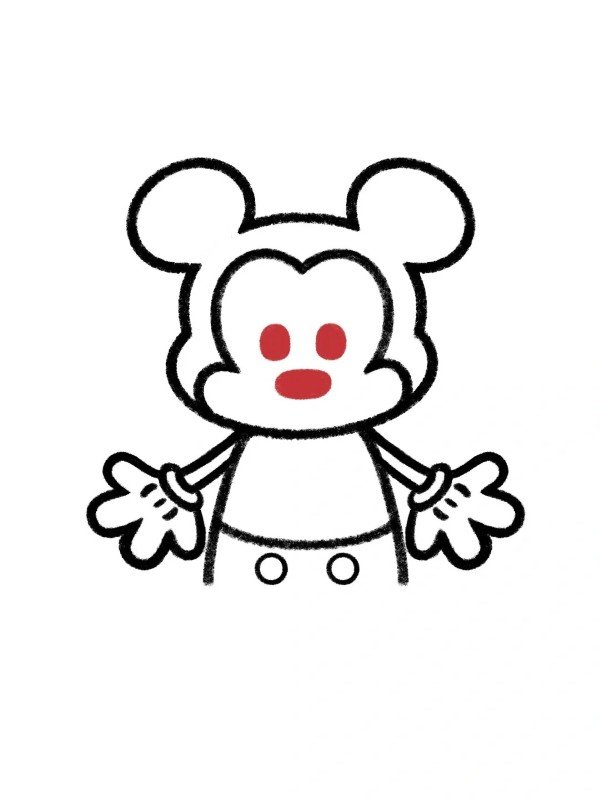
Step 6: Draw his eyes, nose, and big smile to bring the face to life.
Mickey Mouse how to draw
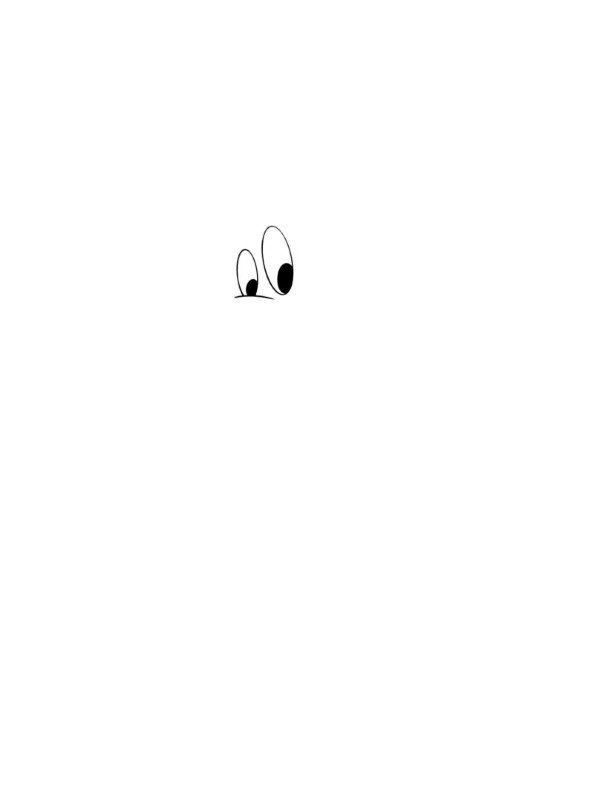
Step 1: Begin by drawing Mickey’s nose and one eye to set the facial position.

Step 2: Add his smiling mouth and full eye shape to build facial expression.
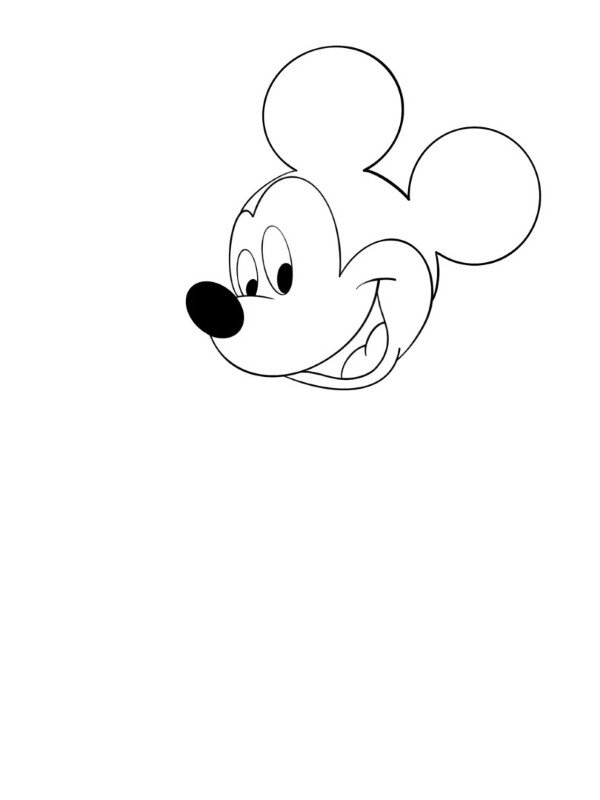
Step 3: Sketch his head, ears, and tongue to complete the cartoon face.
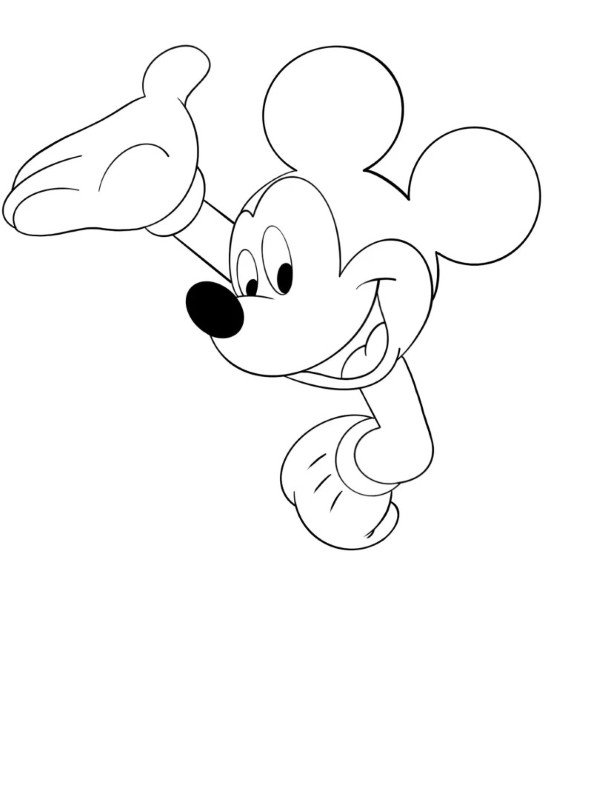
Step 4: Draw his raised arm, gloved hand, and begin outlining the body.
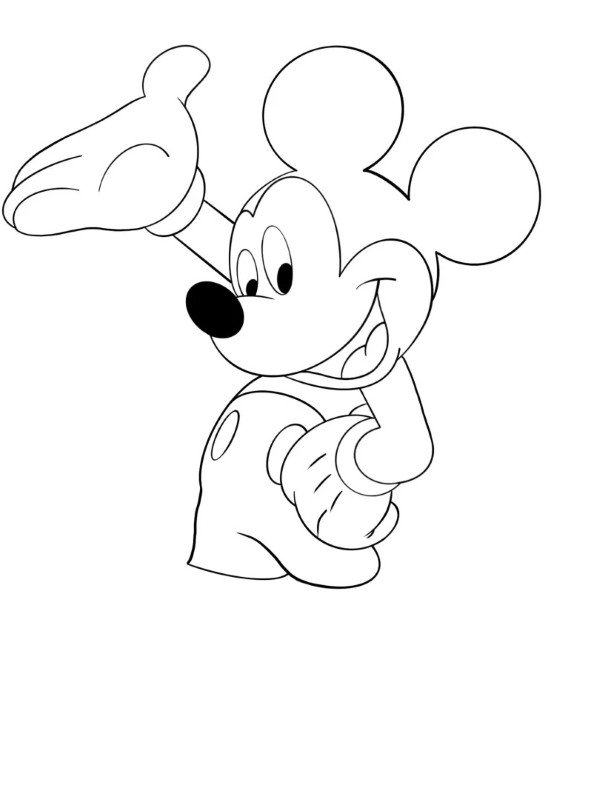
Step 5: Complete his lower body, legs, and shoes with basic shapes.

Step 6: Finalize all body outlines including tail and shoe details.
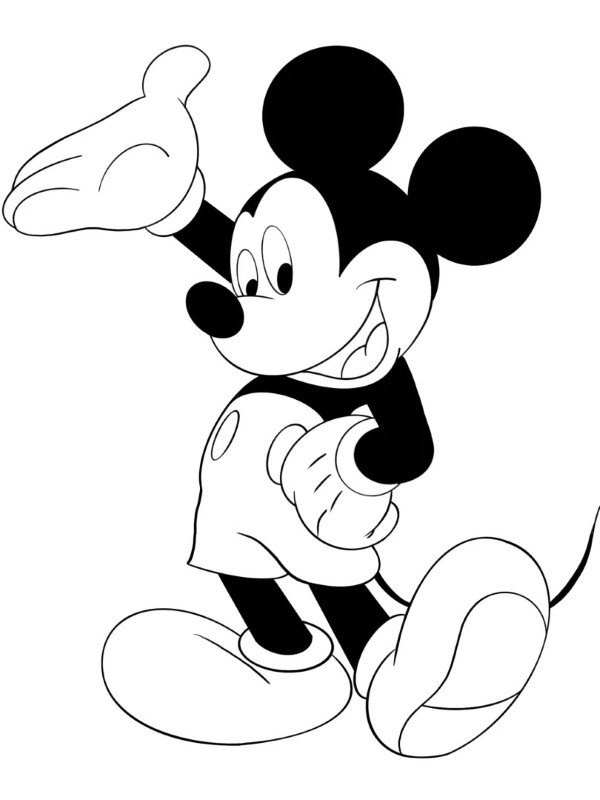
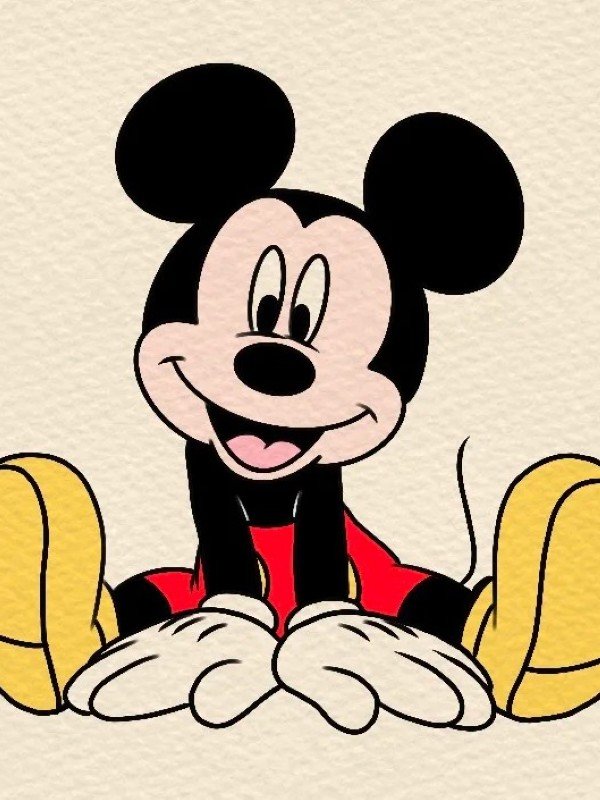
Step 7: Fill in black areas like ears, nose, and shorts for a classic Mickey look.
Step 8: Add facial shading and soft contours to enhance realism.
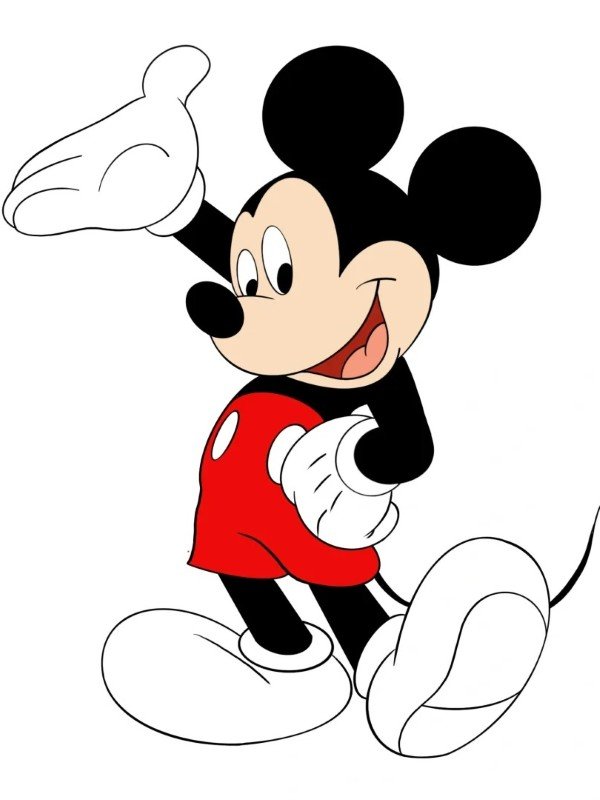
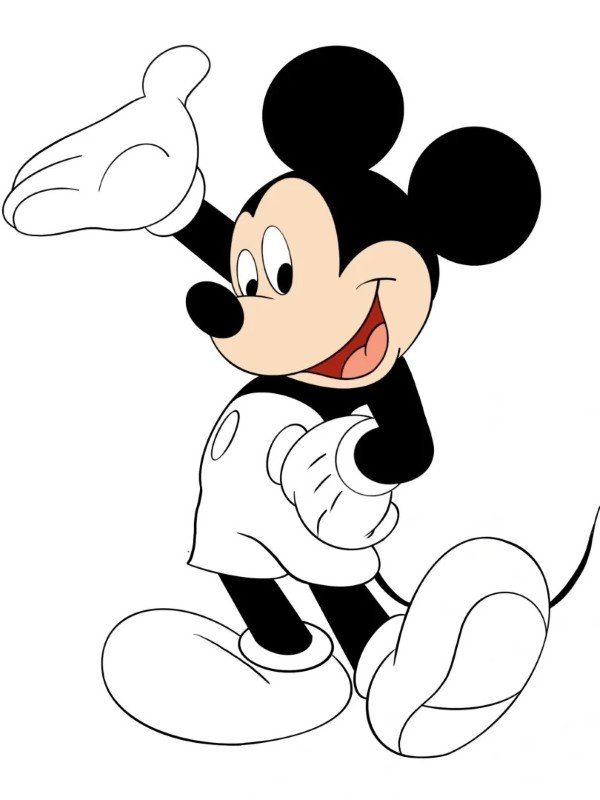
Step 9: Finish with red color on his shorts and final touches for a polished look.
See more:
5+ cool ways to learn how to draw Mario with simple tricks
6+ creative ways to master how to draw Gojo Satoru fast
9+ must try styles on how to draw clouds with a youth vibe
Drawing Mickey Mouse isn’t just about lines and circles—it’s about capturing joy, nostalgia, and creativity. With these tutorials, you’ve now got all the tools to bring Mickey to life in your own style. So keep sketching, keep experimenting, and don’t forget to share your version of Mickey with the world. Stay inspired!