If you’ve ever wanted to learn how to draw pistols but didn’t know where to start, you’ve come to the right place. Whether you’re a beginner or already dabble in sketching, this guide will fire up your skills with fresh, fun, and practical tips. From classic revolvers to modern handguns, there’s a style for everyone. Discover tutorials designed for artists of all levels with clear, step-by-step guidance. Unleash your creativity with unique pistol drawing techniques and inspirations. Get ready to impress your friends or boost your portfolio with dynamic weapon art. Explore the full collection of awesome guides now on dooduko.com!
How to draw pistols
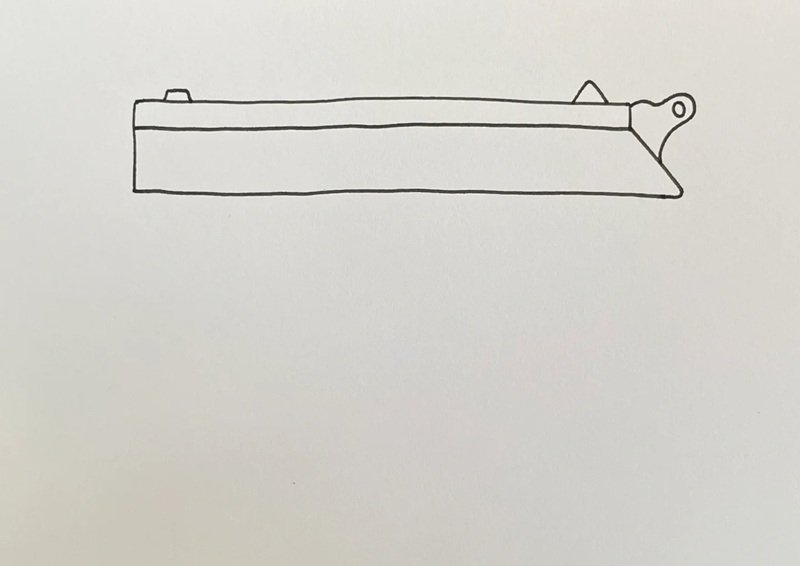
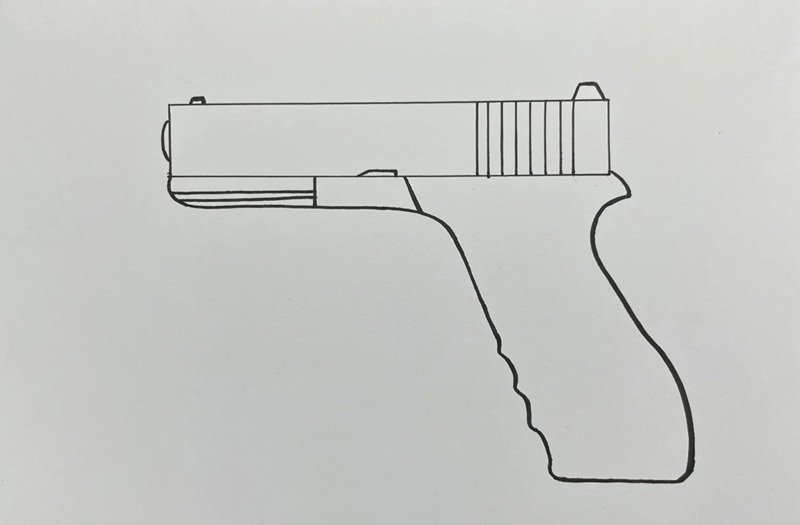
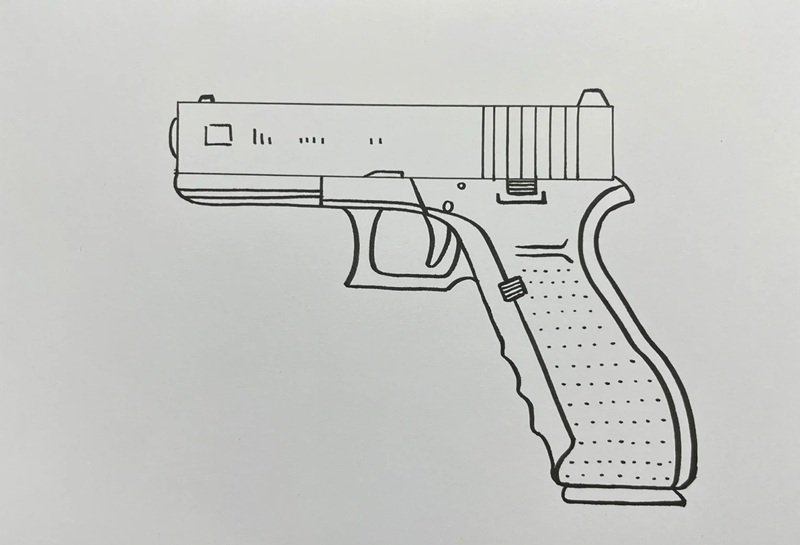
Step 1: Draw a long horizontal rectangle for the pistol’s barrel and add a small triangle at the back to hint the rear sight.
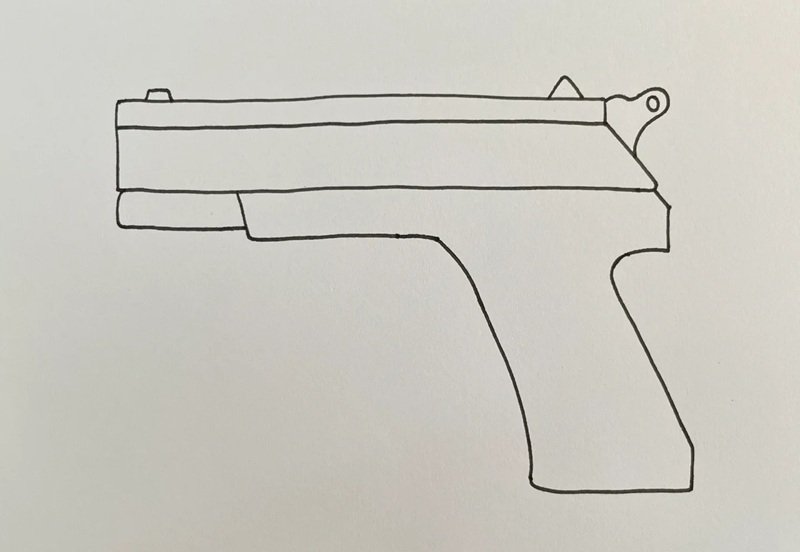
Step 2: Sketch the pistol grip extending downward from the back, creating a basic L-shape that forms the core gun silhouette.
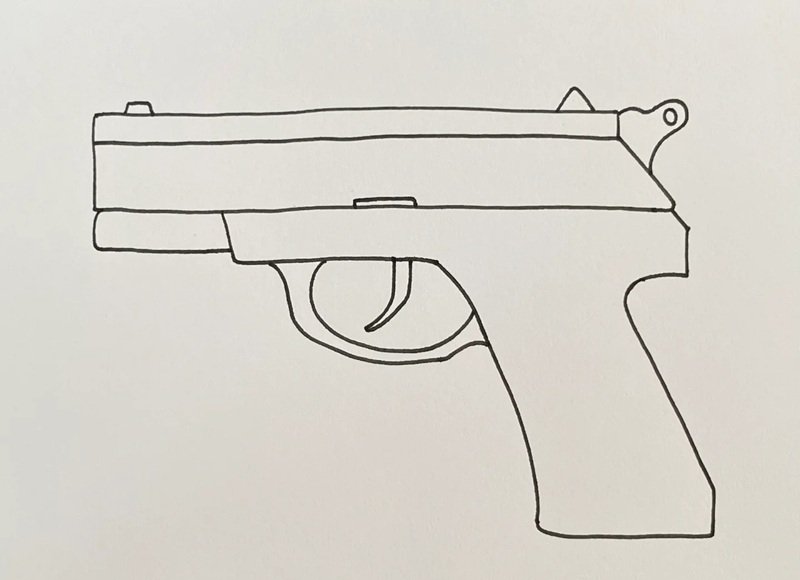
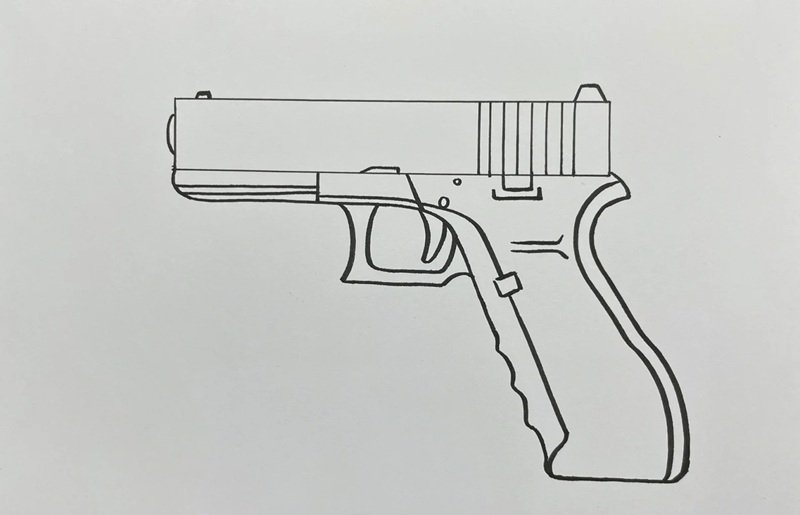
Step 3: Add a trigger guard and a curved line inside it for the trigger to start shaping the pistol’s firing mechanism area.
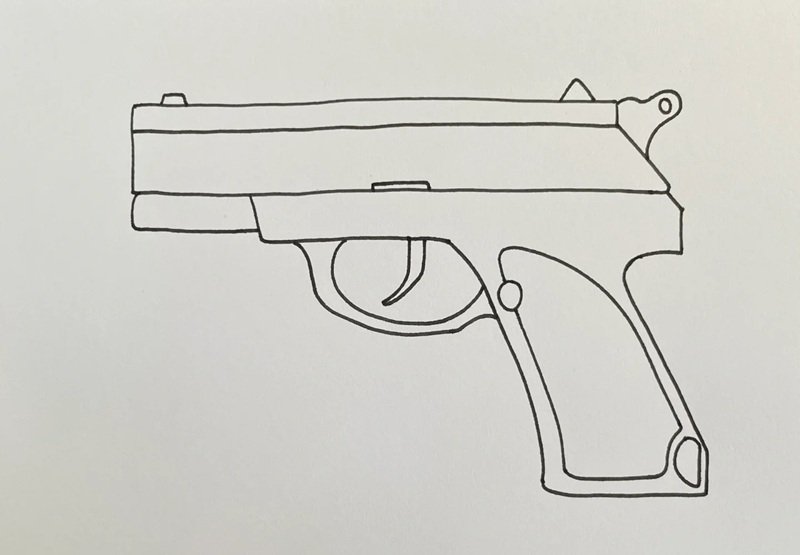
Step 4: Draw a smooth curve connecting the grip to the barrel, forming the handle’s back and completing the pistol’s outline.
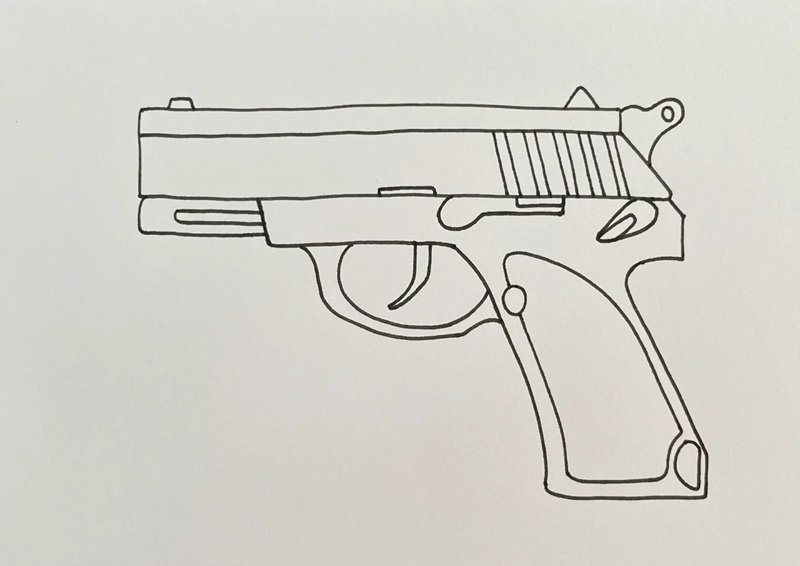
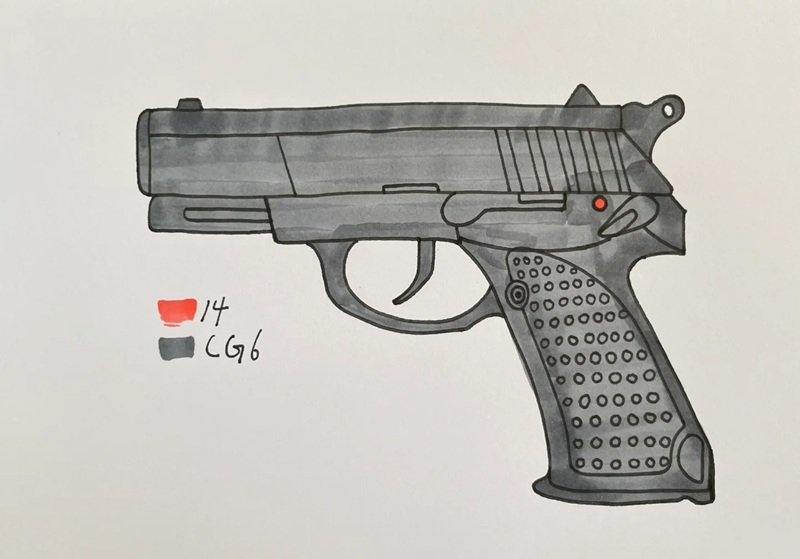
Step 5: Refine the slide with front and rear details and define the muzzle opening to bring more structure to the pistol’s top.
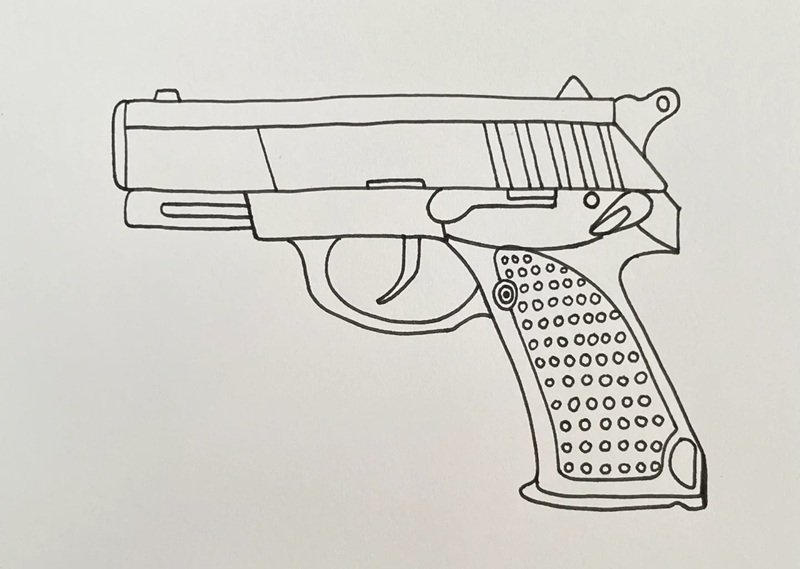
Step 6: Add texture to the grip with angled lines and include fine details like the hammer and ejection port for a finished look.
How to draw pistols beautiful
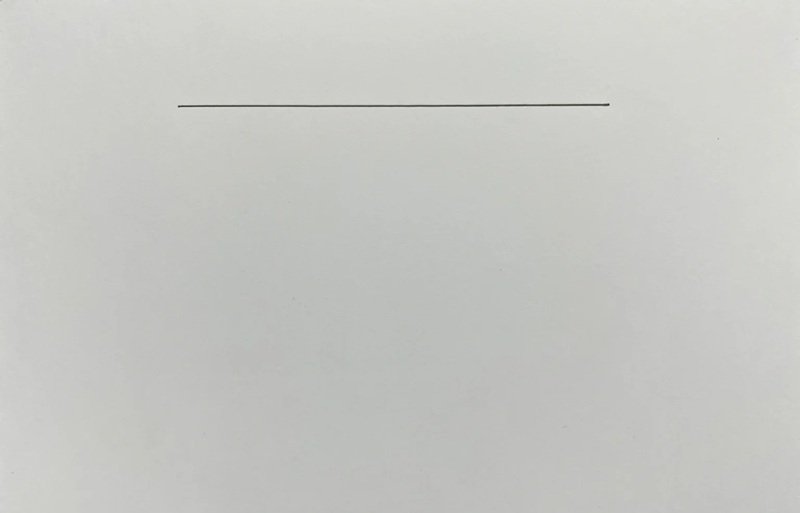
Step 1: Start with a straight horizontal line near the top of the page to mark the basic length of the pistol barrel.
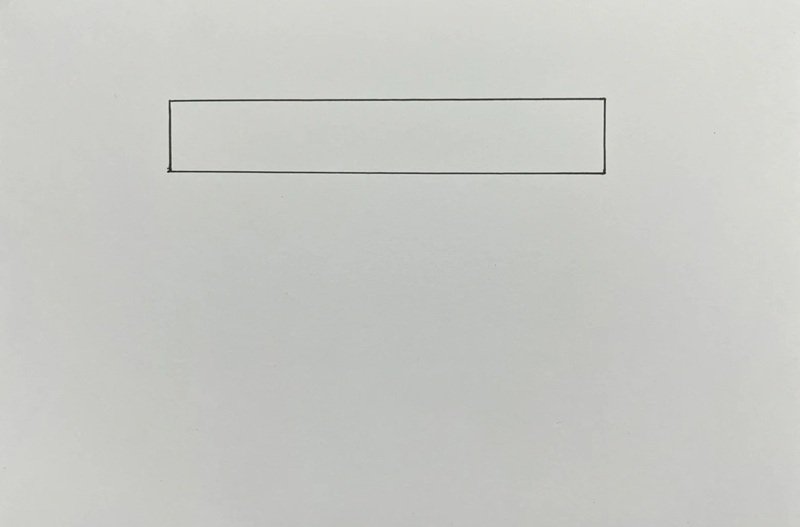
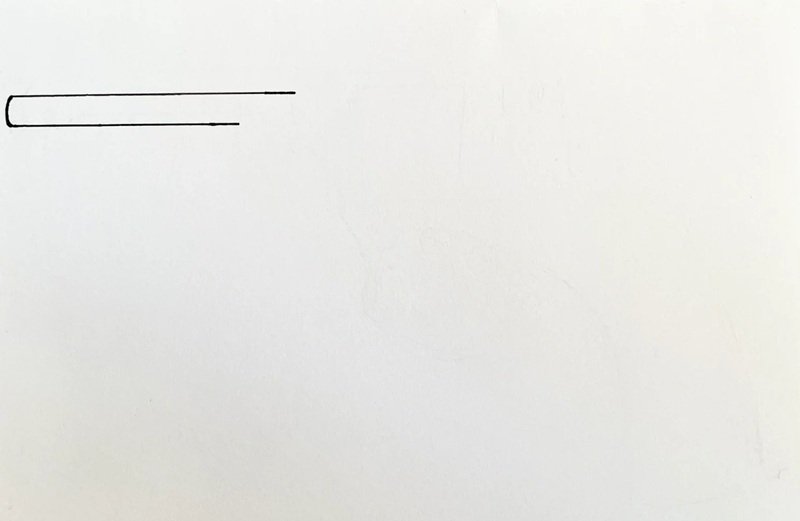
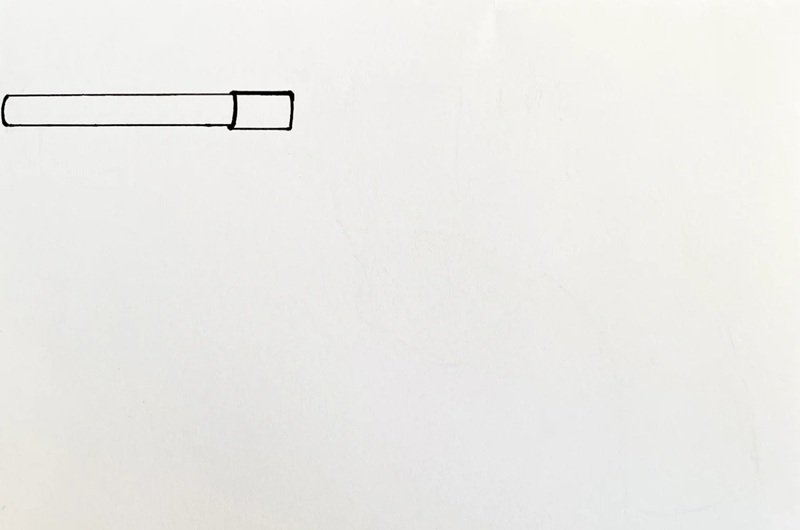
Step 2: Draw a slim rectangle around the line to form the barrel’s body, keeping it proportioned and centered on the page.

Step 3: Add details to the barrel ends and a rounded muzzle tip to make the front of the pistol look more realistic and balanced.
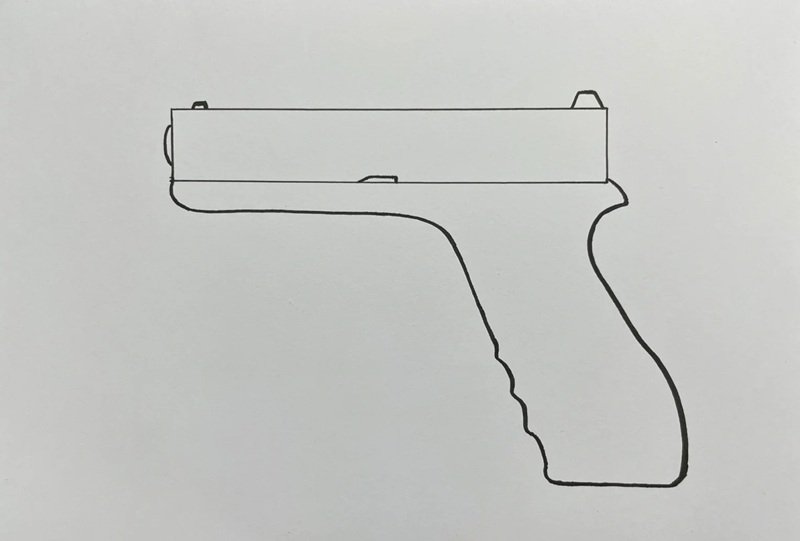
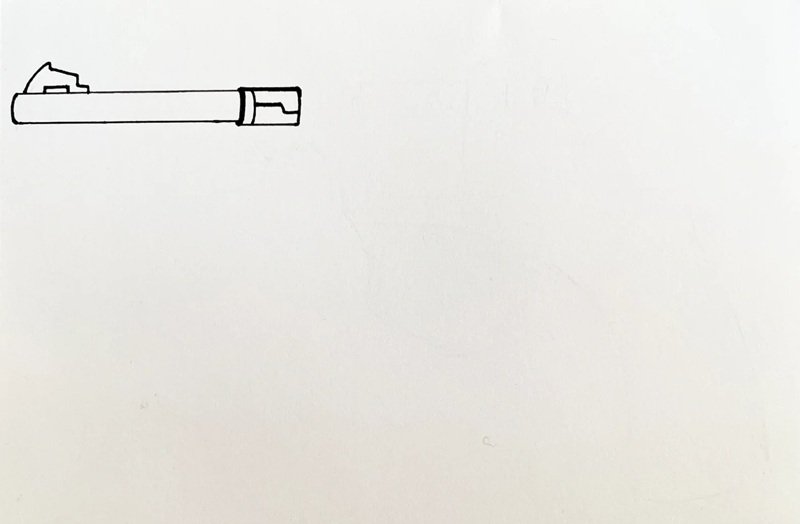
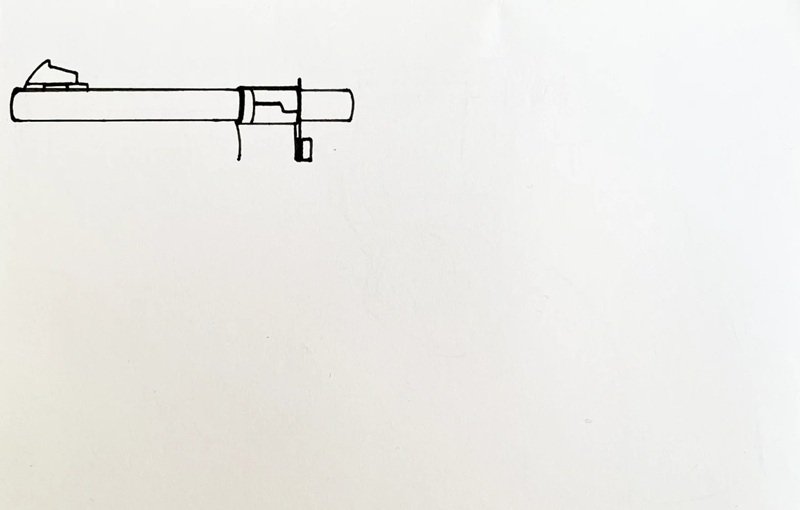
Step 4: Sketch the grip with a downward and curved handle, then connect it to the barrel forming the complete outer shape.
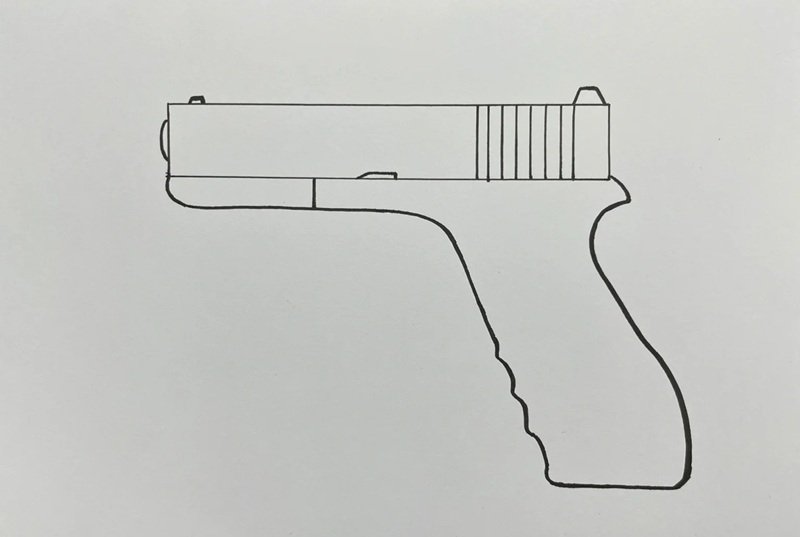
Step 5: Add parallel grooves on the rear top part of the slide to create realistic slide grip textures and mechanical details.
Step 6: Refine the trigger area by adding the trigger guard and inner curves, creating a polished and complete pistol silhouette.
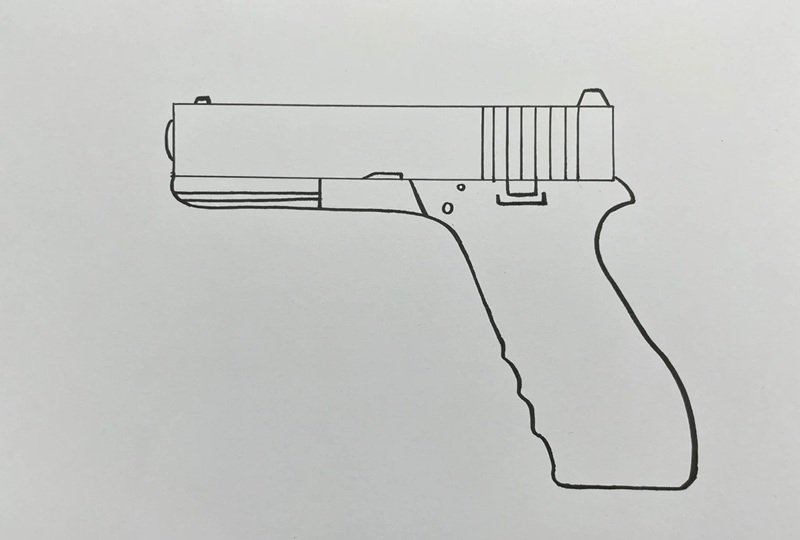
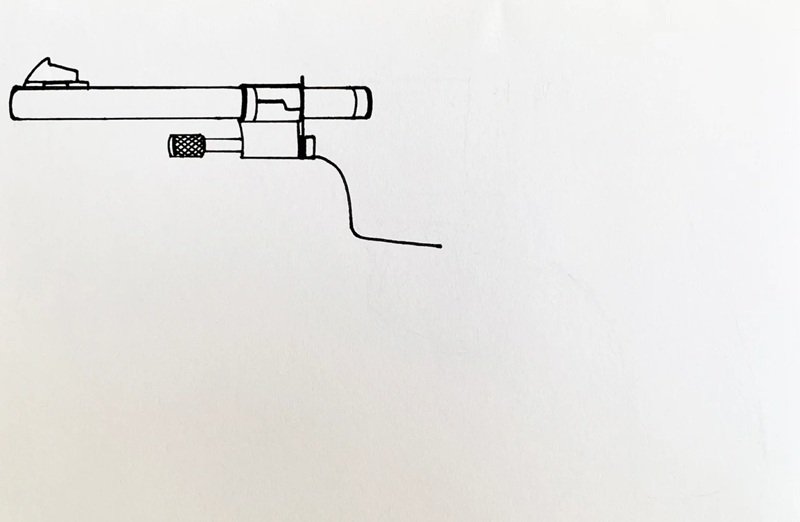
Step 7: Add final details such as the safety switch, slide lock, and minor linework to enhance realism and give it a finished look.
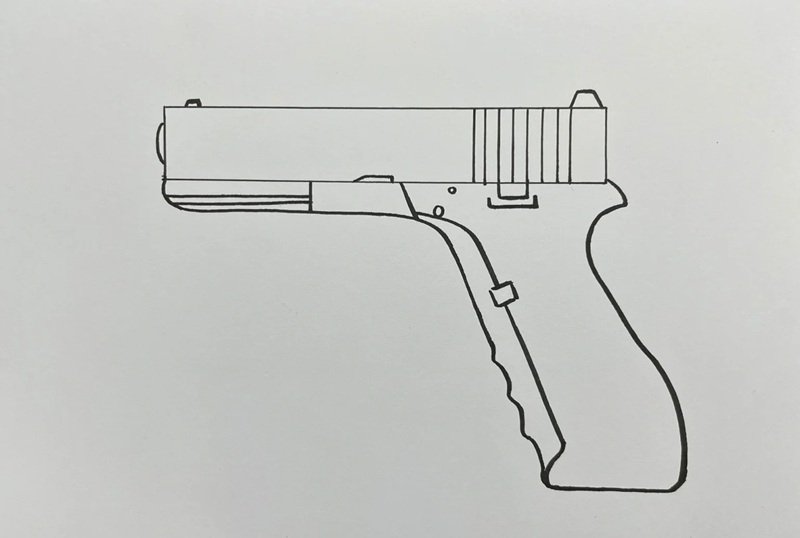
Step 8: Outline the magazine base below the grip and refine the grip shape with added curves and lines to enhance the handgun’s form.

Step 9: Add a trigger and define the trigger guard area with clean, curved lines that match the realistic style of the pistol body.
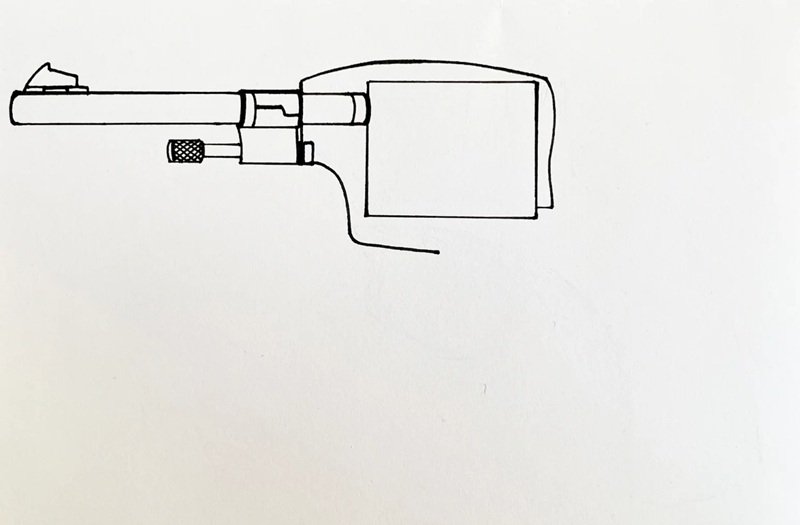
Step 10: Draw the inner mechanical lines along the slide and lower body, showing how the gun’s components fit together in detail.

Step 11: Refine the front muzzle with extra contours and draw minor accents like pin notches and vents to improve realism.
Step 12: Add a slide release and small hardware markings along the pistol body, balancing symmetry and detail.
How to draw pistols


Step 1: Begin by sketching the pistol’s overall outline at a diagonal angle, focusing on the barrel and frame placement.
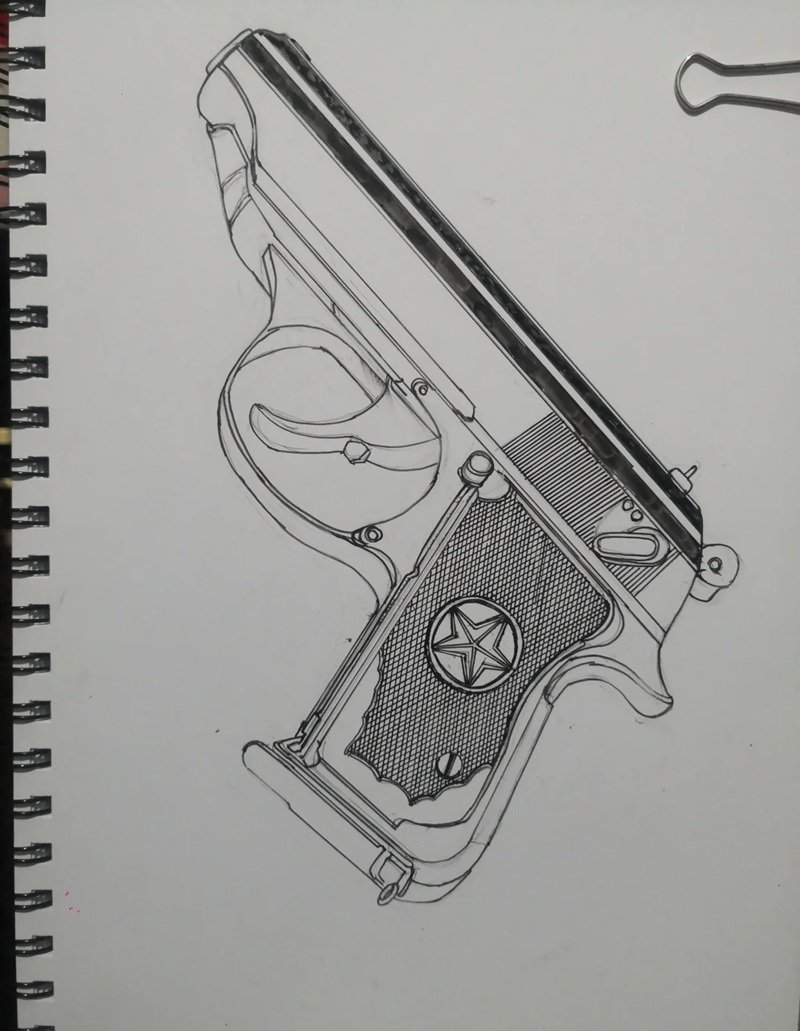
Step 2: Add the grip and trigger guard, keeping the perspective consistent and adjusting the angle to match a natural hand-held view.
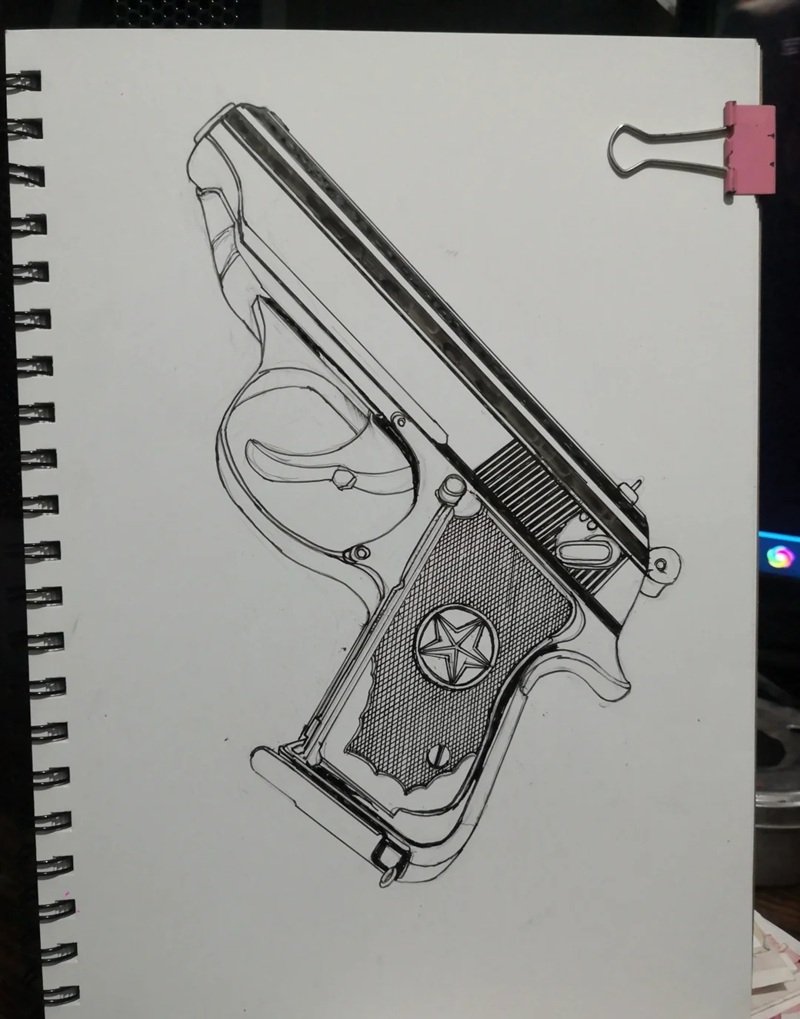
Step 3: Define the trigger, hammer, and upper slide shape with more precise lines to start forming the weapon’s core structure.
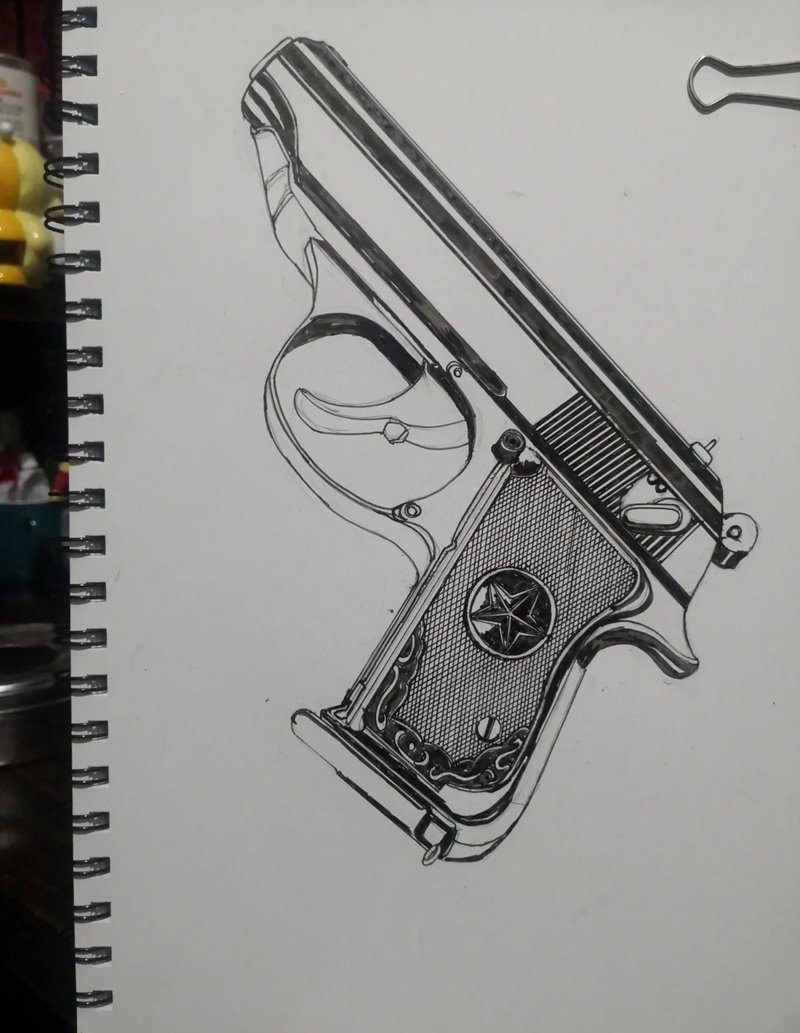
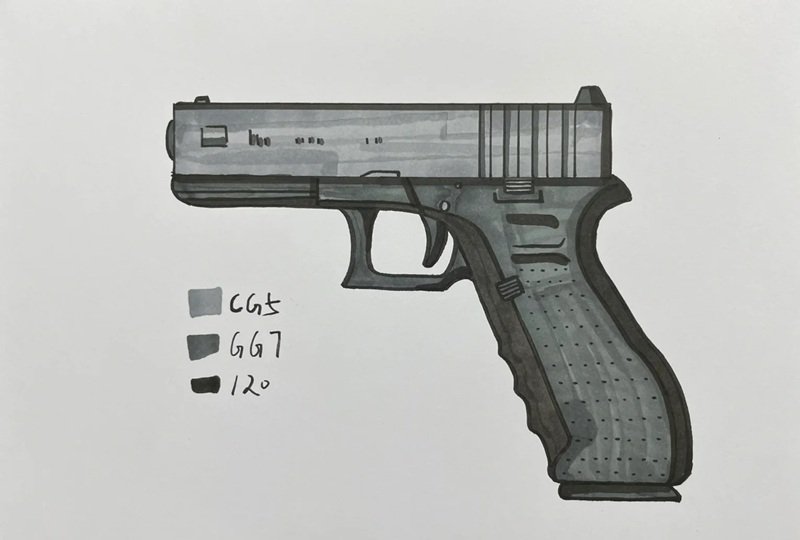
Step 4: Shade around the frame and add depth to the grip, barrel, and slide using light pencil strokes to build realistic contrast.
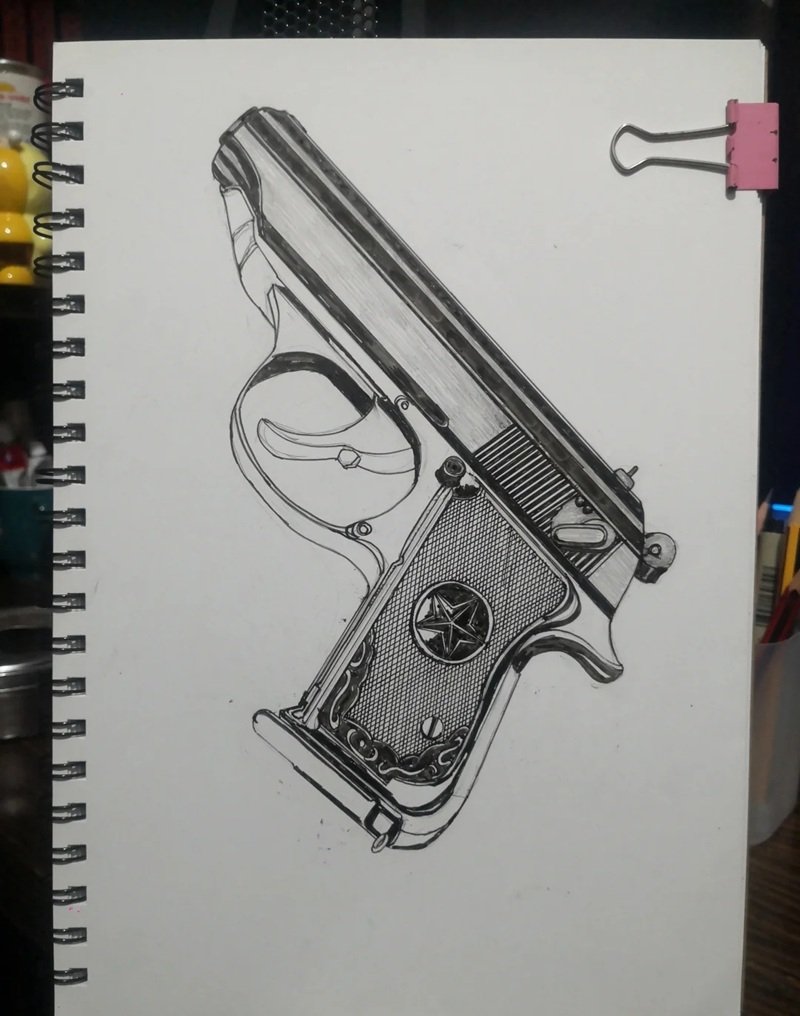
Step 5: Enhance shadows and details such as the screws, magazine base, and muzzle for a more dimensional, realistic pistol sketch.
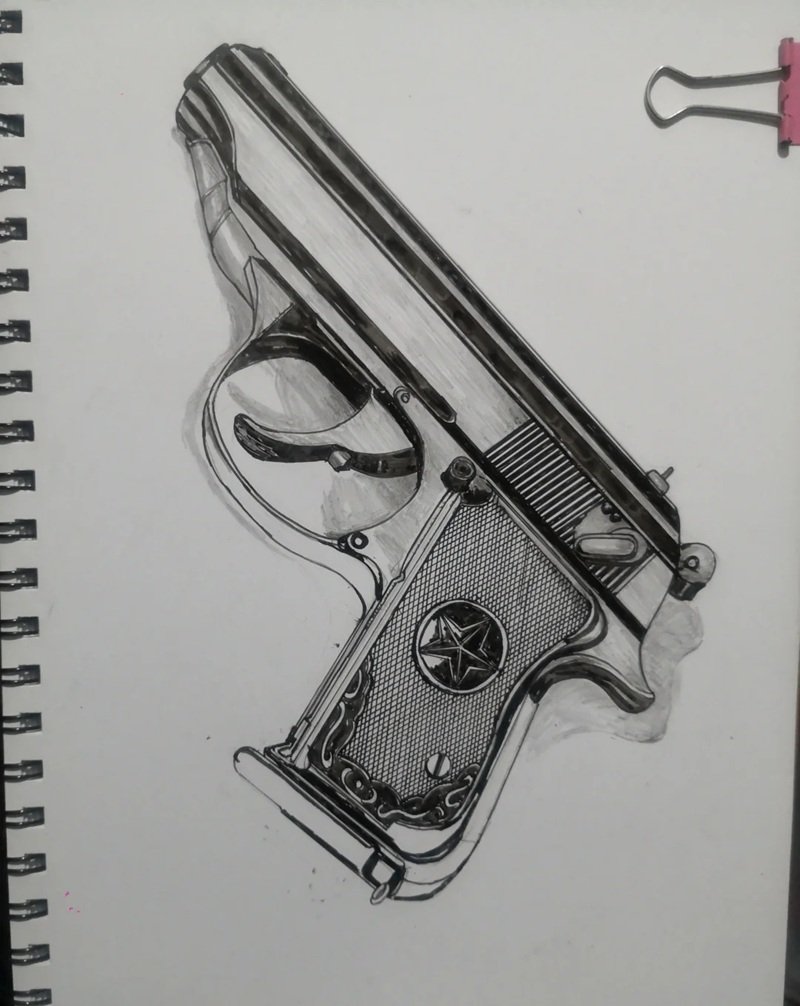
Step 6: Use darker shading on the grip texture, slide grooves, and trigger guard to bring out the 3D effect and metallic surface feel. 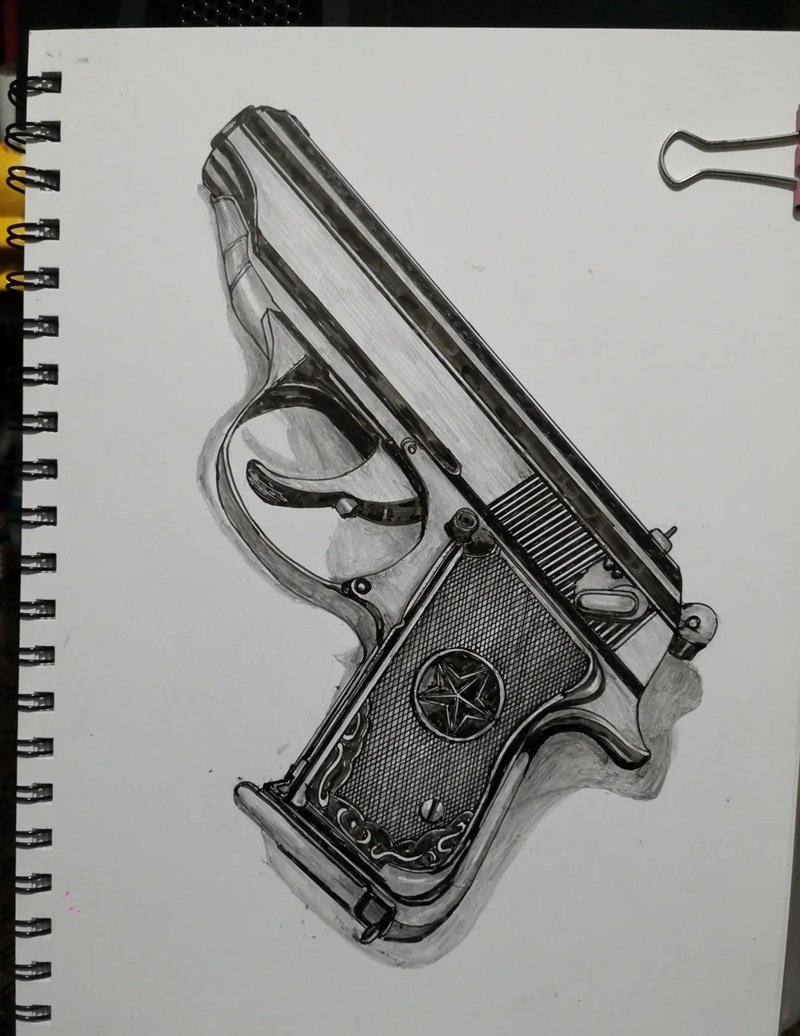
Step 7: Finalize your drawing by cleaning up smudges and sharpening the outlines, giving your pistol a clean, professional finish.
How to draw pistols easy
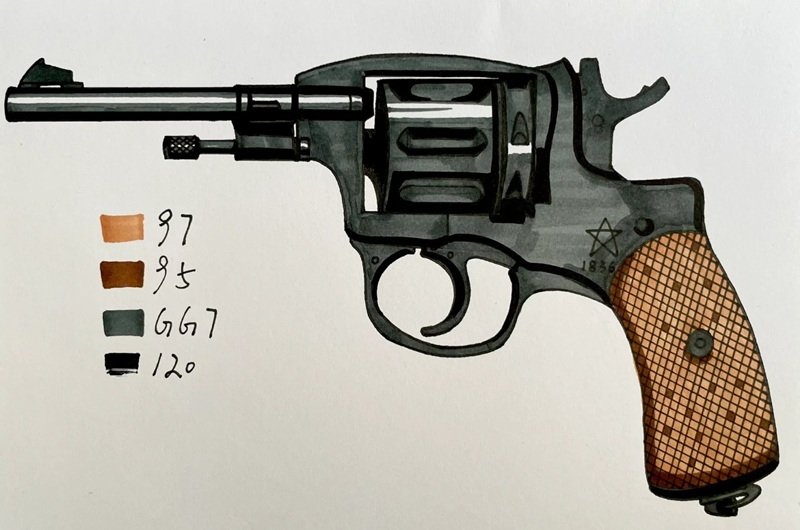
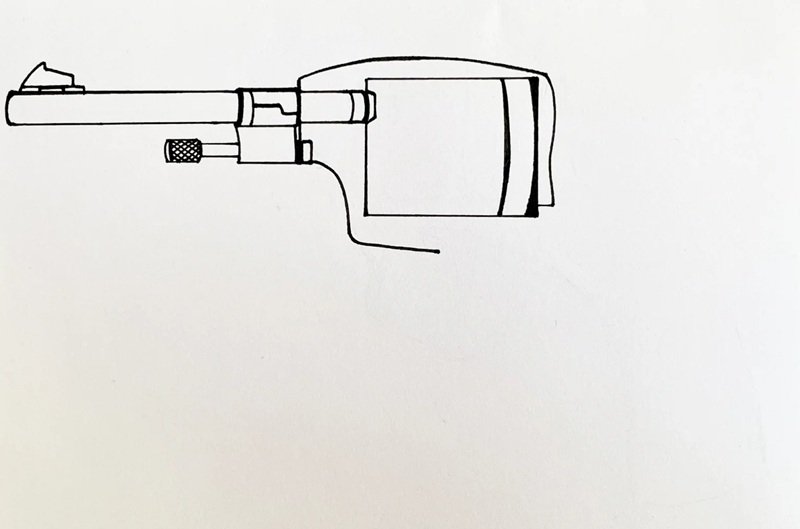
Step 1: Draw a short horizontal line near the top-left to mark the starting point for the gun barrel.
Step 2: Add a slightly curved line below the first to begin forming the top shape of the revolver barrel.
Step 3: Extend the lines into a full rectangle shape to form the basic outer frame of the gun barrel.
Step 4: Add a small rear sight detail at the end of the top line and a front sight near the barrel’s tip.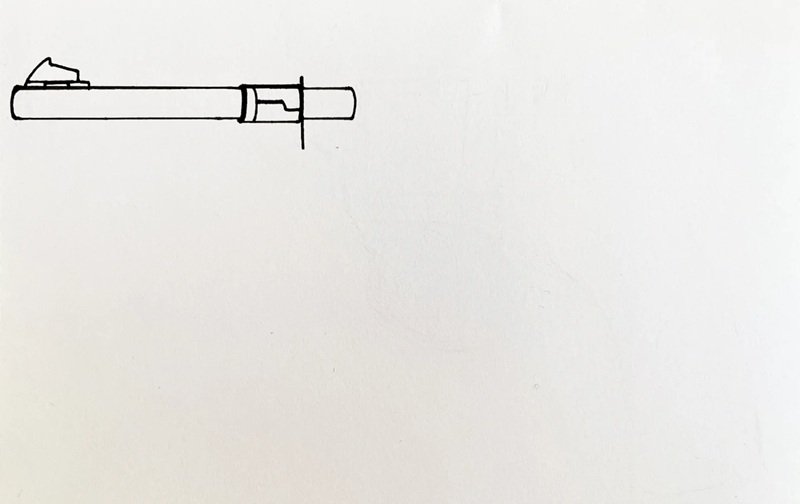
Step 5: Sketch the muzzle and front part of the revolver with angular shapes to guide the cylinder connection.
Step 6: Start forming the cylinder chamber by adding a vertical guide and a short horizontal rectangle.
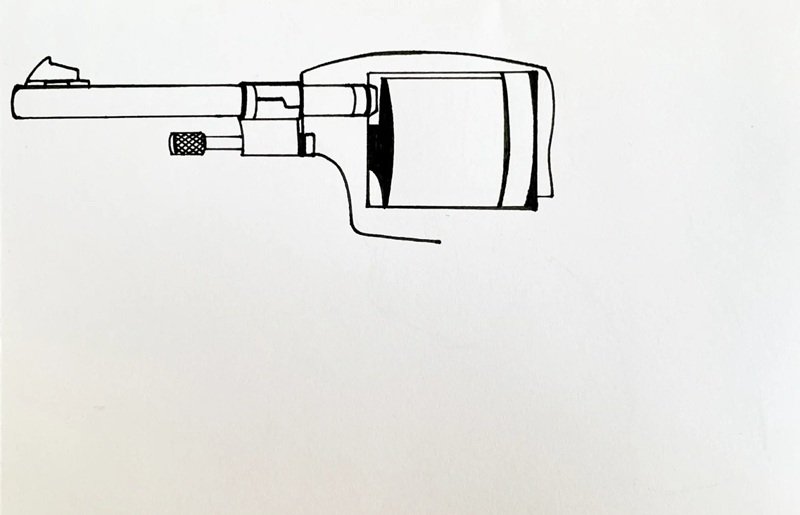
Step 7: Add inner cylinder circles and basic slots, showing the bullet chambers and revolver’s loading area.
Step 8: Draw the rear part of the gun frame and the bottom body, extending behind the cylinder shape
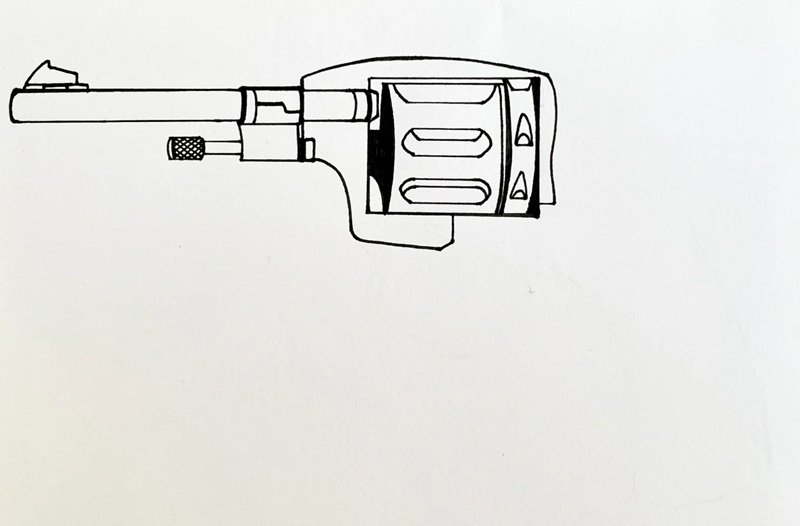
Step 9: Add trigger guard structure and small mechanical lines to enhance realism in the midsection.
Step 10: Draw a vertical oval for the trigger and sketch the cylinder’s details, refining the bullet chamber slots.
Step 11: Extend and curve the grip handle downward from the rear of the frame, maintaining natural proportions.
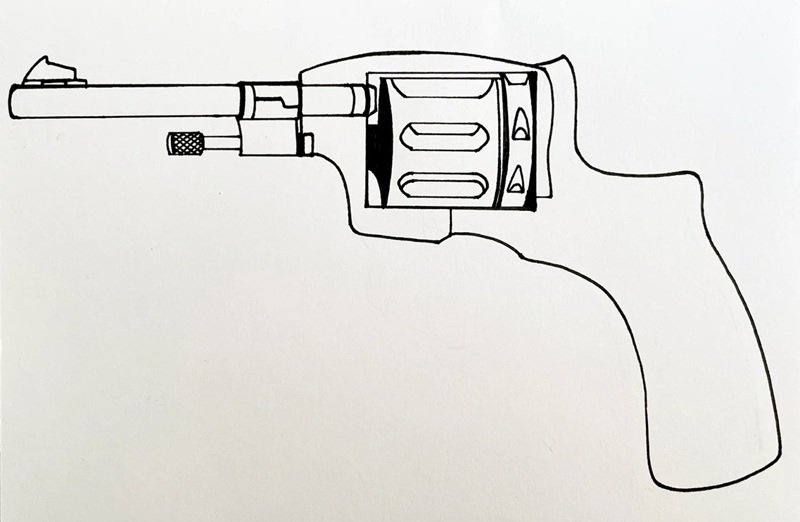
Step 12: Finalize the outer grip and align it with the trigger guard to complete the gun’s outline.
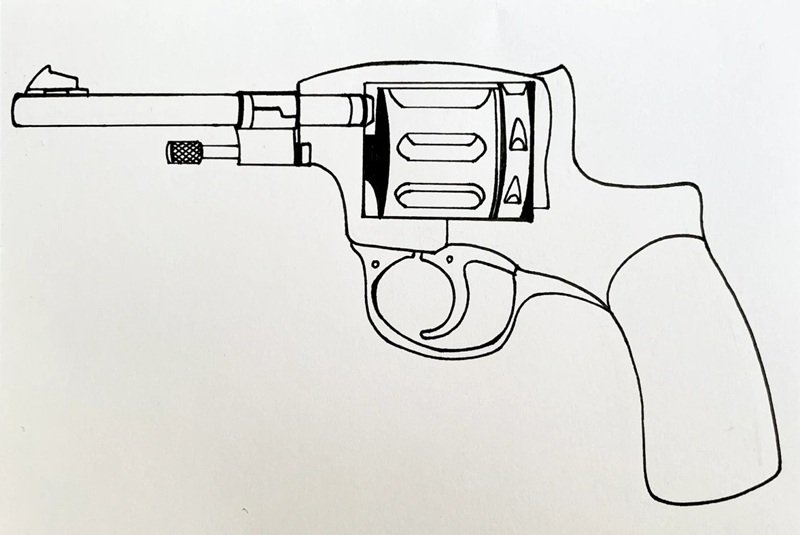
Step 13: Refine and darken the barrel, cylinder, and inner details for depth and realism in your revolver sketch.
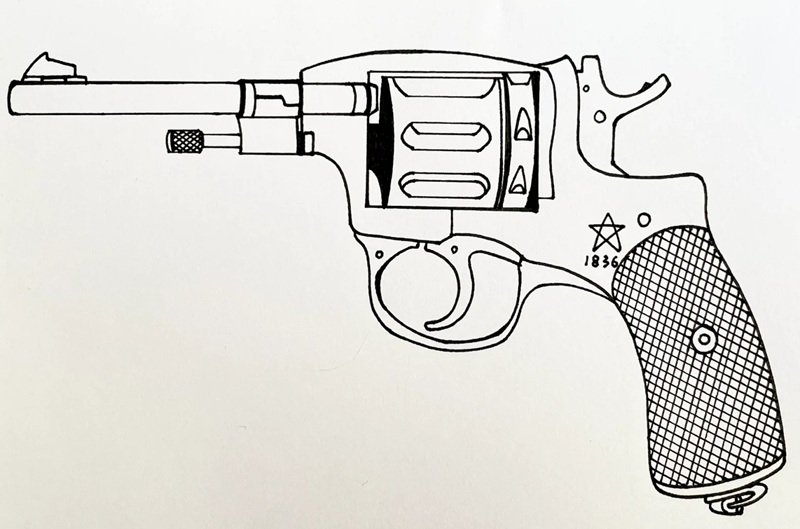
Step 14: Add texture to the grip and shading throughout the gun to give your revolver a bold, finished look.
See more:
5 tips to master how to draw Nezuko in anime style
9 secrets you didn’t know about how to draw hulk
Learn how to draw Hatsune Miku in 5 minutes or less
Mastering how to draw pistols doesn’t have to be complicated or boring. With the right techniques and a bit of consistent practice, you can create detailed and expressive pistol drawings that truly stand out. Whether you’re drawing for fun, for class, or building your art portfolio, these tips and tutorials are here to support you every step of the way. Keep your lines clean, your proportions sharp, and most importantly—have fun. Your pistol art journey is just getting started, so keep sketching and never stop improving!