Want to learn how to draw the tiger with ease and style? Whether you’re a beginner or a rising art star, we’ve got step-by-step guides tailored just for you. From basic lines to fierce stripes, unleash your creativity and sketch a powerful tiger like never before. Explore fun and modern techniques now on dooduko.com, your go-to place for cool drawing tutorials loved by today’s youth.
How to draw a tiger
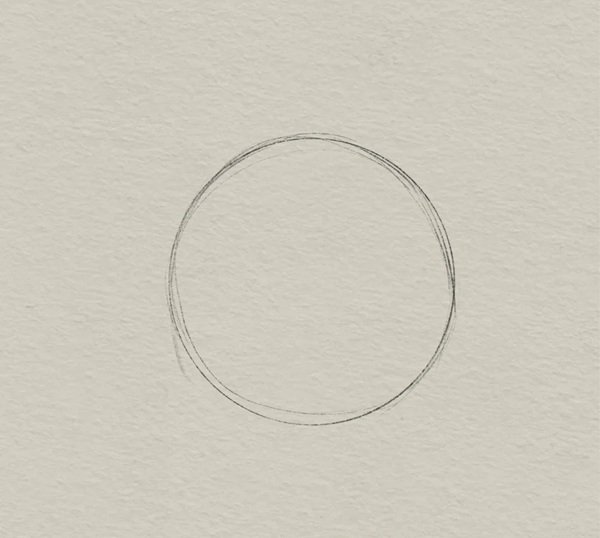
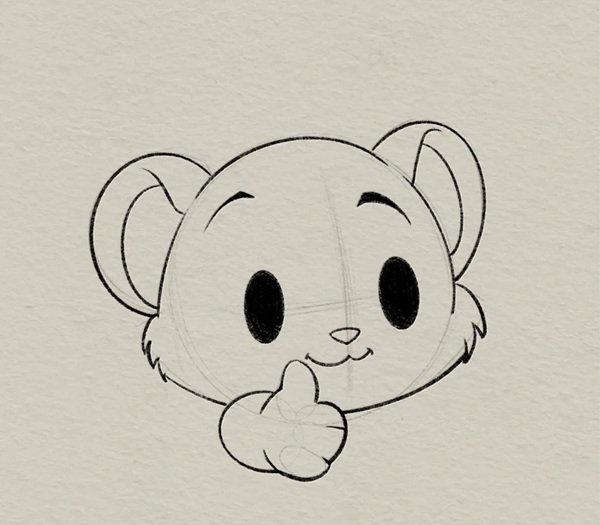
Step 1: Draw a big circle for the tiger’s head—this will be your base shape, so keep the outline light and simple.
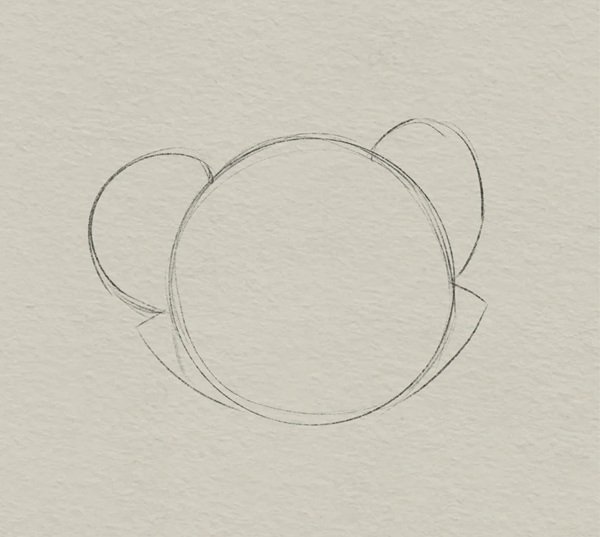
Step 2: Add two round ears on both sides of the circle to start shaping the tiger’s cute and chubby face.
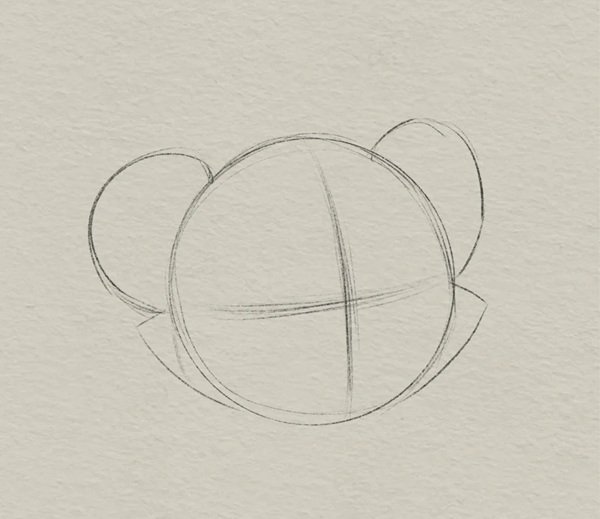
Step 3: Draw one vertical and one horizontal line across the face to help place the eyes, nose, and mouth later.
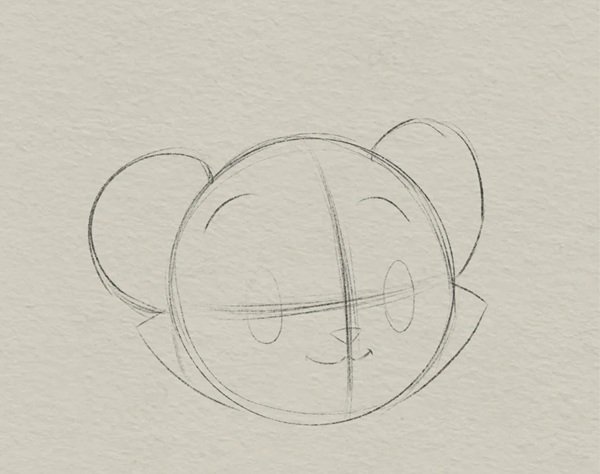
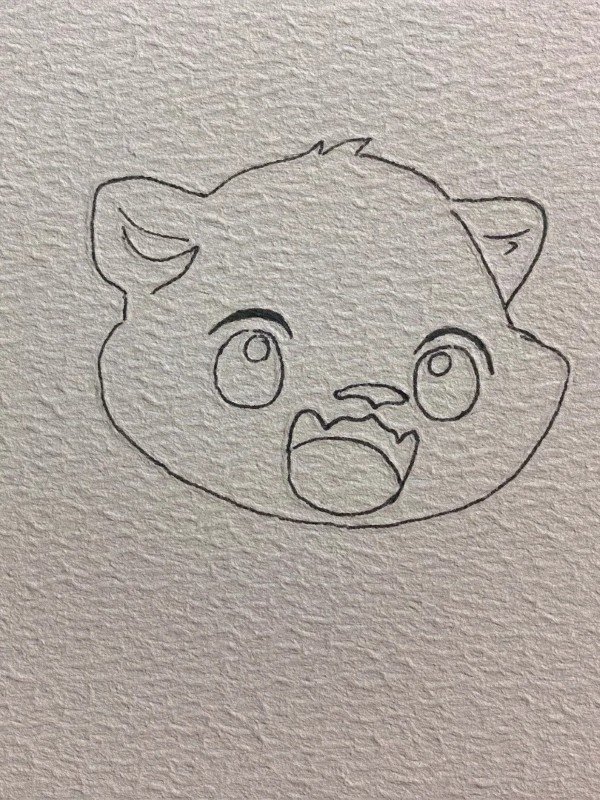
Step 4: Refine the face shape by curving the cheeks and adjusting the ears to make the head more natural.
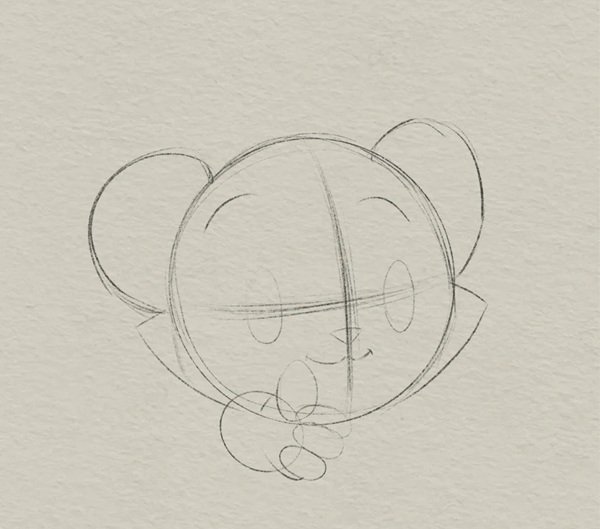
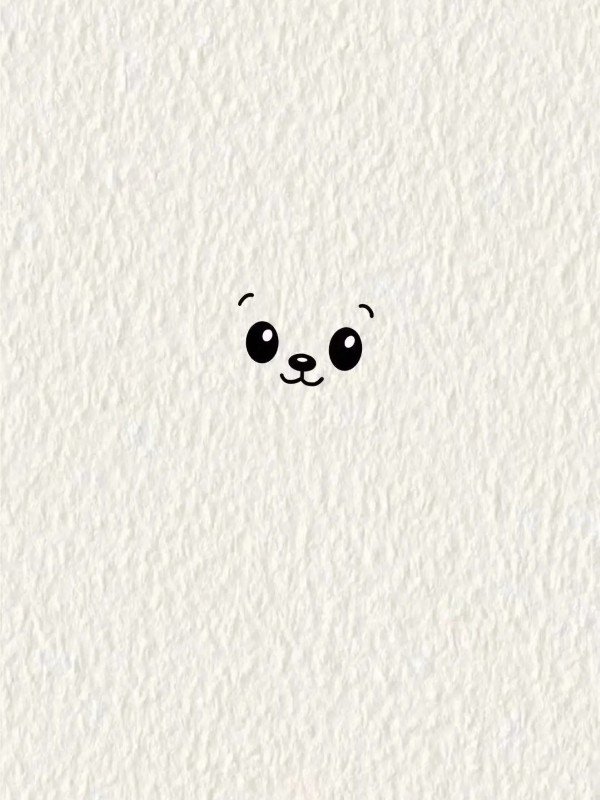
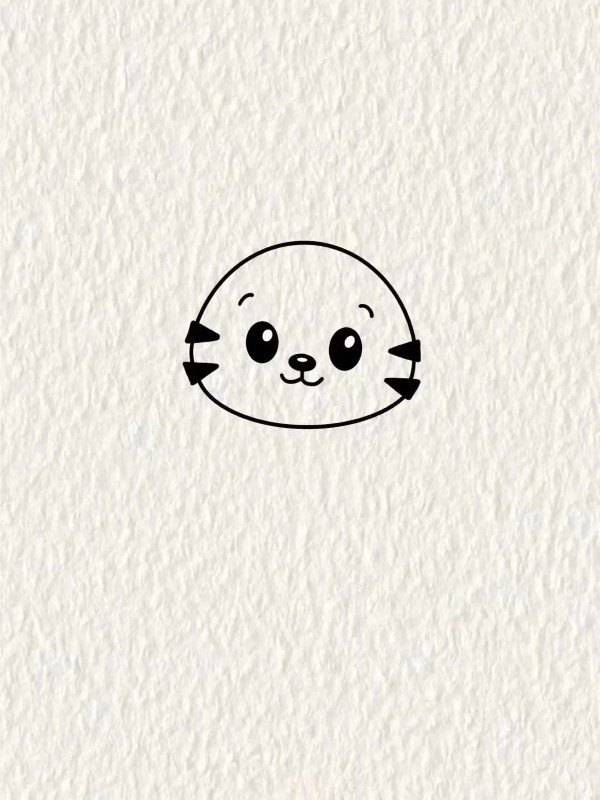
Step 5: Sketch two small ovals for eyes, and outline a tiny nose and mouth beneath the horizontal guide.
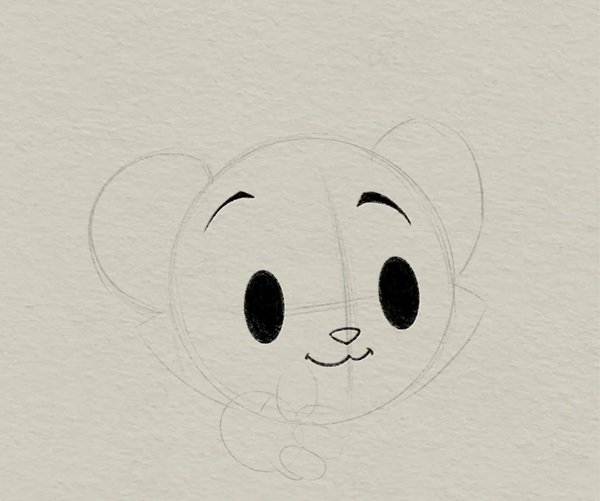
Step 6: Fill in the eyes with black, leaving a small white dot for shine to bring the tiger’s face to life.
Step 7: Add eyebrows, define the mouth curve, and clean up messy lines for a clear facial expression.
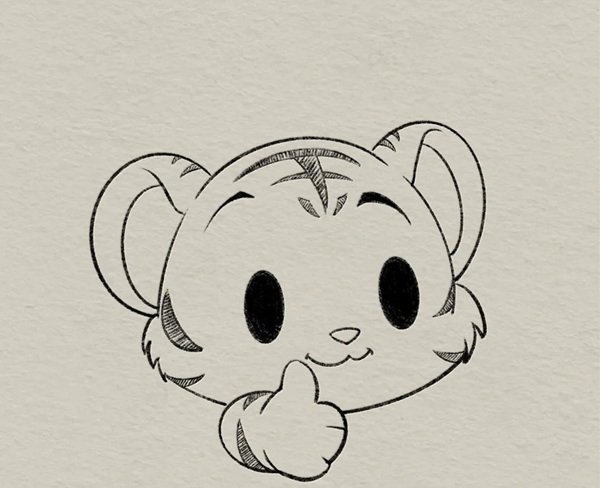
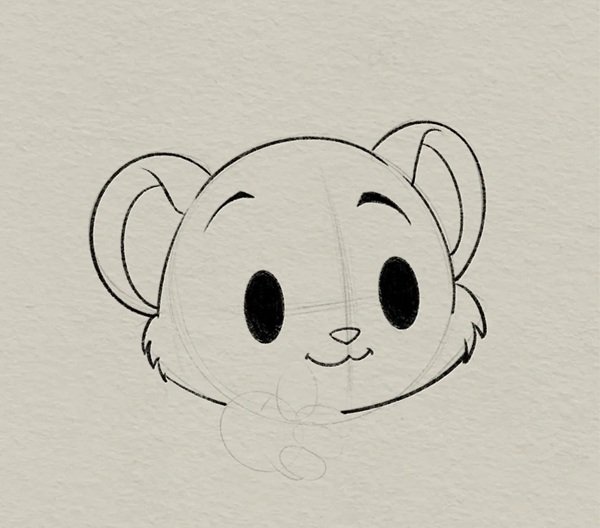
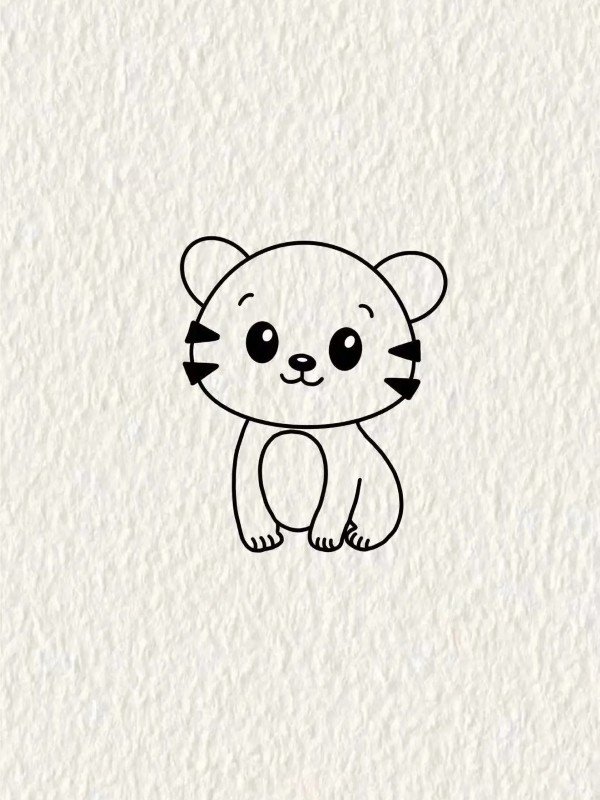
Step 8: Finish with fur details and smooth outlines—your adorable baby tiger drawing is now complete!
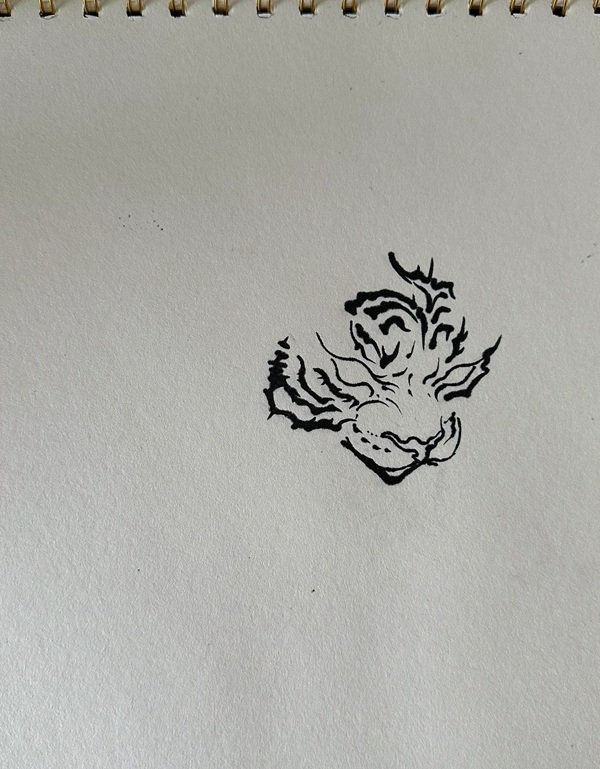
How to draw the tiger
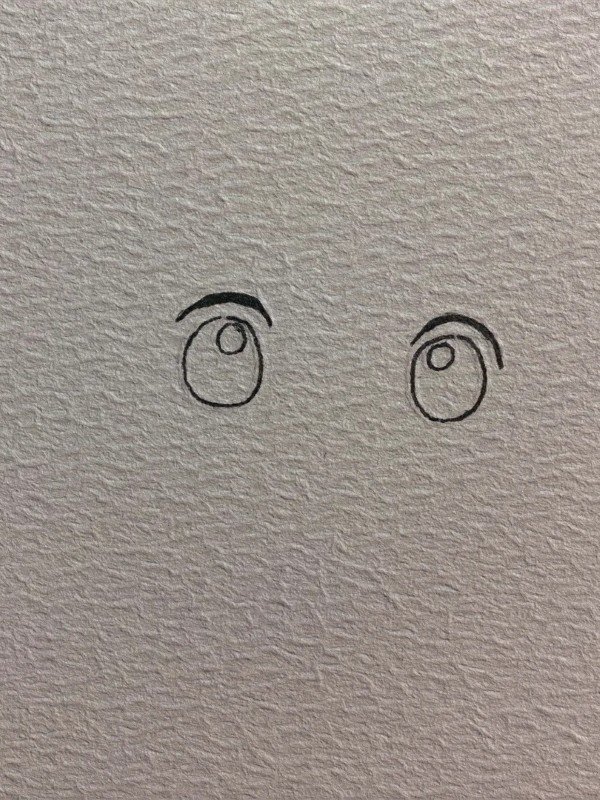
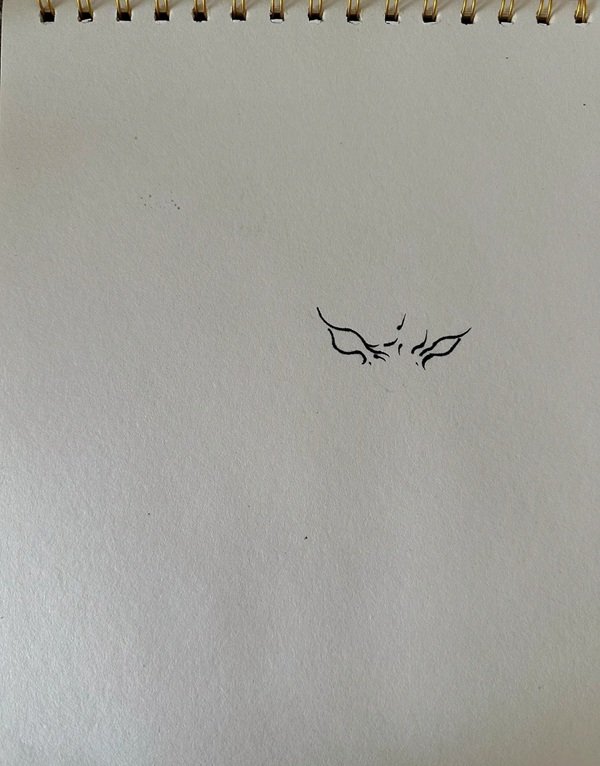
Step 1: Start with two large oval eyes spaced apart and a small oval nose below, then sketch a wide open mouth to show a happy expression.
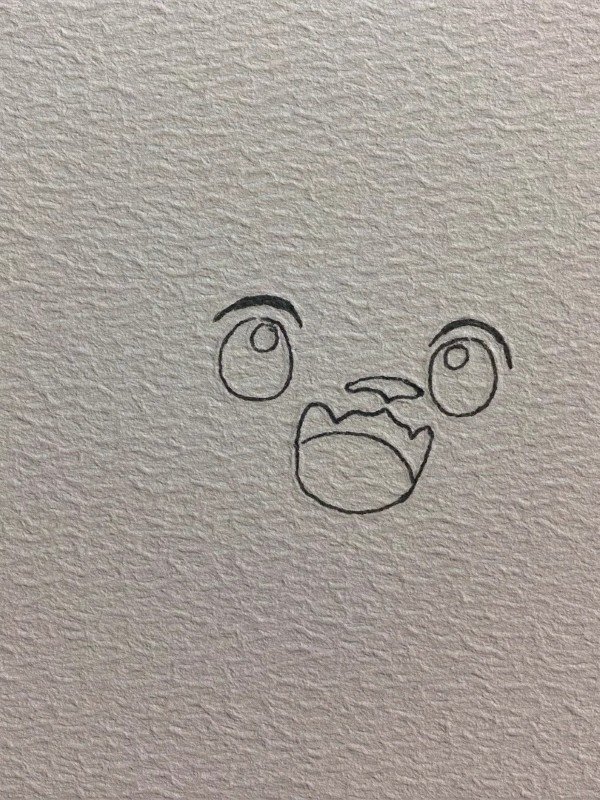
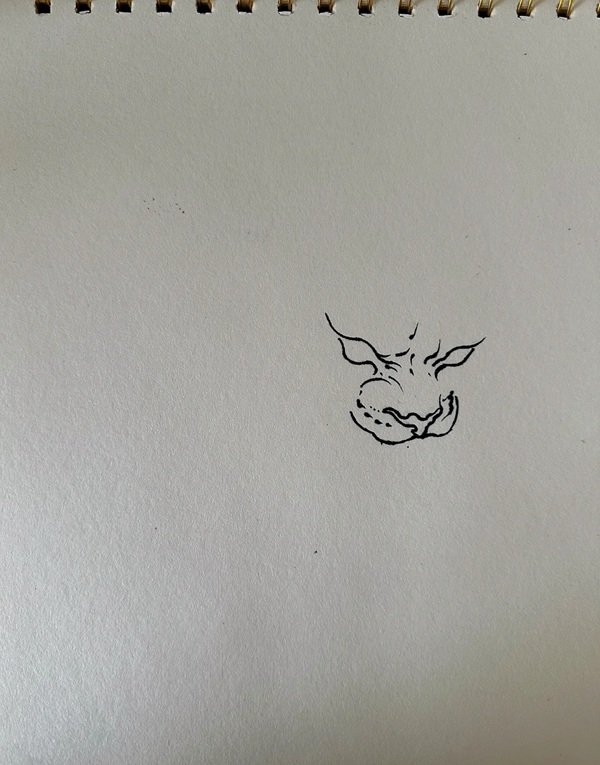
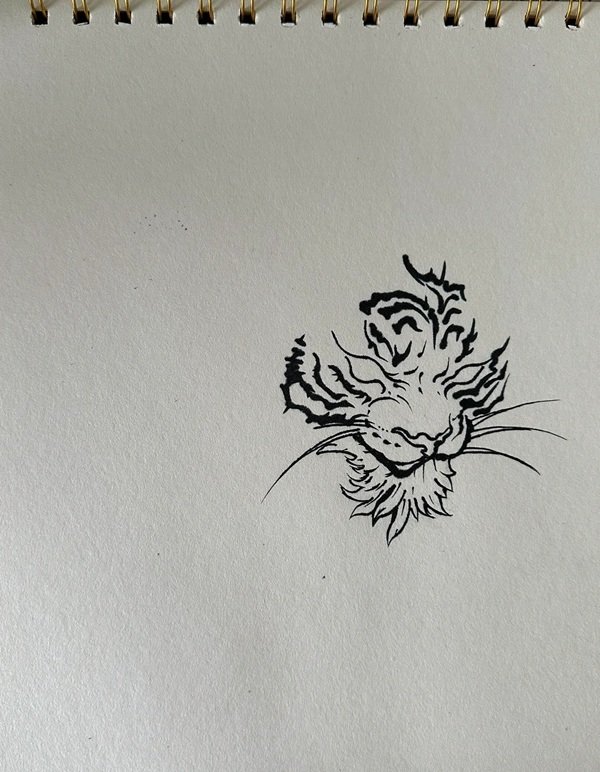
Step 2: Add round cheeks and a tongue inside the mouth, then draw tiny curved eyebrows and begin shaping the bottom part of the head.
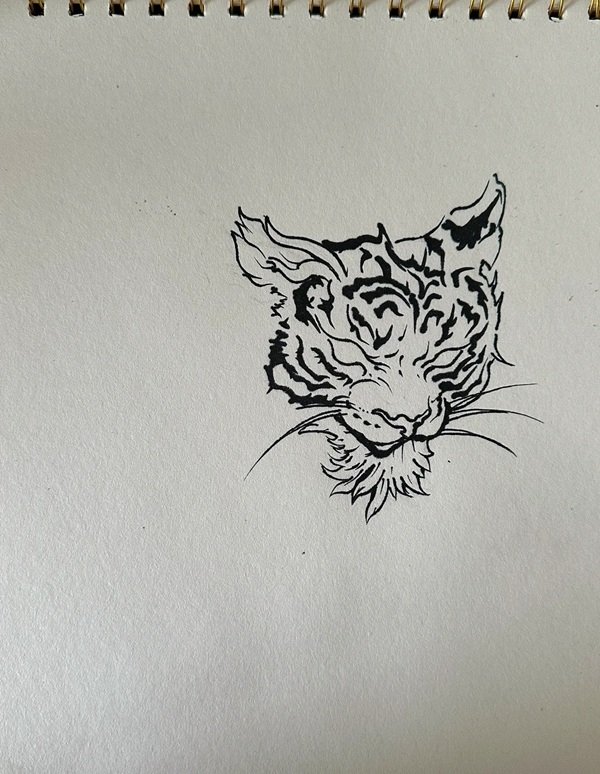
Step 3: Draw the full head outline with soft ears on top, round face edges, and make sure all facial features are balanced and expressive.
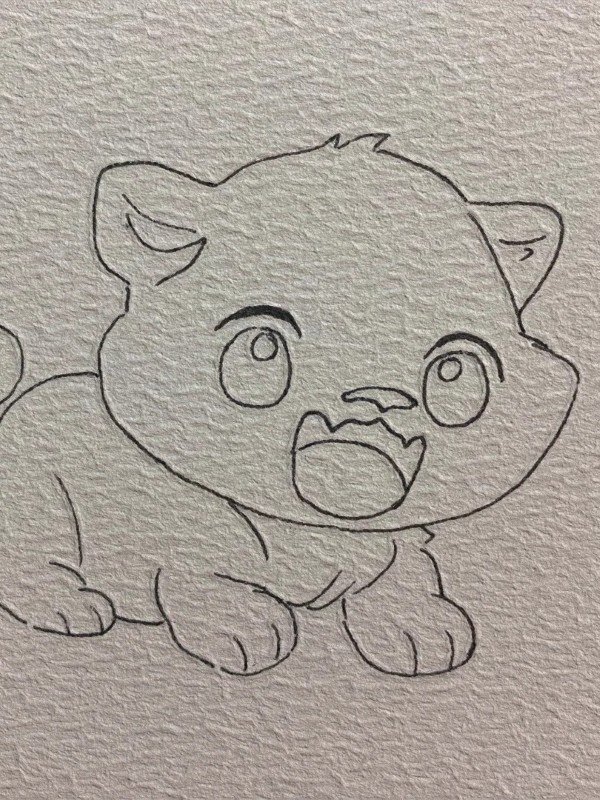
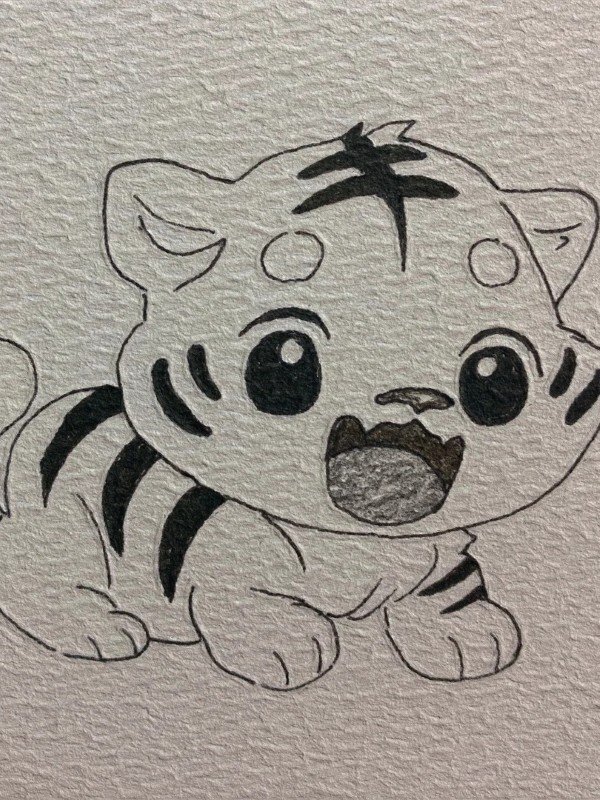
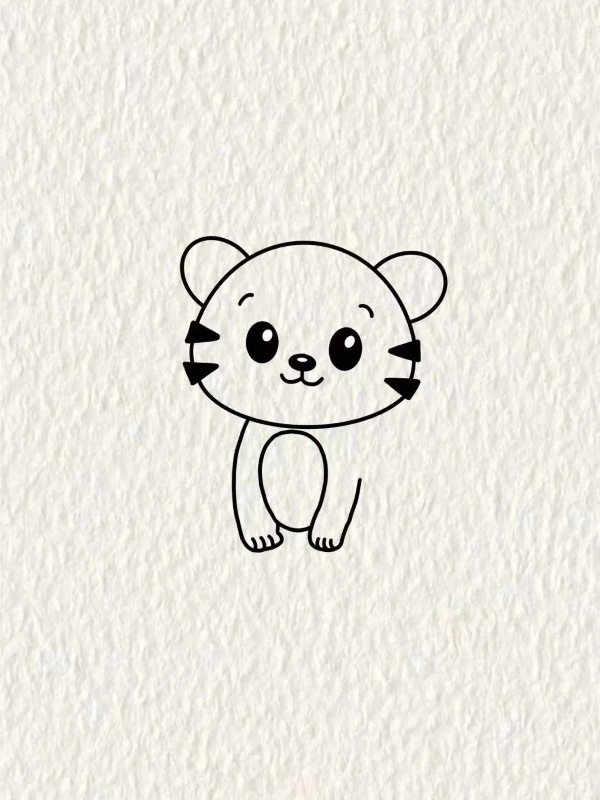
Step 4: Sketch the front legs with round paws below the head, then add the back curve of the body and back legs in a playful crawling pose.
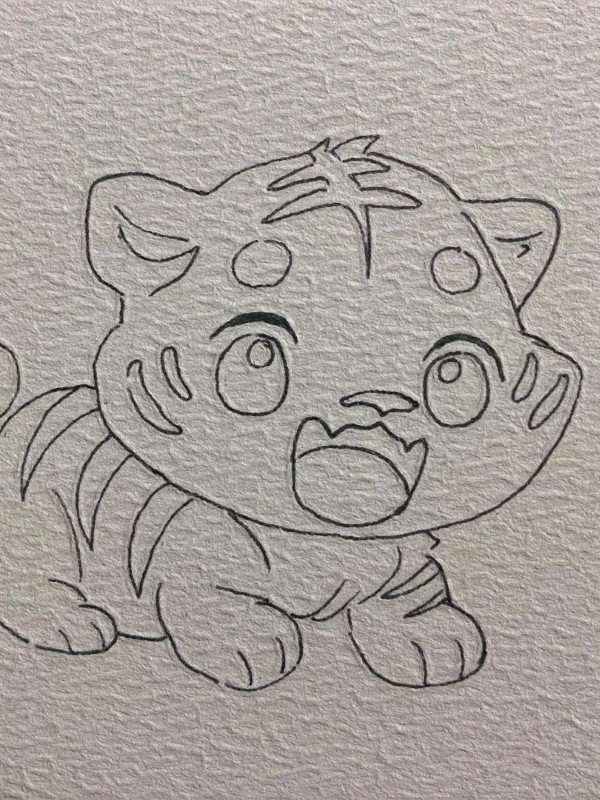
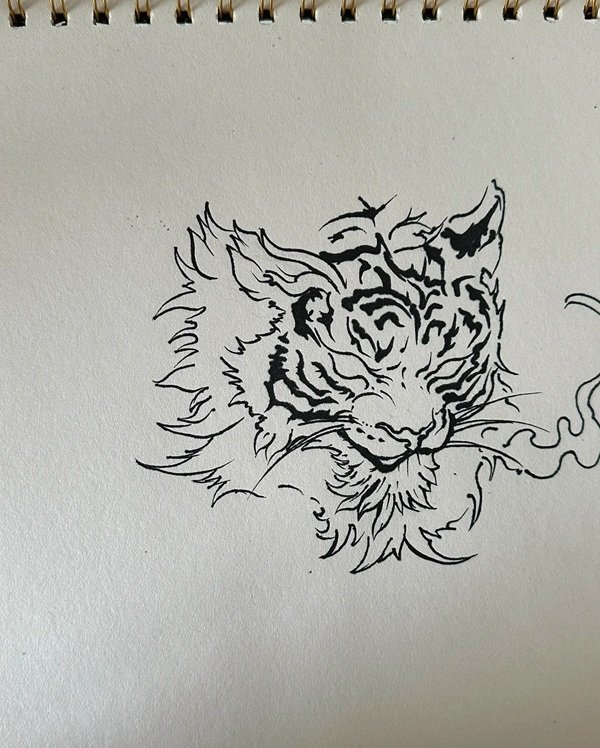
Step 5: Finish the tiger by drawing tail, stripes on the body and head, and add final details like claws and fur texture for a cute chibi look.
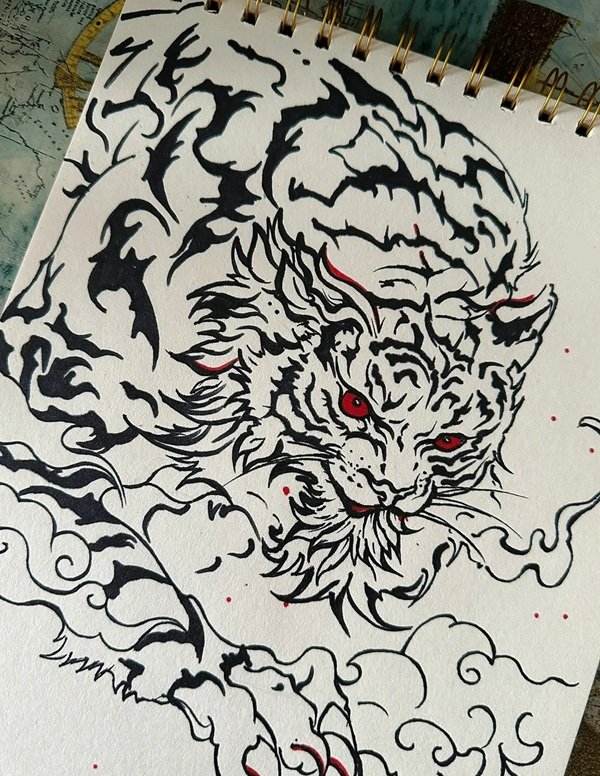
How to draw the tiger beautiful
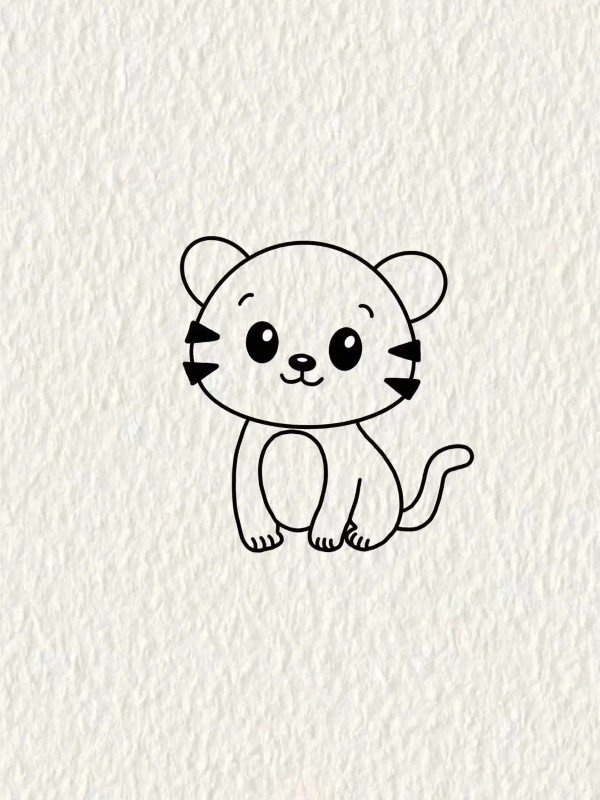
Step 1: Draw a large curved tail and a rounded back leg using two loops—this creates the base pose for the sitting tiger.

Step 2: Add a round head above the body and two small ears on top—keep everything soft and curved for a cute, balanced look.
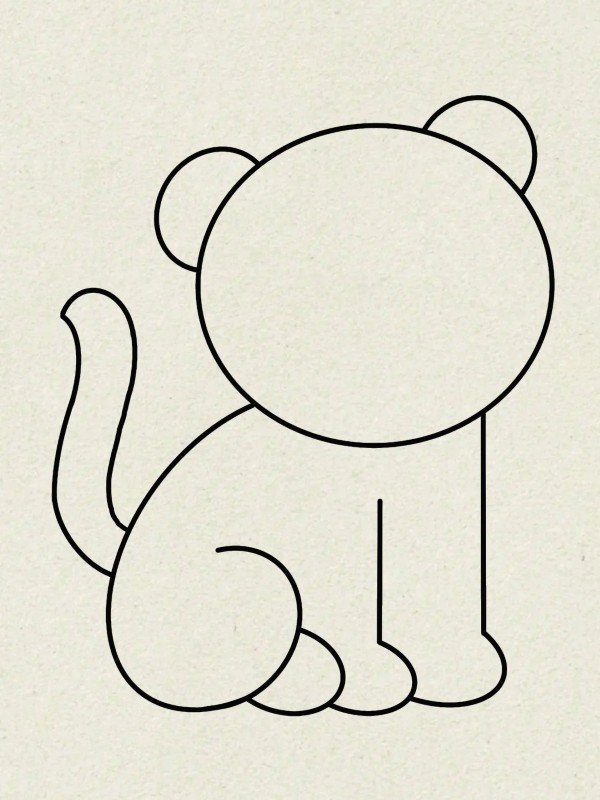
Step 3: Draw the front legs and tail more clearly, connect body to head, and round off the limbs to show the tiger sitting calmly.

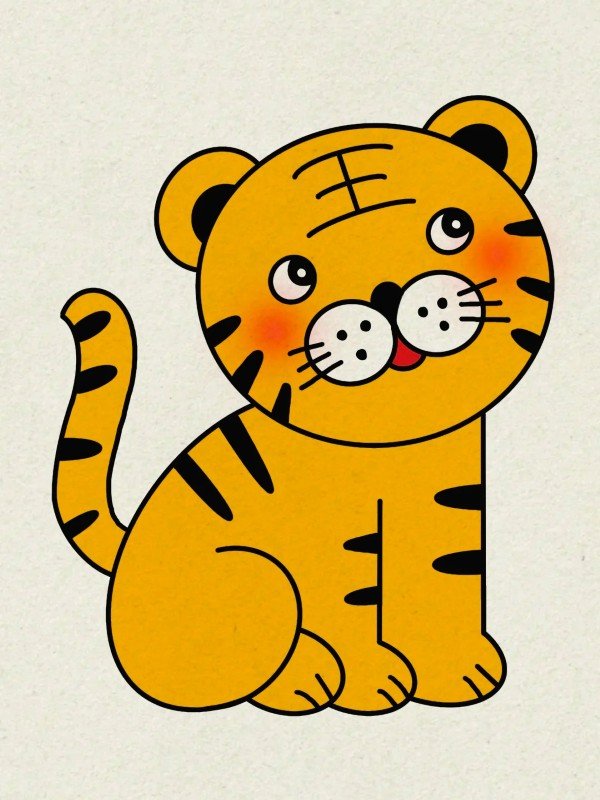
Step 4: Finish the face with big eyes, nose, smiling mouth, and add stripes, whiskers, and paw lines to complete your adorable tiger.
How to draw the tiger easy
Step 1: Start by drawing two black oval eyes spaced apart and a small triangle nose between them—this sets the cute expression of the tiger.
Step 2: Add a round head around the face and draw tiny blush dots below the eyes to give the tiger a soft, kawaii-style appearance. 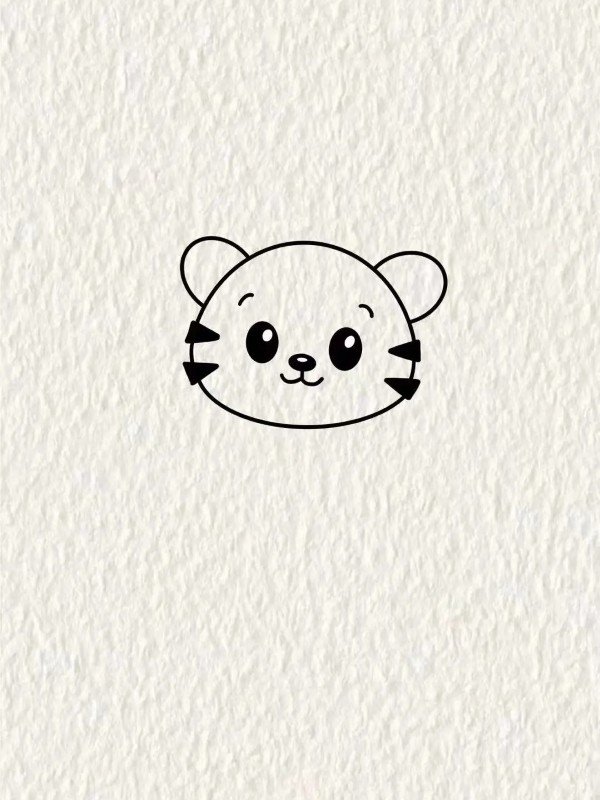
Step 3: Draw two round ears on top of the head and outline the inner ears to finish off the tiger’s adorable head
Step 4: Sketch a small upright body with tiny arms hanging down and rounded hands to match the cute proportions of the head.
Step 5: Add two short legs below the body with curved paws to complete the base of the standing pose.
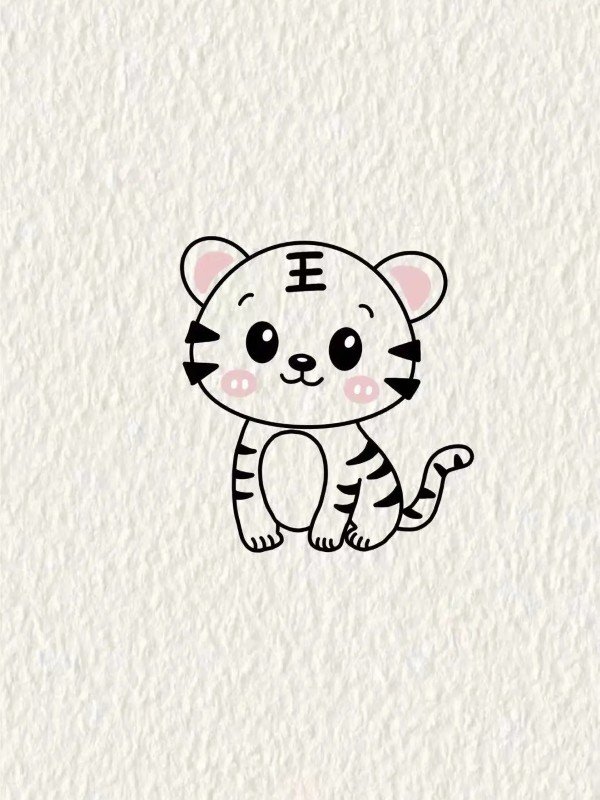
Step 6: Finish by drawing a curved tail on the side and three little stripes on the forehead to give your tiger its final charming look.
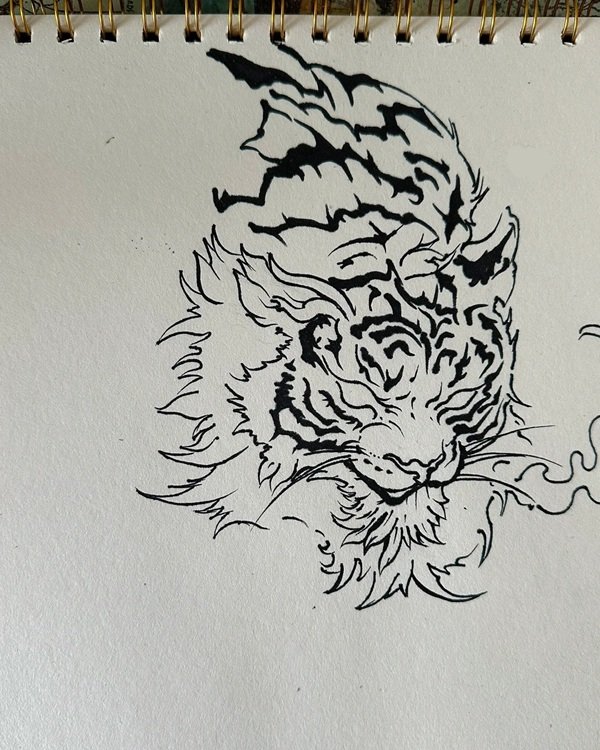
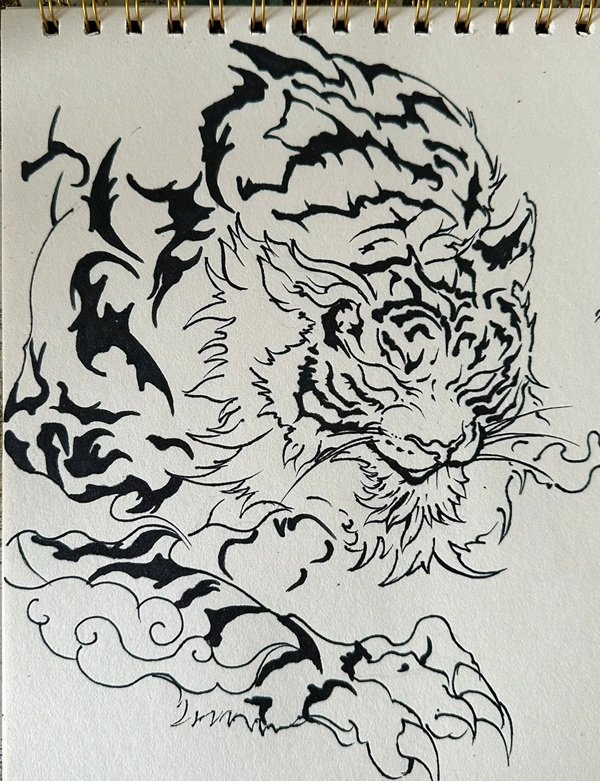
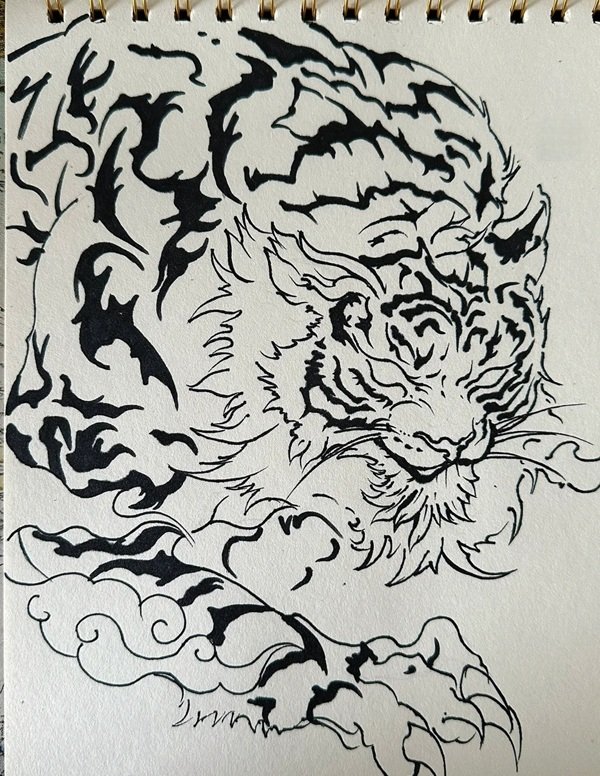
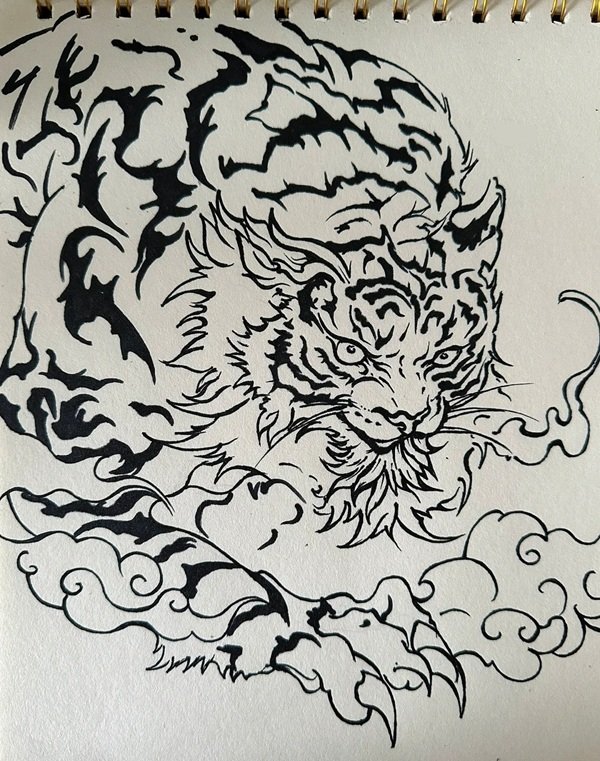
How to draw the tiger step by step
See more:
Master how to draw the hello kitty in 5 minutes with these tips
Top 7+ steps on how to draw Spider Man swinging through city
8+ easy steps on how to draw Mickey Mouse like a true Disney
That’s a wrap on your tiger art journey! With the right steps and some playful spirit, you’ll soon have a tiger that roars with personality. Keep practicing, try out new styles, and make your own jungle masterpiece. Let your imagination lead the way and don’t forget—you’ve got the eye of the tiger now!